It’s been a while since during a Hack-the-Planet episode I was gifted two PCBs of a corne keyboard by PH_0x17 of Nerdbude and ClickClackHack fame.
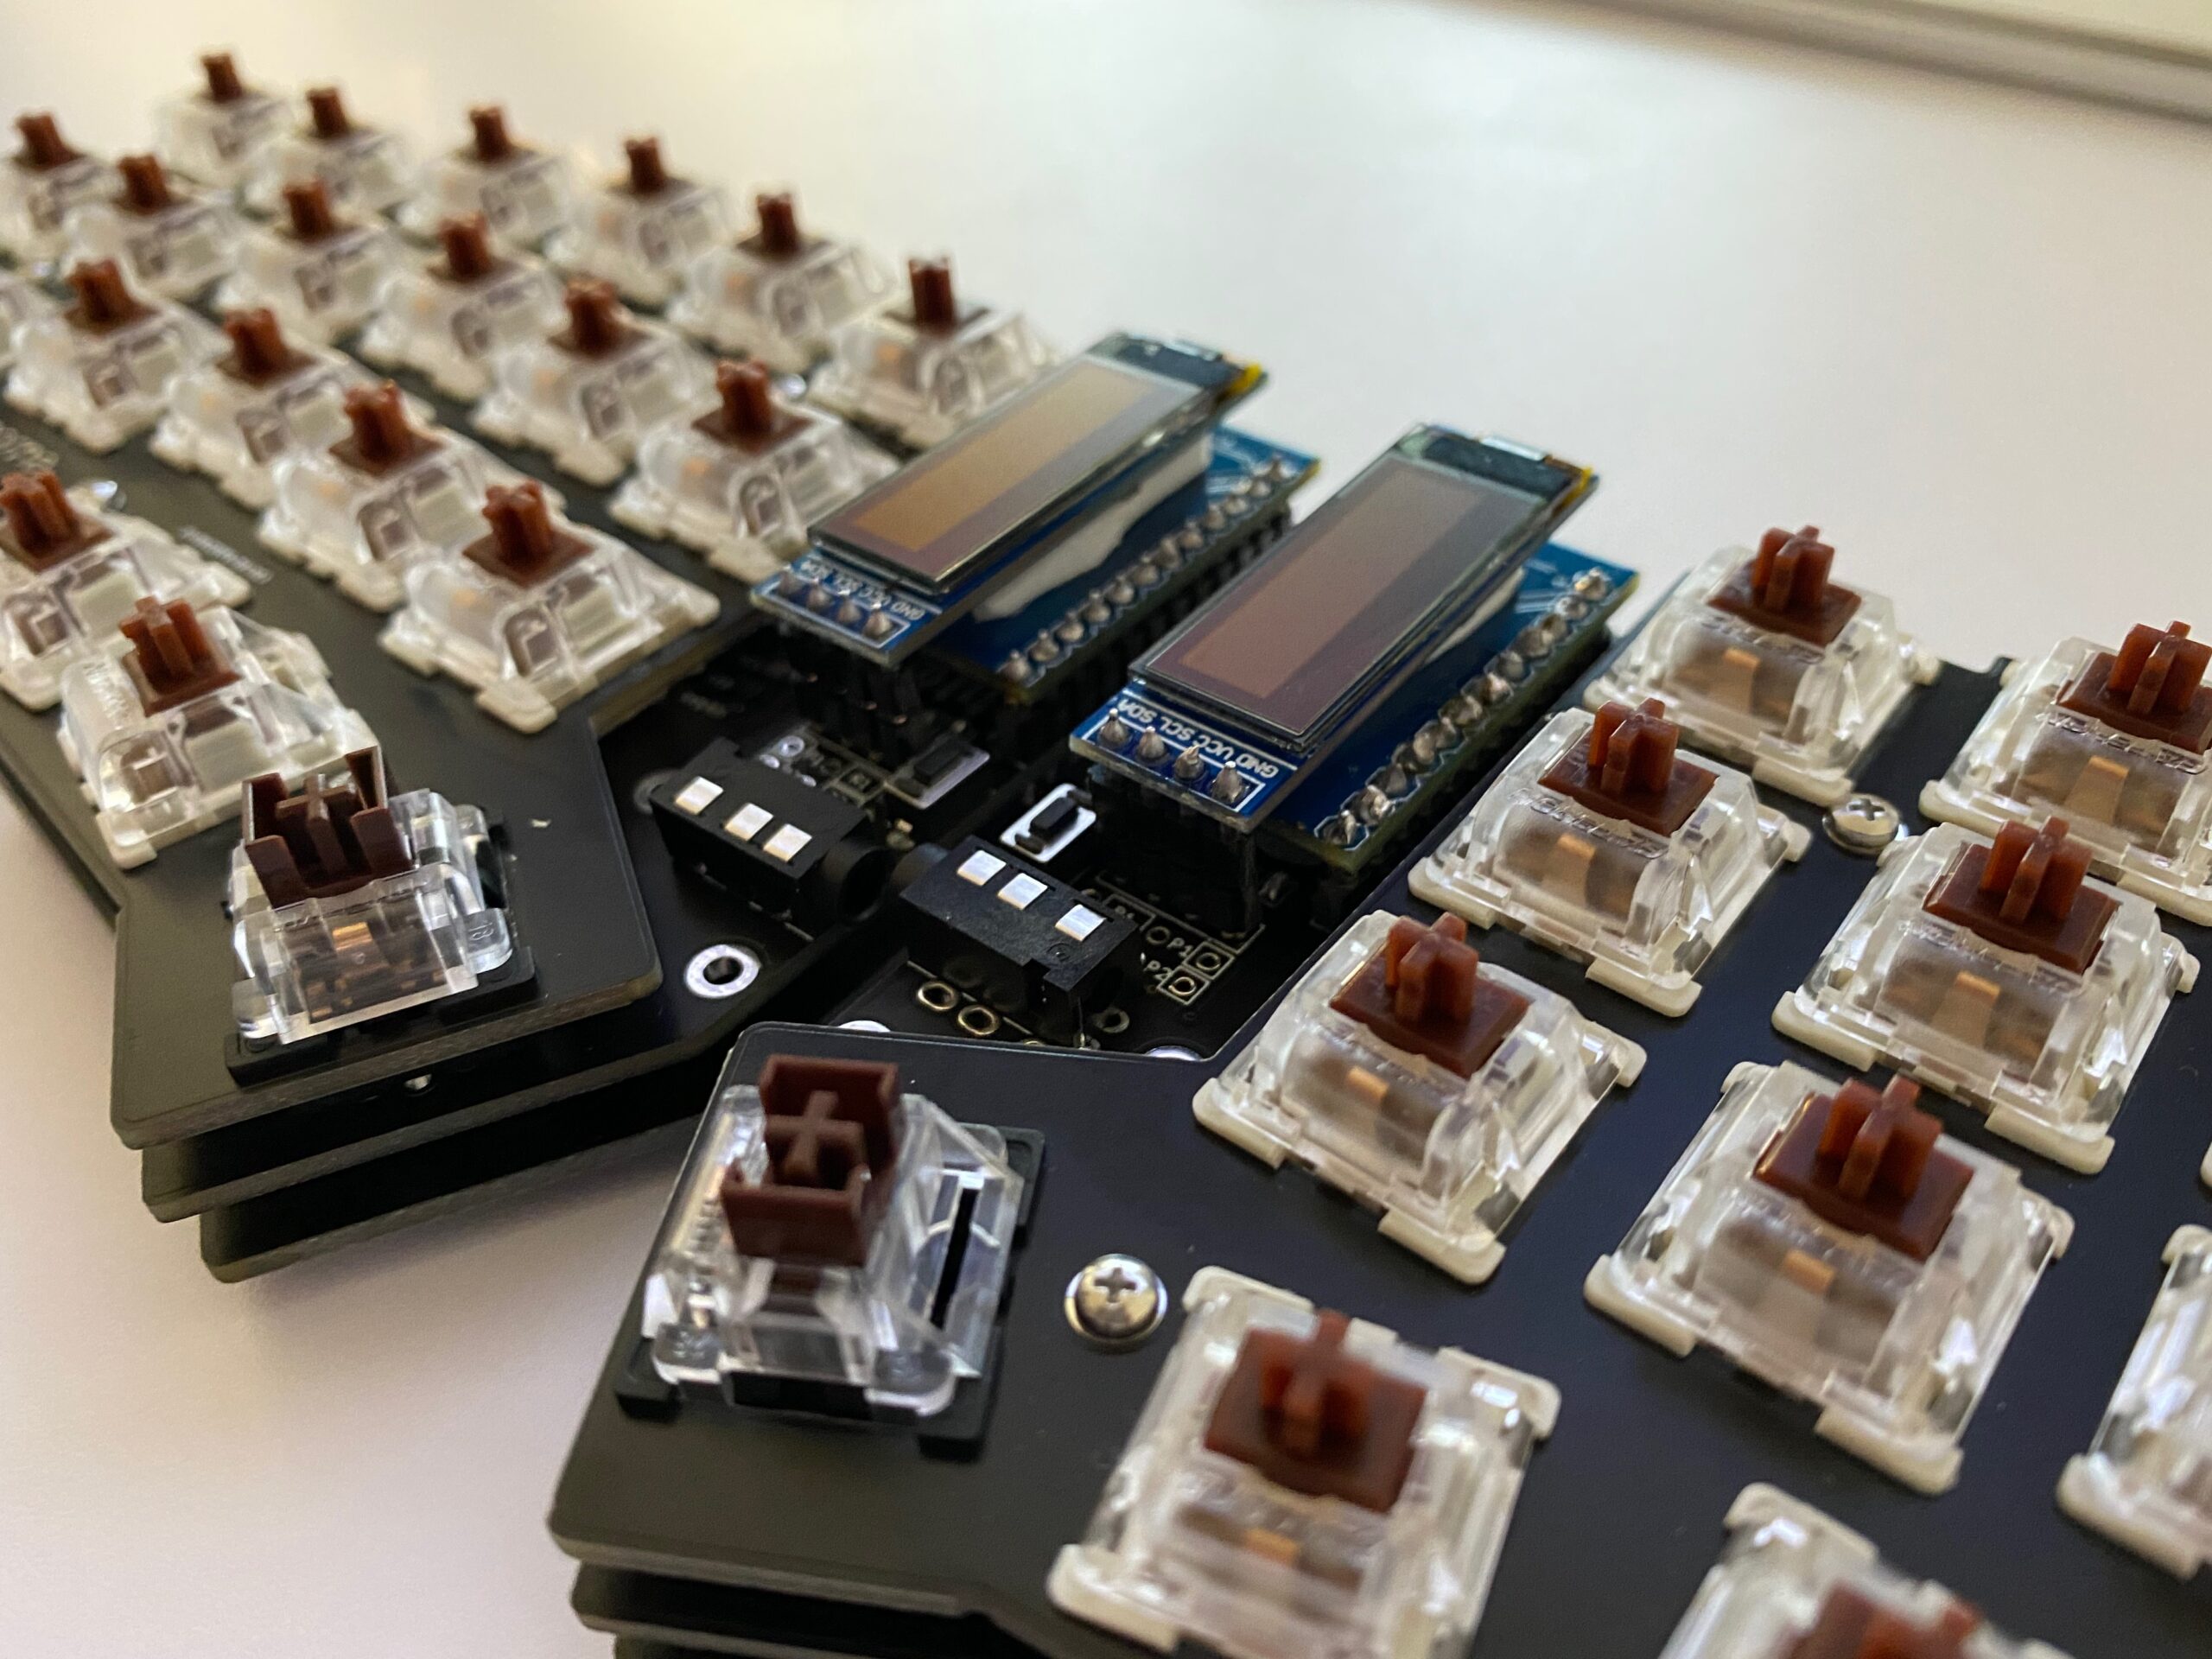
Since a picture says more than a thousand words, I give you the result first:
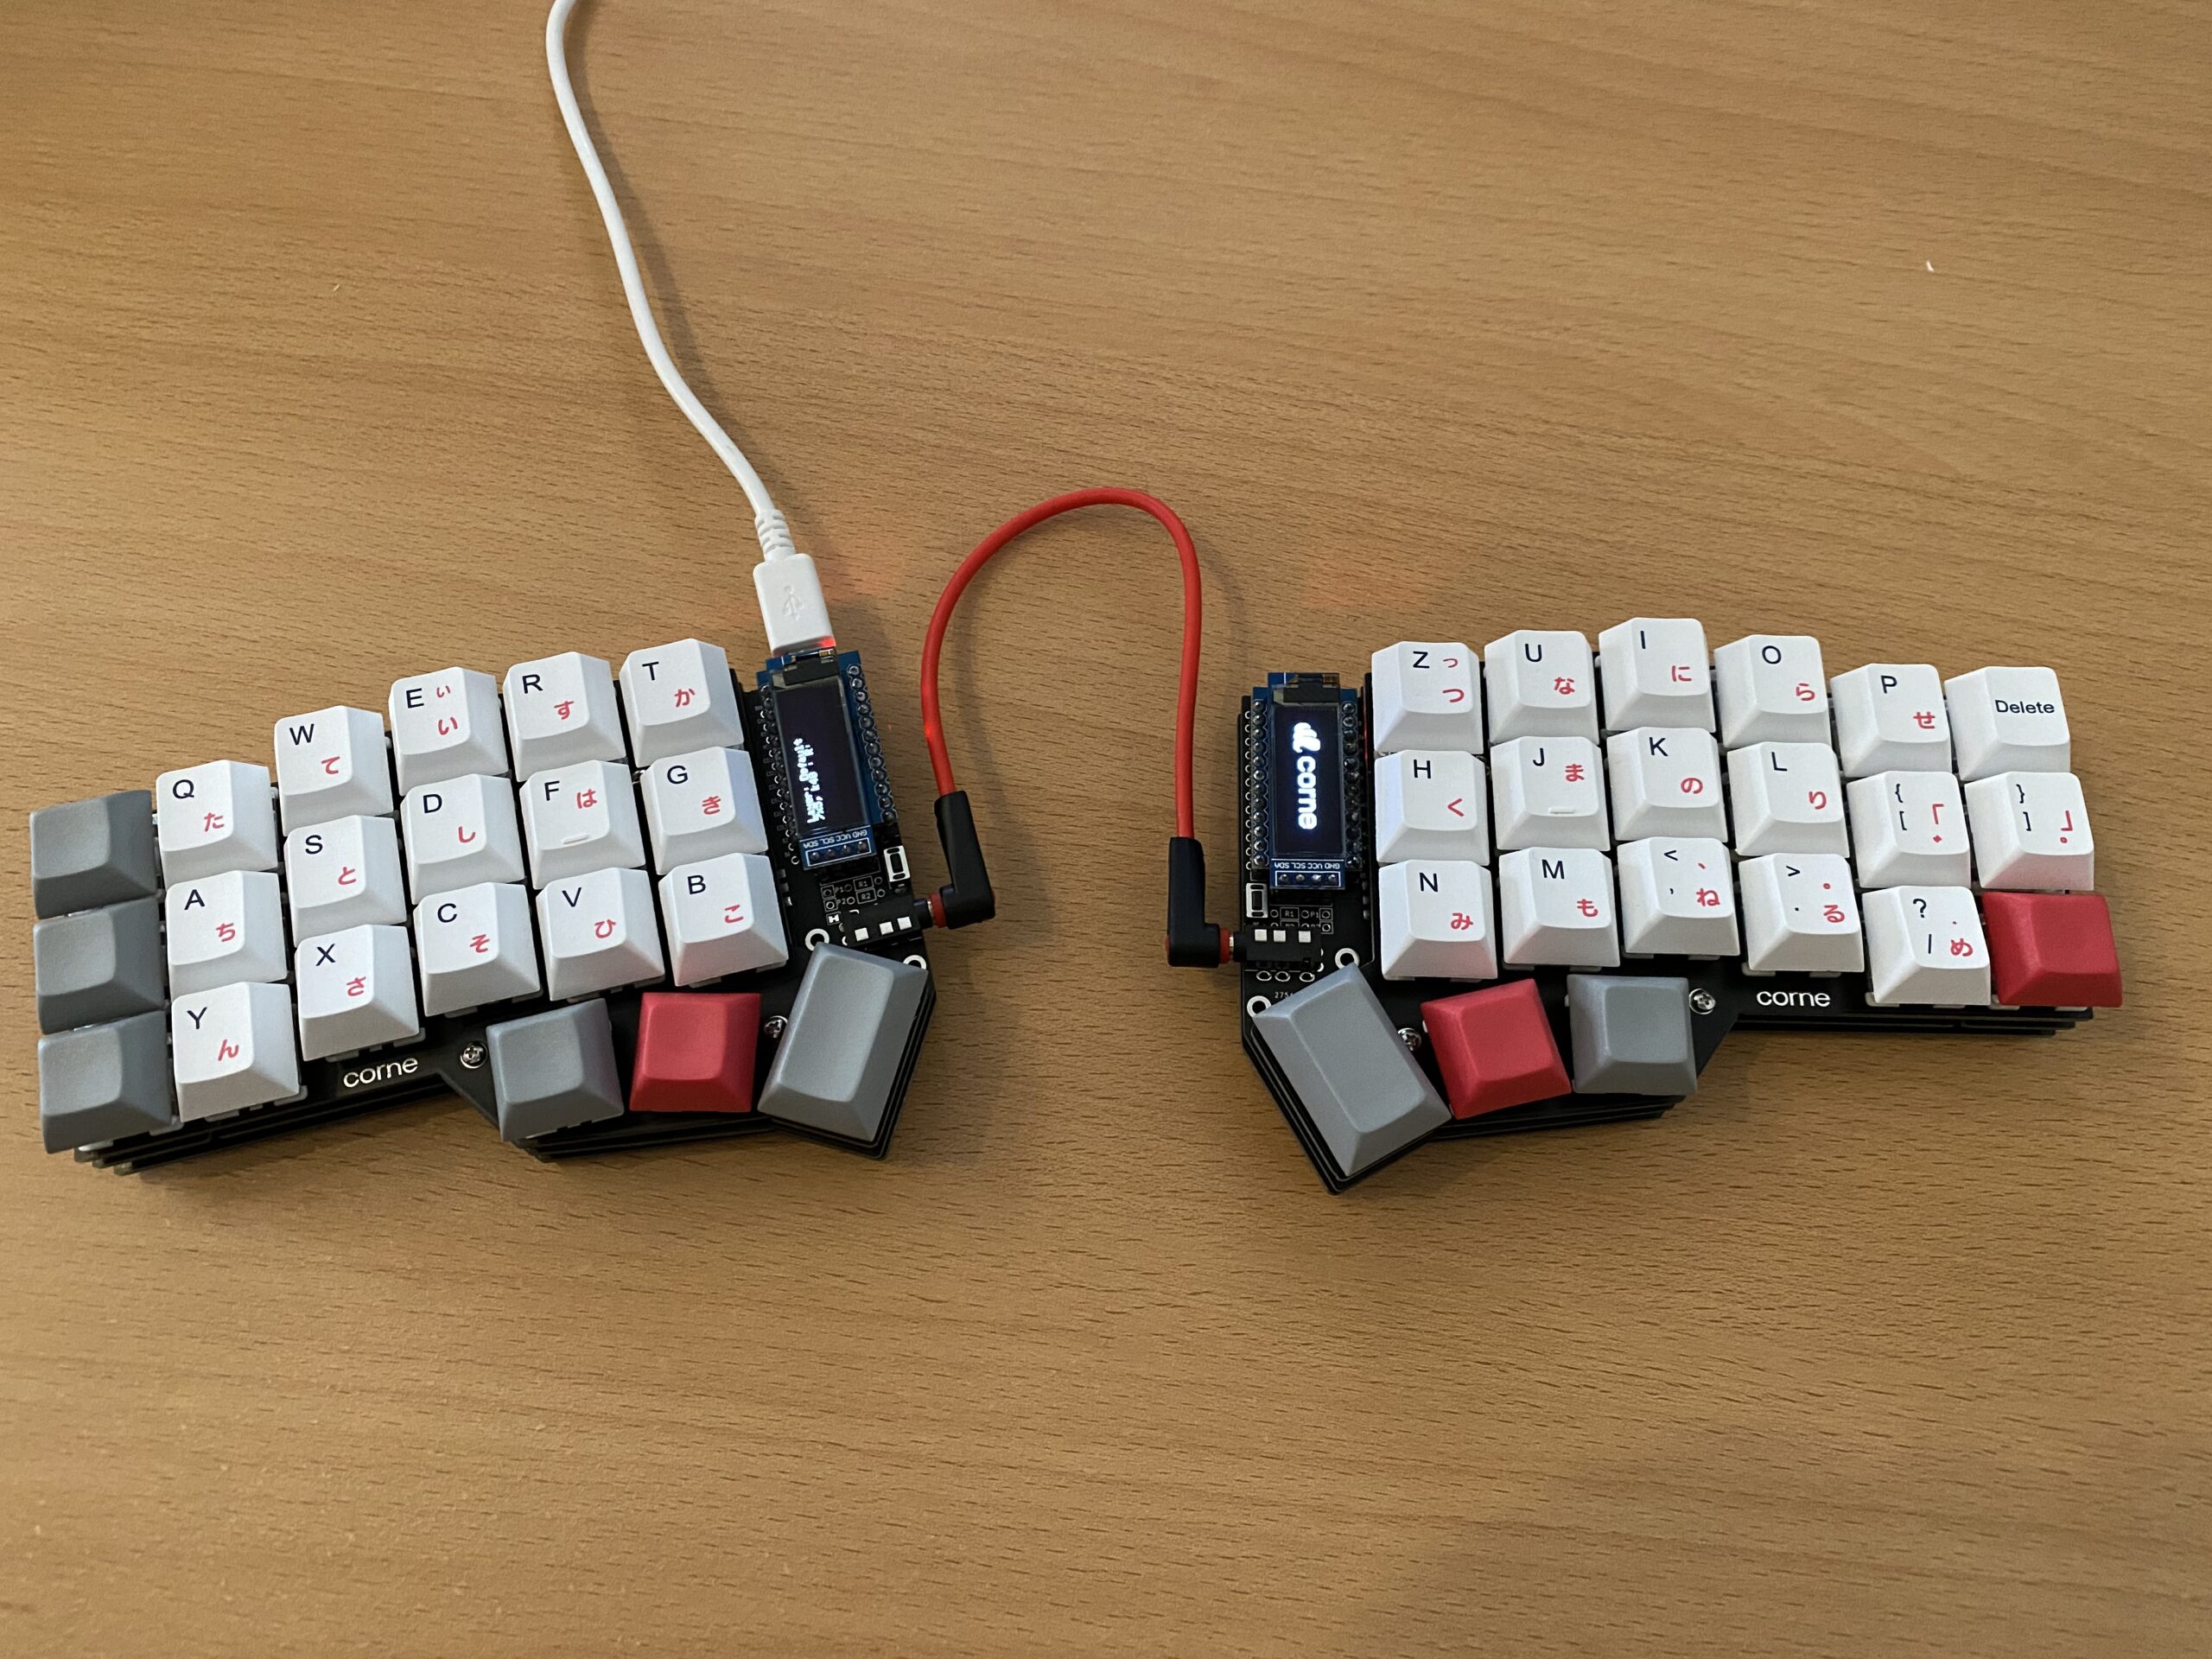
This keyboard design is made from the ground up as open source and naturally is fully available as a GIT repository containing everything you need to start: PCB schematics, drawing, documentation and firmware source code.
It took me a couple of months to get all the required parts ordered and delivered. Many small envelopes with parts that seemlingly are only produced by a handful of manufacturers. But anyways: After everything had arrived and was checked for completeness my wife took the hardware parts into her hands and started soldering and assembling the keyboard.
And so this project naturally is split up between my wife and me in the most natural (to us) way: My wife did all the hardware parts – whilst I did the software and interfacing portion. (Admittedly there only was to be figured out how to get the firmware compiled and altered to my specific needs)
Hardware
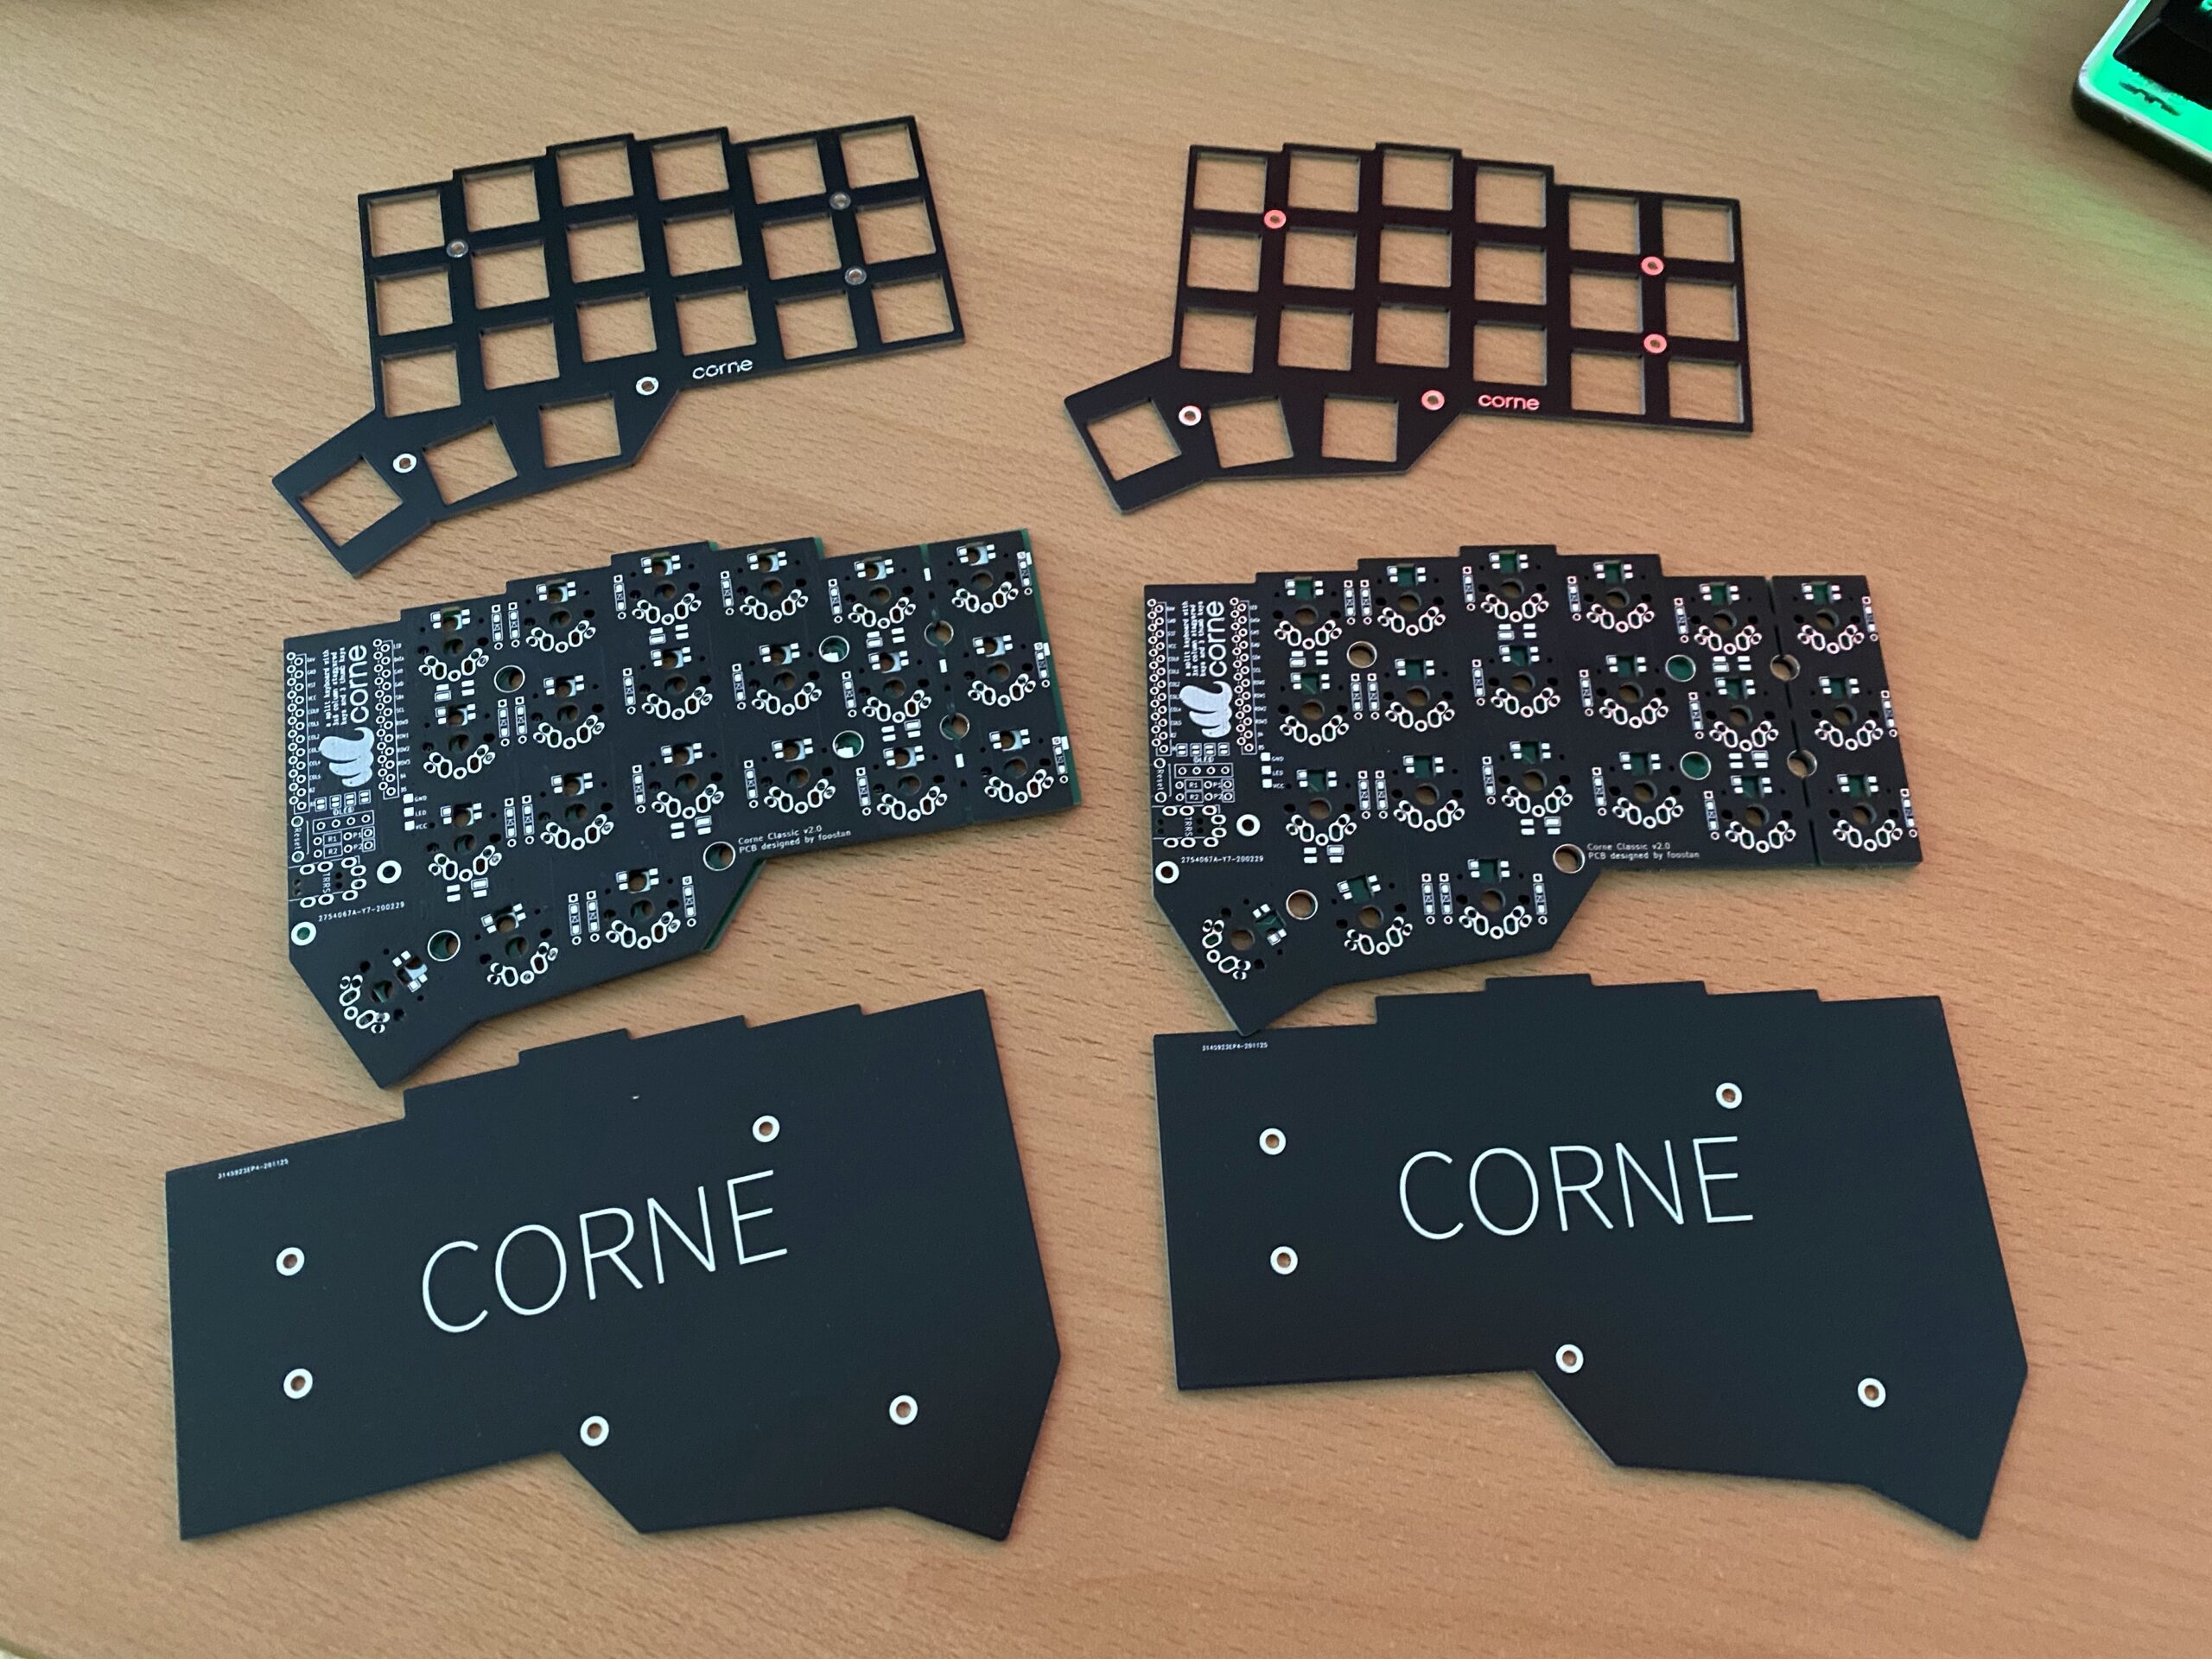
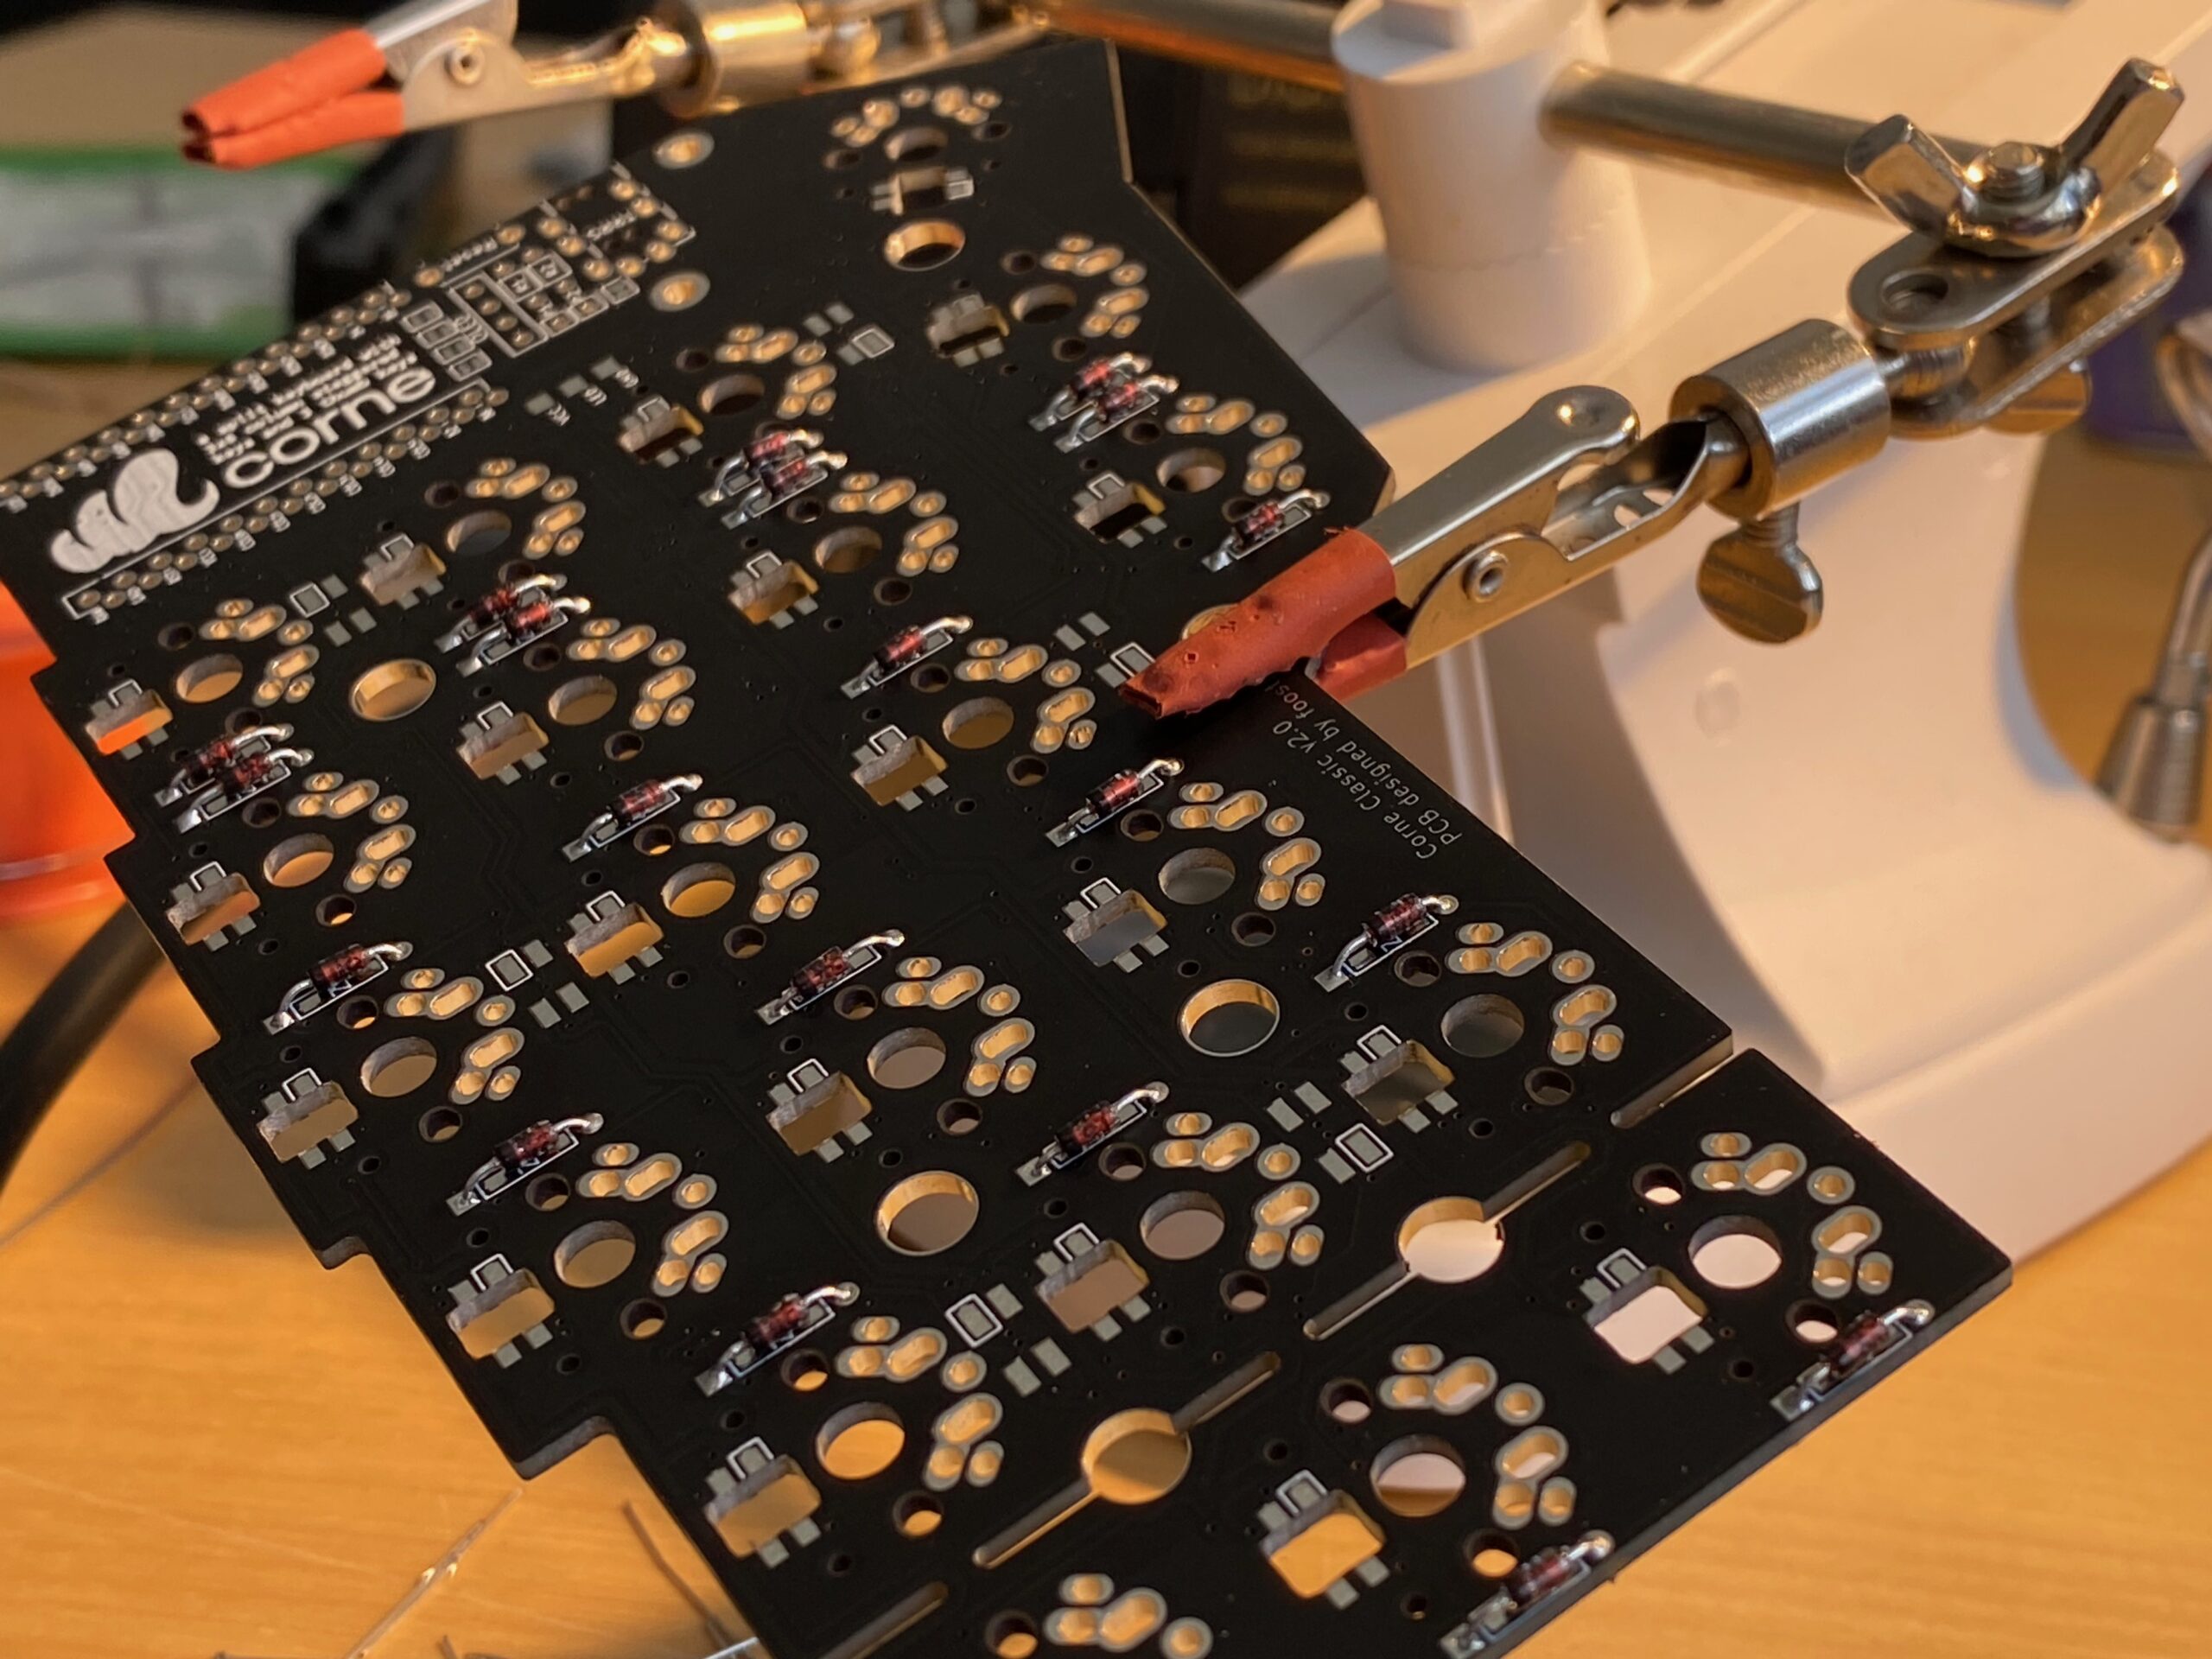
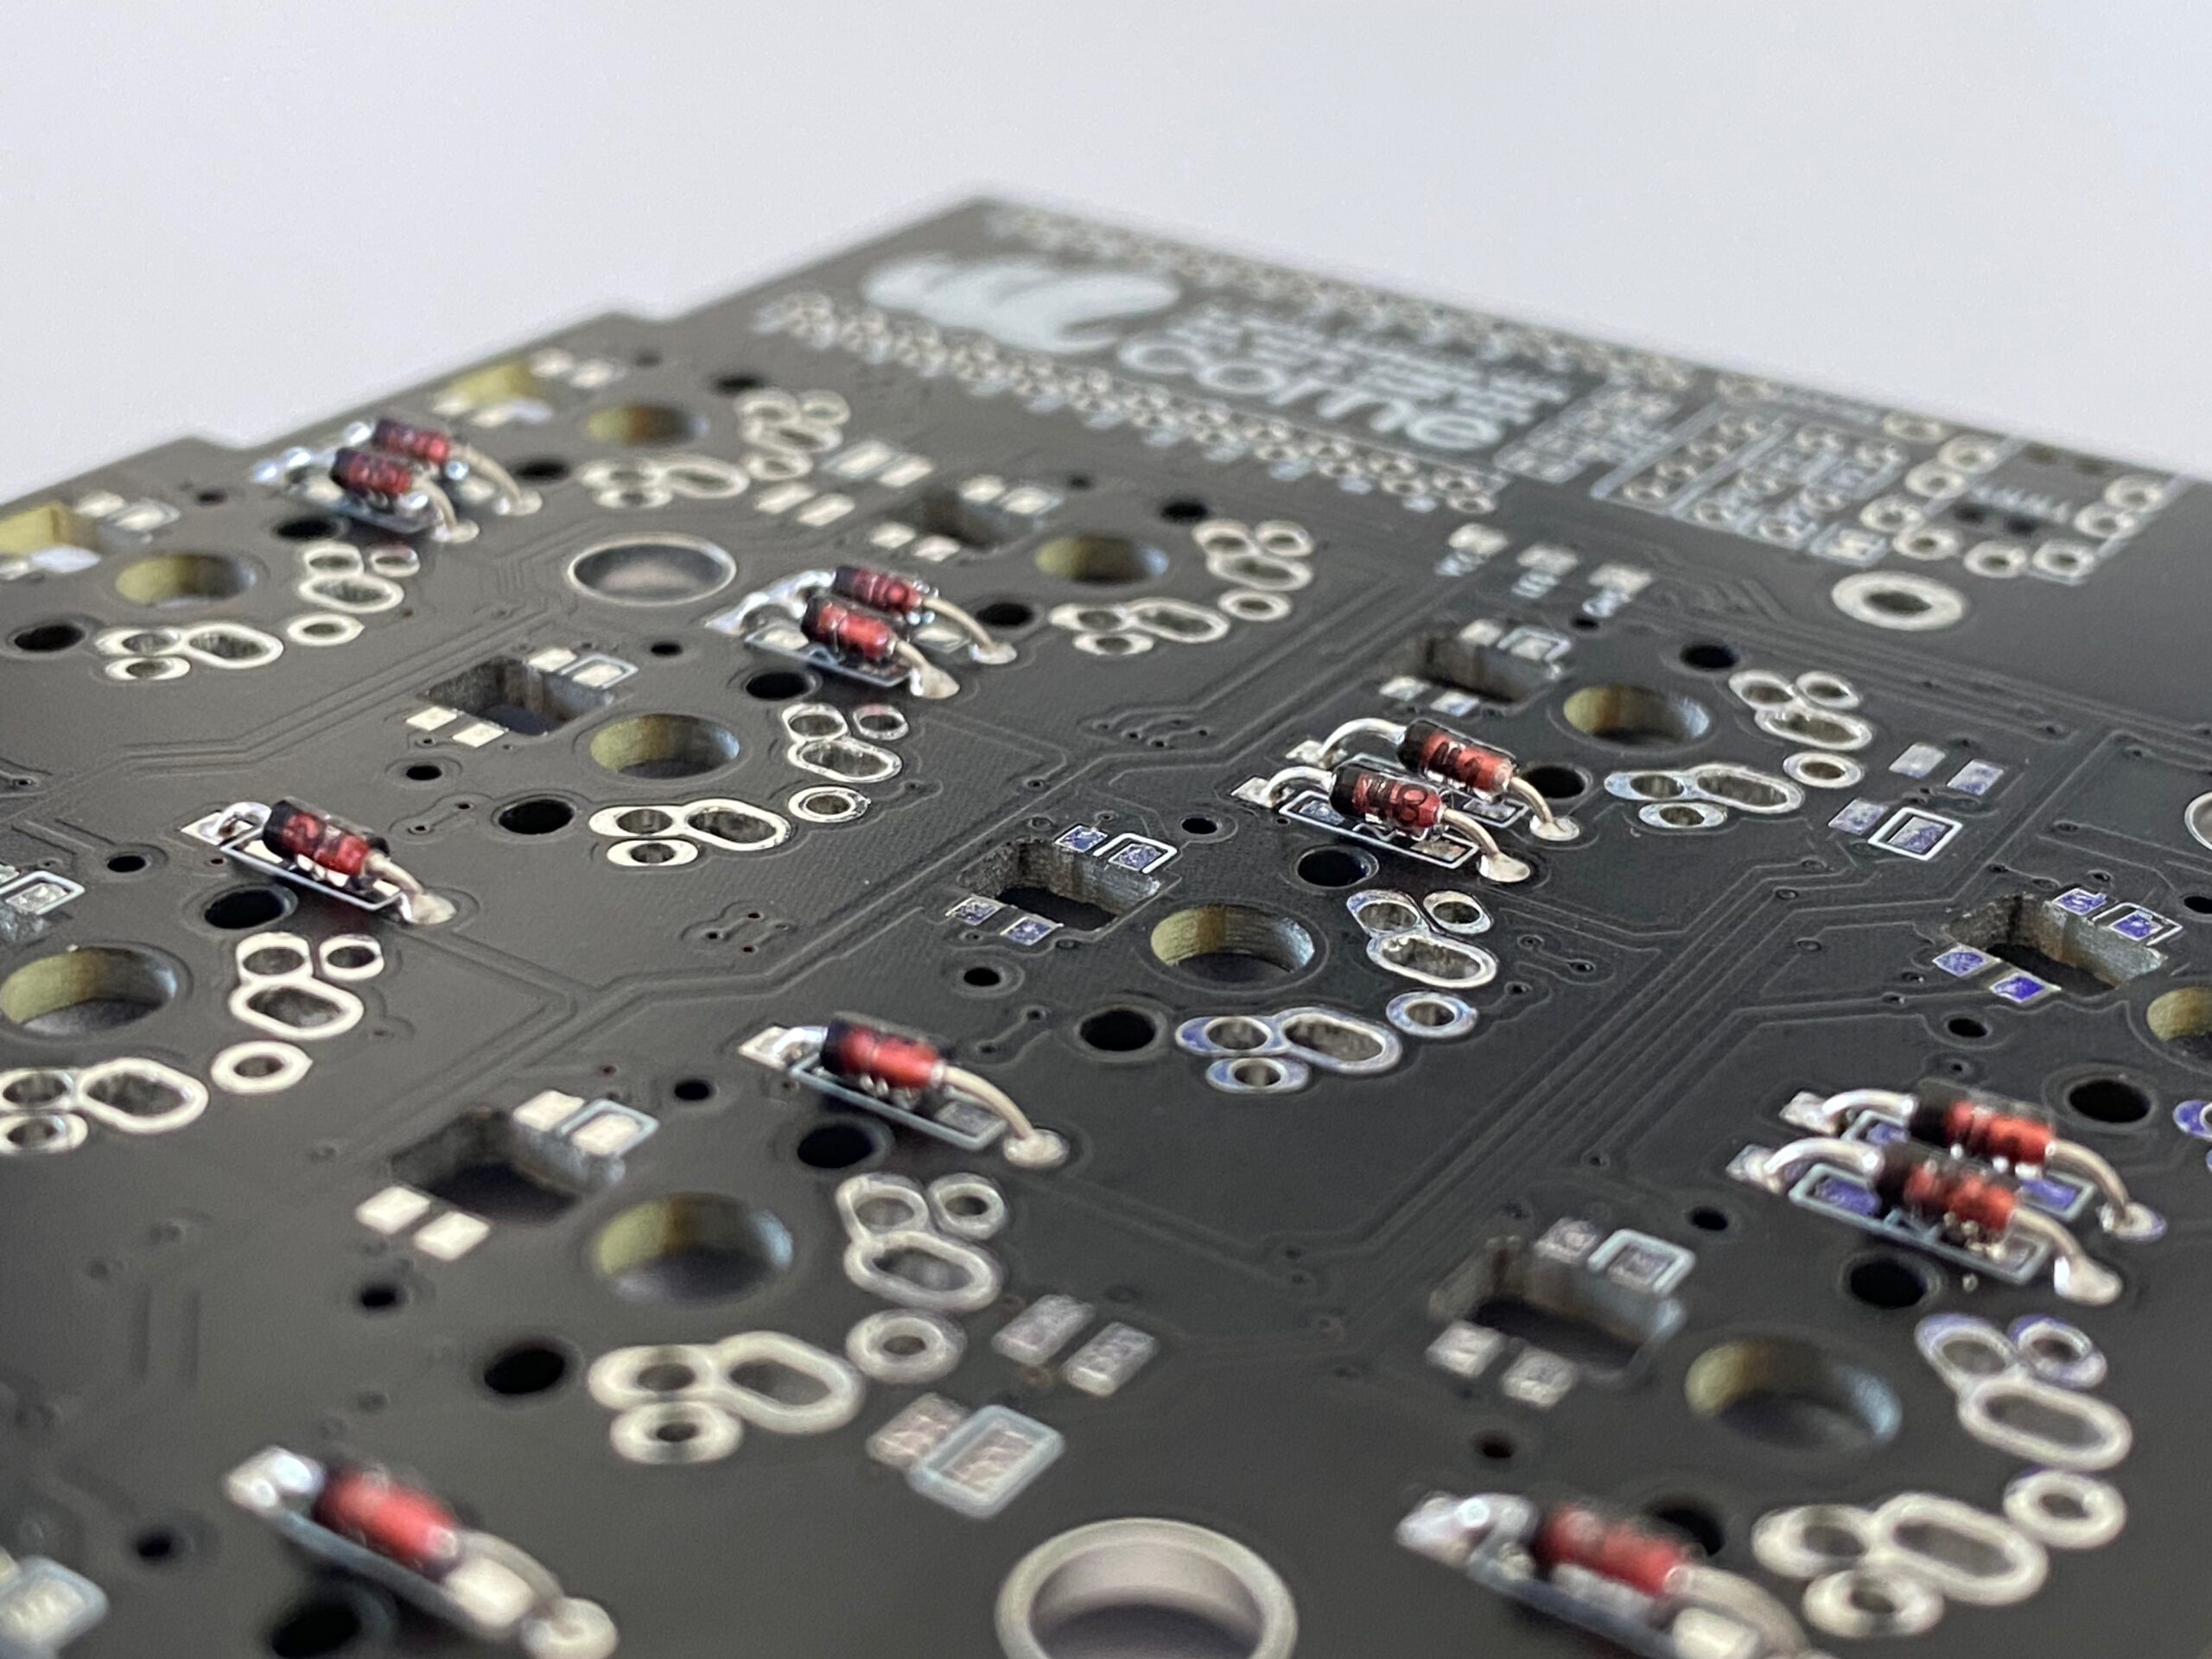
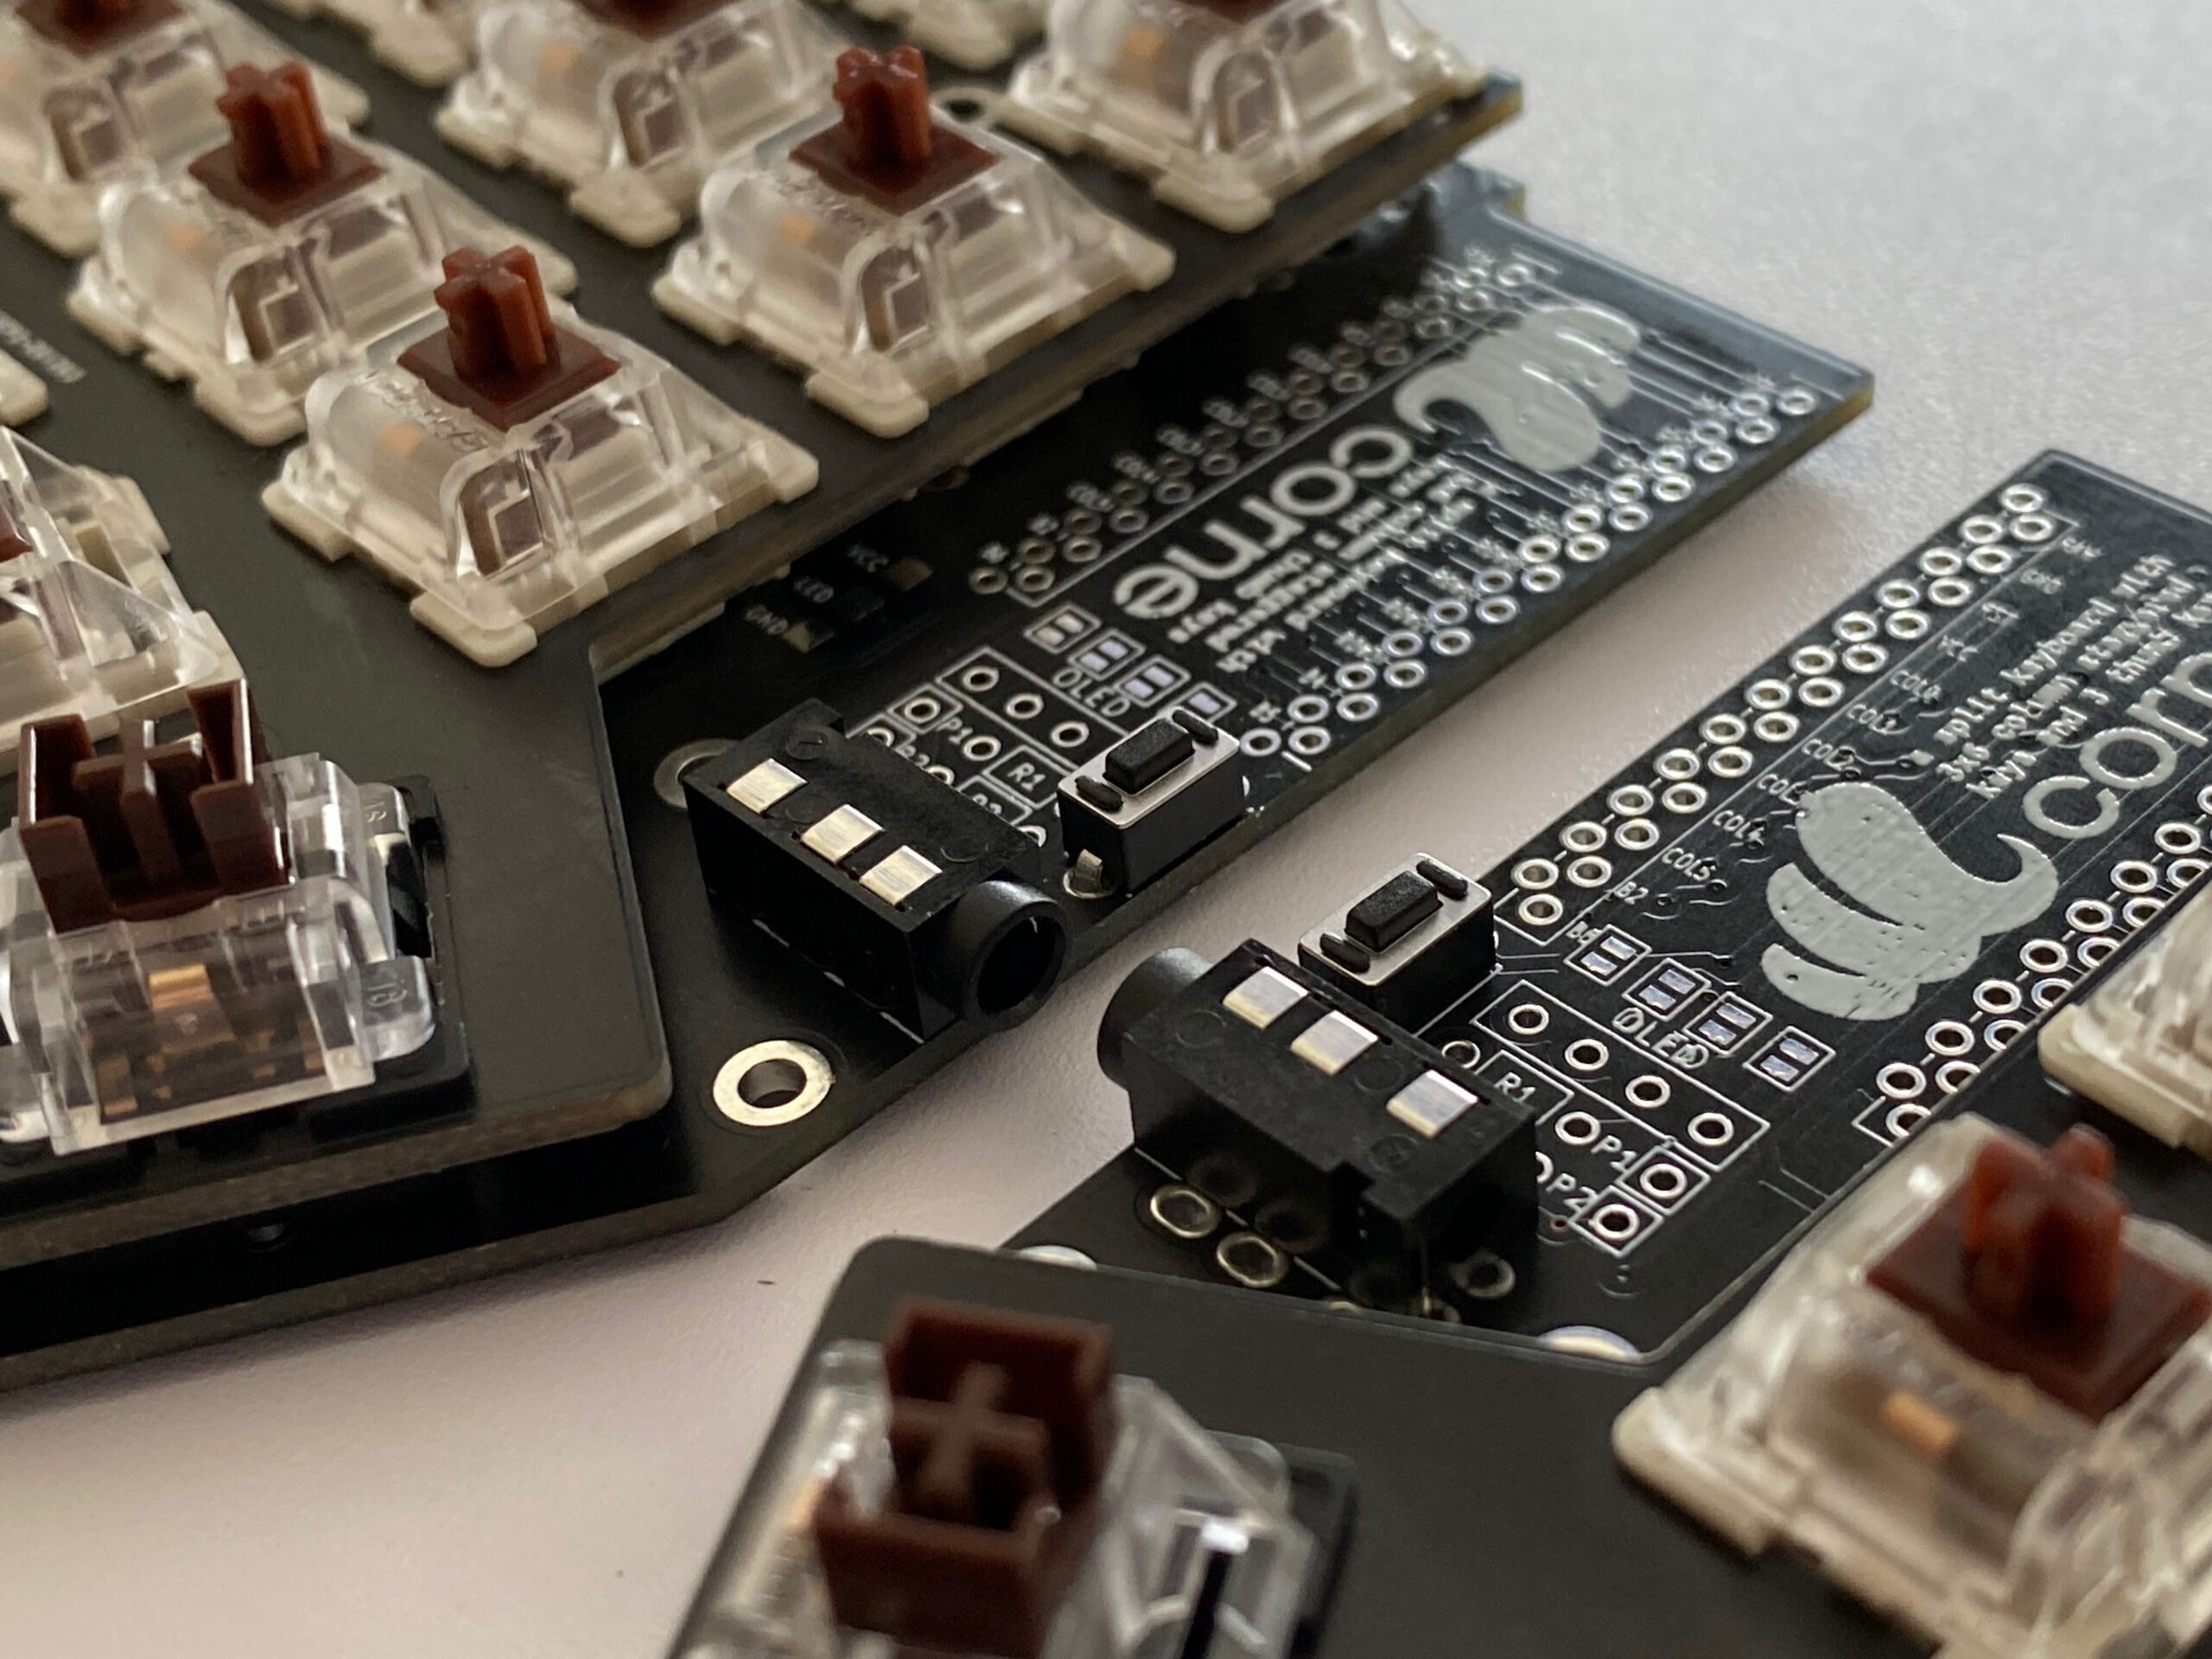
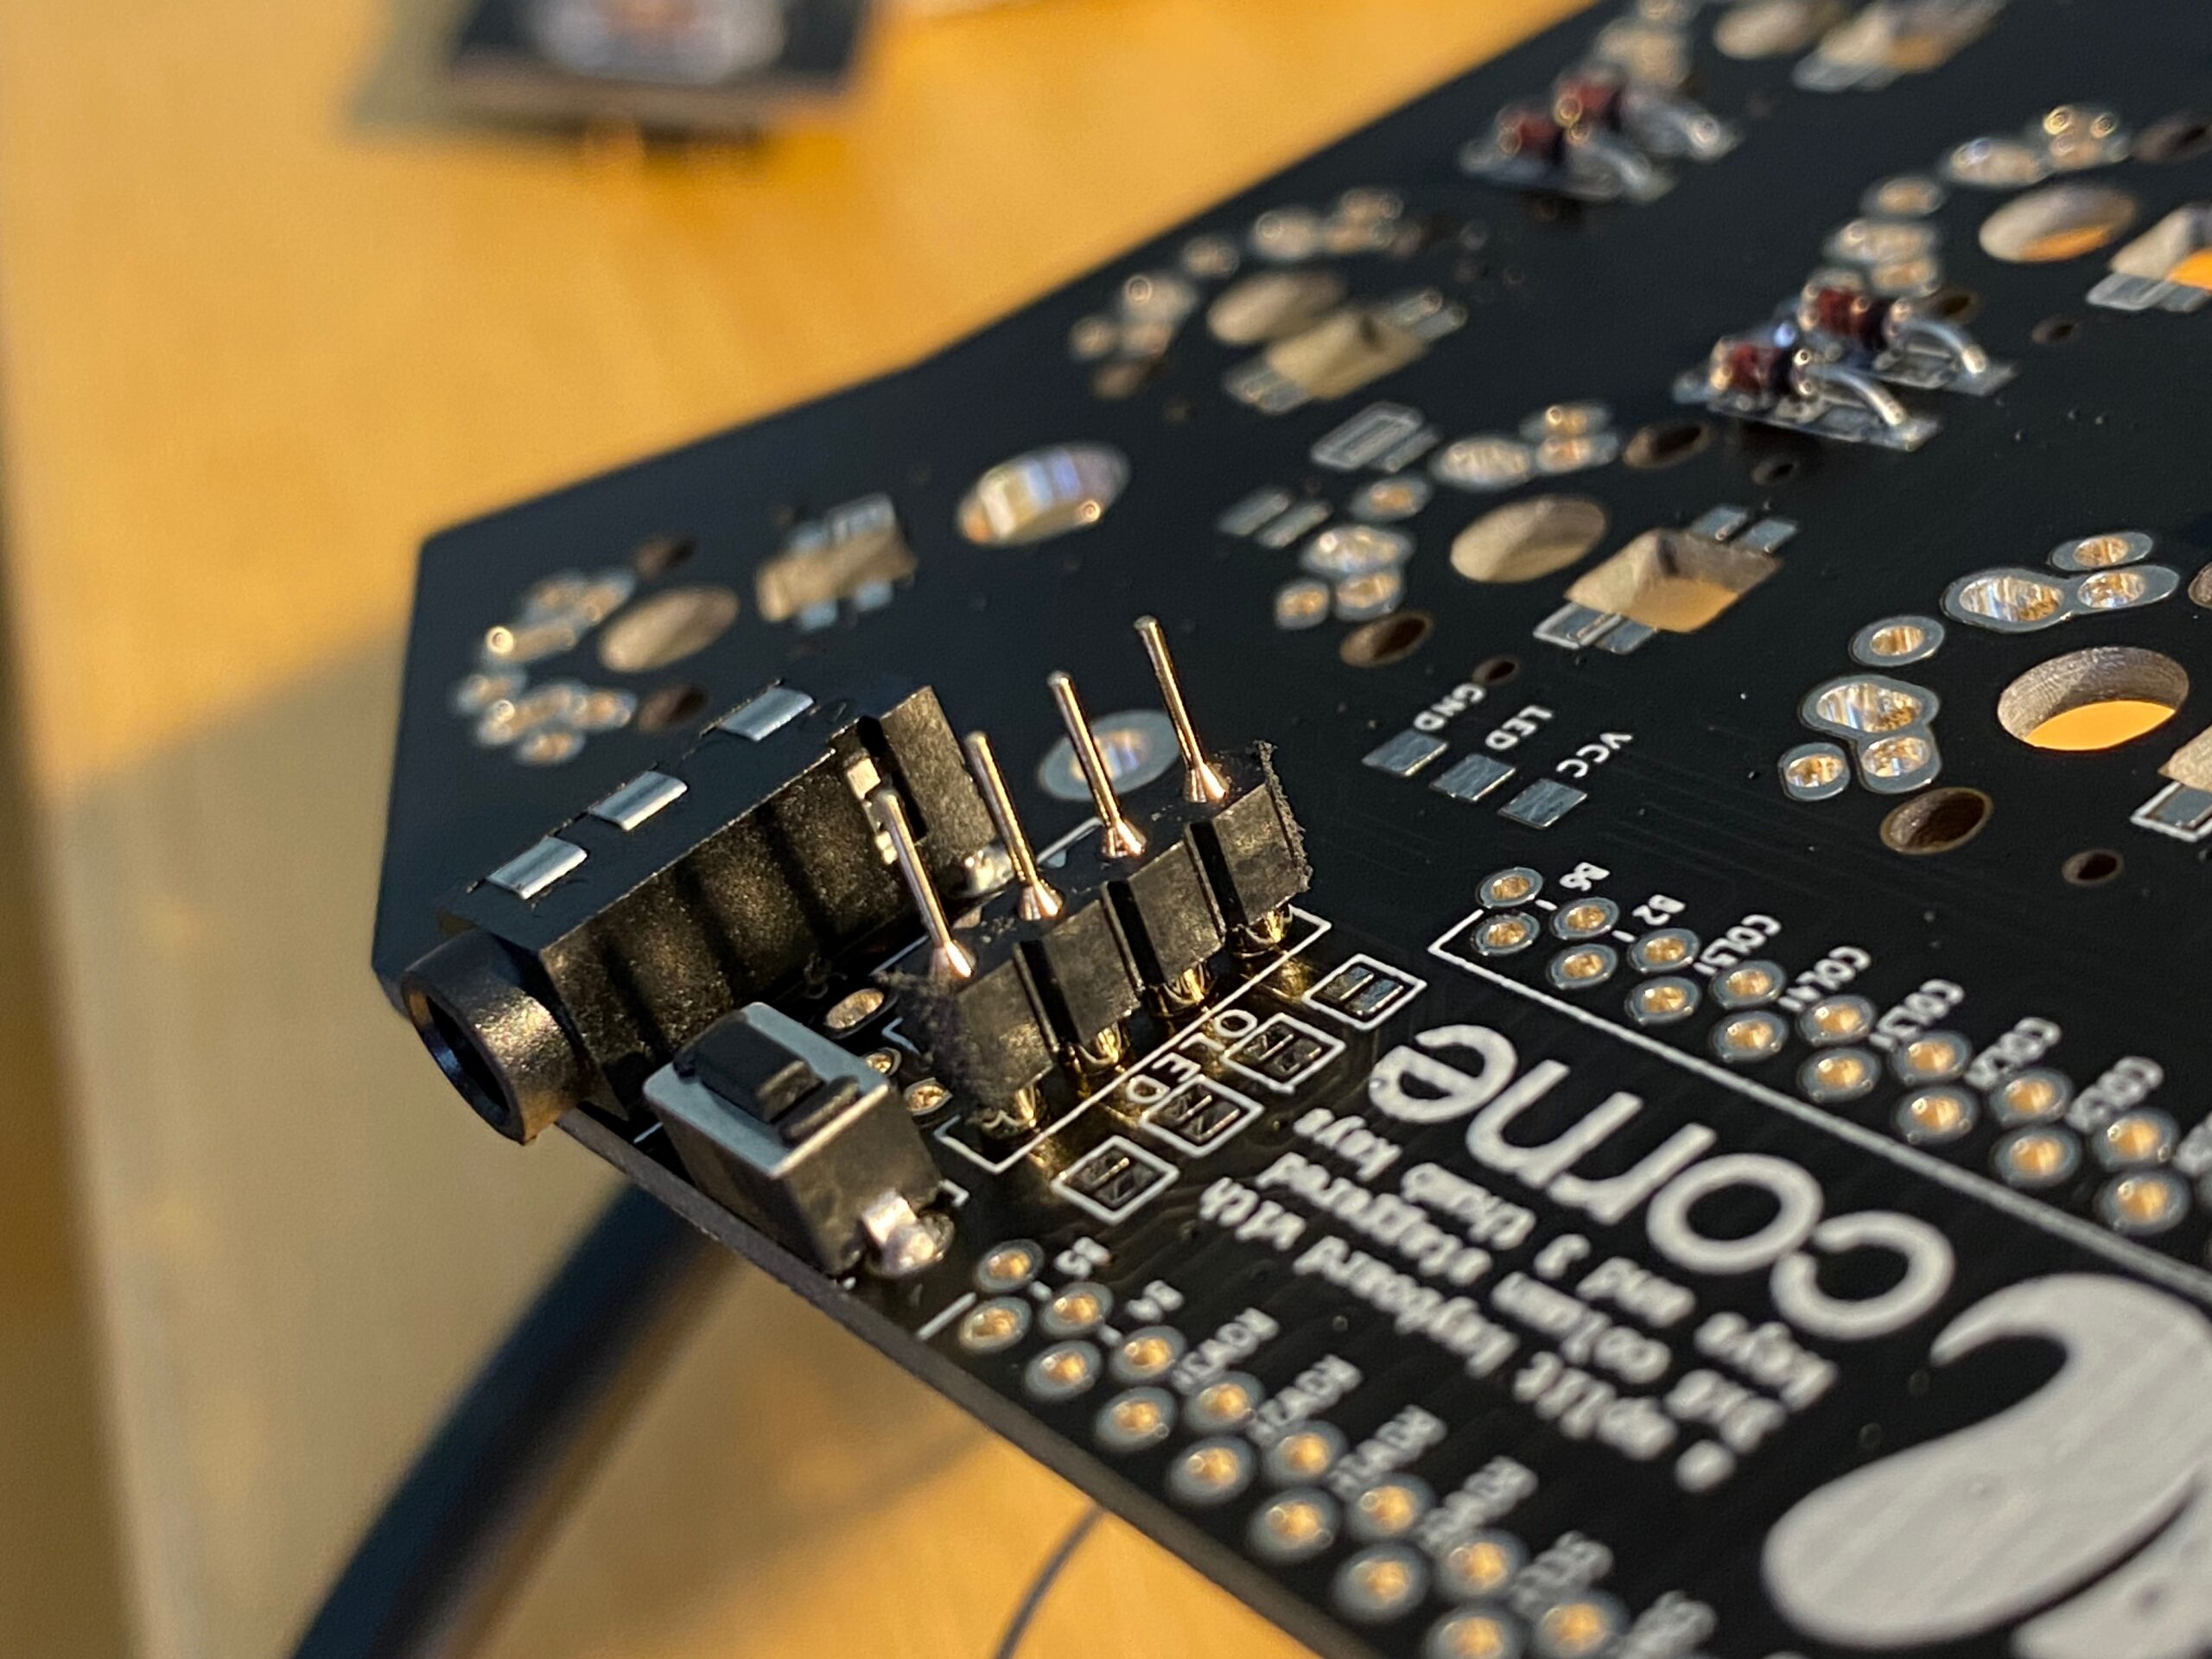
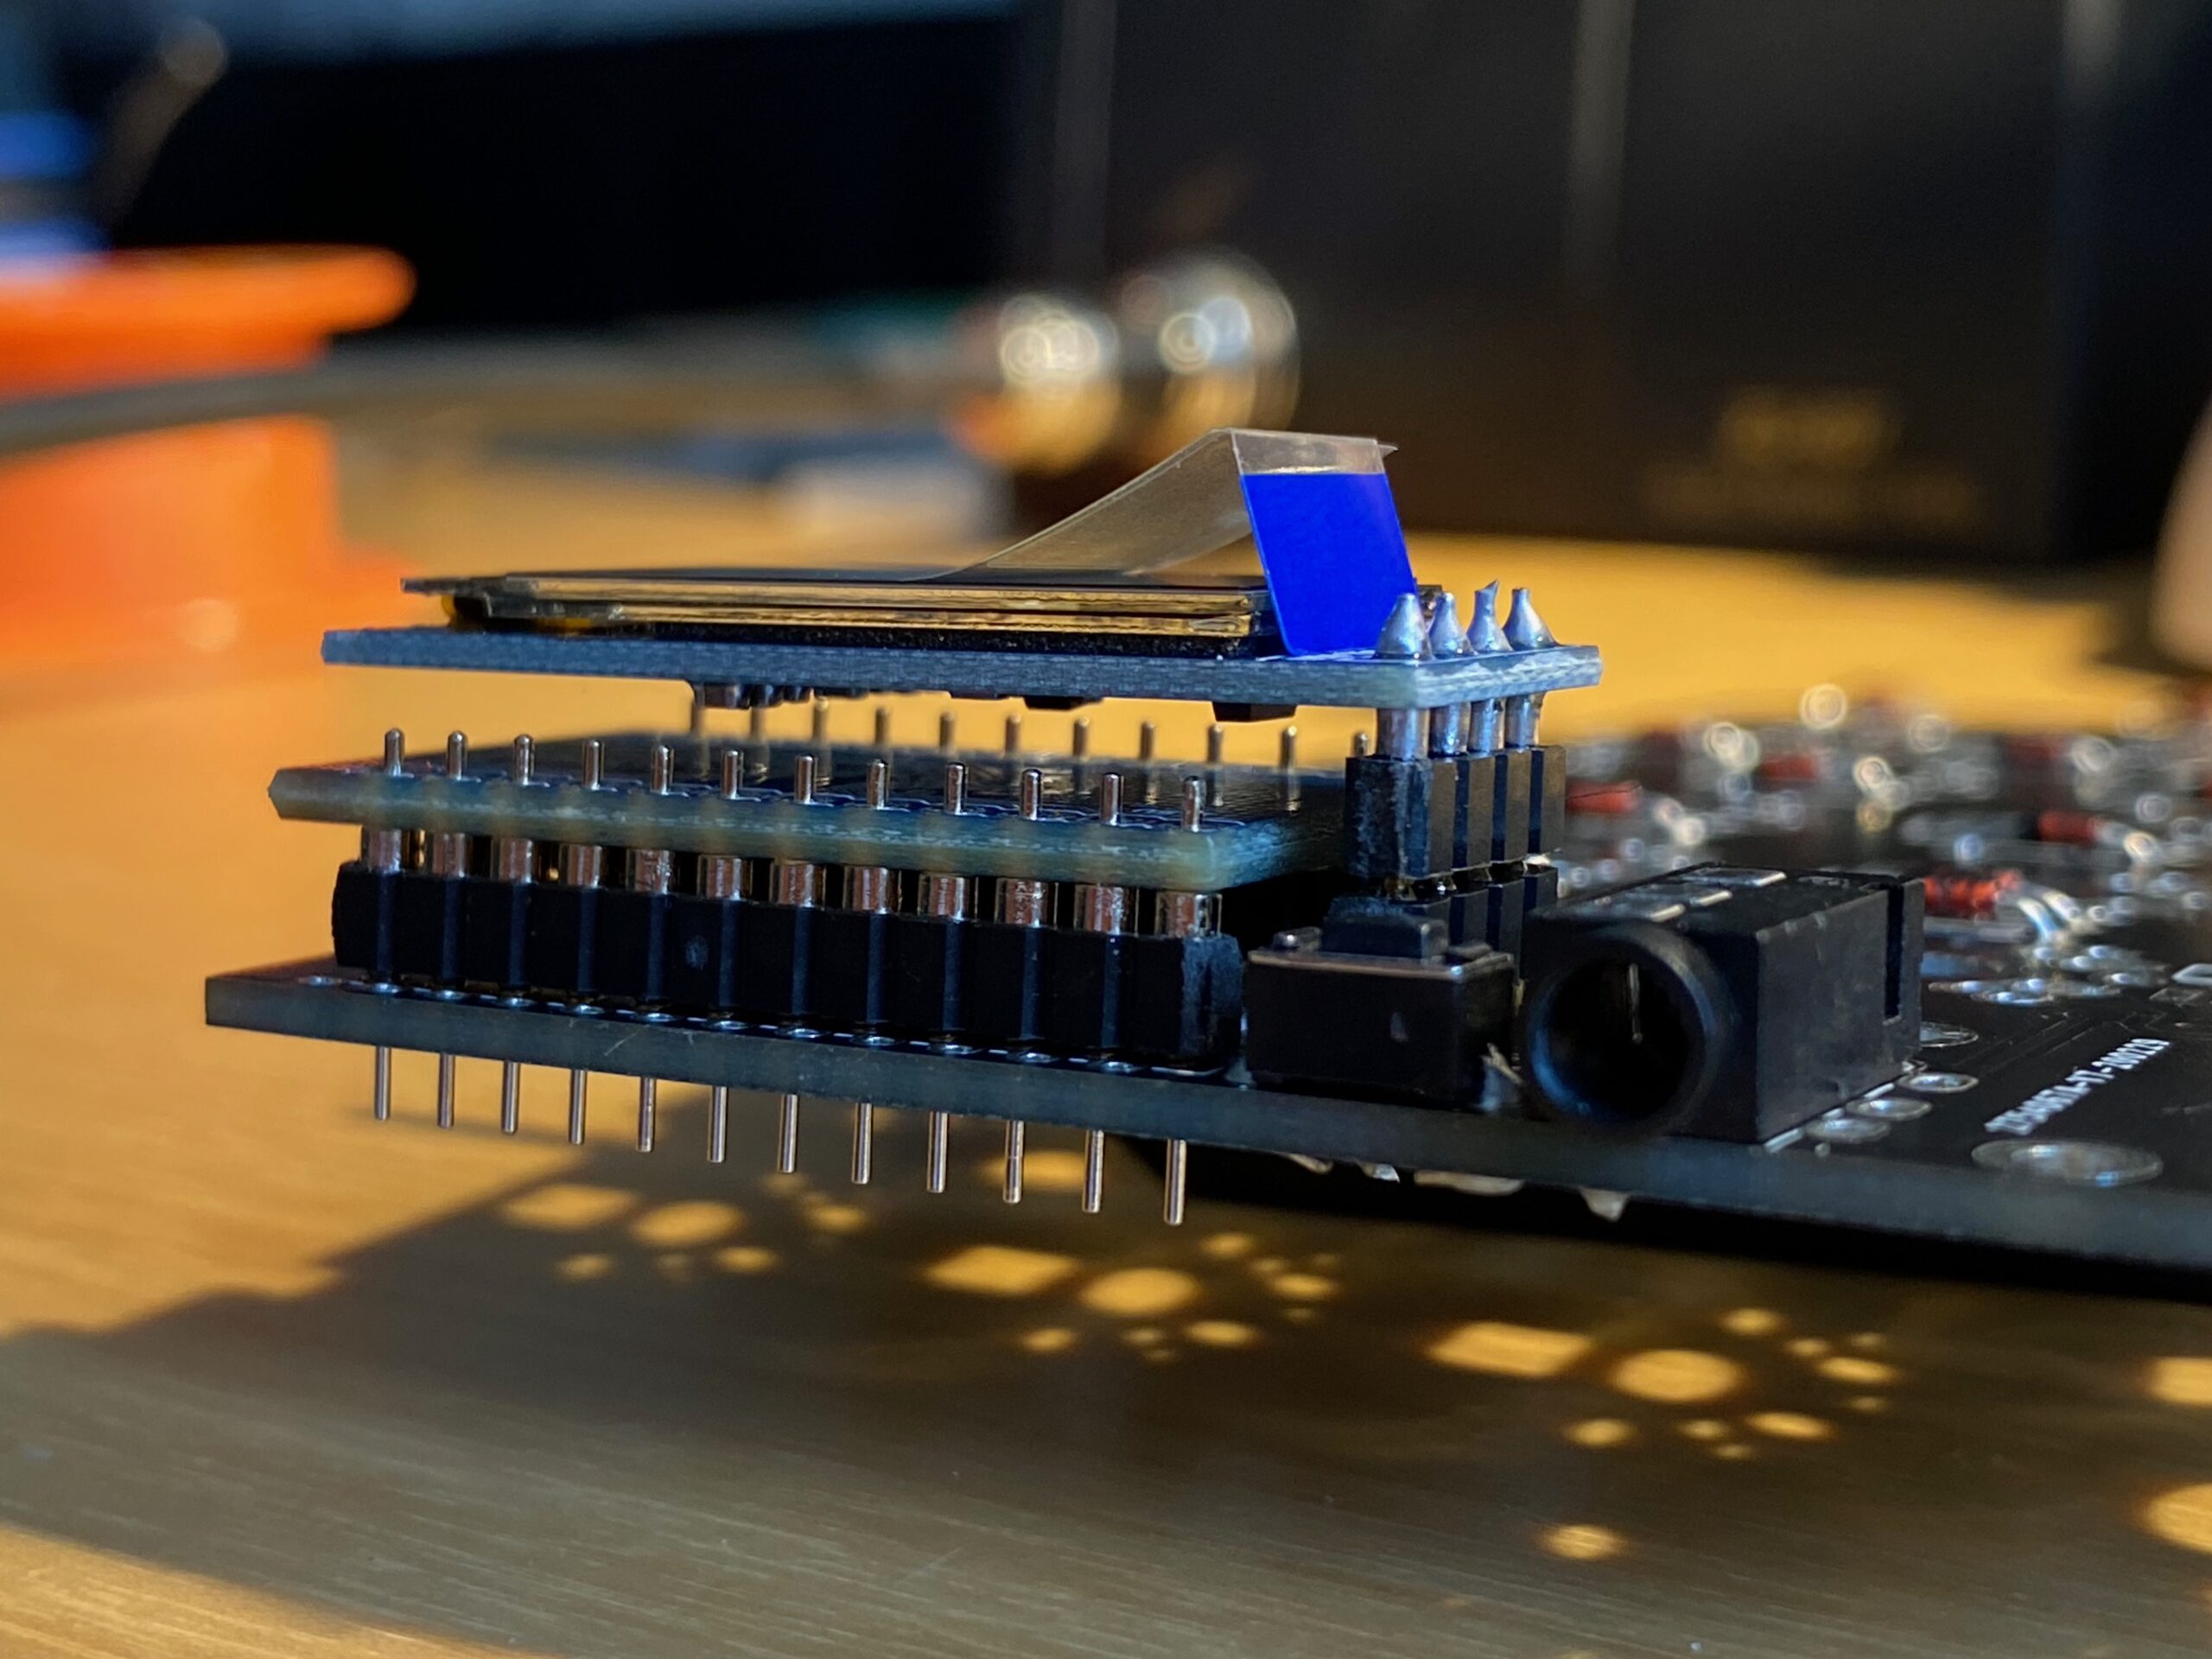
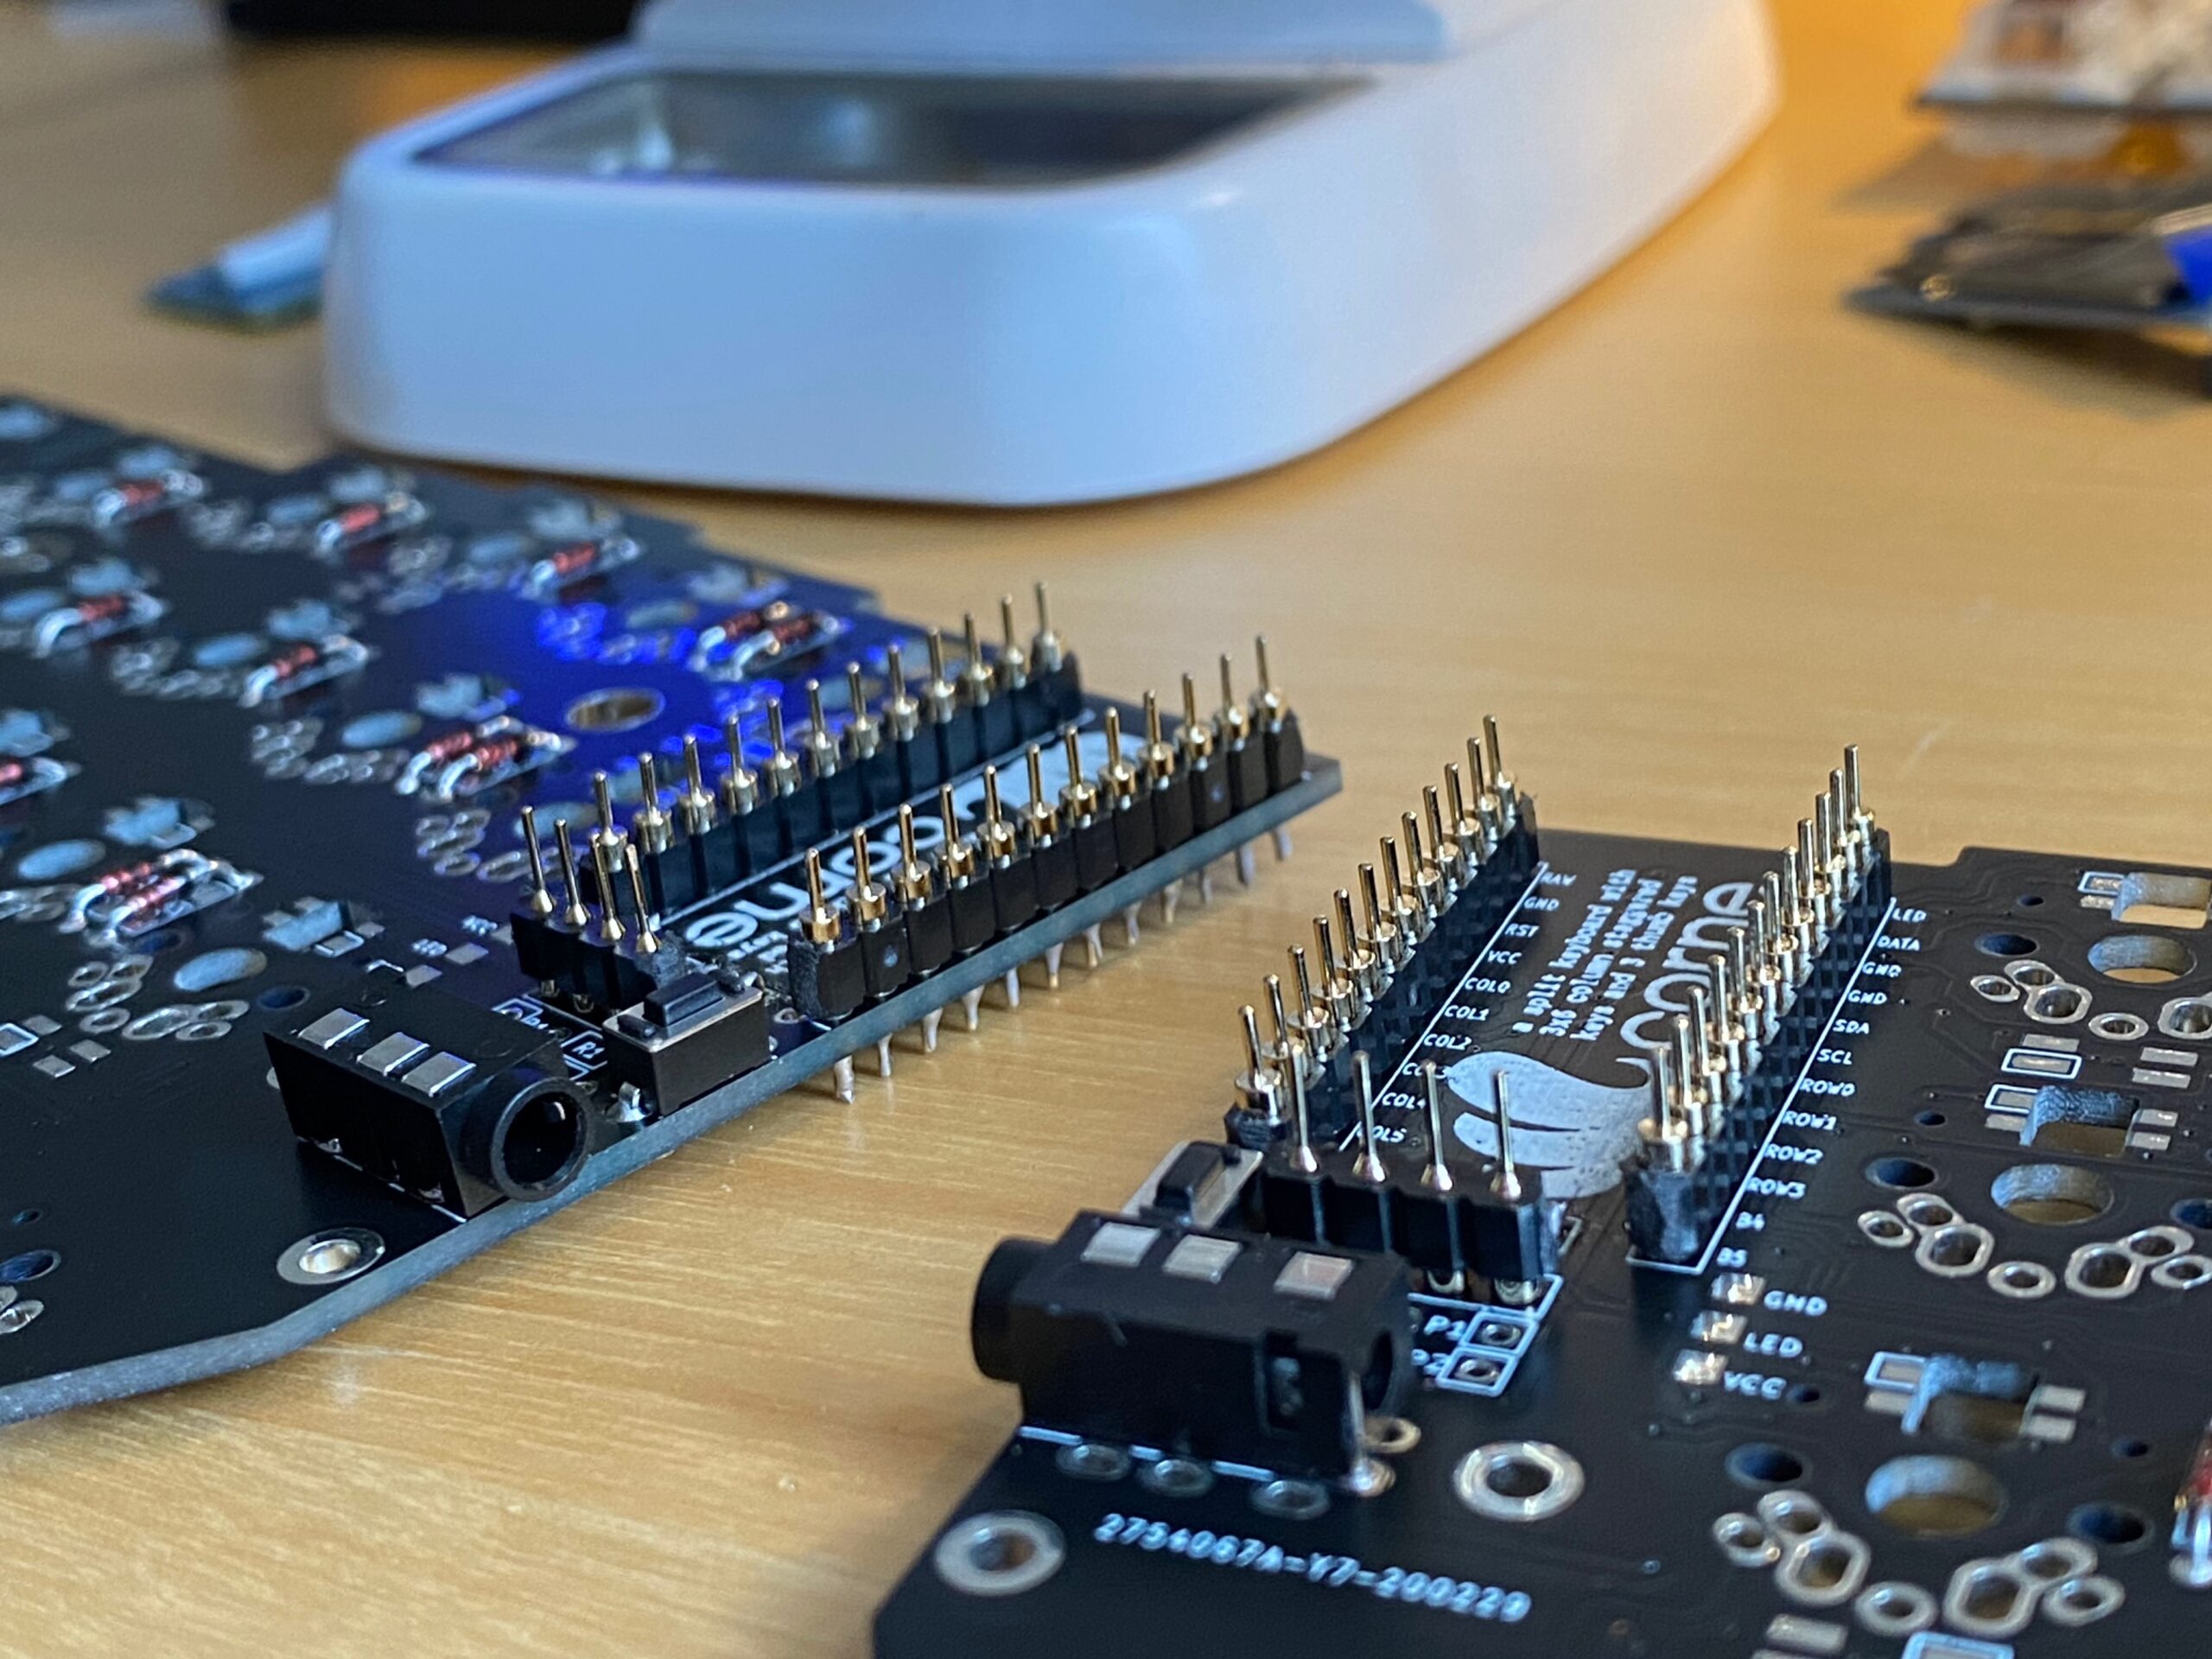
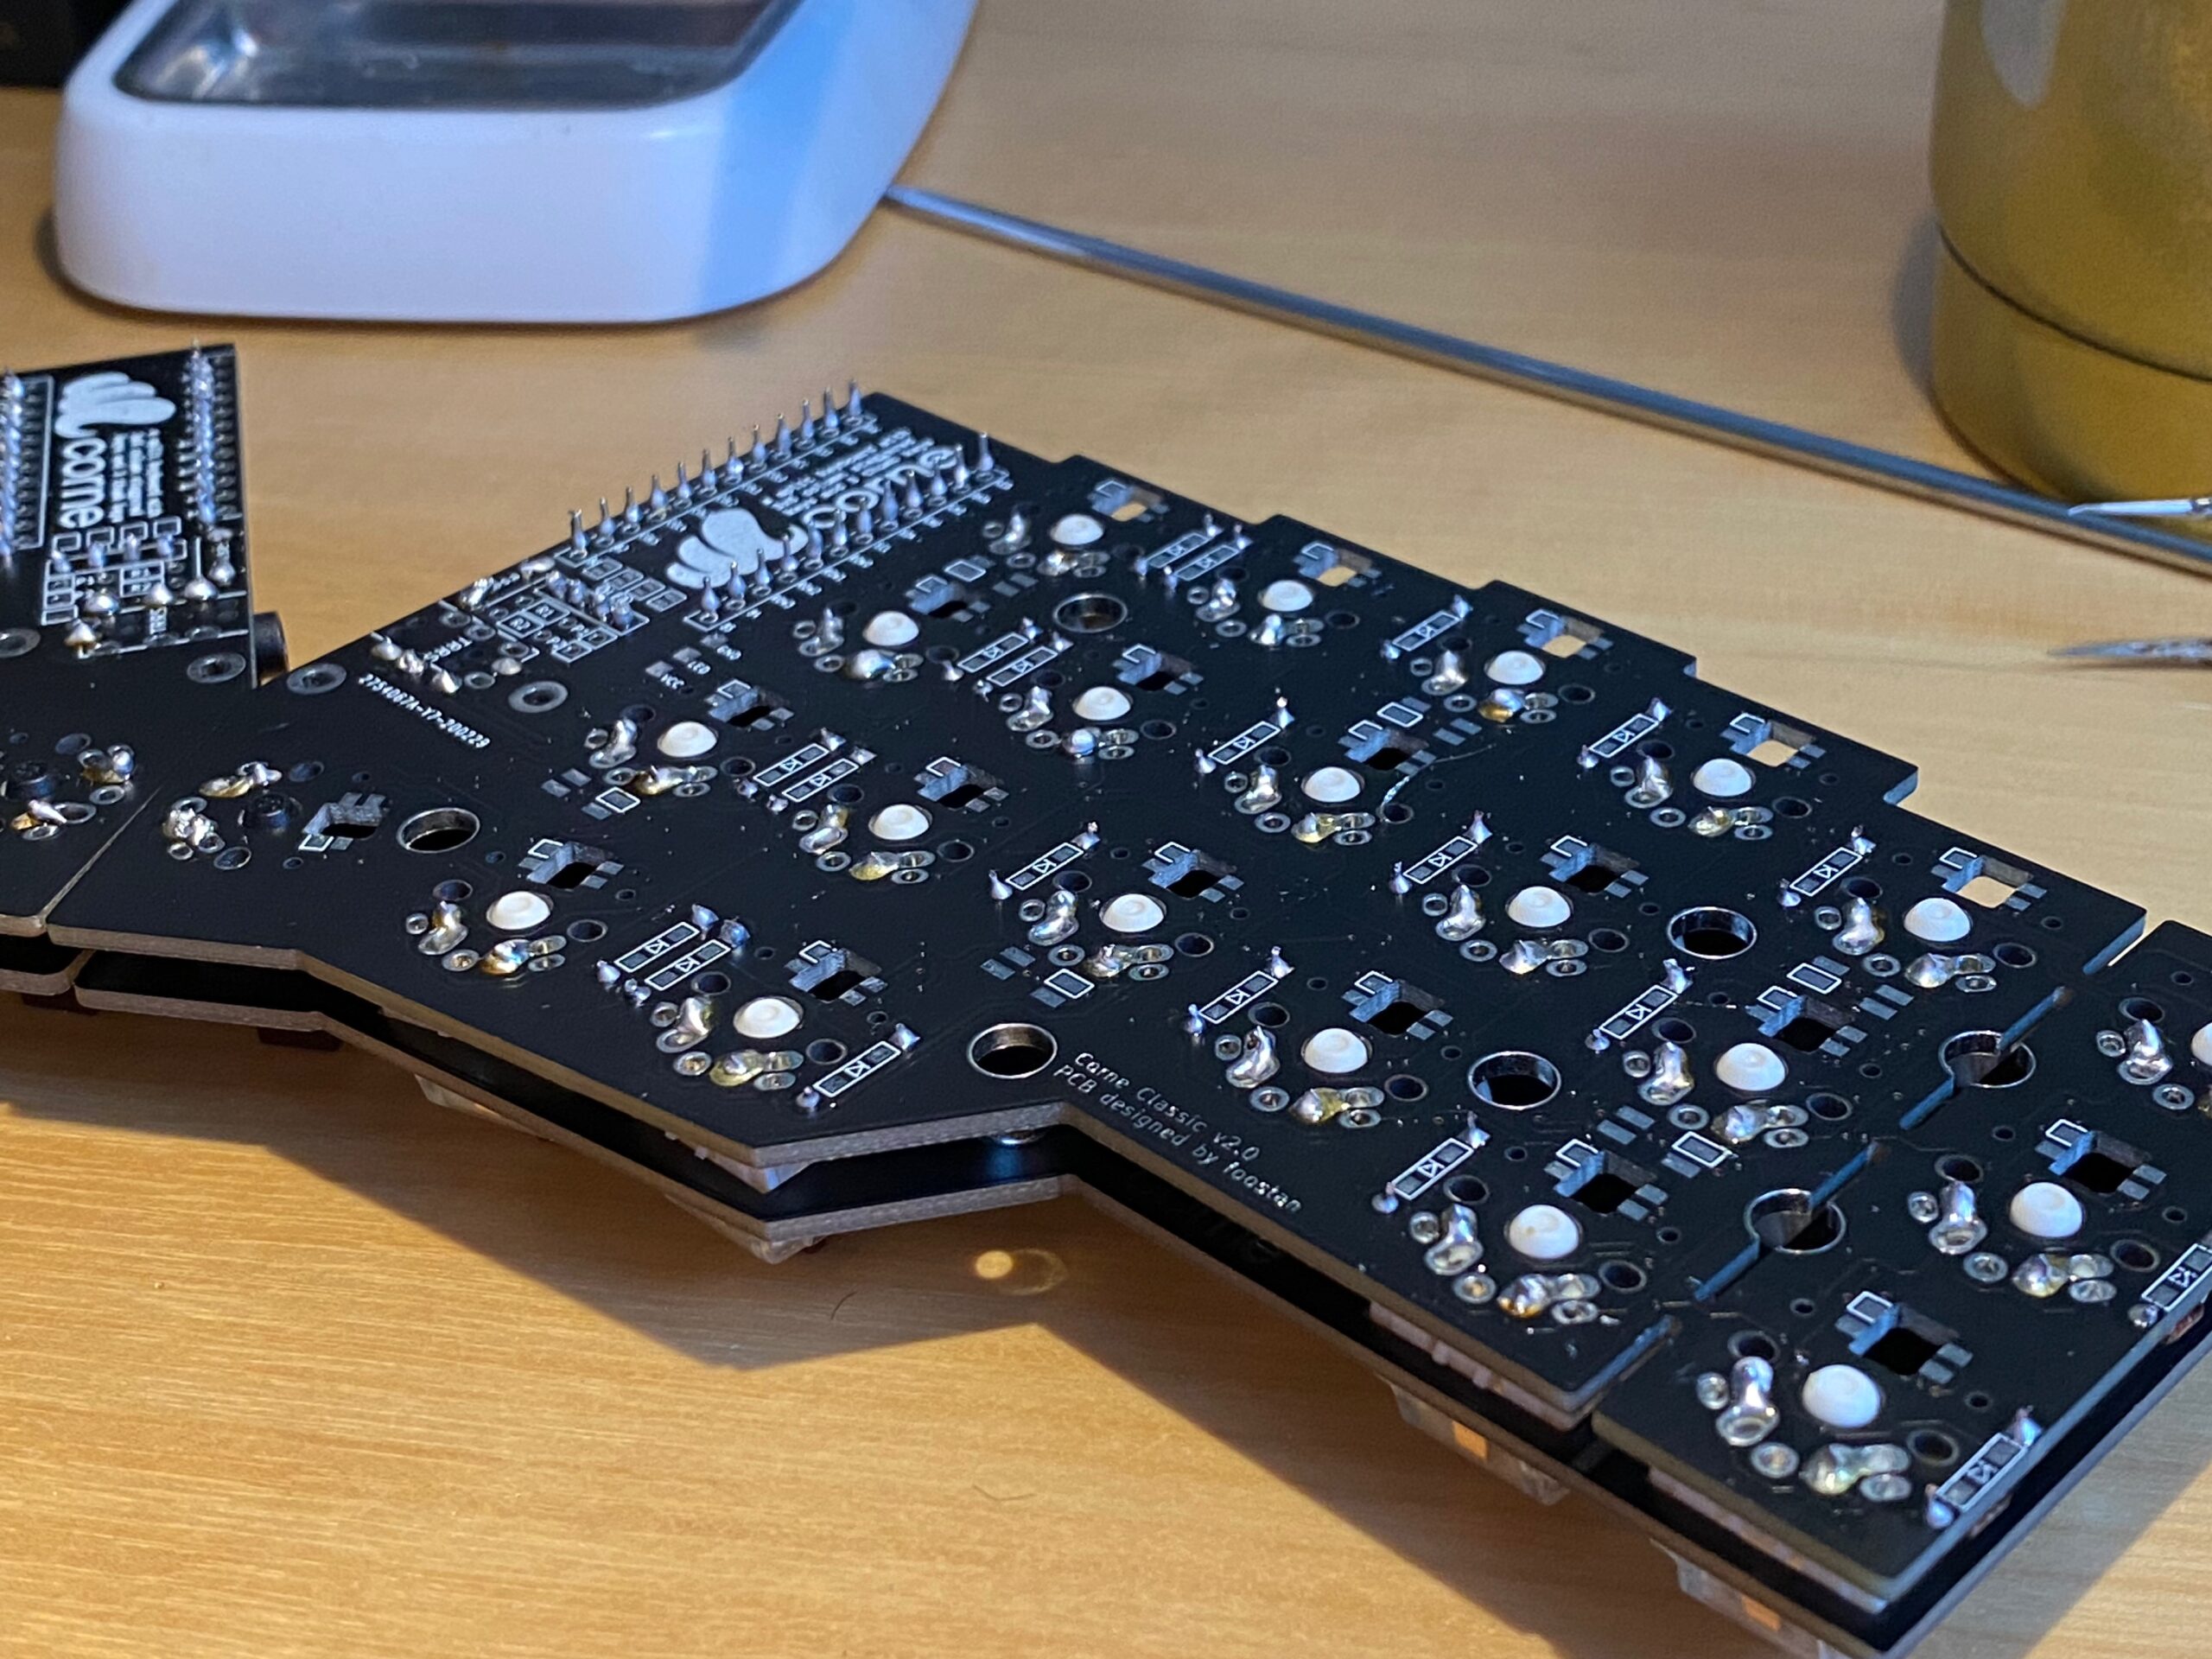
So make the jump over to the blog of my wife and enjoy the hardware portion over there. Come back for the software portion. I will only leave some pictures of the process here:
Software
After putting the hardware together it was time to get the firmware sorted as well. This keyboard design is based upon the open source QMK (Quantum Mechanical Keyboard) firmware.
Conveniently QMK comes with it’s own build tools – so you will be up and running in no time. Since I had purchased Arduino ProMicro controllers I was good with the most basic setup you can imagine. As the base requirements for the toolchain where minimal I went with the machine that I had in front of me – a Raspberry Pi 4 with the standard Raspberry Pi OS.
These where the steps to get going:
- get Python 3 and the qmk tool installed – I’ve chosen not to use the tool setup procedure but instead go with a separate clone of the QMK firmware repository.
python3 -m pip install --user qmk- clone the QMK firmware repository and get the QMK tool running (in the /bin folder of the firmware repository – it’s actually just a python script)
git clone https://github.com/qmk/qmk_firmware.git
cd qmk_firmware
git submodule sync --recursive
git submodule update --init --recursive --progress
make crkbd:default- create your own keymap to work with. You gotta use the crkbd firmware options as a default for this keyboard. The command below will generate a subfolder with the name of your keymap in the keyboards/crkbd/keymaps folder with the default settings of the crkbd keyboard firmware.
qmk new-keymap -kb crkbd- build your first firmware by running the command below (note: btk-corne is the name of my keymap)
qmk compile --clean -kb crkbd/rev1/legacy -km btk-corne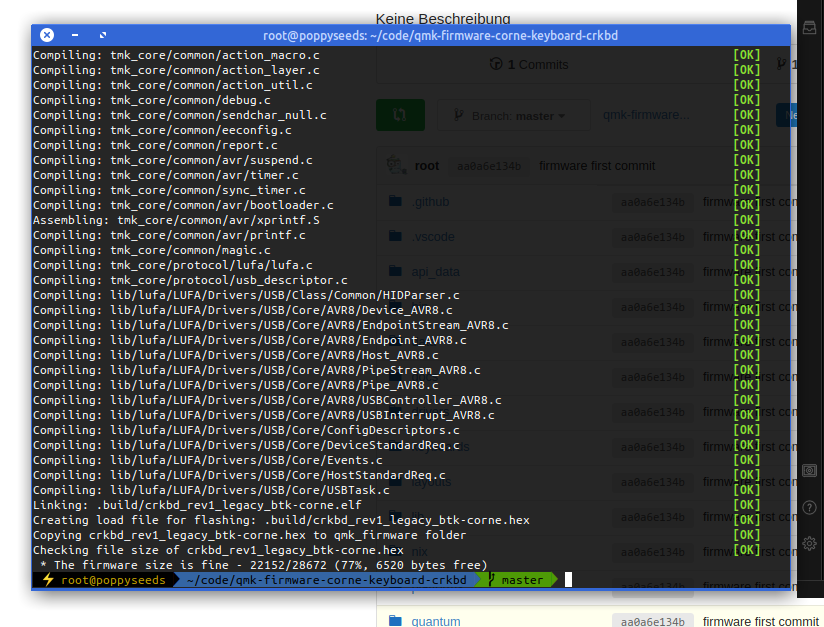
- now you can flash the firmware to both ProMicro controllers. The most straight forward way for me was using avrdude on the commandline. In my case the device is added as /dev/ttyACM0 and the compiled firmware named crkbd_rev1_legacy_btk-corne.hex.
When you got all this information you need to plug in the ProMicro and trigger a reset by bridging Ground and the Reset Pin. If you added, like we did, a button for reset you can use this. After hitting reset the ProMicro bootloader will enter the state where it’s possible to be flashed. Reset it and THEN run the avrdude commandline.
The full commandline is:
avrdude -p atmega32u4 -P /dev/ttyACM0 -c avr109 -e -U flash:w:crkbd_rev1_legacy_btk-corne.hex- (alternatively) you can also use QMK Toolbox to flash the firmware. Also works.

So now you know how to get the firmware compiled and running (if not, look here further). But most probably you are not happy with some aspects of your keymap or firmware.
By now you might ask yourself: Hey, I’ve got two ProMicros on one keyboard. Both are flashed with the same firmware. Into which of the two do I plug in the USB cable that then is plugged into the computer?
The answer is: by default QMK assumes that you are plugging into the left half of the keyboard making the left half the master. If you prefer to use the right half you can change this behaviour in the config.h file in the firmware:
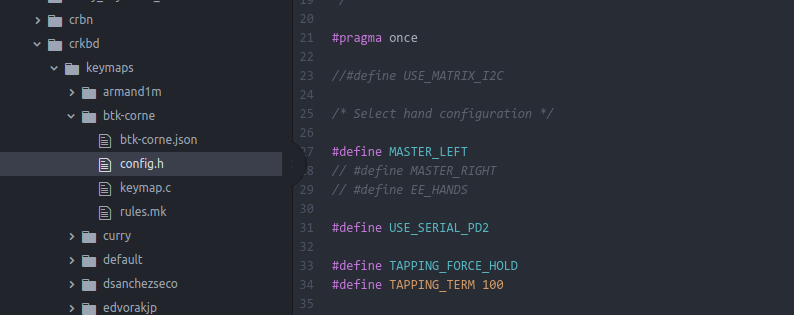
You have to plug in both of them anyway at times when you want to flash a new firmware to them as you adjust and make changes to your keymap.
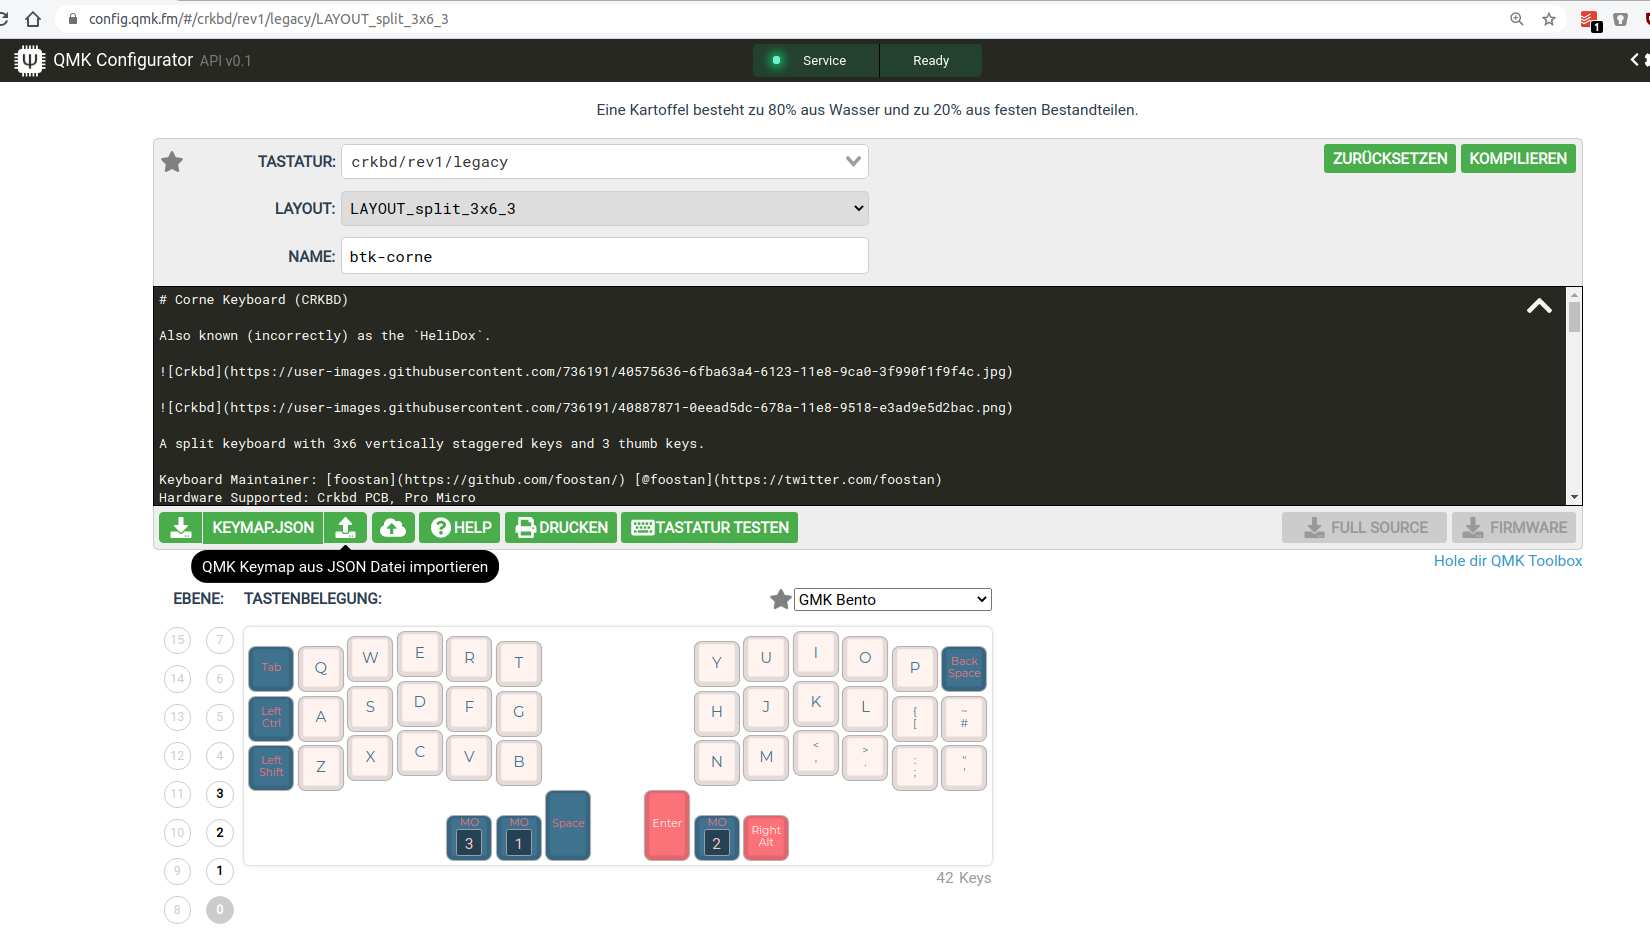
Thankfully QMK comes with loads of options and even a very useful configurator tool. I used this tool to adjust the keymap to my requirements. The process there is straightforward again. Open up the configurator and select the correct keyboard type. In my case that is crkbd/legacy. The basic difference between legacy and common is a different communication protocol between the two halves. This really only is important when features are used that require some sort of sync between the two haves – like some RGB LED effects. Since I did not add any LEDs to the build I go with legacy for now. Maybe I need some features later that require me to go with common.
The configurator allows you to set up the whole keymap and upload/download it as a .json file.
That .json file can easily be converted into the C code that you need to alter in the actual keymap.c file. Assuming that the .json file you got is named btk-corne.json the full commandline is:
qmk json2c btk-corne.json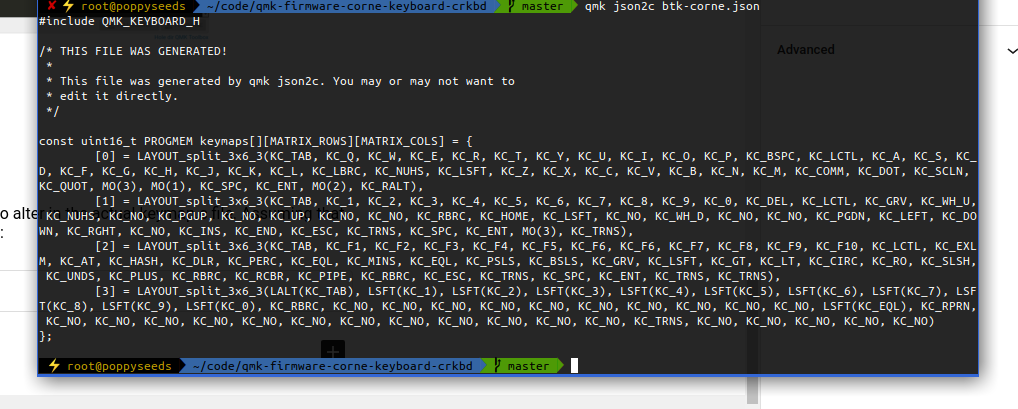
Then simply take this output and replace the stuff in the keymap.c with it:
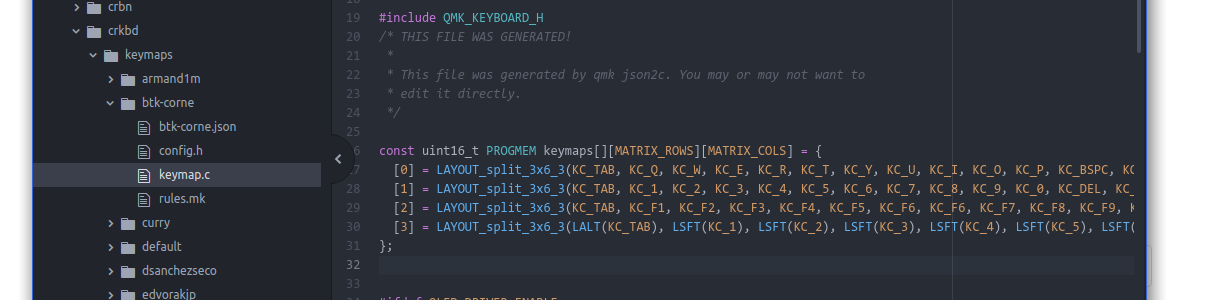
Now you compile and flash again. And if all went right you’ve got the new keymap and firmware on your keyboard and it’ll work just like that :)