building a corne split keyboard

It’s been a while since during a Hack-the-Planet episode I was gifted two PCBs of a corne keyboard by PH_0x17 of Nerdbude and ClickClackHack fame.

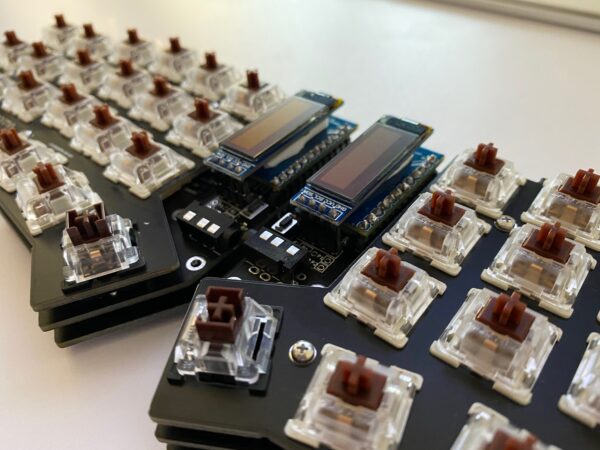
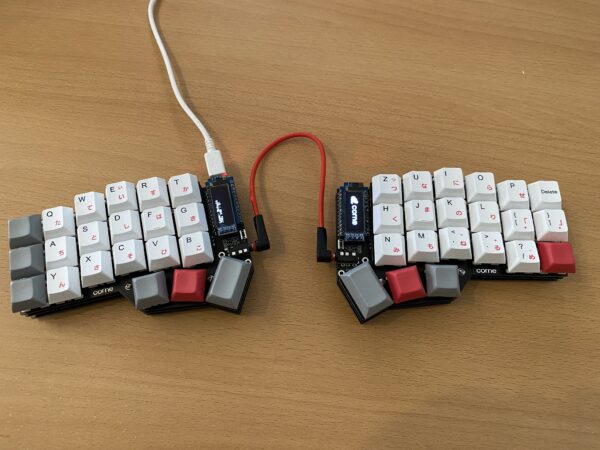
Since a picture says more than a thousand words, I give you the result first:

my crkbd based keyboard

This keyboard design is made from the ground up as open source and naturally is fully available as a GIT repository containing everything you need to start: PCB schematics, drawing, documentation and firmware source code.

It took me a couple of months to get all the required parts ordered and delivered. Many small envelopes with parts that seemlingly are only produced by a handful of manufacturers. But anyways: After everything had arrived and was checked for completeness my wife took the hardware parts into her hands and started soldering and assembling the keyboard.

And so this project naturally is split up between my wife and me in the most natural (to us) way: My wife did all the hardware parts – whilst I did the software and interfacing portion. (Admittedly there only was to be figured out how to get the firmware compiled and altered to my specific needs)

Hardware

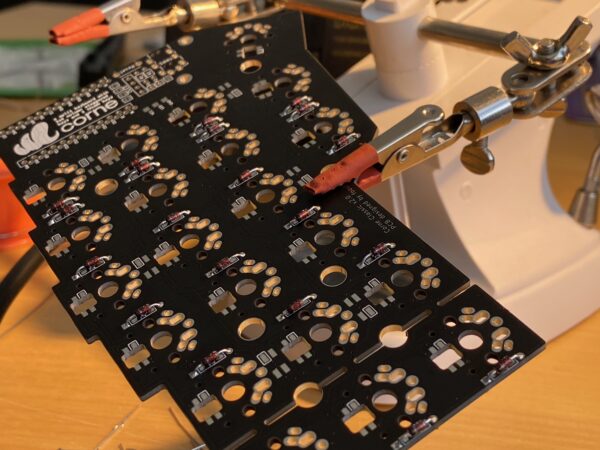
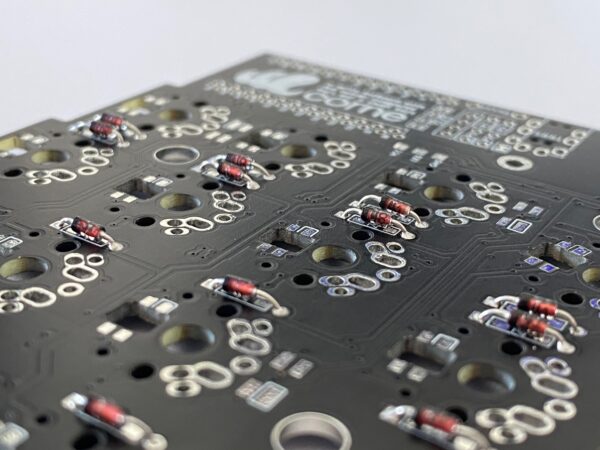
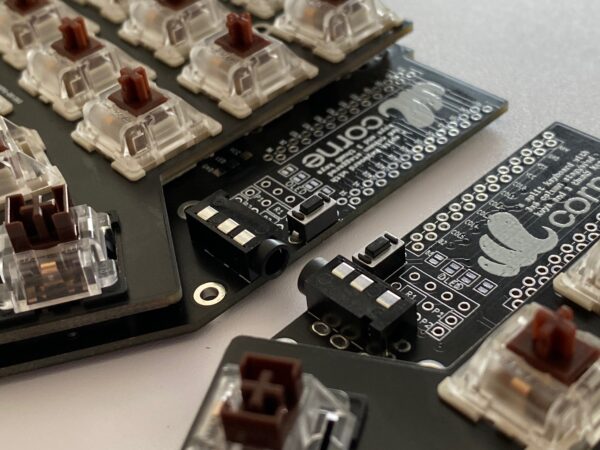
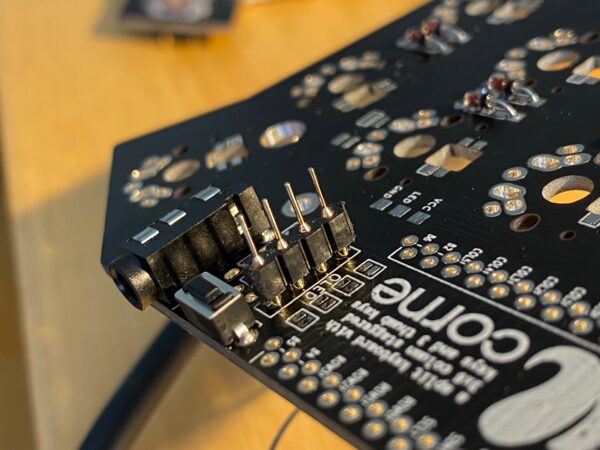
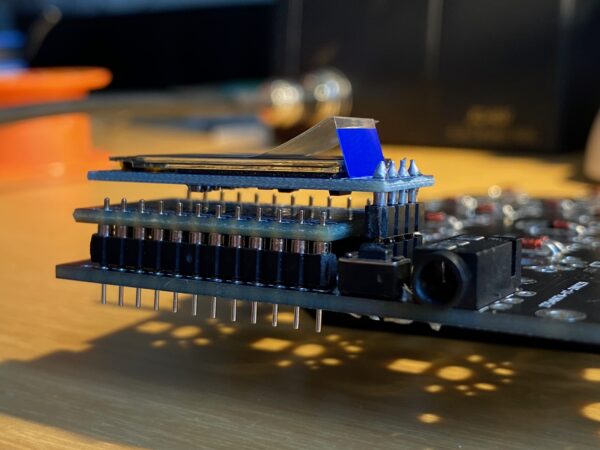
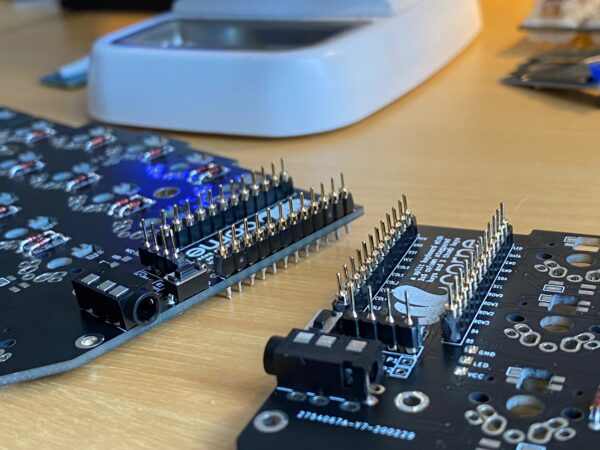
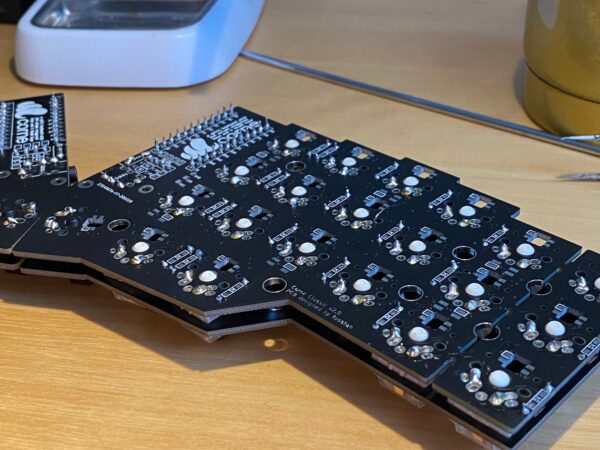
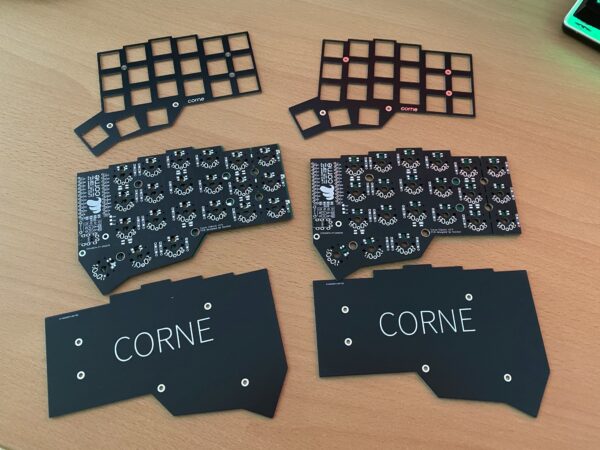
So make the jump over to the blog of my wife and enjoy the hardware portion over there. Come back for the software portion. I will only leave some pictures of the process here:

Software

After putting the hardware together it was time to get the firmware sorted as well. This keyboard design is based upon the open source QMK (Quantum Mechanical Keyboard) firmware.

Conveniently QMK comes with it’s own build tools – so you will be up and running in no time. Since I had purchased Arduino ProMicro controllers I was good with the most basic setup you can imagine. As the base requirements for the toolchain where minimal I went with the machine that I had in front of me – a Raspberry Pi 4 with the standard Raspberry Pi OS.

These where the steps to get going:

  • get Python 3 and the qmk tool installed – I’ve chosen not to use the tool setup procedure but instead go with a separate clone of the QMK firmware repository.
python3 -m pip install --user qmk
  • clone the QMK firmware repository and get the QMK tool running (in the /bin folder of the firmware repository – it’s actually just a python script)
git clone https://github.com/qmk/qmk_firmware.git
cd qmk_firmware
git submodule sync --recursive
git submodule update --init --recursive --progress
make crkbd:default
  • create your own keymap to work with. You gotta use the crkbd firmware options as a default for this keyboard. The command below will generate a subfolder with the name of your keymap in the keyboards/crkbd/keymaps folder with the default settings of the crkbd keyboard firmware.
qmk new-keymap -kb crkbd
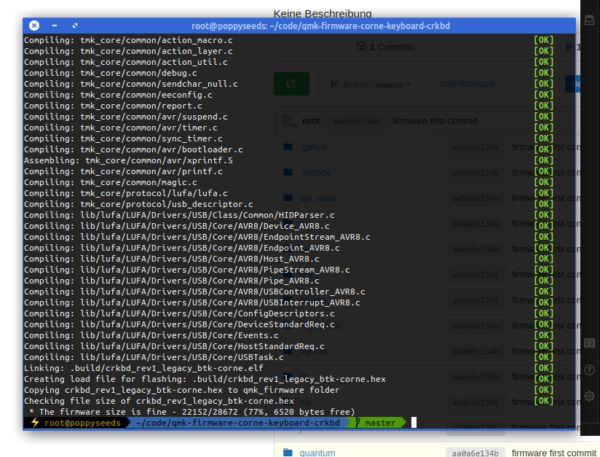
  • build your first firmware by running the command below (note: btk-corne is the name of my keymap)
qmk compile --clean -kb crkbd/rev1/legacy -km btk-corne
success! The first firmware is compiled
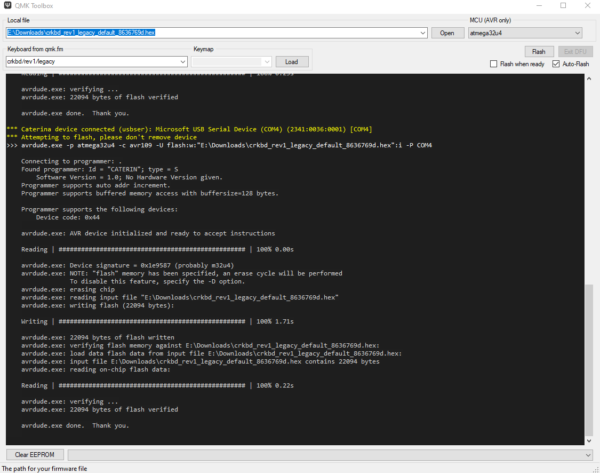
  • now you can flash the firmware to both ProMicro controllers. The most straight forward way for me was using avrdude on the commandline. In my case the device is added as /dev/ttyACM0 and the compiled firmware named crkbd_rev1_legacy_btk-corne.hex.

    When you got all this information you need to plug in the ProMicro and trigger a reset by bridging Ground and the Reset Pin. If you added, like we did, a button for reset you can use this. After hitting reset the ProMicro bootloader will enter the state where it’s possible to be flashed. Reset it and THEN run the avrdude commandline.

    The full commandline is:
avrdude -p atmega32u4 -P /dev/ttyACM0 -c avr109  -e -U flash:w:crkbd_rev1_legacy_btk-corne.hex
  • (alternatively) you can also use QMK Toolbox to flash the firmware. Also works.

So now you know how to get the firmware compiled and running (if not, look here further). But most probably you are not happy with some aspects of your keymap or firmware.

By now you might ask yourself: Hey, I’ve got two ProMicros on one keyboard. Both are flashed with the same firmware. Into which of the two do I plug in the USB cable that then is plugged into the computer?

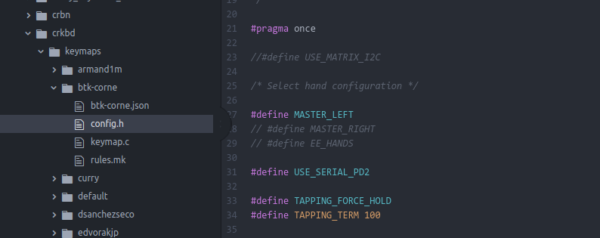
The answer is: by default QMK assumes that you are plugging into the left half of the keyboard making the left half the master. If you prefer to use the right half you can change this behaviour in the config.h file in the firmware:

You have to plug in both of them anyway at times when you want to flash a new firmware to them as you adjust and make changes to your keymap.

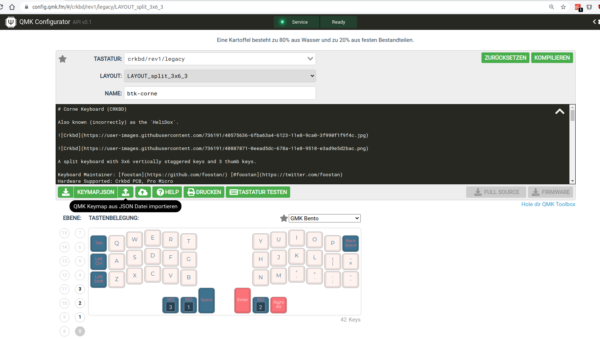
Thankfully QMK comes with loads of options and even a very useful configurator tool. I used this tool to adjust the keymap to my requirements. The process there is straightforward again. Open up the configurator and select the correct keyboard type. In my case that is crkbd/legacy. The basic difference between legacy and common is a different communication protocol between the two halves. This really only is important when features are used that require some sort of sync between the two haves – like some RGB LED effects. Since I did not add any LEDs to the build I go with legacy for now. Maybe I need some features later that require me to go with common.

The configurator allows you to set up the whole keymap and upload/download it as a .json file.

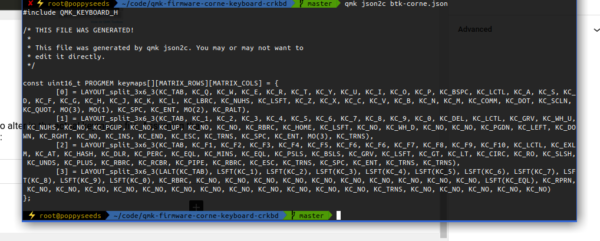
That .json file can easily be converted into the C code that you need to alter in the actual keymap.c file. Assuming that the .json file you got is named btk-corne.json the full commandline is:

qmk json2c btk-corne.json

Then simply take this output and replace the stuff in the keymap.c with it:

Now you compile and flash again. And if all went right you’ve got the new keymap and firmware on your keyboard and it’ll work just like that :)
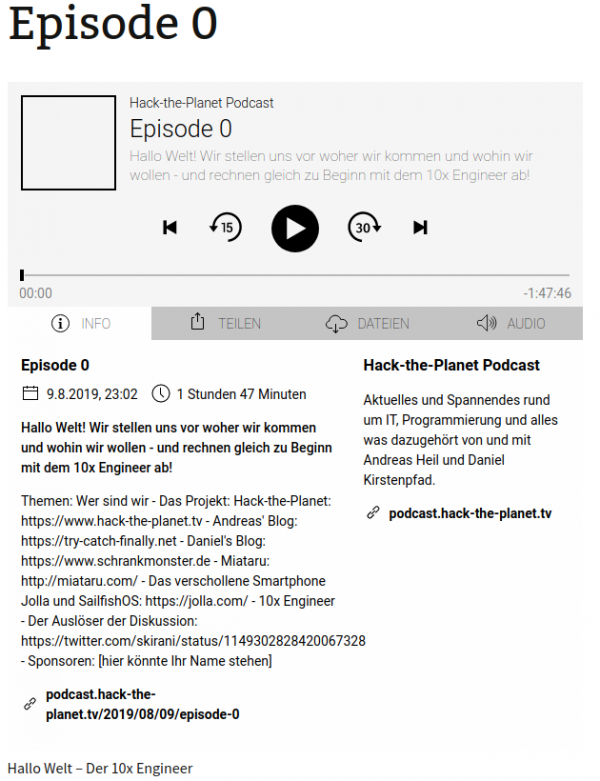
Hack-The-Planet Podcast: Episode 0

A friend of mine started something and I have the honor to be part of it. The world now has one additional podcast to listen to. It’s in german though. For now at least.

We are still working on the website, the feed and the audio mixing and recording quality. So bear with us.

And now: Episode 0 is upon us!

Time estimation in software development

I’ve found myself in these spots several times in my life. Either I had to deliver on an estimate or I had to acknowledge an estimation and deal with the outcomes.

If you are involved in anything digital / software this is a recommended piece to read:

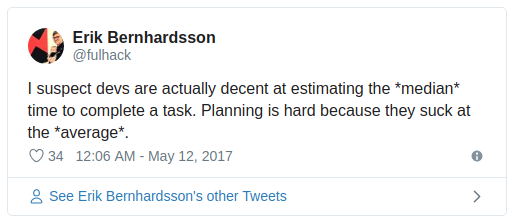
Anyone who built software for a while knows that estimating how long something is going to take is hard. It’s hard to come up with an unbiased estimate of how long something will take, when fundamentally the work in itself is about solving something. One pet theory I’ve had for a really long time, is that some of this is really just a statistical artifact.

Why software projects take longer than you think

QR codes – how do they work?

I came across a very nice explanatory piece for QR codes. If you always wanted to know the basic principles this is a good chance to get a grasp.

QR code (abbreviated from Quick Response Code) is the trademark for a type of matrix barcode (or two-dimensional barcode) first designed in 1994 for the automotive industry in Japan. A barcode is a machine-readable optical label that contains information about the item to which it is attached. In practice, QR codes often contain data for a locator, identifier, or tracker that points to a website or application. A QR code uses four standardized encoding modes (numeric, alphanumeric, byte/binary, and kanji) to store data efficiently; extensions may also be used.[1]
Wikipedia

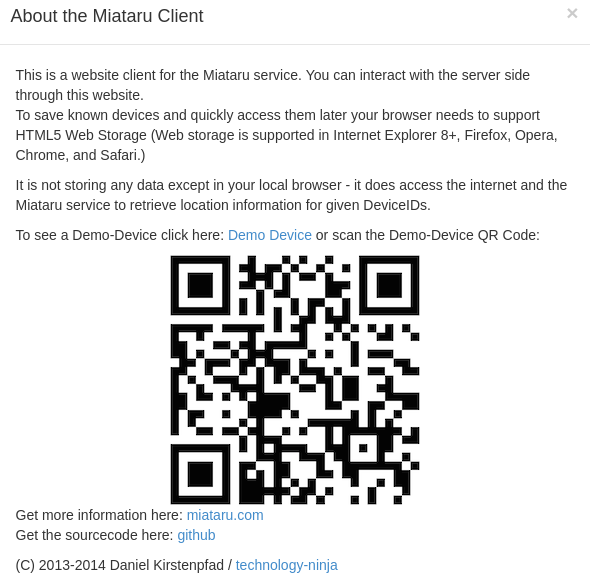
I am using QR codes in several of my projects – one example: Miataru uses QR codes to encode the device ID and help with the device handshake. You scan the QR code of your friend with your Miataru client app and immediately will be able to see his location in Miataru. Without the need to enter long rows of numbers.

convert Markdown scribbles to vector drawings

Every task you take
Every meeting you make
Every keyboard you break
Every note you take
I’ll be storing it for you

my text editor

Well that was fun! And indeed: a big portion of my professional daily business is taking place in a text editor taking notes and scribbling ideas and thoughts.

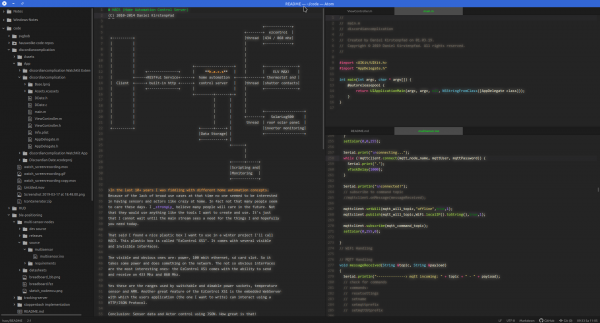
I’ve tried many things but the only way that resonated with me was taking notes in Markdown in a text editor that supports markdown. Currently that editor is Atom.io. Mainly because it is not in the way and quite portable. Runs on Linux, Windows, MacOS.

extra cheesy 80s neon theme

This way – I just took a count – I noted down 364.416 words in the last 1.5 years on my current job (equals to about 46 hours of average speed reading…).

Along side those simple text notes and bullet lists I am doing very simple tables as well as ASCII scribbles in Markdown as well. With the right tools it’s extremely easy and much faster than booting up the Powerpoint or worse.

When you have all in Markdown you then can freely stylesheet away and convert to handy PDF files as well. All even with embedded images if you so desire.

But even if you sit on that treasure trove of Markdown there comes the time when you wish you could convert your scribbles to graphics. Even if it is for the sole reason to not have to draw it again for that fancy Powerpoint slide deck.

You’ve got multiple options to accomplish this:

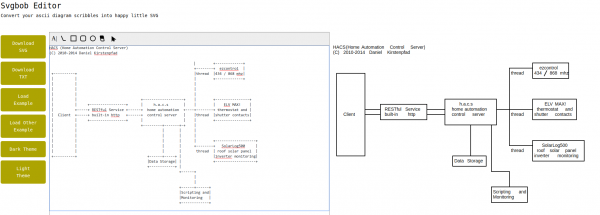
svgbob is at first a command line tool that got a recent level-up with a proper web-frontend:

When given Markdown it creates graphics. In the picture above the input is on the left and the svgbob output on the right (as SVG).

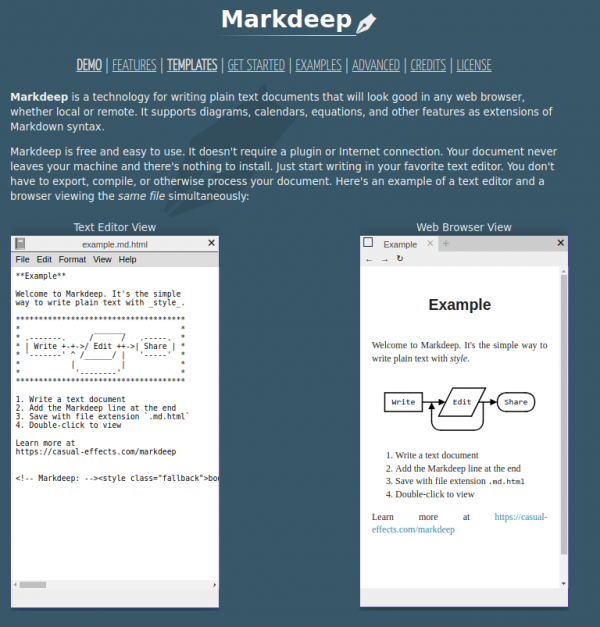
Markdeep is the alternative. Which of both work for your case depends on that specific case. Knowing and using both properly is the best way.

Constructive Feedback in Difficult Situations

This post is a good part just a “repost” of something I’ve read on Volkers blog: “How to Deliver Constructive Feedback in Difficult Situations” and I want to have noted down here as well.

We are dangerous when we are not conscious of our responsibility for how we behave, think, and feel.

Marshall B. Rosenberg, Nonviolent Communication

There’s a good article about the book. Volkers article sparked my interest and I am reading.

RSS is here. Use it!

RSS aka RDF Site Summary aka Rich Site Summary aka Really Simple Syndication is a standardized web format that works for you.

At least it would work for you if you would use a a tool which would allow you to “subscribe” to RSS feeds from all sorts of websites. These tools are called feed-reader.

The website you are reading this on offers such a link. By subscribing to its feed you will be able to see all content but without having to actually go to each of your subscriptions one by one. That is done by the feed reader. This process of aggregation is it why feed readers are also called aggregator.

Invented exactly 20 years ago this month on the back-end of a feverish dot-com boom, RSS (Real Simple Syndication) has persisted as a technology despite Google’s infamous abandonment with the death of Google Reader and Silicon Valley social media companies trying and succeeding to supplant it. In the six years since Google shut down Reader, there have been a million words written about the technology’s rise and apparent fall.
Here’s what’s important: RSS is very much still here. Better yet, RSS can be a healthy alternative…

RSS is Better Than Twitter

I am using Liferea as my feed reader on desktop and Reeder on all that is iOS/macOS.

I’ve found that by using RSS feeds and not following a pre-filtered timeline I would not “follow” 1000 sources of information but choose more carefully whom to follow.

Some do not offer any feeds – so my decision in these cases is wether or not I would invest the time to create a custom parser for their content to pull in.

After RSS being just another XML format you quickly realize that HTML is just another XML format as well. There are simple ways to convert between both on the fly. Like fetchrss.com or your command-line.

Of course RSS is not the only feed format: ATOM would be another one worth mentioning.

archive your slice of the web

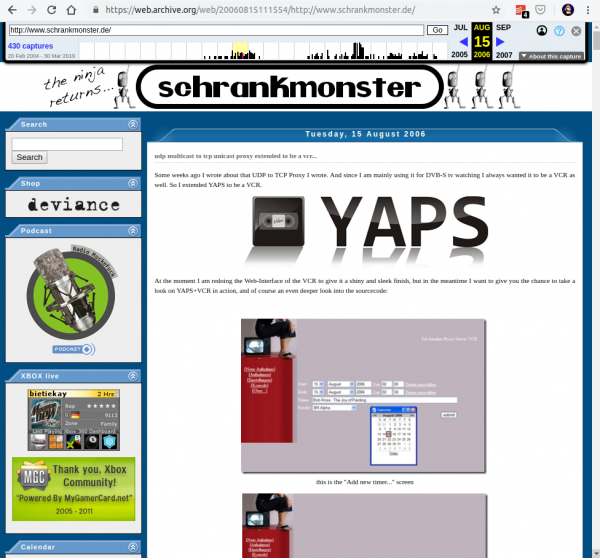
Many use and love archive.org. A service that roams the public internet and archives whatever it finds. It even creates timelines of websites so you can dive right into history.

Have a piece of history right here:

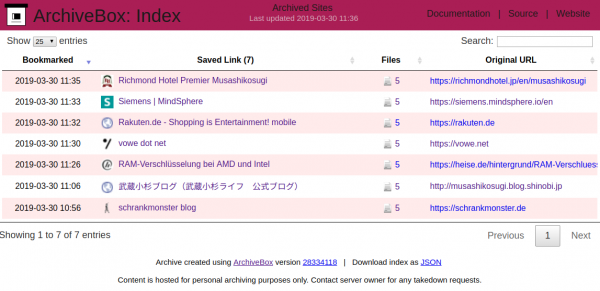
You can have something similar hosted in your own environment. There are numerous open source projects dedicated to this archival purpose. One of them is ArchiveBox.

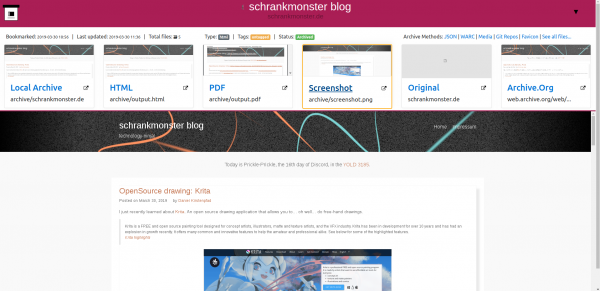
ArchiveBox takes a list of website URLs you want to archive, and creates a local, static, browsable HTML clone of the content from those websites (it saves HTML, JS, media files, PDFs, images and more).

I’ve done my set-up of ArchiveBox with the provided Dockerfile. Every once in a while it will start the docker container and check my Pocket feed for any new bookmarks. If found it will then archive those bookmarks.

As the HTML as well as PDF and Screenshot is saved this is extremely useful for later look-ups and even full-text search indexing.

ポカヨケ

Poka-yoke (ポカヨケ, [poka yoke]) is a Japanese term that means “mistake-proofing” or “inadvertent error prevention“. A poka-yoke is any mechanism in any process that helps an equipment operator avoid (yokeru) mistakes (poka). Its purpose is to eliminate product defects by preventing, correcting, or drawing attention to human errors as they occur.[1] The concept was formalised, and the term adopted, by Shigeo Shingo as part of the Toyota Production System.[2][3] It was originally described as baka-yoke, but as this means “fool-proofing” (or “idiot-proofing“) the name was changed to the milder poka-yoke.

https://en.m.wikipedia.org/wiki/Poka-yoke

Miataru – open source location tracking

Not a lot of things are more private than your location.

Yet sometimes you wish to share your location with friends and family. May it be during an event or regularly. Maybe you want to

To allow the tech-minded audience to be in full control of what data is aggregated and stored regarding these needs I’ve created Miataru back in 2013 as an open-source project from end-2-end.

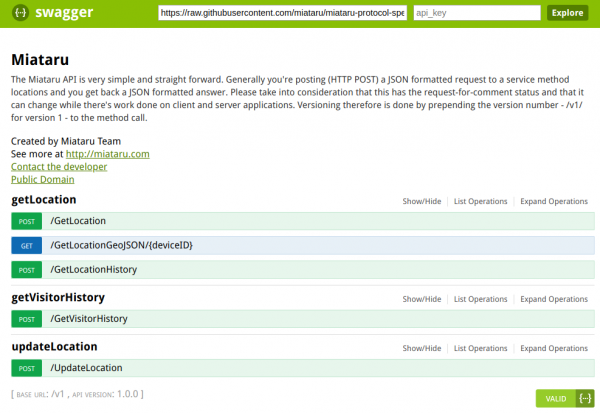
With the protocol being completely open and ready to be integrated into any home automation interested users can either utilize the publicly available (stores-nothing-on-disk) server or host your own.

Everything from the server to the clients is available in source and there’s a ready-to-go version of the client app on the AppStore.

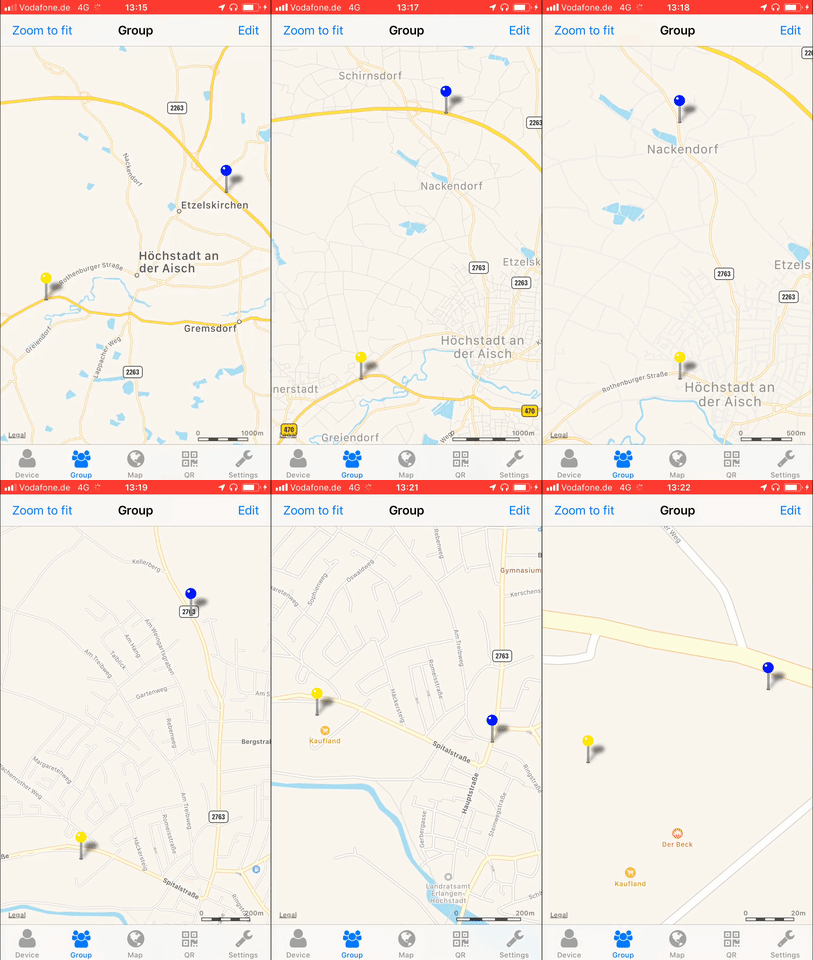
this is a location sharing session when the blue pin met the yellow pin

blocking ads and promotions on twitter

When a group of people with the same problem meets, they work together and sometimes do an experiment.

Nobody likes ads or “promotional content”.

At some point Twitter chose to push ads in the official Twitter client into every timeline and decided to make them look like normal timeline content.

It did not take long for a group of people that do not like that to meet and join forces: Since about a week now a very small group of people has taken their Twitter block lists and merged them using the Block Together service.

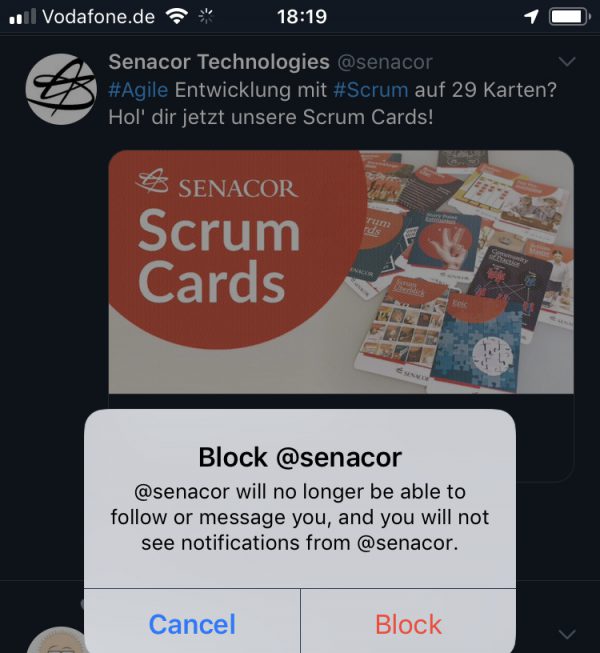
This experiment great since it’s completely effortless. You link your block lists once and from thereon you keep using Twitter like you always did. Whenever you see a paid promotion you “block it”. Everybody from thereon will not see promotions and timeline entries from this specific Twitter user (unless you would actively follow them).

17326 accounts blocked! Wow! I started with about 3500 before merging with others.

And the effect after about a week is just great! I cannot see a downside so far but the amount of promotion content on my timeline has shrunk to a degree where I do not see any at all.

This is a great way to get rid of content you’ve never wanted and focus on the information you want.

the interesting bit about googles game streaming

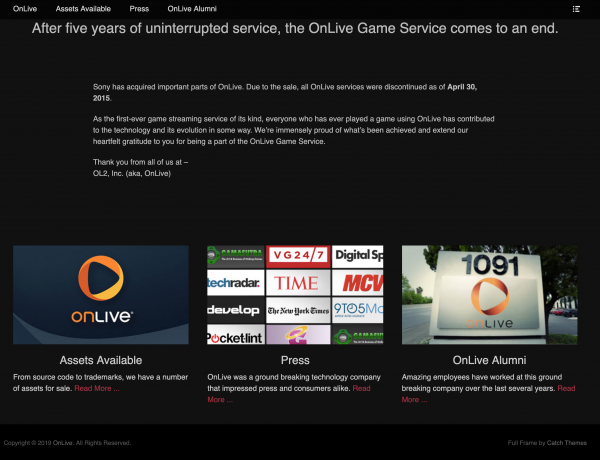
In 2012 I’ve experienced streamed game play for the first time. I was a beta-user of the OnLive service which created a bit of fuzz back then.

Last week Google had announced to step into the game streaming business as well. They’ve announce Google Stadia as the Google powered game streaming platform. It would come with it’s own controller.

3 color variants

And this controller is the most interesting bit. We have seen video live streaming. We have seen and played streamed games. But every time we needed some piece of software or hardware that brought screen, controller and player together.

The Google Stadia controllers now do not connect to the screen in front of you. The screen, by all it knows, just shows a low-latency video/audio stream.

The controller connects to your wifi and directly to the game session. Everything you input with the controller will be directly sent to the Google Stadia session in a Google datacenter. No dedicated console hardware in between. And this will make a huge difference. Because all of a sudden the screen only is a screen. And the controller will connect to the “cloud-console” far-far away. As if it was sitting right below the screen. This will make a huge difference!

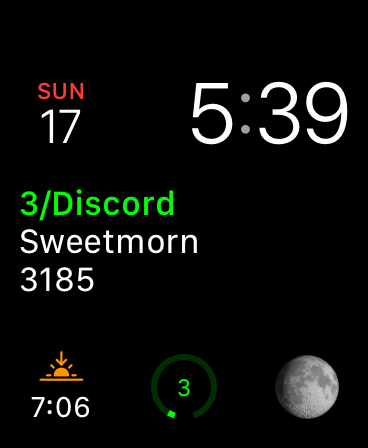
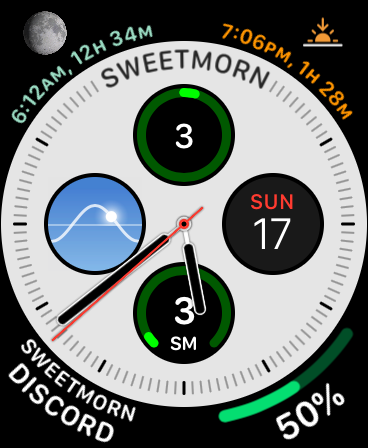
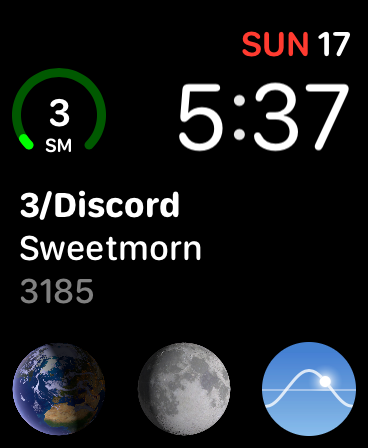
the discordian calendar on your wrist

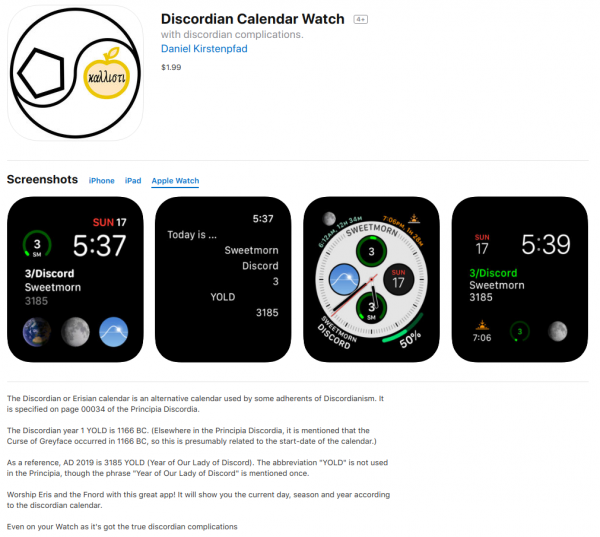
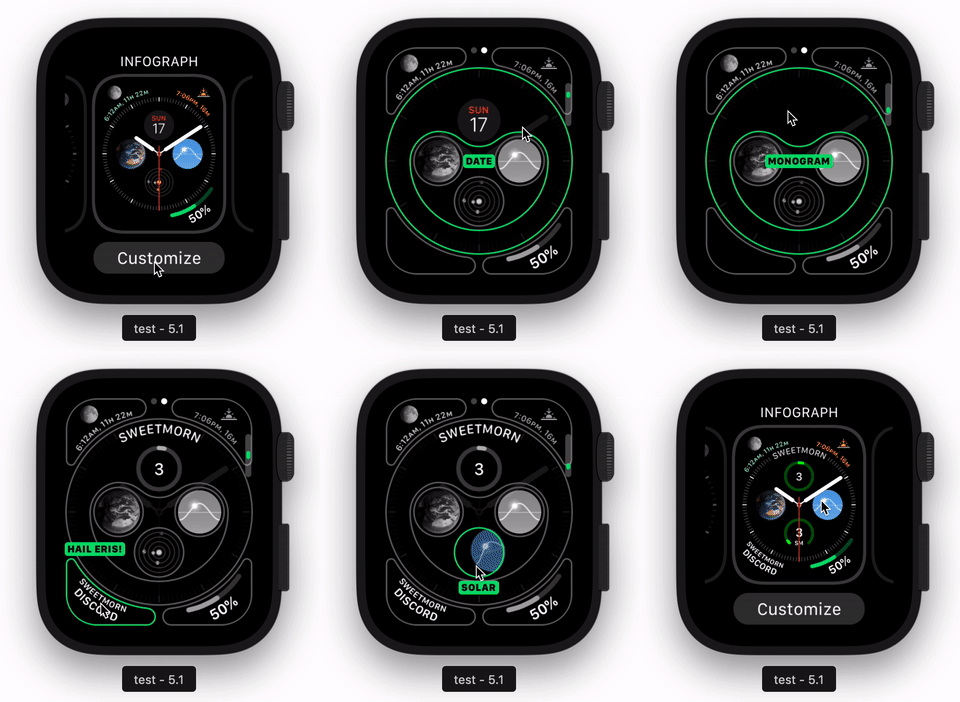
I’ve finished my little coding exercise today. With a good sunday afternoon used to understand and develop an iOS and Watch application from scratch I just handed it in for Apple AppStore approval.

The main purpose, aside from the obvious “learning how it’s done”, is that I actually needed a couple of complications on my watch that would show me the current day/date in the discordian calendar.

I have to say that the overall process of developing iOS and Watch applications is very streamlined. Much much easier than Android development.

The WatchKit development was probably the lesser great experience in this project. There simply is not a lot of code / documentation and examples for WatchKit yet. And most of them are in Swift – which I have not adapted yet. I keep to Objective-C for now still. With Swift at version 5 and lots of upgrades I would have done in the last years just to keep up with the language development… I guess with my choice to stick to Objective-C I’ve avoided a lot of work.

Anyhow! As soon as the app is through AppStore approval I will write again. Maybe somebody actually wants to use it also? :-)

With writing the app I just came up with the next idea for a complication I just really really would need.

In a nutshell: A complication that I can configure to track a certain calendar. And it will show the time in days/hours/minutes until the next appointment in that specific calendar. I will have it set up to show “how many hours till wakeing up”.

IoP – the internet of pets – predictive maintenance of a cat

In the interesting field of IoT a lot of buzz is made around the predictive maintenance use cases. What is predictive maintenance?

The main promise of predictive maintenance is to allow convenient scheduling of corrective maintenance, and to prevent unexpected equipment failures.

The key is “the right information in the right time”. By knowing which equipment needs maintenance, maintenance work can be better planned (spare parts, people, etc.) and what would have been “unplanned stops” are transformed to shorter and fewer “planned stops”, thus increasing plant availability. Other potential advantages include increased equipment lifetime, increased plant safety, fewer accidents with negative impact on environment, and optimized spare parts handling.

Wikipedia

So in simpler terms: If you can predict that something will break you can repair it before it breaks. This improvse reliability and save costs, even though you repaired something that did not yet need repairs. At least you would be able to reduce inconveniences by repairing/maintaining when it still is easy to be done rather than under stress.

You would probably agree with me that these are a very industry-specific use cases. It’s easy to understand when it is tied to an actual case that happened.

Let me tell you a case that happened here last week. It happened to Leela – a 10 year old white British short hair lady cat with gorgeous blue eyes:

Ever since her sister had developed a severe kidney issue we started to unobtrusively monitor their behavior and vital signs. Simple things like weight, food intake, water intake, movement, regularities (how often x/y/z).

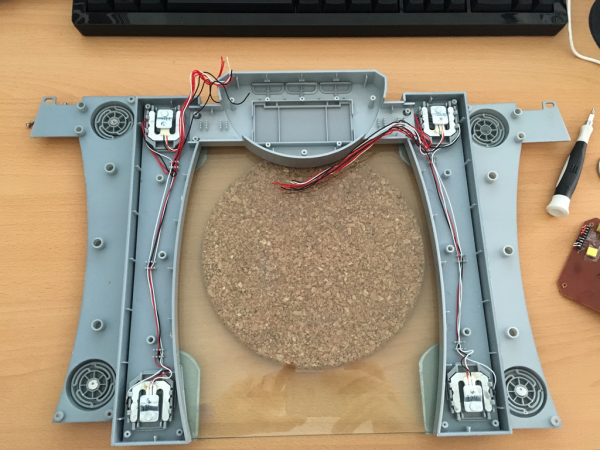
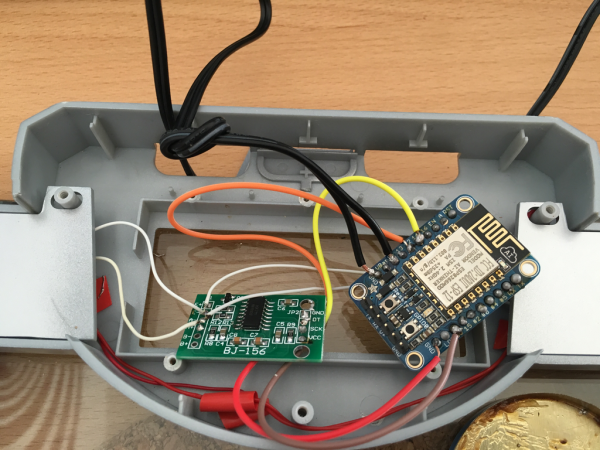
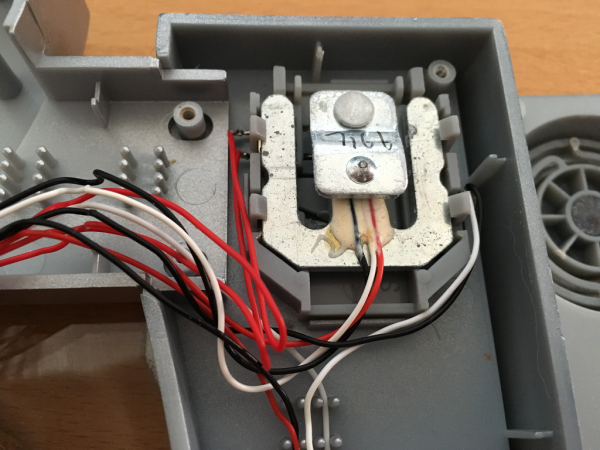
I’ve built hardware to allow us to do that in the most simple and automated way. In the case of getting to know their weight we would simply put the kitty litter box on a heavily modified persons scale. I wrote about that already back int 2016.

When Leela now visits her litter box she is automatically weighed and it’s taken note that she actually used it.

A lot of data is aggregated on this and a lot of things are being done to that data to generate indications of issues and alerts.

This alerted us last weekend that there could be an issue with Leelas health as she was suddenly visiting the litter box a lot more often across the day.

We did not notice anything with Leela. She behaved as she would everyday, but the monitoring did detect something was not right.

What had happened?

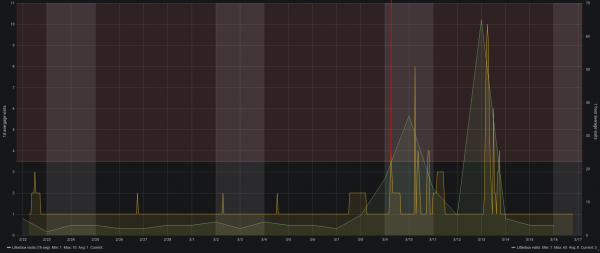
The chart shows the hourly average and daily total visits to the litterbox.

On the morning of March 9th Leela already had been to the litter box above average. So much above average that it tripped the alerting system. You can see the faded read area in the top of the graph above showing the alert threshold. The red vertical line was drawn in by me because this was when we got alerted.

Now what? She behaved totally normal just that she went a lot more to the litter box. We where concerned as it matched her sisters behavior so we went through all the checklists with her on what the issue could be.

We monitored her closely and increased the water supplied as well as changed her food so she could fight a potential bladder infection (or worse).

By Monday she did still not behave different to a degree that anyone would have been suspicious. Nevertheless my wife took her to the vet. And of course a bladder infection was diagnosed after all tests run.

She got antibiotics and around Wednesday (13th March) she actually started to behave much like a sick cat would. By then she already was on day 3 of antibiotics and after just one day of presumable pain she was back to fully normal.

Interestingly all of this can be followed up with the monitoring. Even that she must have felt worse on the 13th.

With everything back to normal now it seems that this monitoring has really lead us to a case of “predictive cat maintenance”. We hopefully could prevent a lot of pain with acting quick. Which only was possible through the monitoring in place.

Monitoring pets is seemingly becoming a thing – which lead to my rather funky post title declaration of the “Internet of Pets”. I know about a certain Volker Weber who even wrote in the current c’t magazine about him monitoring his dogs location.

Health is a huge topic for the future of devices and gadgets. Everyone will casually start to have more and more devices in their daily lifes. Unfortunately most of those won’t be under your own control if you do not insist on being in control.

You do not have to build stuff yourself like I did. You only need to make the right purchase decisions according to things important to you. And one of these things on that checklist should be: “am I in full control of the data flow and data storage”.

If you are not. Do not buy!

By coincidence the idea of having the owner of the data in full control of the data itself is central to my current job at MindSphere. With all the buzz and whistles around the Industry IoT platform it all breaks down to keep the actual owner of the data in control and in charge. A story for another post!

how do you organize your tasks?

For about 2 years now I am using Todoist as my main task management / todo-list service.

This lead to a lot of interesting statistics and usage patterns as this service seems to integrate oh-so-nicely into a lot of daily tasks.

What kind of integration is it? Glad you asked!

At first we were using all sorts of different ways to manage task lists across the family with the main lists around everything evolved being the personal tasks and todos of each family member as well as the obvious groceries shopping list.

We’ve been happy customers of Wunderlist before but then Microsoft bought it and announced they will shut it down soon and replace it with “Todo” out of Office 365. Not being an Office 365 customer did lead to a dead-end on this path.

And then Amazon Alexa showed up and we wanted to naturally use those assistants around the house to add things to shopping and todo lists right away. Unfortunately neither Wunderlist nor the intermediate solution Toodledo were integrated with Alexa.

Then there suddenly was a window of opportunity We wanted Alexa integration and at least all the features we knew from Wunderlist and Toodledo and Todoist delivered right out of the box.

It takes todos and shopping items from Alexa, through the website, through Apps, Siri can use it and in general it’s well integrated with lots of services around. You can even send it eMails! Also we’ve never experienced syncing issues whatsoever.

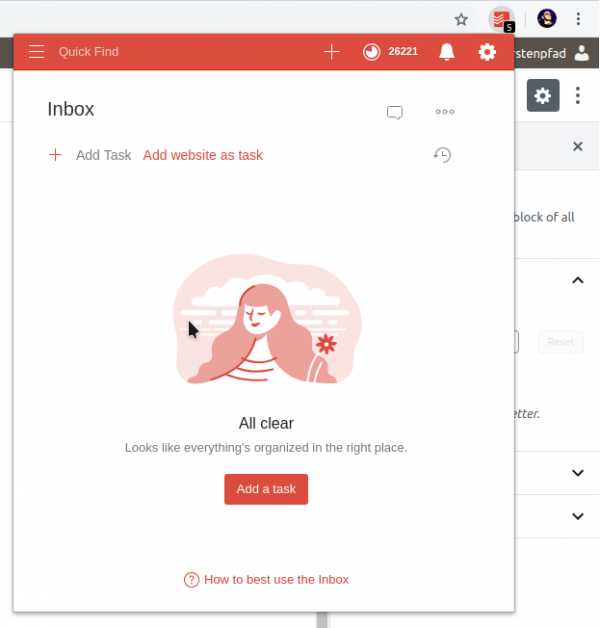
And it’s the little things that really make a difference. Like that Chrome browser integration above.

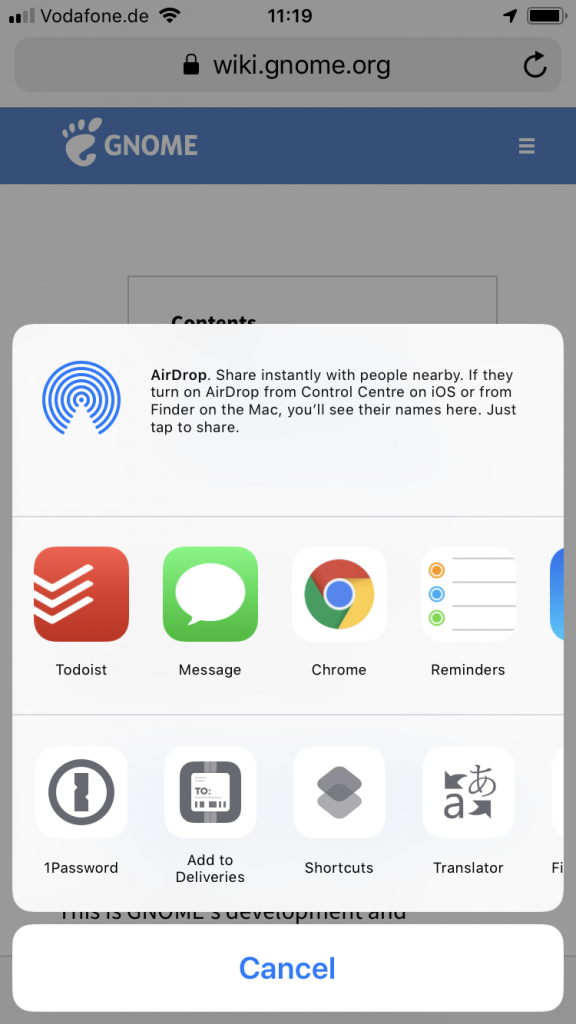
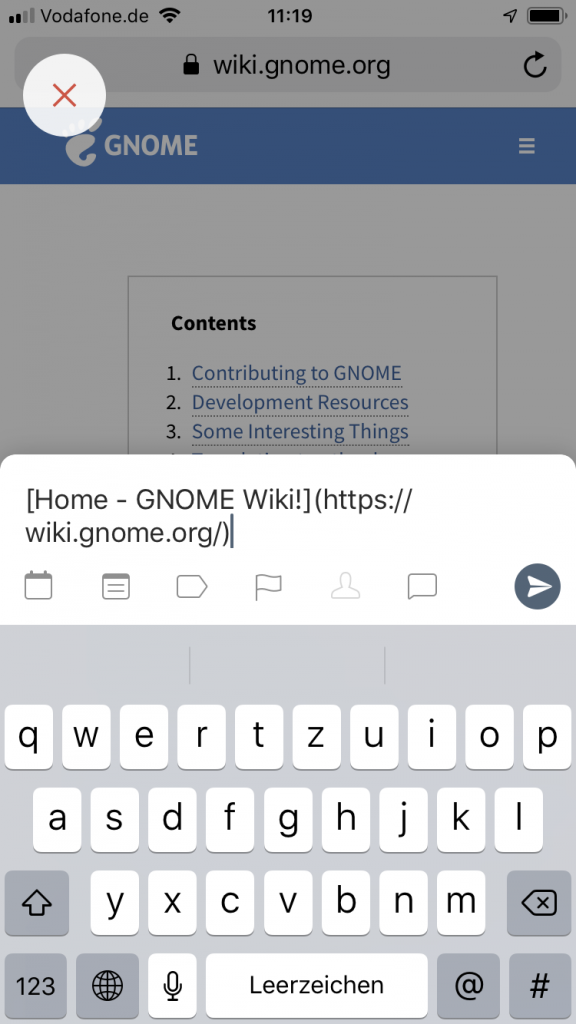
You see that “Add website as task”? Yes it does exactly what you would expect. Within Chrome and two clicks you’ve added the current website URL and title as a task to any of your lists in Todoist. I’ve never been a fan of favourites / bookmarks in browsers. Because I usually do not store any history or bookmarks for longer. But I always need to add that website to a list to work through later the day. I used to send myself eMails with those links but with this is a much better solution to keep track of those links and not have them pile up over a long time.

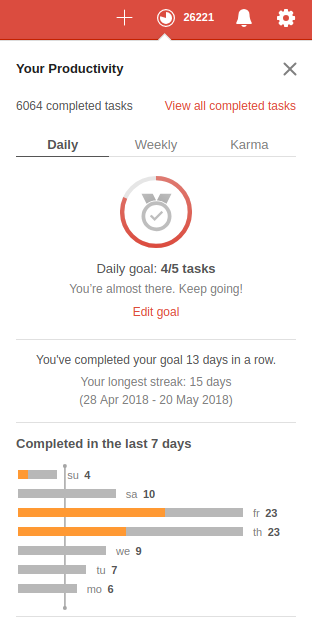
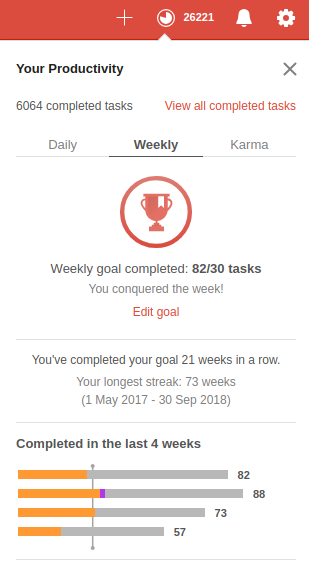
What’s also very nice is the way Todoist generates statistics and tracks your progress over time. There’s a system in Todoist called “Karma”.

Which allows you to marvel at your progress and sun yourself in the immense productivity you’ve shown.

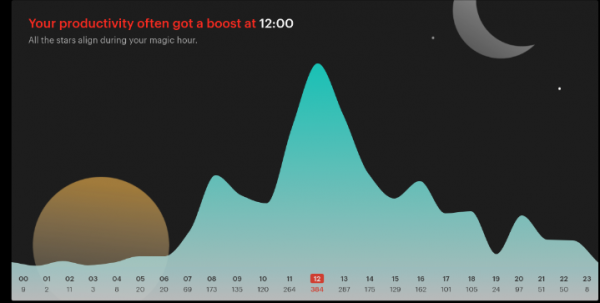
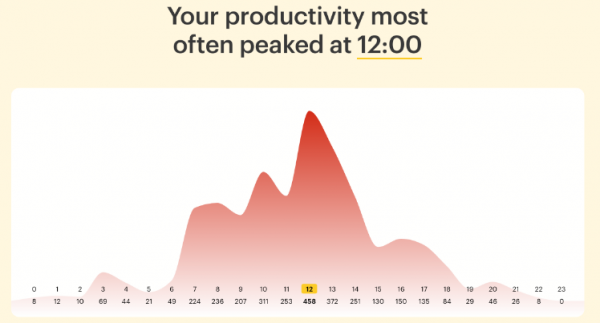
But hey – there’s actual value coming from this. Like if you do it for a year or two you get such nice statistics which show how you did structure your day and how you might be able to improve. Look at a simple yearly graph of how many tasks have been completed at specific times of the day.

So when most people in the office spend their time on lunch breaks I usually complete the most tasks from my task list. Also I am quite early in “before the crowd” and it shows. Lots of stuff done then.

And improvements also show. On a yearly base you can see for example how many tasks you did postpone / re-schedule when. Like those Mondays which are currently the days most tasks get postponed. What to do about that?

bringing the thinclient back

I had to solve a problem. The problem was that I did not wanted to have the exact same session and screen shared across different work places/locations simultaneously. From looking at the same screen from a different floor to have the option to just walk over to the lab-desk solder some circuits together and have the very same documents opened already and set on the screens over there.

One option was to use a tablet or notebook and carry it around. But this would not solve the need to have the screen content displayed on several screens simultaneously.

Also I did not want to rely on the computing power of a notebook / tablet alone. Of course those would get more powerful over time. But each step would mean I would have to purchase a new one.

Then in a move of desperation I remembered the “old days” when ThinClients used to be the new-kid in town. And then I tried something:

I just recently had moved all house server infrastructure over to Linux and Docker. So what would keep me from utilizing the computing power of that one beefy server in the basement to host all of my desktop needs?

It turns out: Nothing really. Docker is well prepared to host desktop environments. With a bit of tweaking and TigerVNC Xvnc I was able to pre-configure the most current Ubuntu to start my preferred Mate desktop environment in a container and expose it through VNC.

If you wanted to replicate this I would recommend this repository as a starting point.

Even better I found that the RaspberryPi single board computers come with a free pre-licensed and accelerated version of RealVNC.

So I took one of those RaspberryPis, booted up the Raspbian Desktop lite and connected to the dockers VNC port. It all worked just like that.

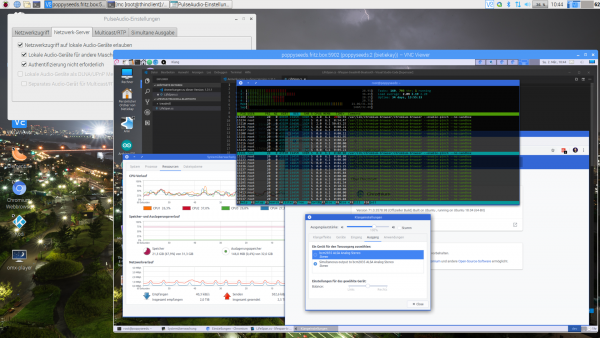
this is the RaspberryPi client with the windowed docker container VNC session

The screenshot above holds an additional information for you. I wanted sound! Video works smooth up to a certain size of the moving video – after all those RaspberryPis only come with sub Gbit/s wired networking. But to get sound working I had to add some additional steps.

First on the RaspberryPI that you want to output the sound to the speakers you need to install and set-up pulseaudio + paprefs. When you configure it to accept audio over the network you can then configure the client to do so.

In the docker container a simple command would then redirect all audio to the network:

pax11publish -e -S thinclient

Just replace “thinclient” with the ip or hostname of your RaspberryPI. After a restart Chrome started to play audio across the network through the speakers of the ThinClient.

Now all my screens got those RaspberryPIs attached to them and with Docker I can even run as many desktop environments in parallel as I wish. And because VNC does not care about how many connections there are made to one session it means that I can have all workplaces across the house connected to the same screen seeing the same content at the same time.

And yes: The UI and overall feel is silky smooth. And since VNC adapts to some extend to the available bandwidth by changing the quality of the image even across the internet the VNC sessions are very much useable. Given that there’s only 1 port for video and 1 port for audio it’s even possible to tunnel those sessions across to anywhere you might need them.

work and walk

Working in the IT industry requires us to spend copious amounts of time focused on our screens mostly sitting at our desks. But this does not have to be that way.

For me sitting down for long times creates a lot of unwanted effects and essentially leads to me not being able to focus anymore properly.

In 2015 my wife and I attacked that “health problem” as a team. And in the 12 months until 2016 we both lost 120 kg / 260lbs added up together in body weight and completely changed the way we deal with food and sport.

With that I also changed the way I work. Sitting down was from now on the exception.

Coincident with this lifestyle change my then-employer Rakuten rolled out it’s then new workplace concept and everyone got great electric stand-up desks that allowed you to change the height up and down effortlessly.

When I started with SIEMENS of course their workplace concept included standing desks as well!

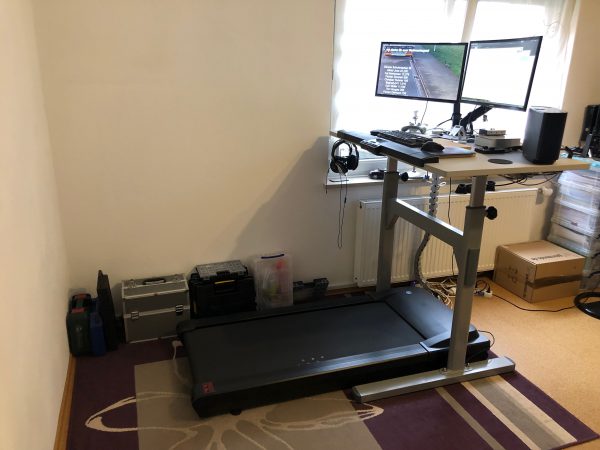
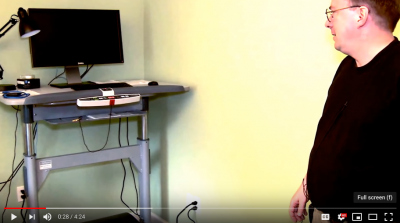
For those times I am working from home one of the desks is equipped with a standing desk with an additional twist.

pictured is a LifeSpan TR1200-DT5

So this desk let’s you work while standing. But it also allows you to walk while you work. You can set the speed from 0 to 6.4 km/h.

Given a good headset I personally can attend conference calls without anyone noticing I am walking with about 4 km/h paces.

When I am spending a whole day working from this desk it is not uncommon to accumulate 25-40 km of total distance without really noticing it while doing so. Of course: later the day you’ll feel 40km in one way or the other

monthly distance … something between 50 and 350km … only 50km at the desk when walking outside is possible.

It took a bit of getting used to as your feet are doing something entirely different from what the rest of the body is doing. But at least for me it started to feel natural very quickly.

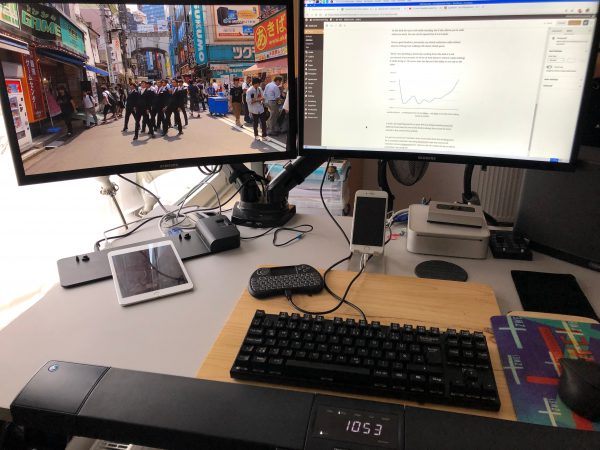
I’ve put two curved 24″ monitors onto it and aside from the docking ports for a company notebook I am using thinclients to get my usual work machines screens teleported there. There’s a bit of a media set-up as well as sometimes I am using one of the screens for watching videos.

For those now interested in the purchase of such a great walking desk: I can only recommend doing so! But be aware of some thoughts:

There are not a lot of vendors of such appliances. And those vendors are not selling a lot of them. This means: be ready for a € 1000+ purchase and be ready to shell out some good money on extended warranties.

My first desk + treadmill was replaced 3 times before. It was LifeSpans first generation of treadmill desks and it just kept exploding. I actually had glowing sparks of fire spitting out of the first generation treadmill.

I’ve returned it for no money loss and waited for the second generation. This current, second generation of LifeSpan treadmill desks is really doing it for me for longer than the first generation ever had without breaking. Looking at the use of the device I would see it as a purchase over 5 years. After 5 years of actual and consistent use I wouldn’t be overly annoyed if the mechanical parts of the appliance would stop working. I am not expecting such a device to live much longer anyhow.

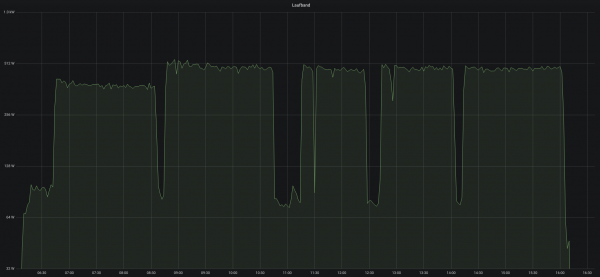
Energy consumption wise it’s quite impressive how much energy this thing consumes. I wasn’t quite expecting those levels. So here’s for you to know:

this is a 28km workday with some pauses

So just around 500 Watts when in use. The 65W base load is the monitors and computers on top.

did you know: Linus Torvalds used to use a first generation model – the one that broke on me many times

I can only recommend to try something like this out. Unfortunately it’s quite hard to find a place to try it out. At least I was not able to try before buy.

But then again I could answer your questions if you had any.

Digital assistant language teacher

Since a couple of months we are trying harder to learn a foreign language.

And as we excepted it is very hard to get a proper grasp on speaking the language. Especially since it is a very different language to our mother tongue.

And while comfortably interacting with digital assistants around the house every day in english and german the thought came up: why don’t these digital assistants help with foreign language listening and speaking training?

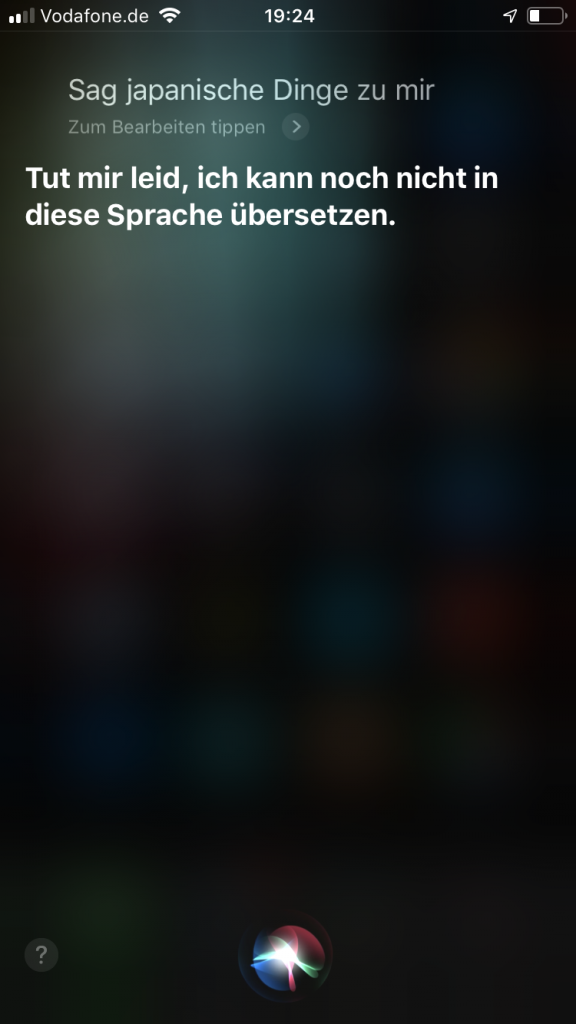
I mean Google Assistant answers questions in the language you have asked them. Siri and Alexa need to know upfront in which language you are going to ask questions. But at least Alexa can translate between languages…

But with all seriousness: Why do we not already have the obvious killer feature delivered? Everyone could already have a personal language training partner…

a scientific paper a day

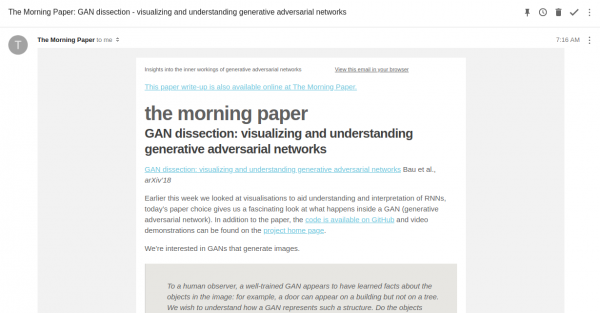
I am long-time subscriber to a service that is delivering a curated choice of scientific papers to your inbox every morning.

And even better: On top of the choice and link of the paper you also get a great summary with additional links and hints on the topic.

The Morning Paper: a short summary every weekday of an important, influential, topical or otherwise interesting paper in the field of computer science.

https://blog.acolyer.org/about/

Depending on your specific interests the papers chosen will give you deep insights into certain topics. Recently a lot of AI related topics show up there.

The papers are delivered by eMail, by RSS feed of by just reading the blog.

How to get me to actively avoid your products

It is a simple one step process: shove unasked advertising in my face. Bonus points for loud full blast audio right of the start.

If I ever see unasked advertising that tried to be sneaky or not do sneaky I am going to block it without noticing from whom or for what it was.

But when it’s shown so often and is so intrusive that I take note of your brand. That brand is not considered for future business anymore.

That is especially for services where I am the product paying with my data.

Sample 1
blocking
Sample 2

how to find out who needs to clear out the dishwasher

We use the term “smart home” lightly these days. It has become a term of marketing and phantastic stories.

Considering how readily available lots of different sensors, actors and personal-assistants are these days one would think that most people would start to expect more from the marketing “smart-home”.

I believe that the smart is to be found in the small and simple. There are a lot of small things that actually make something feel smart without it actually being smart about anything.

Being smart is something not achieved yet – not even by a far stretch of the sense of the word. So let’s put that to the sides of the discussion for now and move a simple thing in the middle of this article.

Have you ever had an argument about who should or should have cleared out the dishwasher after it’s finished?

We had.

So we outsourced the discussion and decision to a 3rd party. We made our house understand when the dishwasher starts and ends it’s task. And made it flip a coin.

There was already a power consumption monitoring in place for the dishwasher. Adding a hysteresis over that monitoring would yield a simple “starts running” / “stops running” state of the dishwasher.

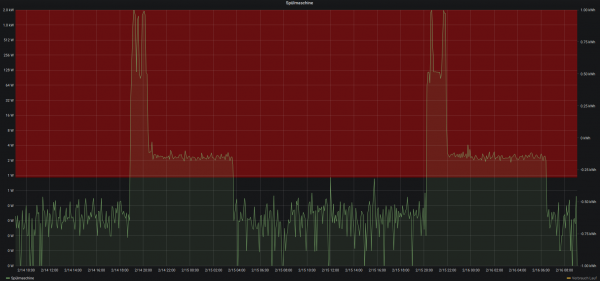
Pictured above is said power consumption.

  • When the values enter the red area in the graph the dishwasher is considered to be running.
  • When it leaves that area the dishwasher is considered finished/not running

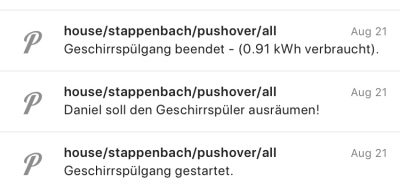
Now adding a bit of random coin-tossing by the computer and each time when the dishwasher is detected to have started work a message is sent out depending on the result of the coin-toss.

That message is published and automatically displayed on all active displays in the house (TVs/…) and sent as push notifications to all members that need to be informed of this conclusive and important decision.

In short:

Everyone gets a push notification who is going to clear out the dishwasher based upon a coin-toss by a computer every time the dishwasher starts.

The base of all of this is a Node-RED flow that that uses the power consumption MQTT messages as an input and outputs back to MQTT as well as pushes out the push notifications to phones, screens and watches.

Additionally it creates a calendar entry with the start-finish time of the dishwasher run as well as the total energy consumption for this run.

Node-RED flow

The flow works like this: on the right the message enters the flow from MQTT. The message itself contains just the value of the power consumed at this very moment. In this case consumed the dishwasher.

The power consumption is updated regularly, every couple of seconds this way. So every couple of seconds this flow runs and gets an updated value of

Next a hysteresis is applied. In simple terms this means: when the value goes above a certain threshold the dishwasher is considered to be running. When it goes below a certain threshold then it is considered finished.

When the dishwasher changed it’s state to “running” the flow will generate a random number between 0 and 1. This give a 50:50 chance for either Steffi or Daniel be the chosen one to clear out the dishwasher for this run. This message is sent out as push notification to all phones, watches and TVs.

When the dishwasher finishes it’s run the total energy consumption is taken and sent out as the “I am done message”. Also this information is added to the calendar. Voilá.

the real smart home has a calendar!

A calendar? Why a calendar you may ask. Oh well there are several reasons. Think of calendars as another way to interact with the house. All sorts of things happen on a timeline. A calendar is only a visual aid to interact with timelines.

May it be a home appliance running and motion being sensed for your home alarm system. All of that can be displayed in a calendar and thus automatically sync to all your devices capable to display this calendar.

And if you start adding entries to a calendar that the house uses to know what to do next… how about putting light on-off times into an actual calendar right on your phone instead of a complicated browser user interface like many of those marketing smart-homes want us to use?

Never confuse wisdom with luck.

44th Rule of Acquisition / Ferengi