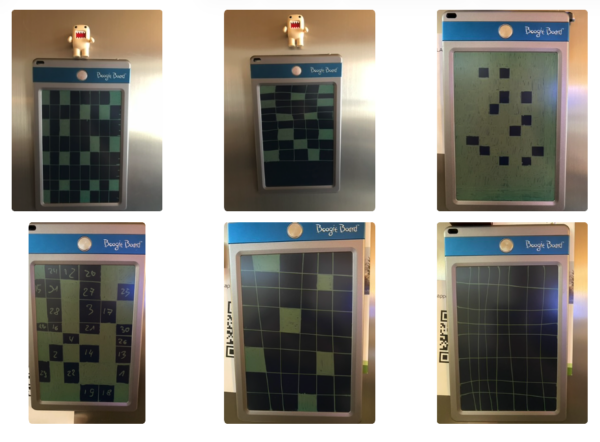
My wife Stephanie and I have a little bit of a tradition: When an important date is known we start a grid on an erasable board that has exactly the number of cells that the important date is away in days. Everyday we then fill out one of the cells and if all are filled, the date is here!
We are doing this for years – like here are just a few ones from the past:
And since the next important day was nearing we thought: It’s the time for anyone to be able to code. They say. But, can we?
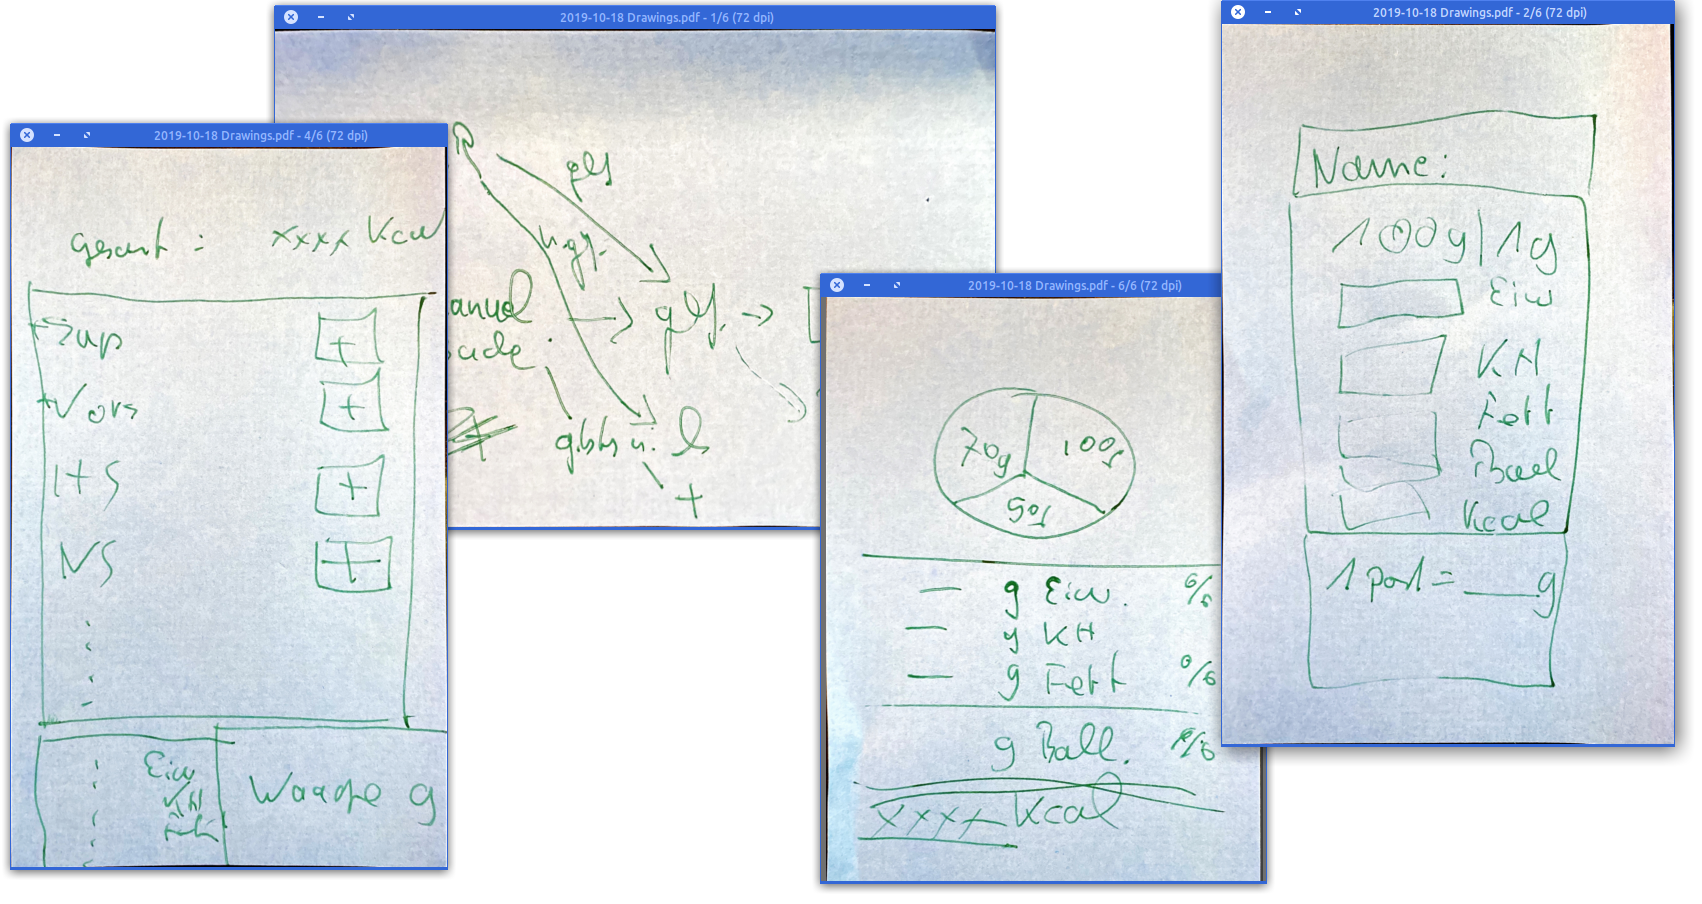
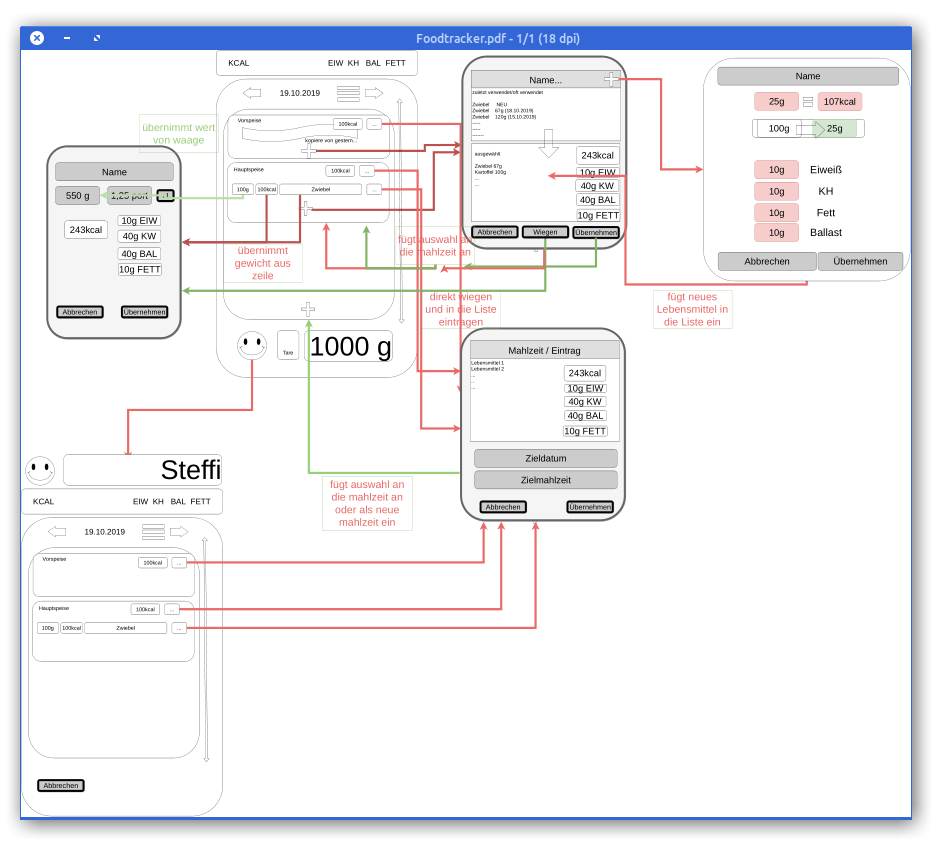
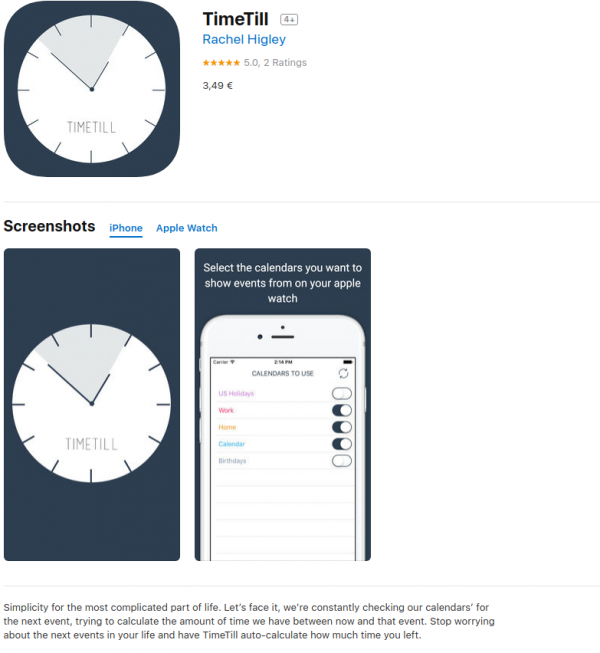
So we sat down and made a bit of concept for an iPhone / iPad app that would do the very same thing. It would allow anyone to set a target date and get a very neat grid to fill out, every day. Be notified to fill a cell and enjoy the celebration and rise till important day arrives.
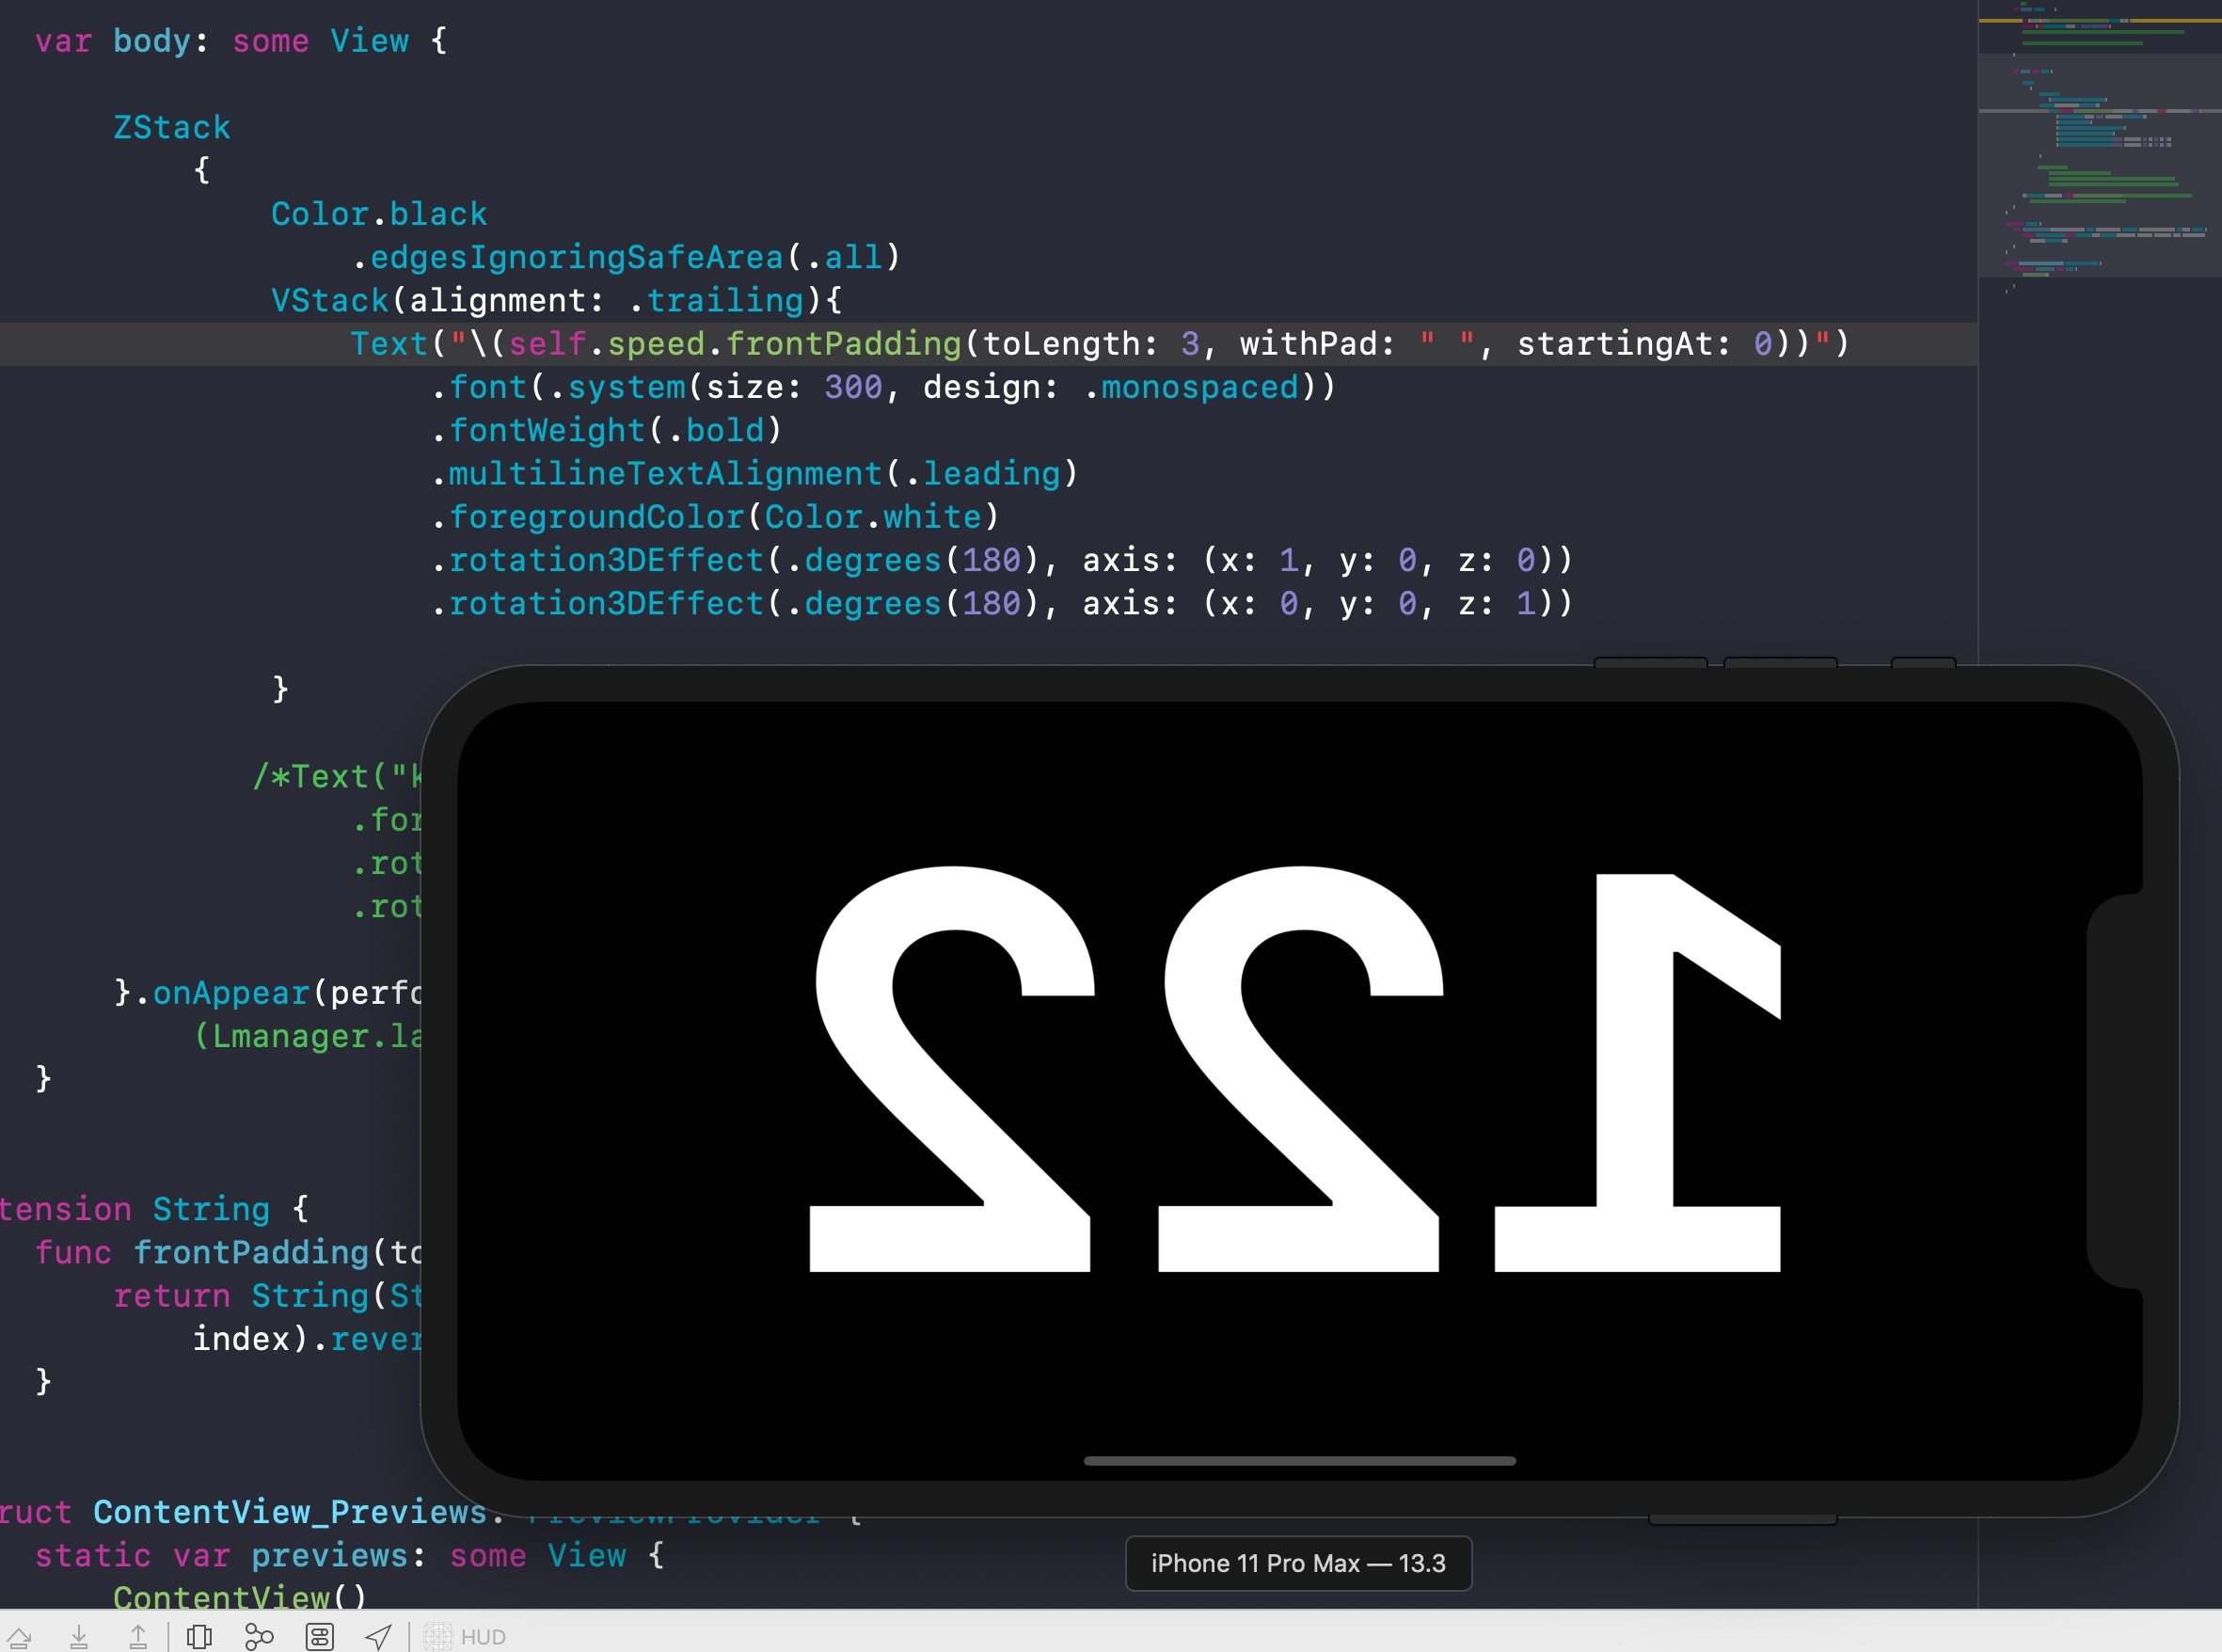
We started from scratch and not surprisingly my wife got a hang of it quickly, I’d even say she had fun (at least it appeared to me like that).
After just two weeks all was done and the final app was in the App Store. Ready to be installed by anyone (for free).
In the second week we figured: we never tried how in-app purchases work, so we added those on a Sunday. And here you go, we give you: Takamaru – here is the marketing:
The name:
Takamaru (高まる) is an intransitive verb and literally means: to increase / to rise / to become more intense
Takamaru is not just a countdown. It is a quiet space to move toward something that matters.
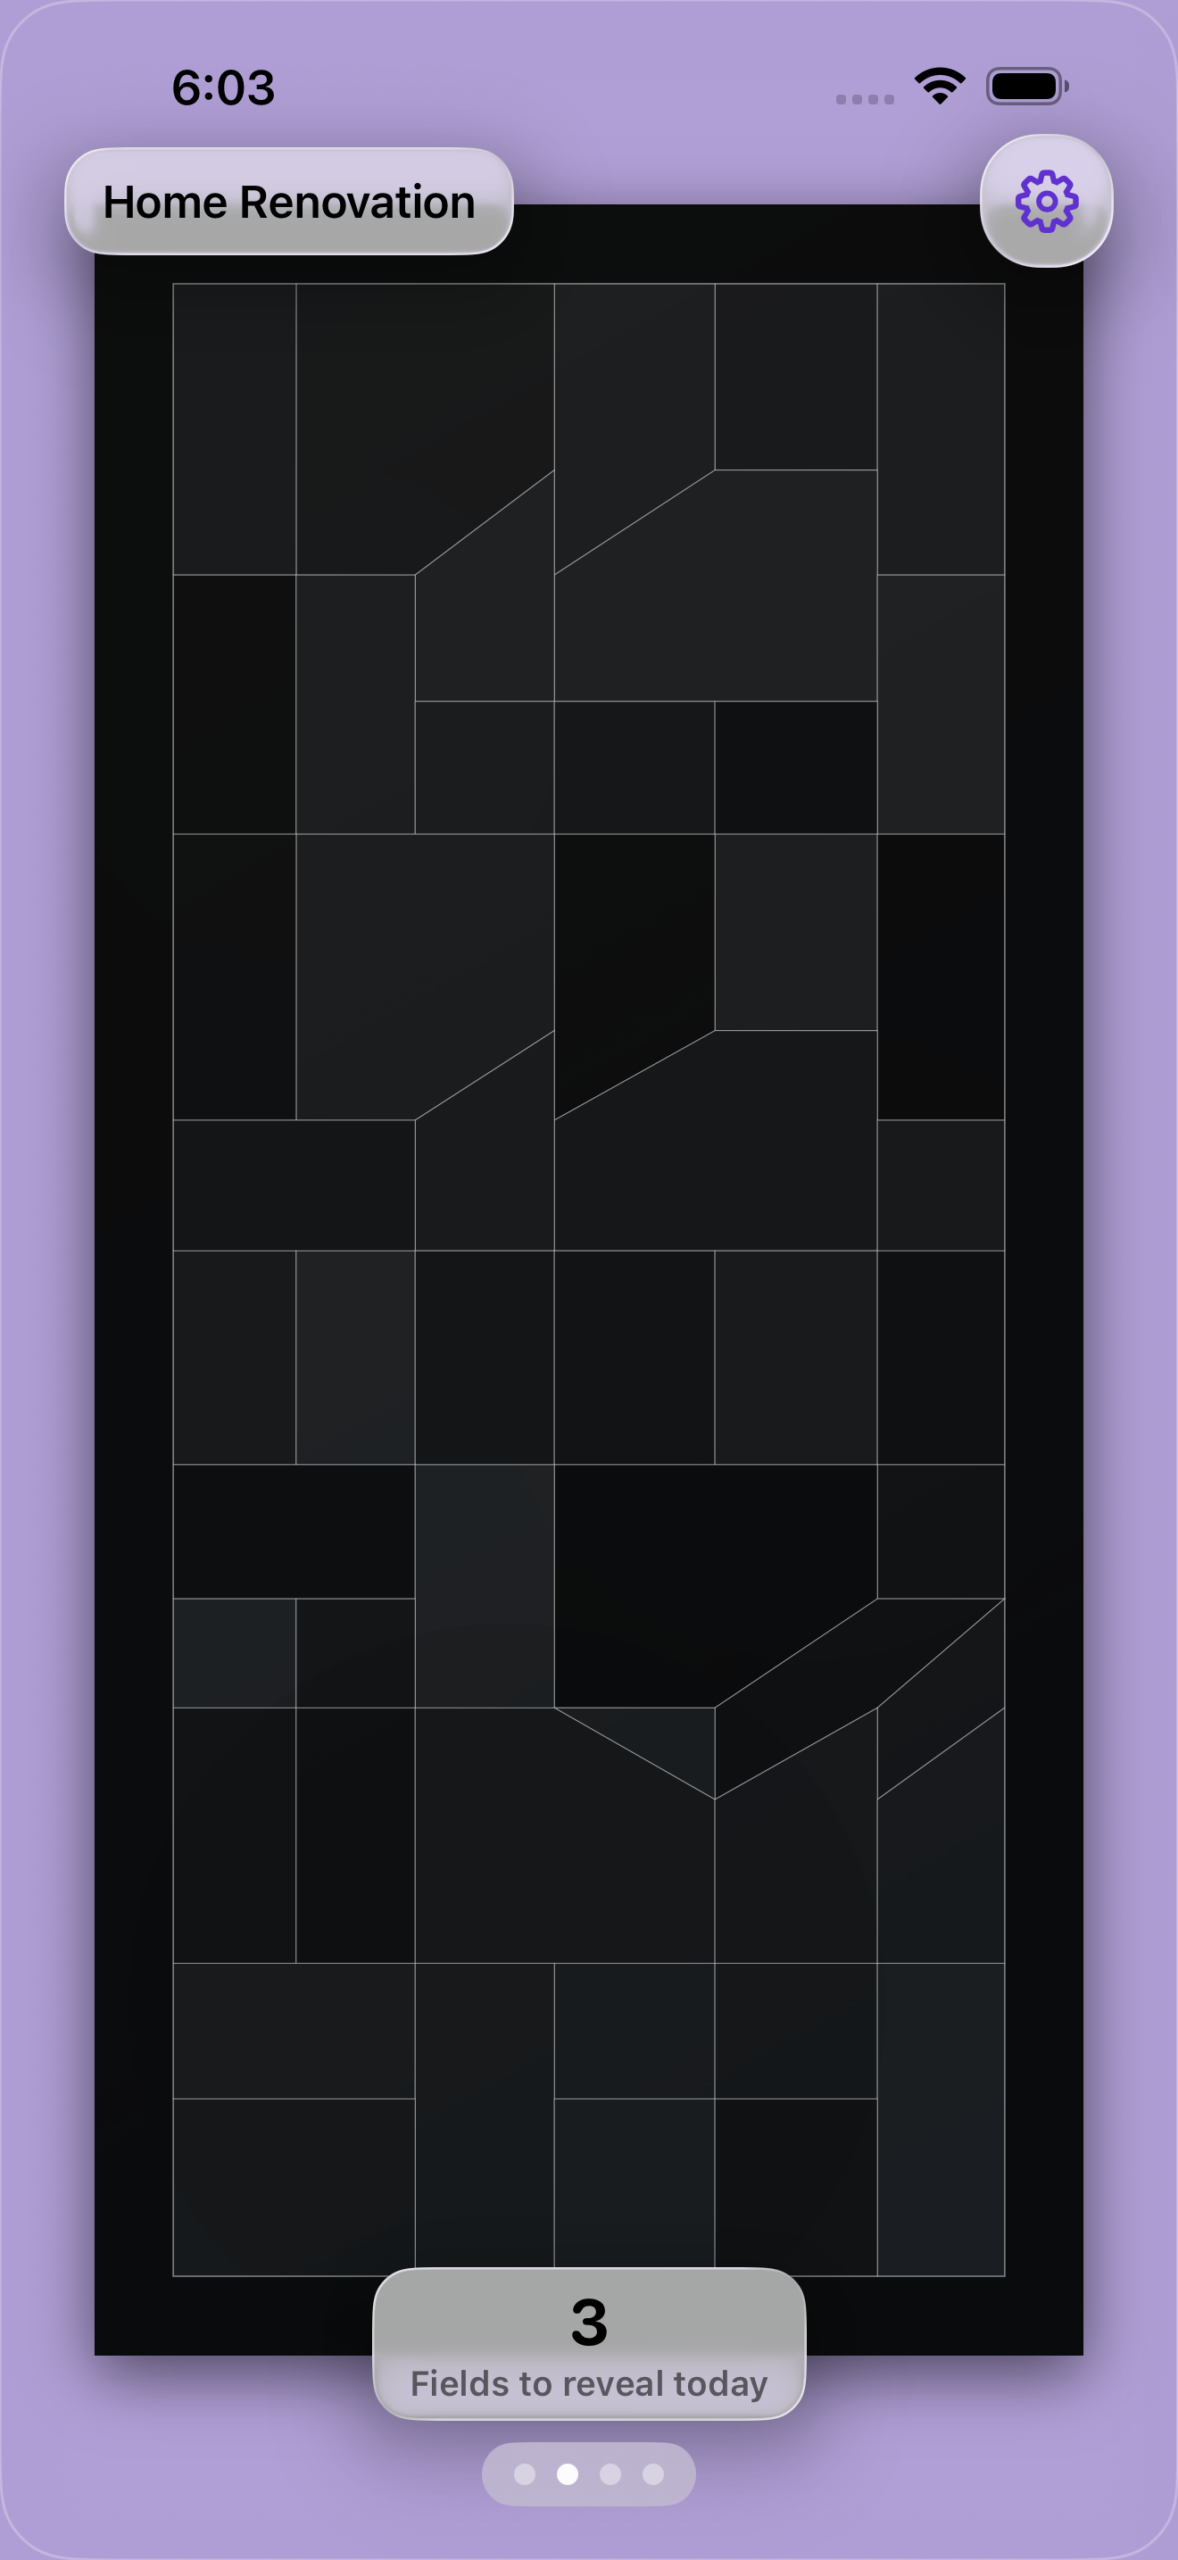
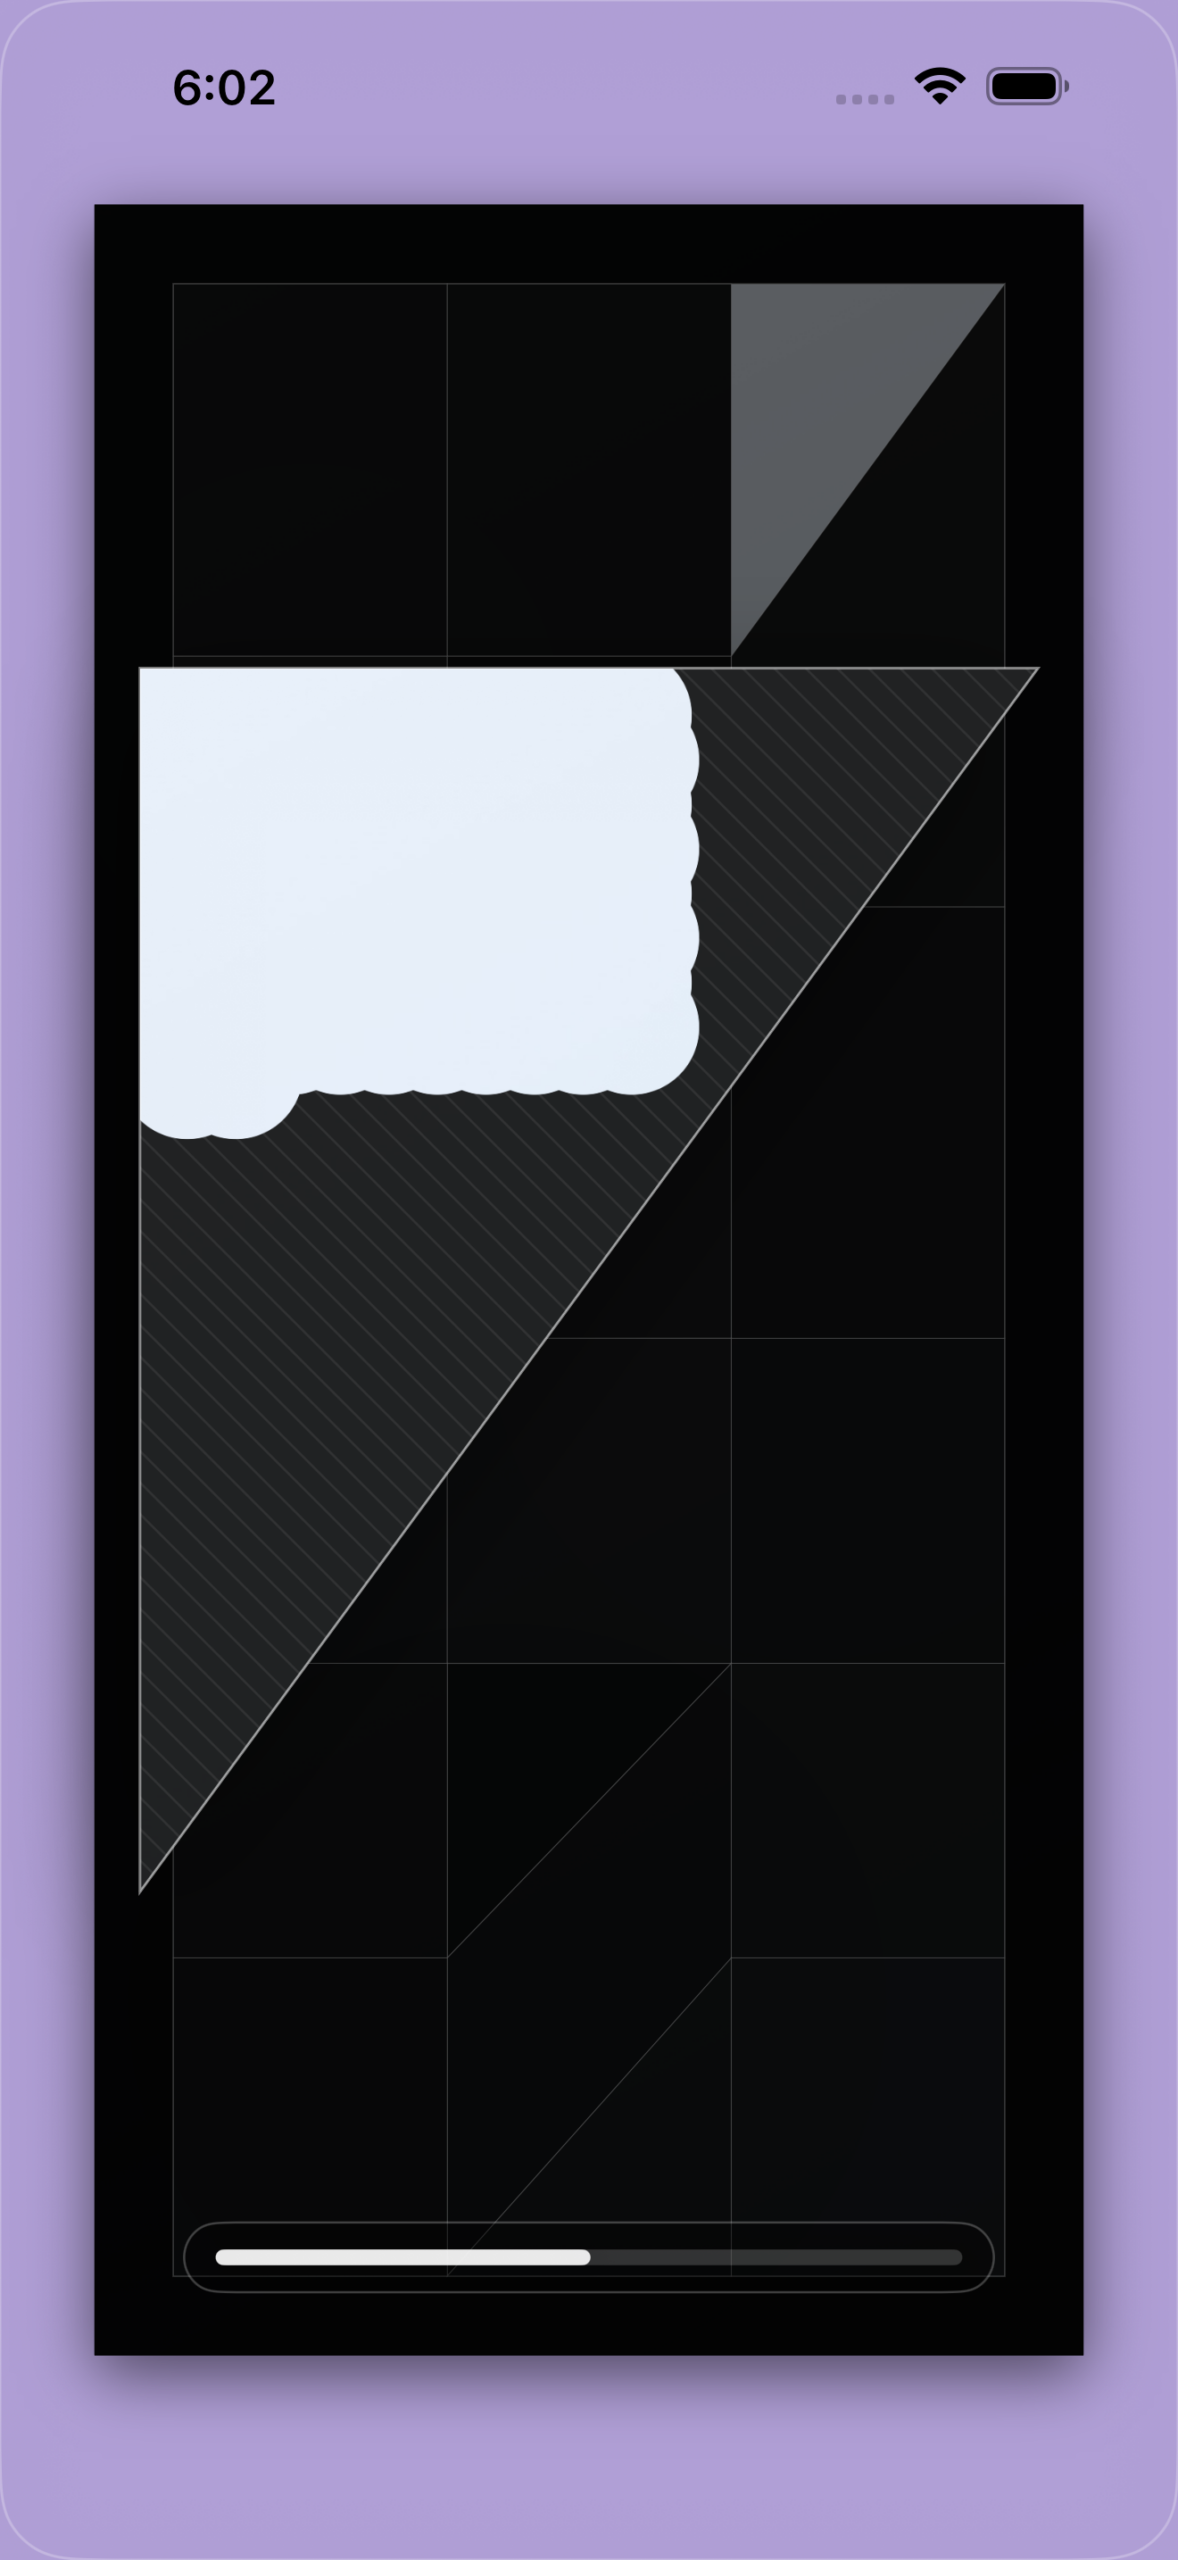
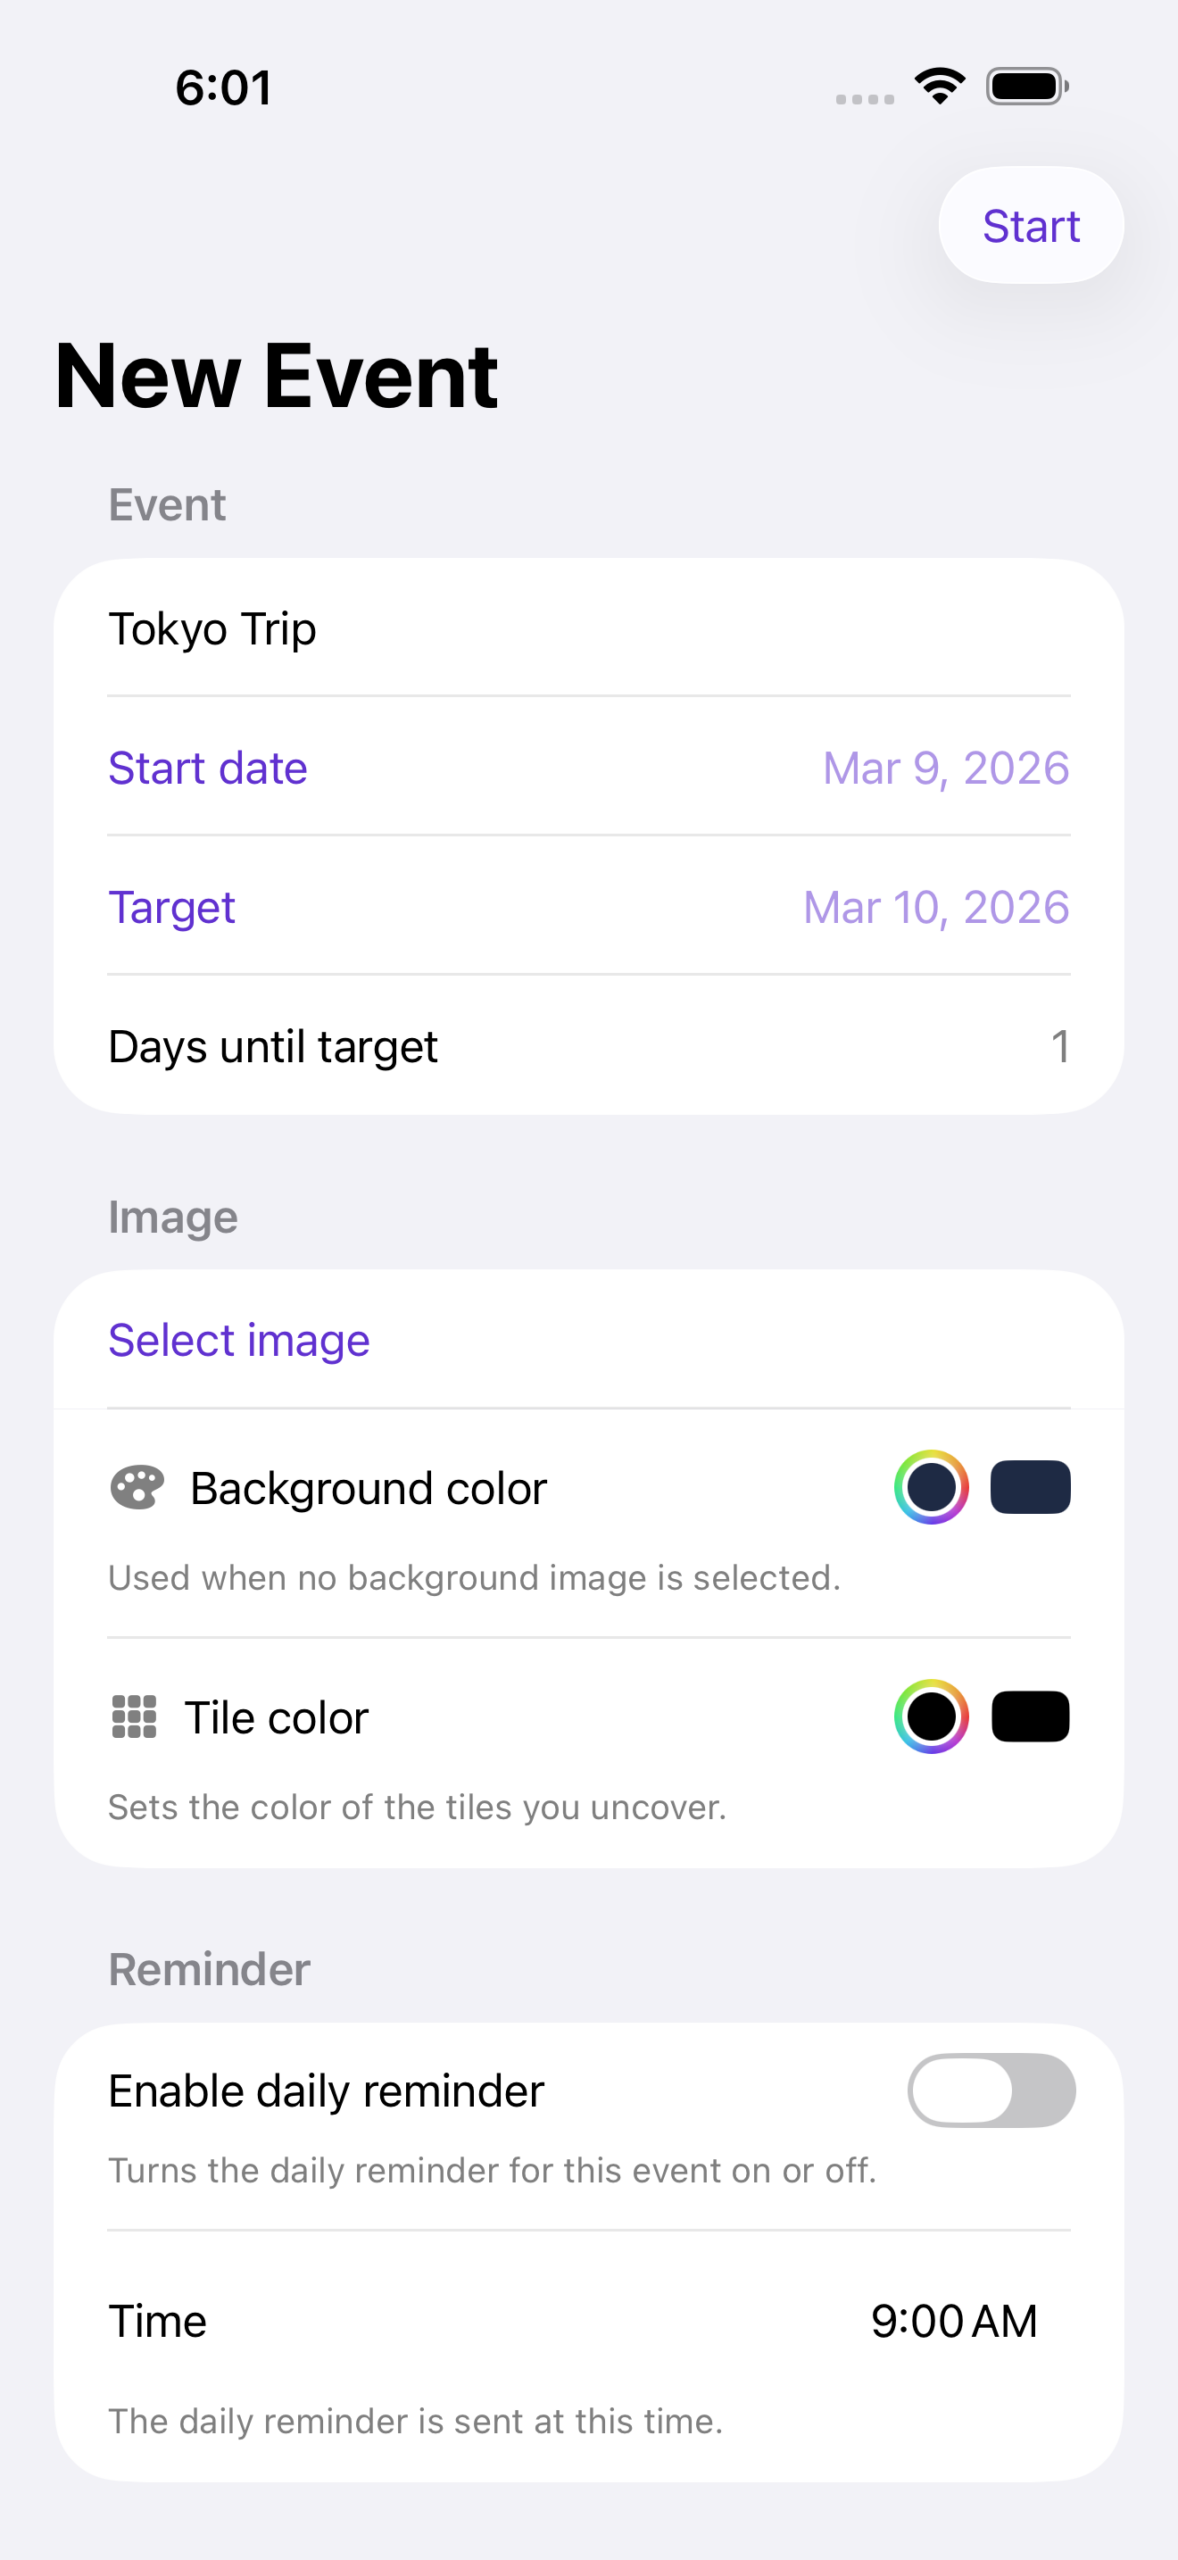
Choose an important date. Add a name. Select an image that represents what you are waiting for. From that moment on, each day reveals one small piece of that image.
One day. One square.
Behind a calm, structured grid lies your chosen picture. As time passes, the grid slowly opens. What once was hidden becomes visible — step by step.
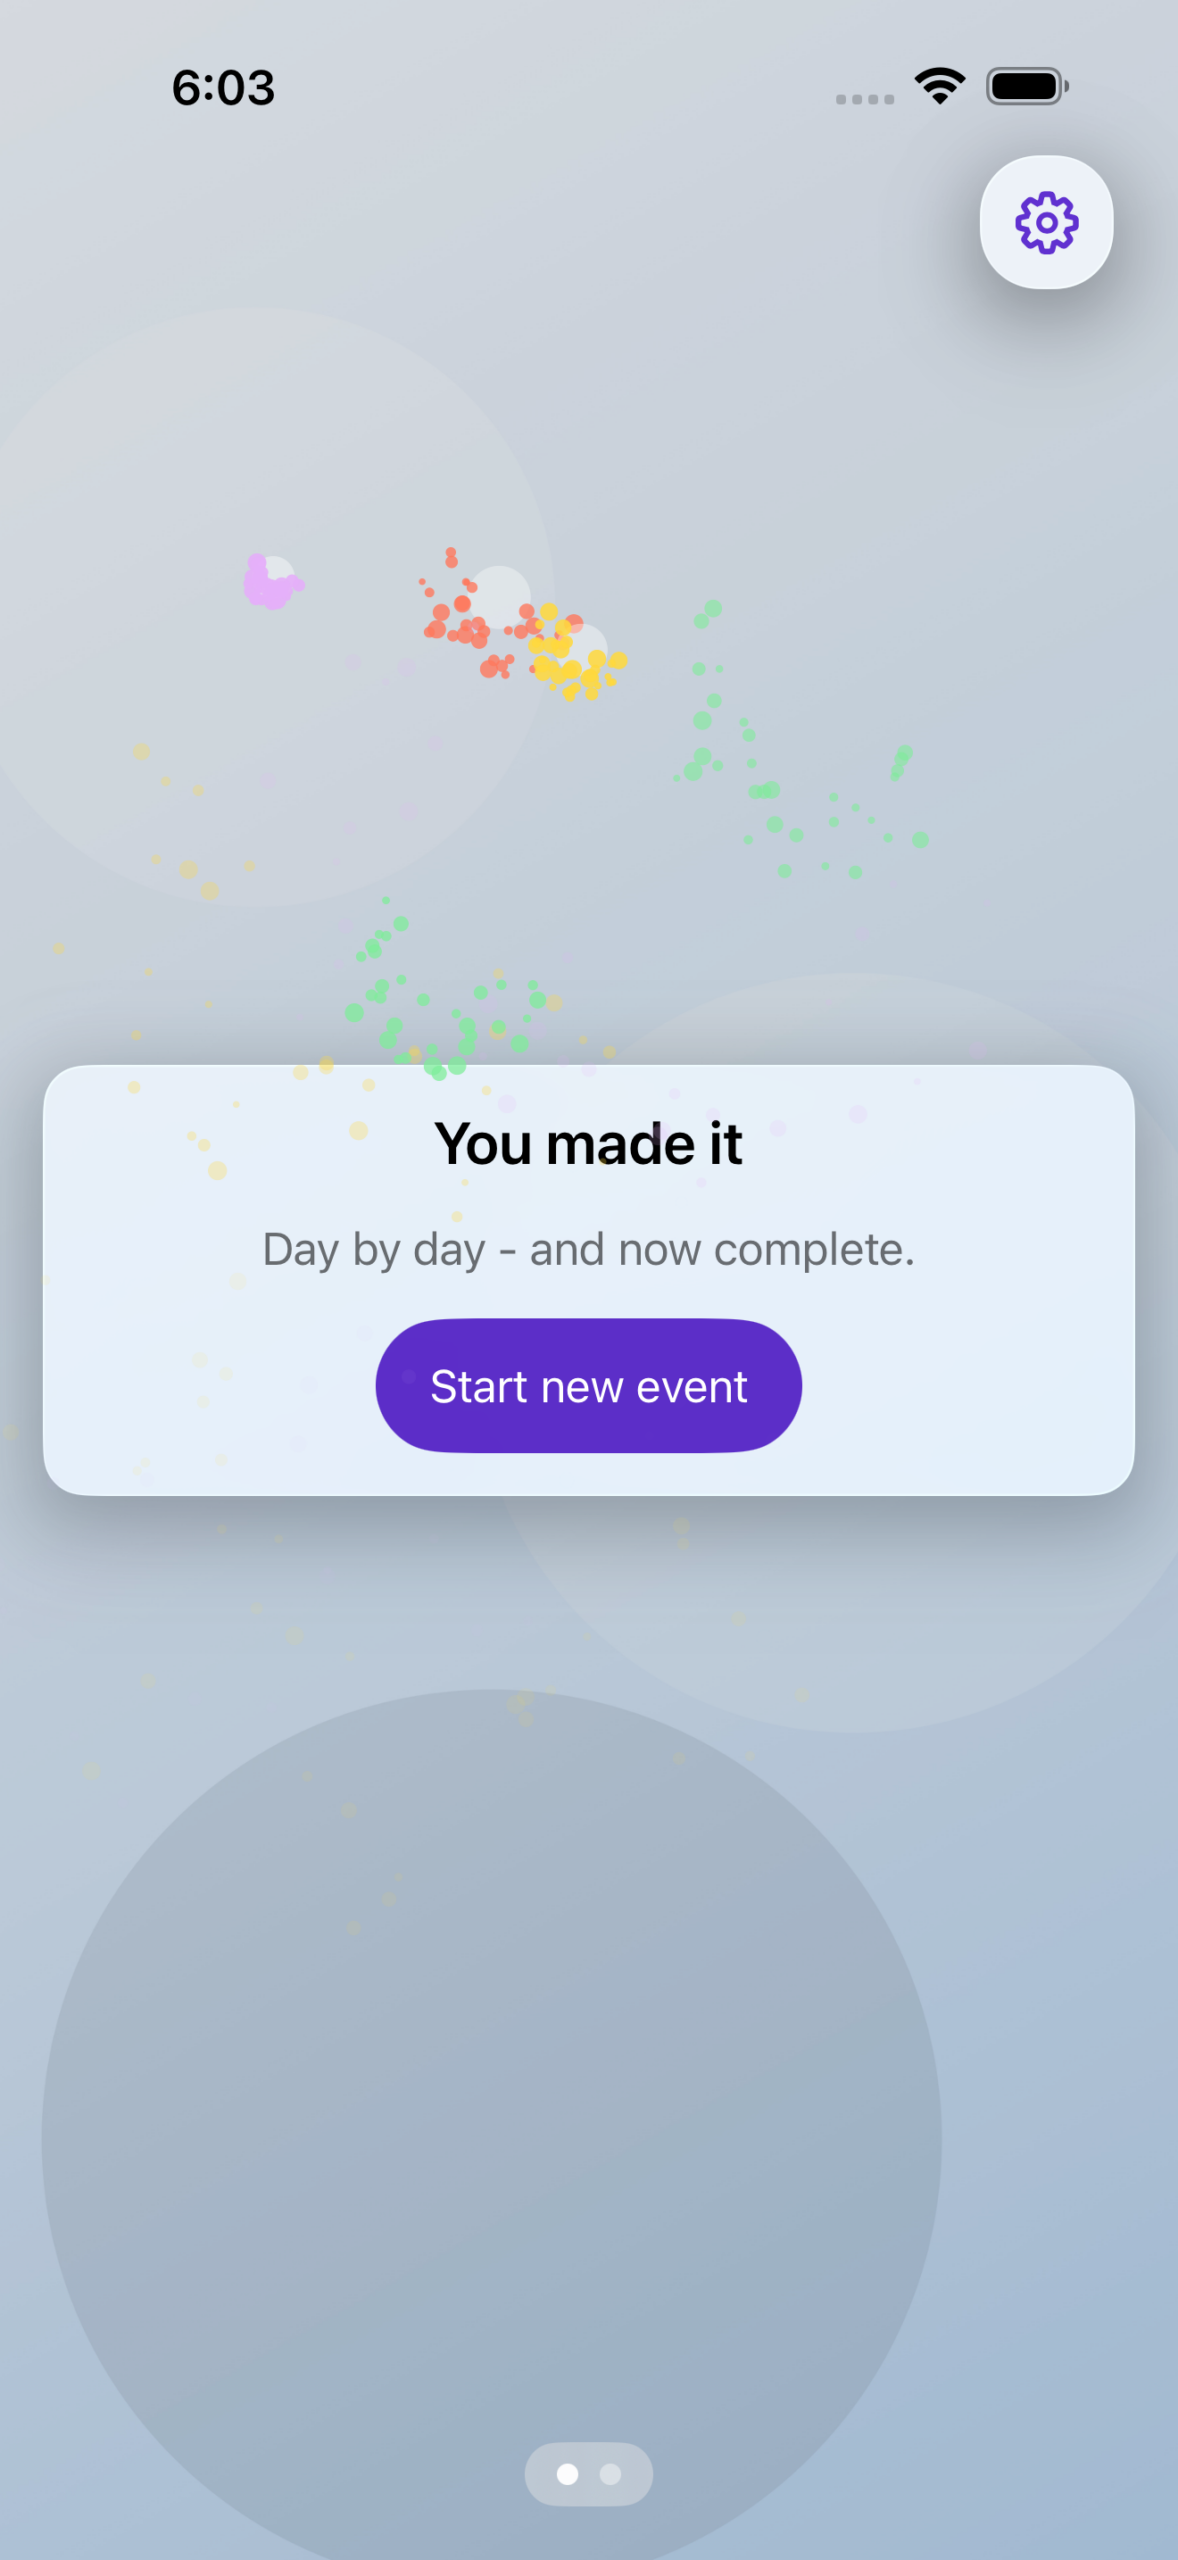
Takamaru is built around a simple idea: Anticipation grows.
Instead of watching numbers drop to zero, you experience progress visually. Every day brings you closer. Every day reveals a little more.
Features:
- Create a countdown to a single meaningful date
- Add a custom title and personal image
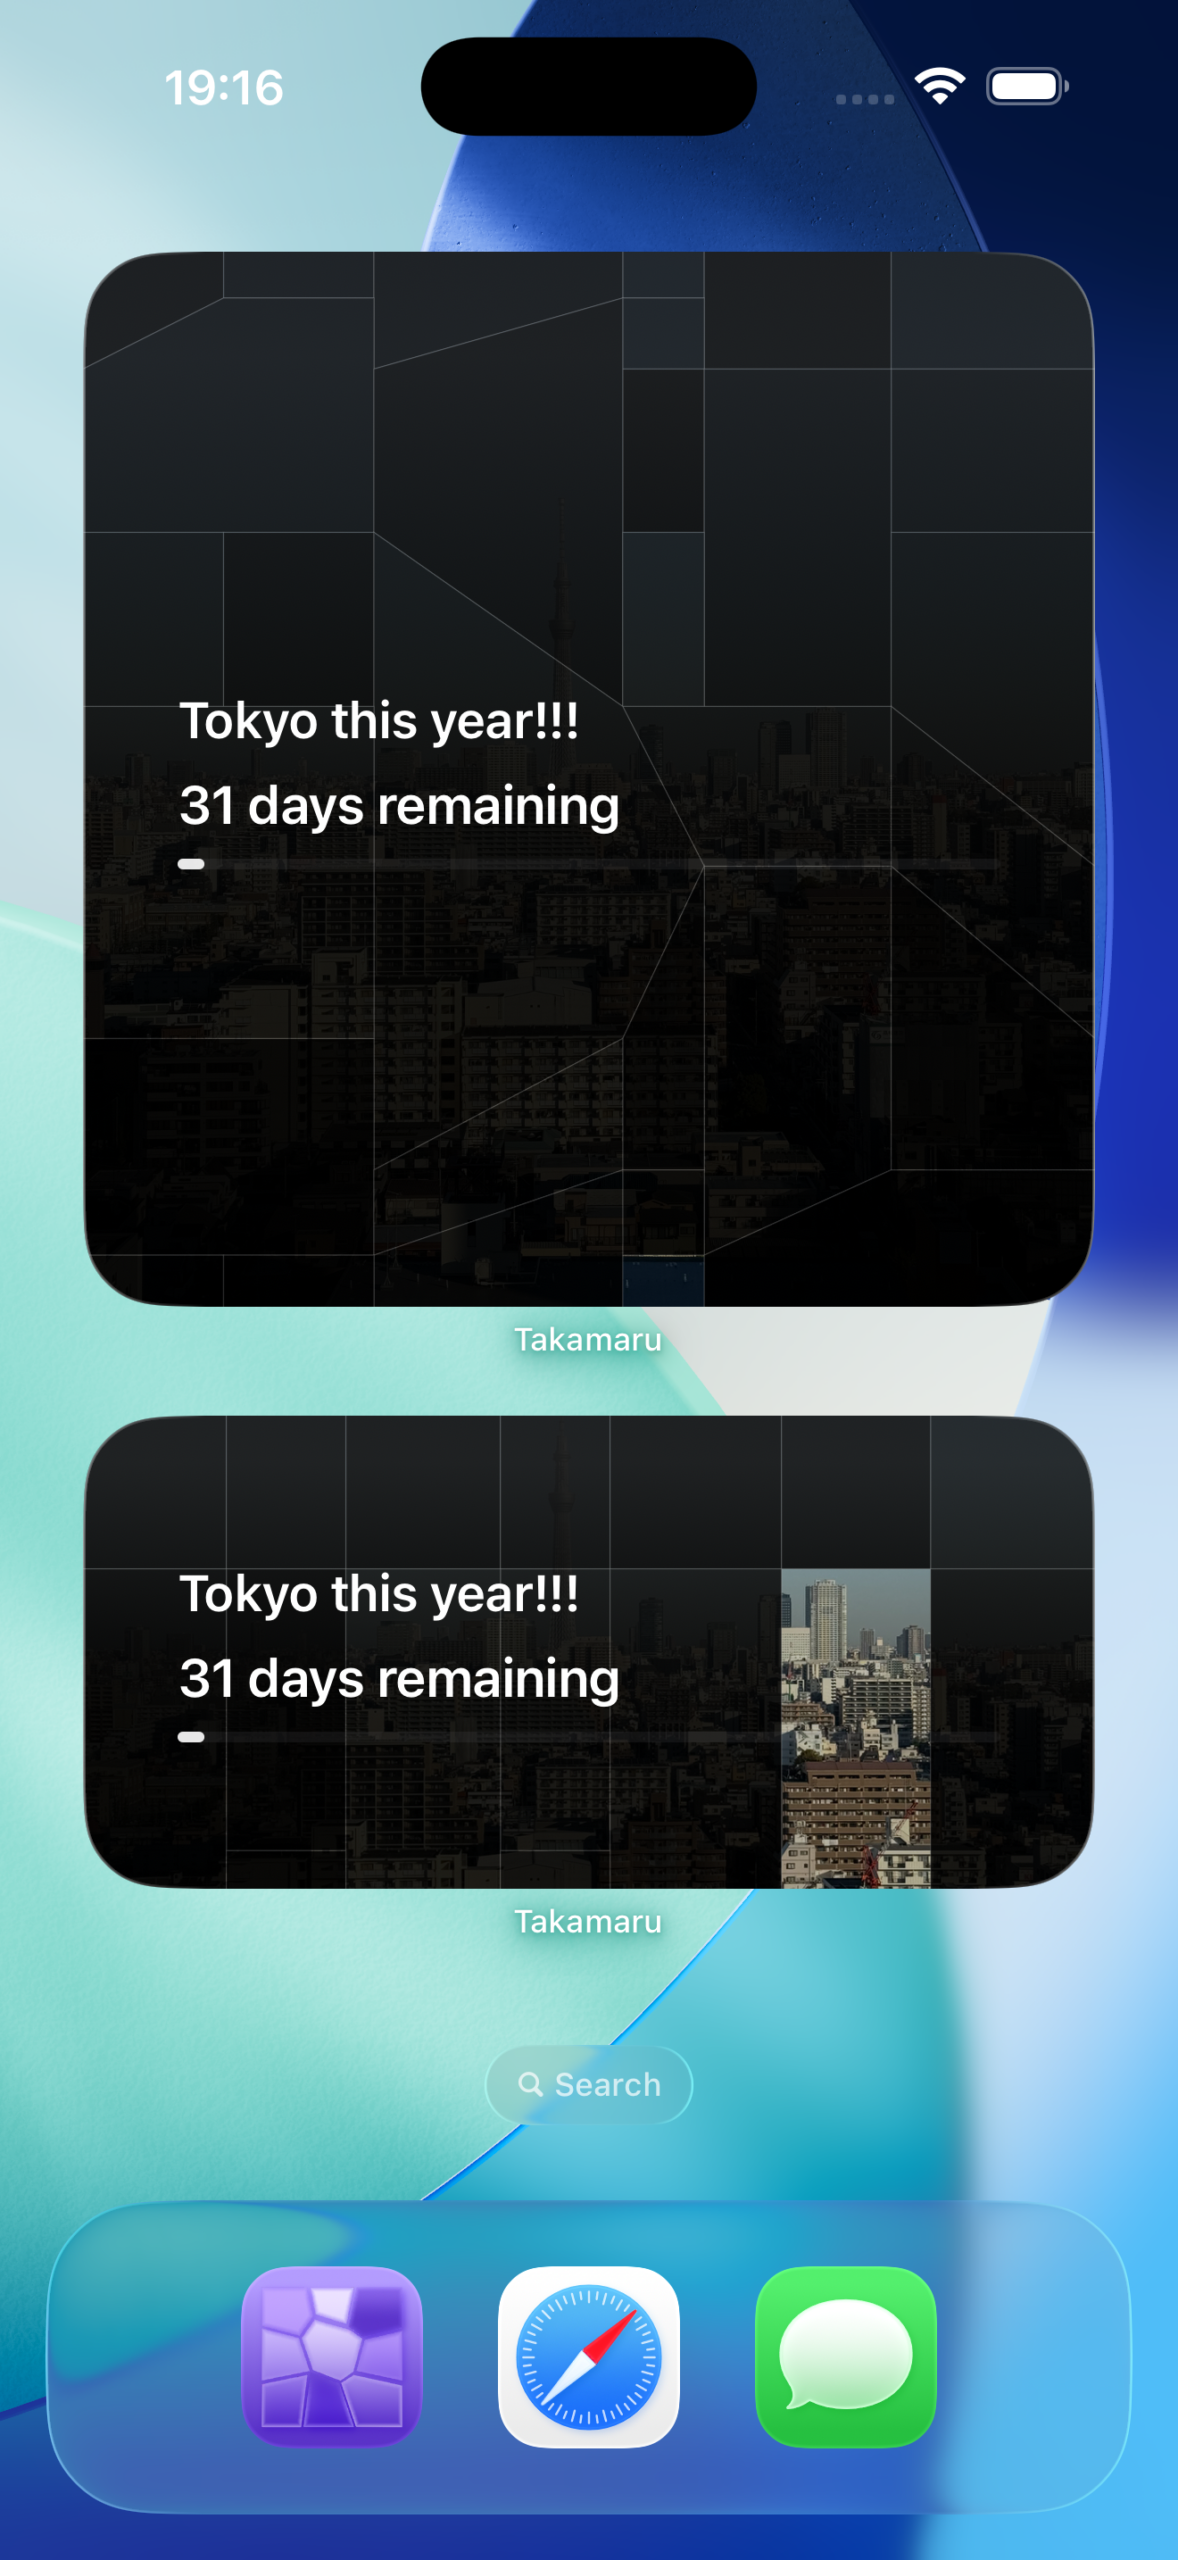
- Reveal your image day by day through a clean grid
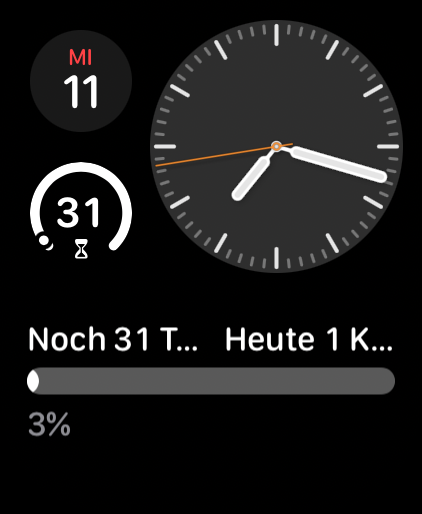
- See how many days remain at a glance
- Sync across your devices via iCloud
- Widgets for Home and Lock Screen
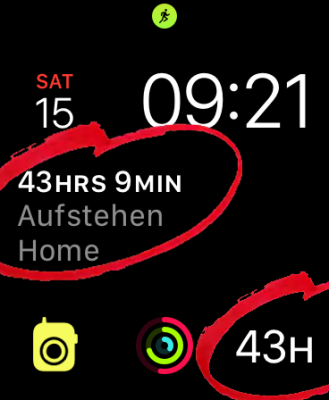
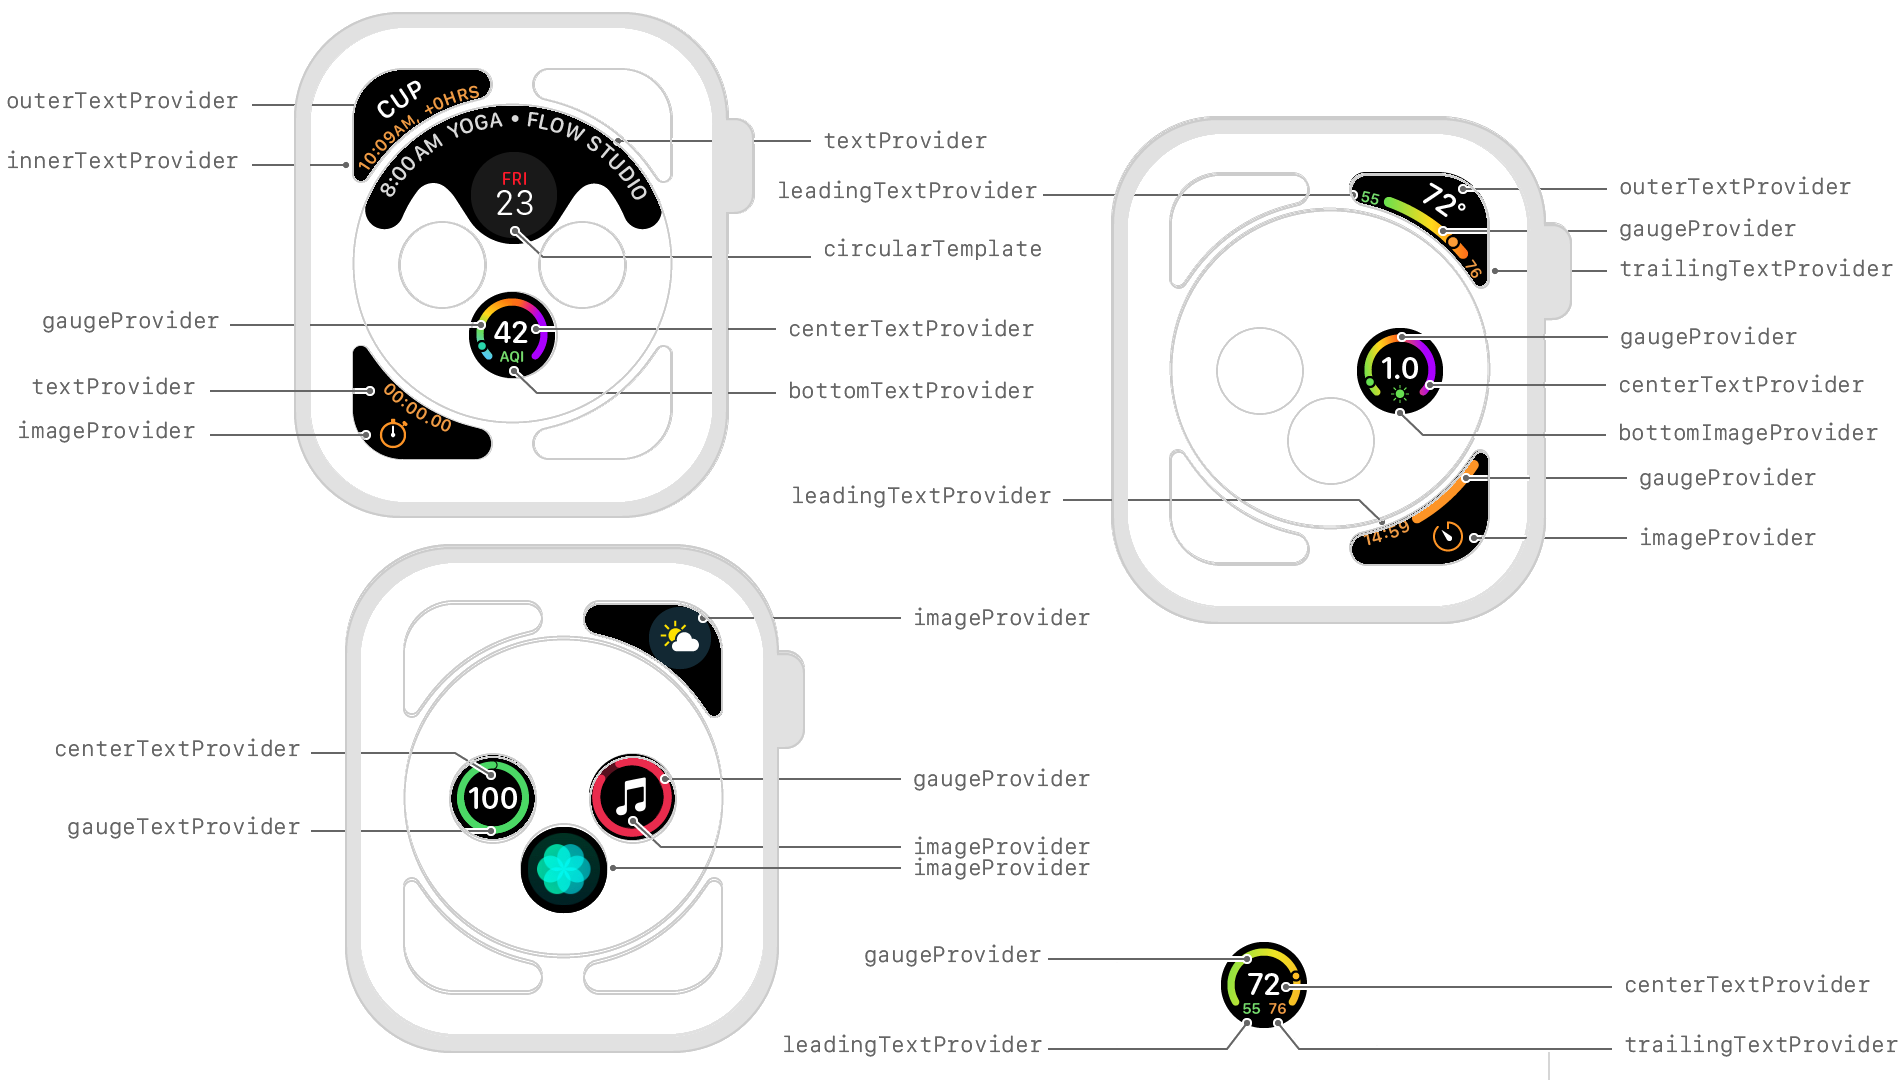
- Apple Watch support with complications
- Optional daily reminders so you never miss a step
The grid is not just decoration. Each cell represents one calendar day. The logic is precise and stable across time zones and daylight saving changes. If you don’t open the app for a few days, it quietly catches up. Nothing is lost.
Your progress syncs automatically across iPhone, iPad, Apple Watch, and widgets.
You can download it for free here: https://apps.apple.com/de/app/takamaru/id6758580687
Free in this sense, as I have mentioned in-app purchases, means: any event up to 7 days away is free. But not only this, you can also, for free, get special events to cater towards.
Special events you say? Tell me more! Sure thing!
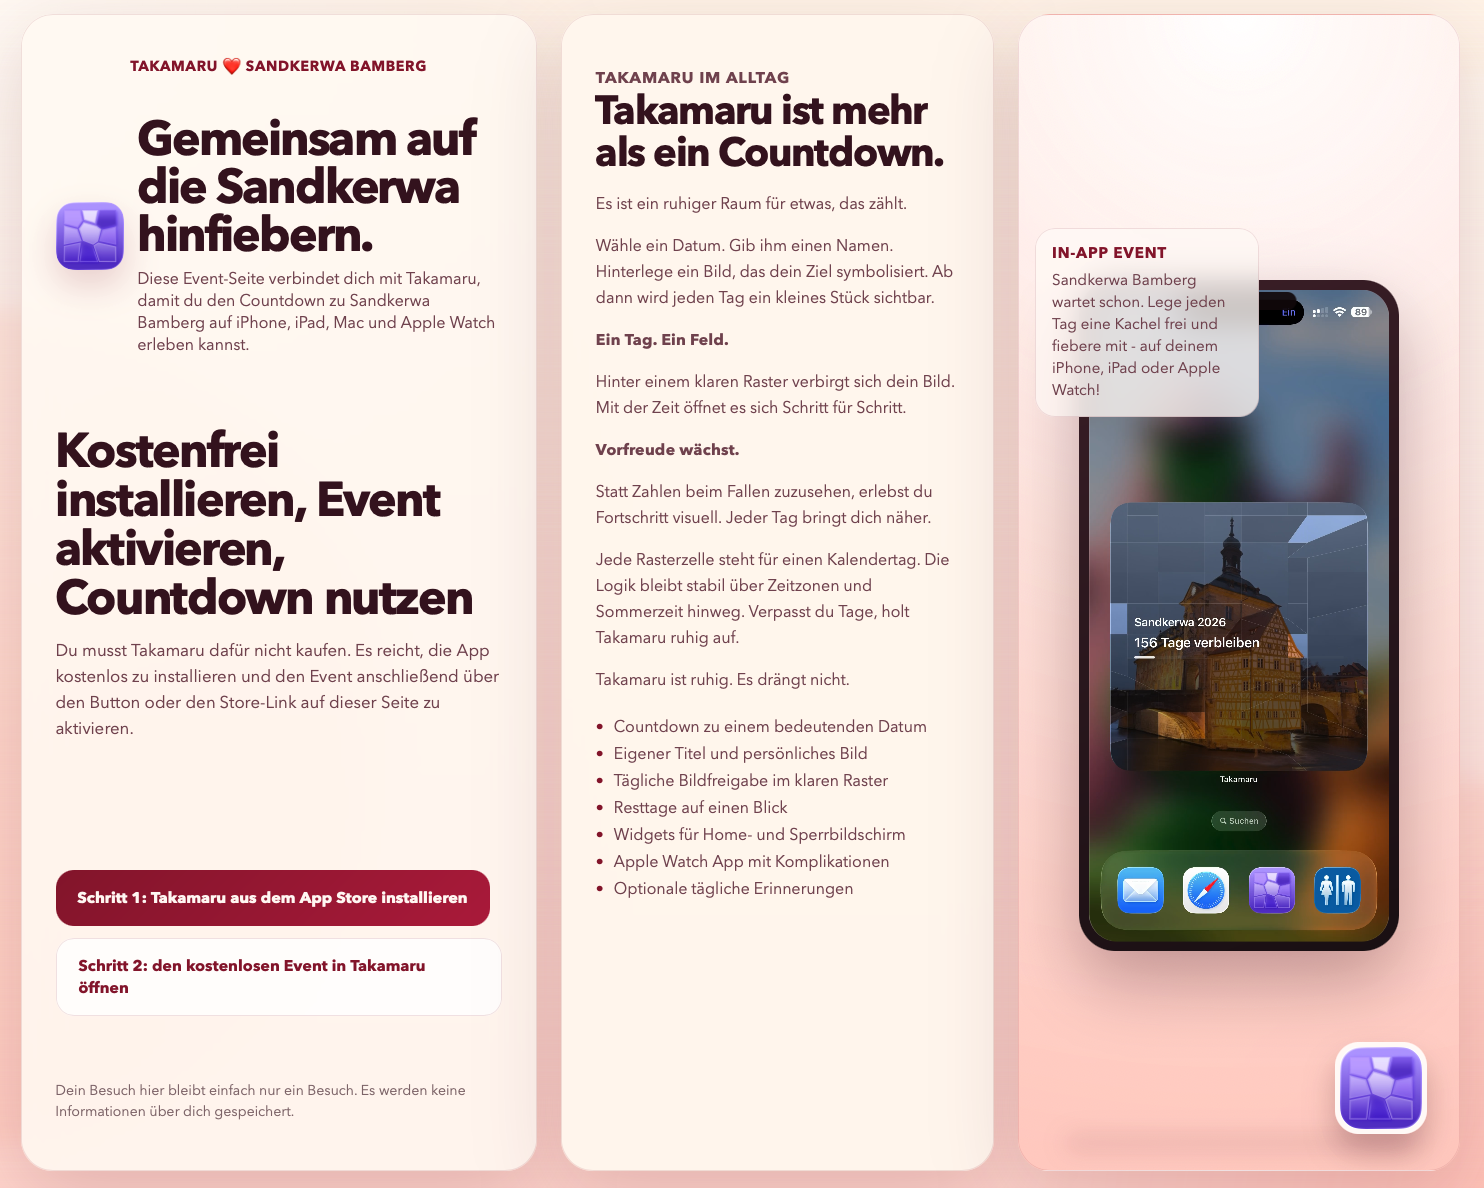
Like where we live we have a yearly festival which the whole area seems to enjoy. It’s quite a spectacle and many people take part in it. The Sandkerwa.
And so as many people can, for free, enjoy the app, the countdown and the event, we made the app handle special events. Basically: You install the app, you tap a link and it automatically adds the special event for free. You can try it right now if you want.
Go to this site and install the app and the event. Or use this direct link if you already have the app installed: takamaru://sandkerwabamberg
Happy days, right?


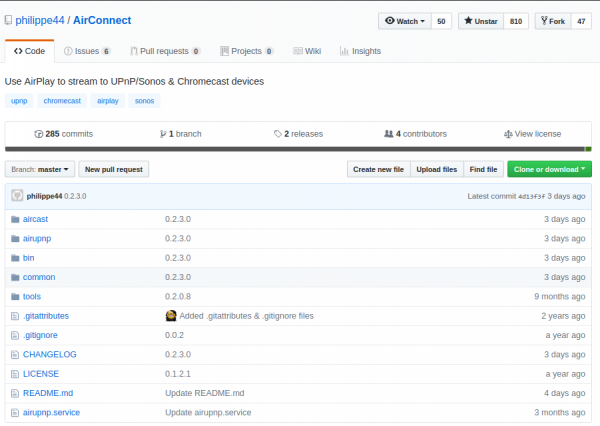
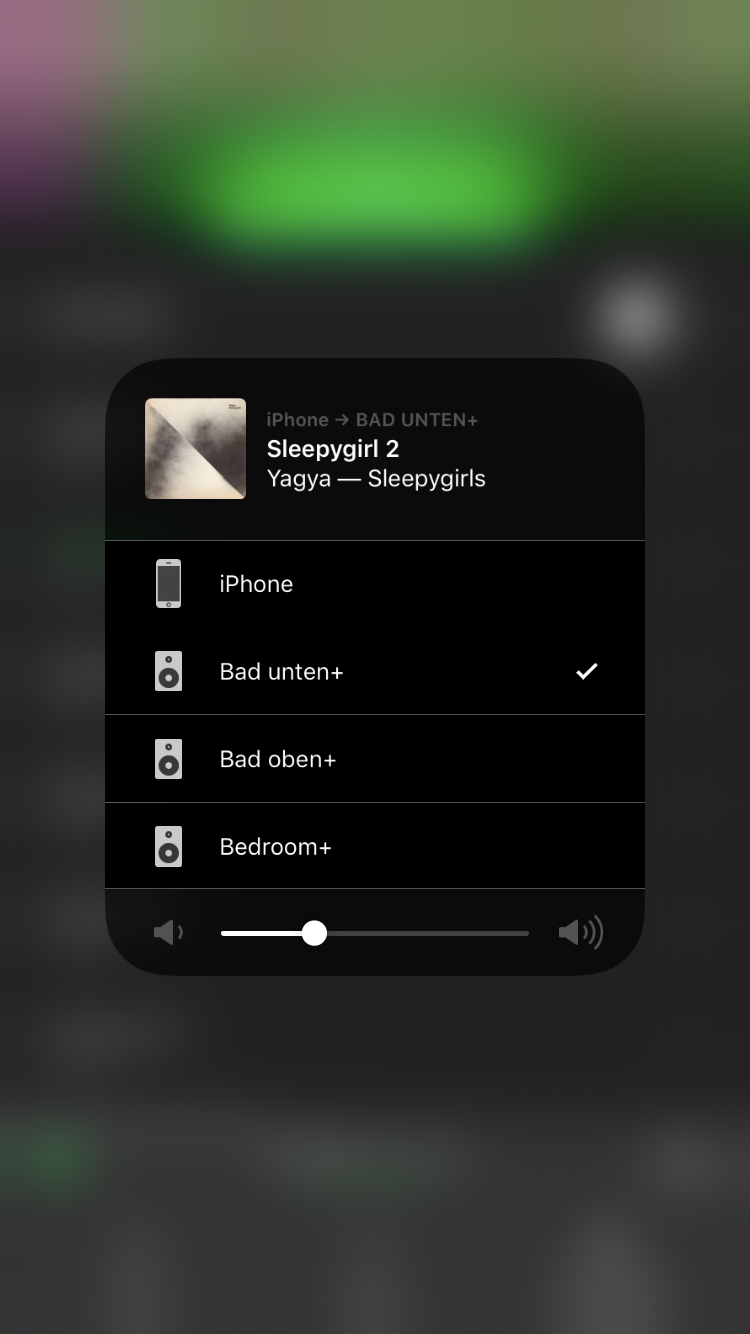
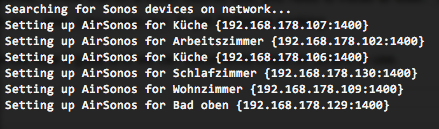
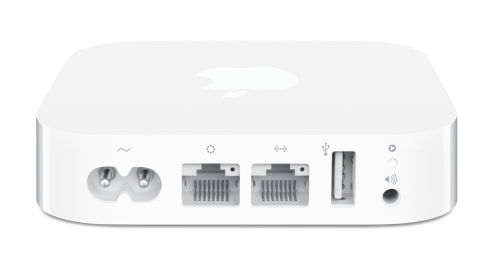 You have to get Airplay hardware (like the Airport Express/Extreme,…) and attach it physically to one of the inputs of your SONOS Set-Up. Typically you will need a SONOS Play:5 which has an analog input jack.