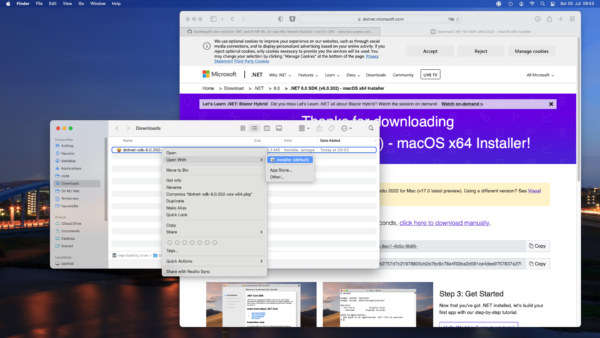
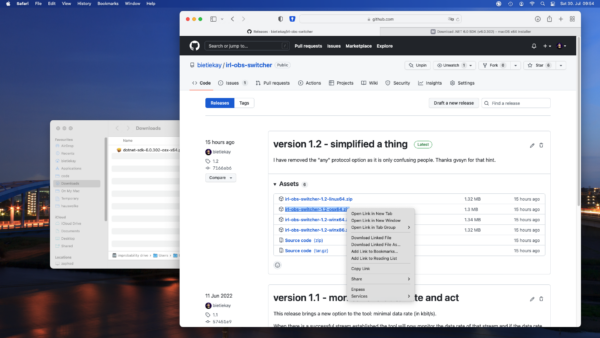
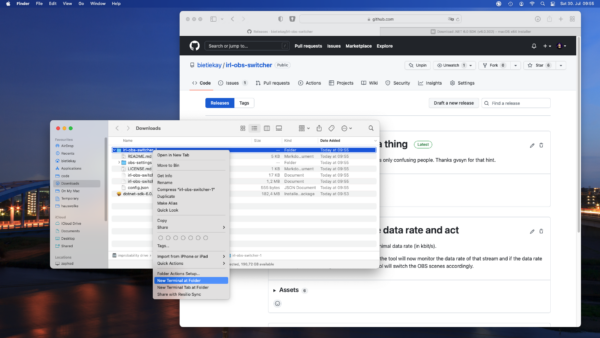
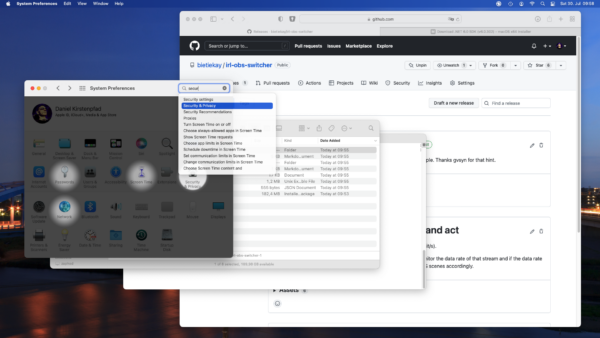
after unzipping right click the folder and select „new Terminal at Folder“. If your menu does not show this item just open a Terminal (search for Terminal) and navigate to the folder you unpacked the binary release to („cd Downloads“)
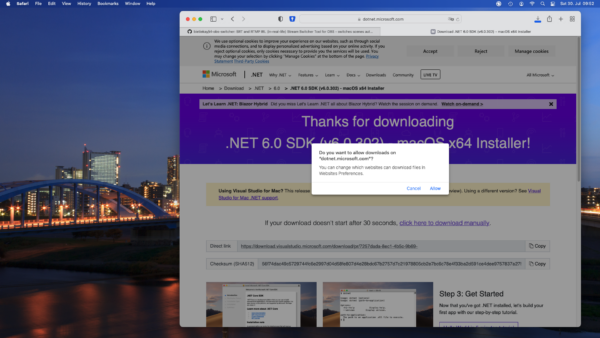
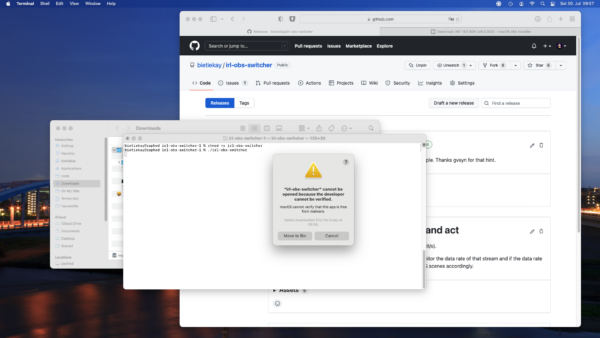
Then mark the irl-obs-switcher executable by running „chmod +x irl-obs-switcher“. Then try to run it with ./irl-obs-switcher. On current macOS you might get a pop-up warning you about the file you are trying to run. This is a default warning as the binary release of irl-obs-switcher is not signed/approved by Apple but just made available by the developer (me) to you. Choose „Cancel“ as might not want to move it to the recycle bin just yet.
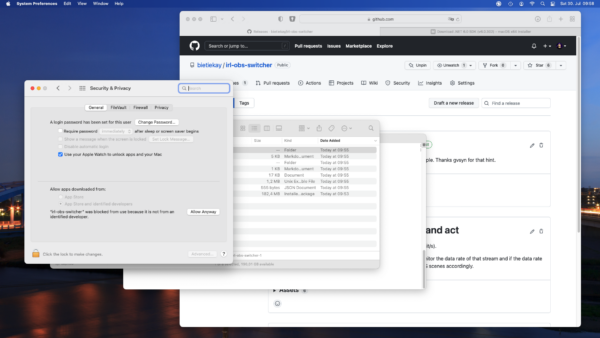
Next we need to tell macOS to anyway allow us to run the irl-obs-switcher file by going to the „Security&Privacy“ section of the System Settings.
You will see a button „Allow Anyway“ that you can click to allow running of irl-obs-switcher.
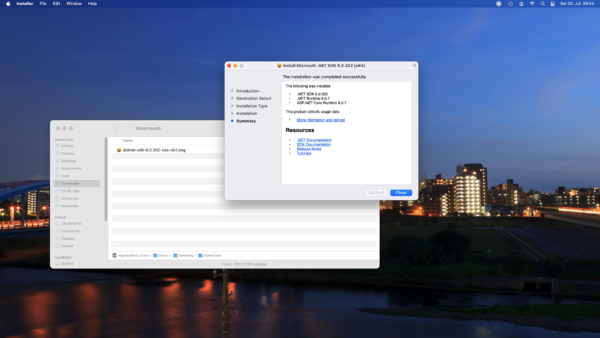
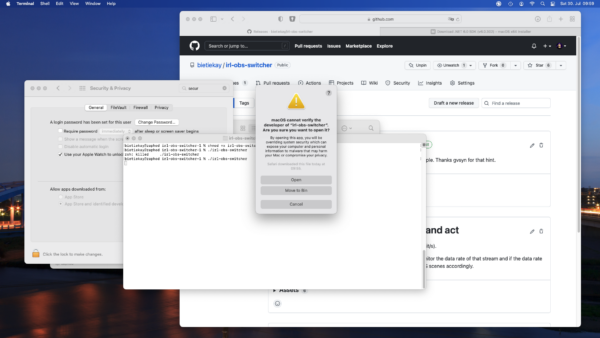
Now when you try to run irl-obs-switcher again the warning will look different. Click „Open“ and you‘re good to go.
Ever since I stumbled across several IRL streamers I was intrigued by the concept of it.
IRL or “in-real-life” is essentially the art of streaming everyday life. For hours and totally mobile. Of course there are some great gems in the vast sea of content creators. One of them – robcdee – streams for hours live almost every day and shows you his way around in Japan.
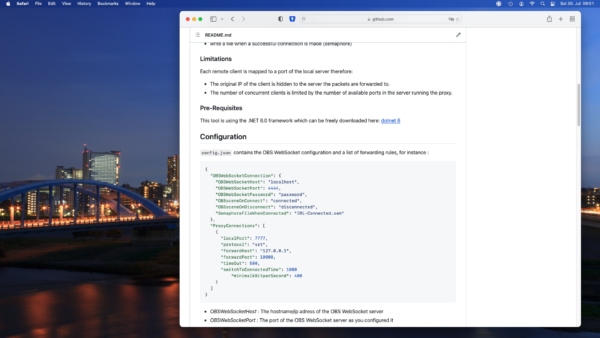
Apart from the content – Japan is great – the technical side of this IRL streaming set-ups is quite interesting. Imagine: These streamers wander around with usually a backpack filled with batteries, several modems (4G/5G…) that load balance and bundle a 2-6 Mbit/s video+audio stream that gets sent to a central server either through SRT or RTMP protocol. This central server runs OBS Studio and receives the video stream offering the ability to add overlays and even switch between different scenes and contents.
After I had a basic understanding of the underlying technologies I went ahead and started building my own set-up. I do have plenty of machines with enough internet bandwidth available so they could be the host machine of OBS Studio. I wanted all of this live in a nice docker container.
I went ahead and built a docker container that is based upon the latest Ubuntu 21.04 image and basically sets up a very minimal desktop environment accessible over VNC. In this environment there is OBS Studio running and waiting for the live stream to arrive to then send out to Twitch or YouTube.
How I have set-up this docker desktop environment exactly will be part of another blog article.
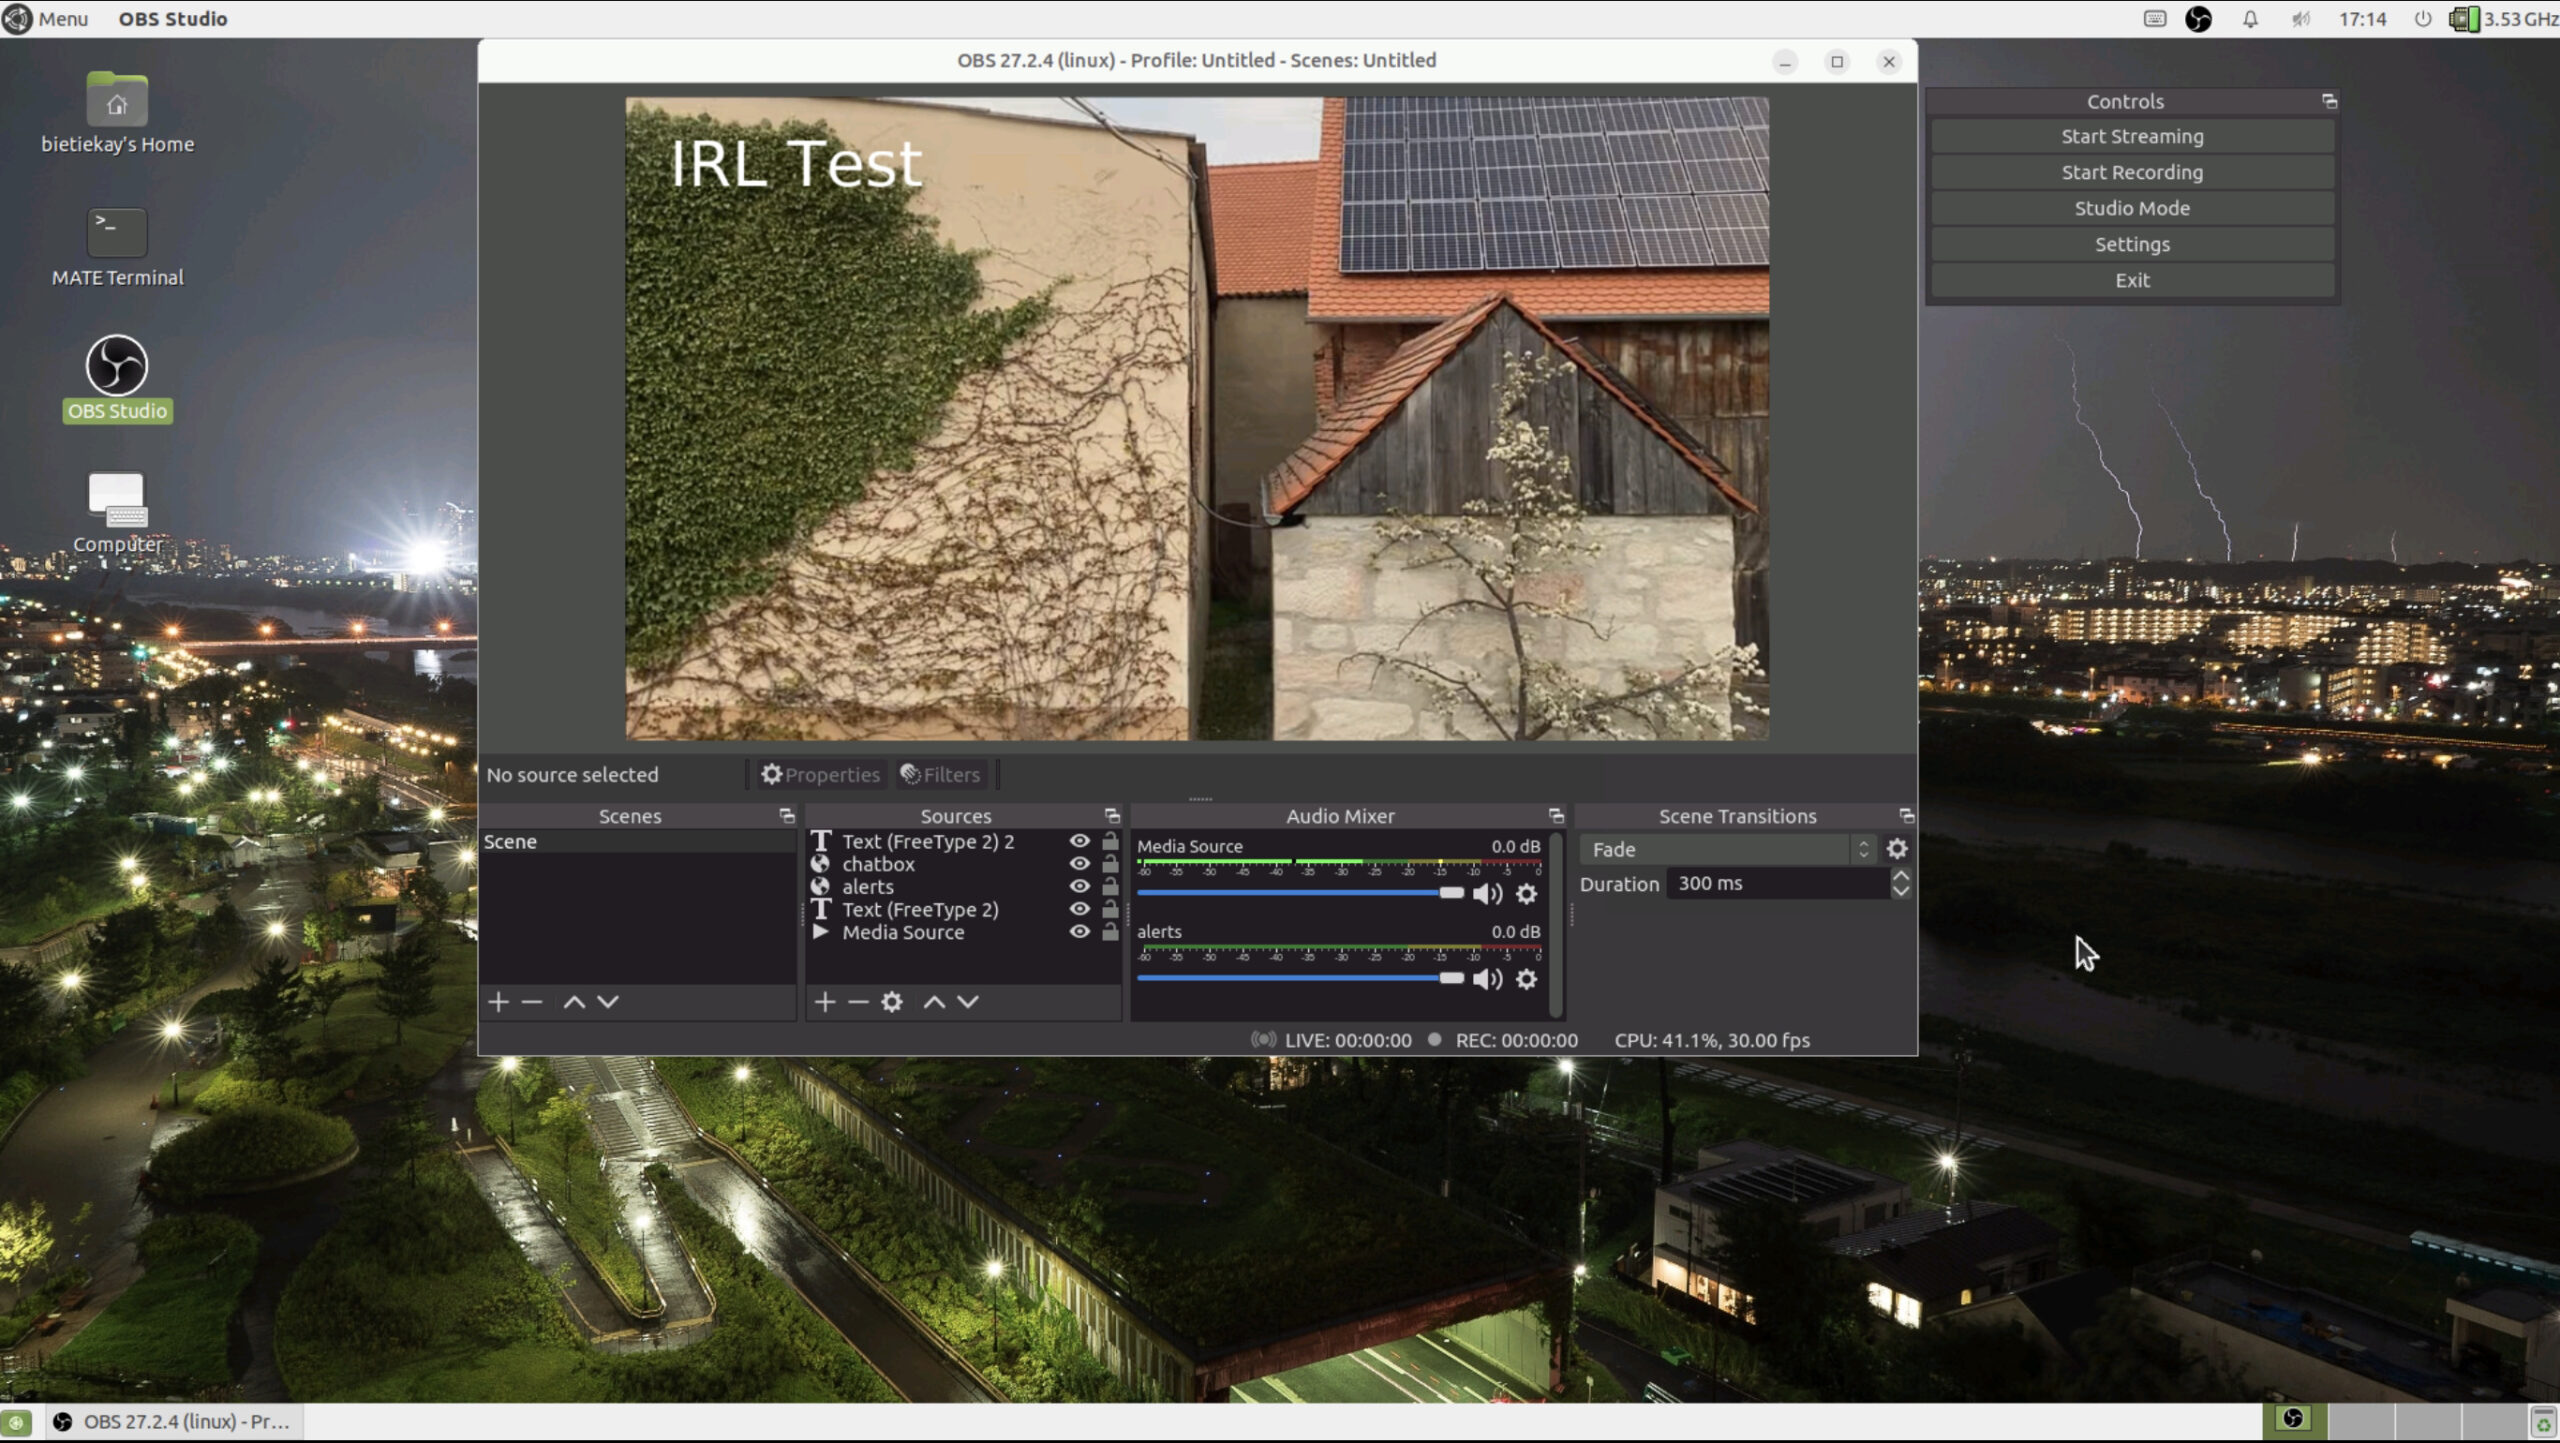
look at this nice OBS Studio running on Linux inside a Docker Container on a root server on the other side of the country…
So far so good. OBS offers the ability to define multiple scenes to switch between during a live stream.
These IRL streamers usually have one scene for when they are starting their stream and two more scenes for when they are having a solid connection from their camera/mobile setup and when they are currently experiencing connection issues.
All of the streamers seemingly use the same tooling when it comes to automatically switch between the different scenes depending on their connectivity state. This tool unfortunately is only available for Windows – not for Linux or macOS.
So I thought I give it a shot and write a platform independent one. Nothing wrong with understanding a bit more about the technicalities of live streaming, right?
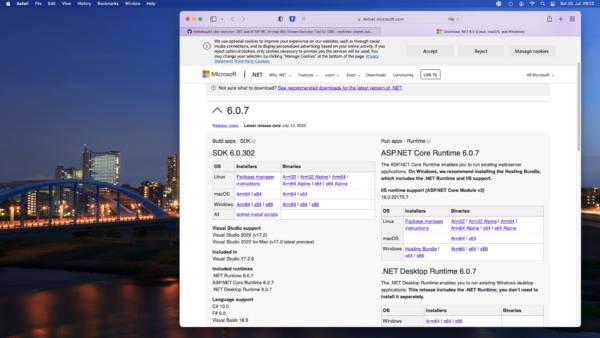
It runs on Linux, Windows, macOS as I have used the .NET framework 6.0 to create it. It is all open source and essentially just a bit of glue and logic around another open source tool called “netproxy” and OBS WebSocket.net.
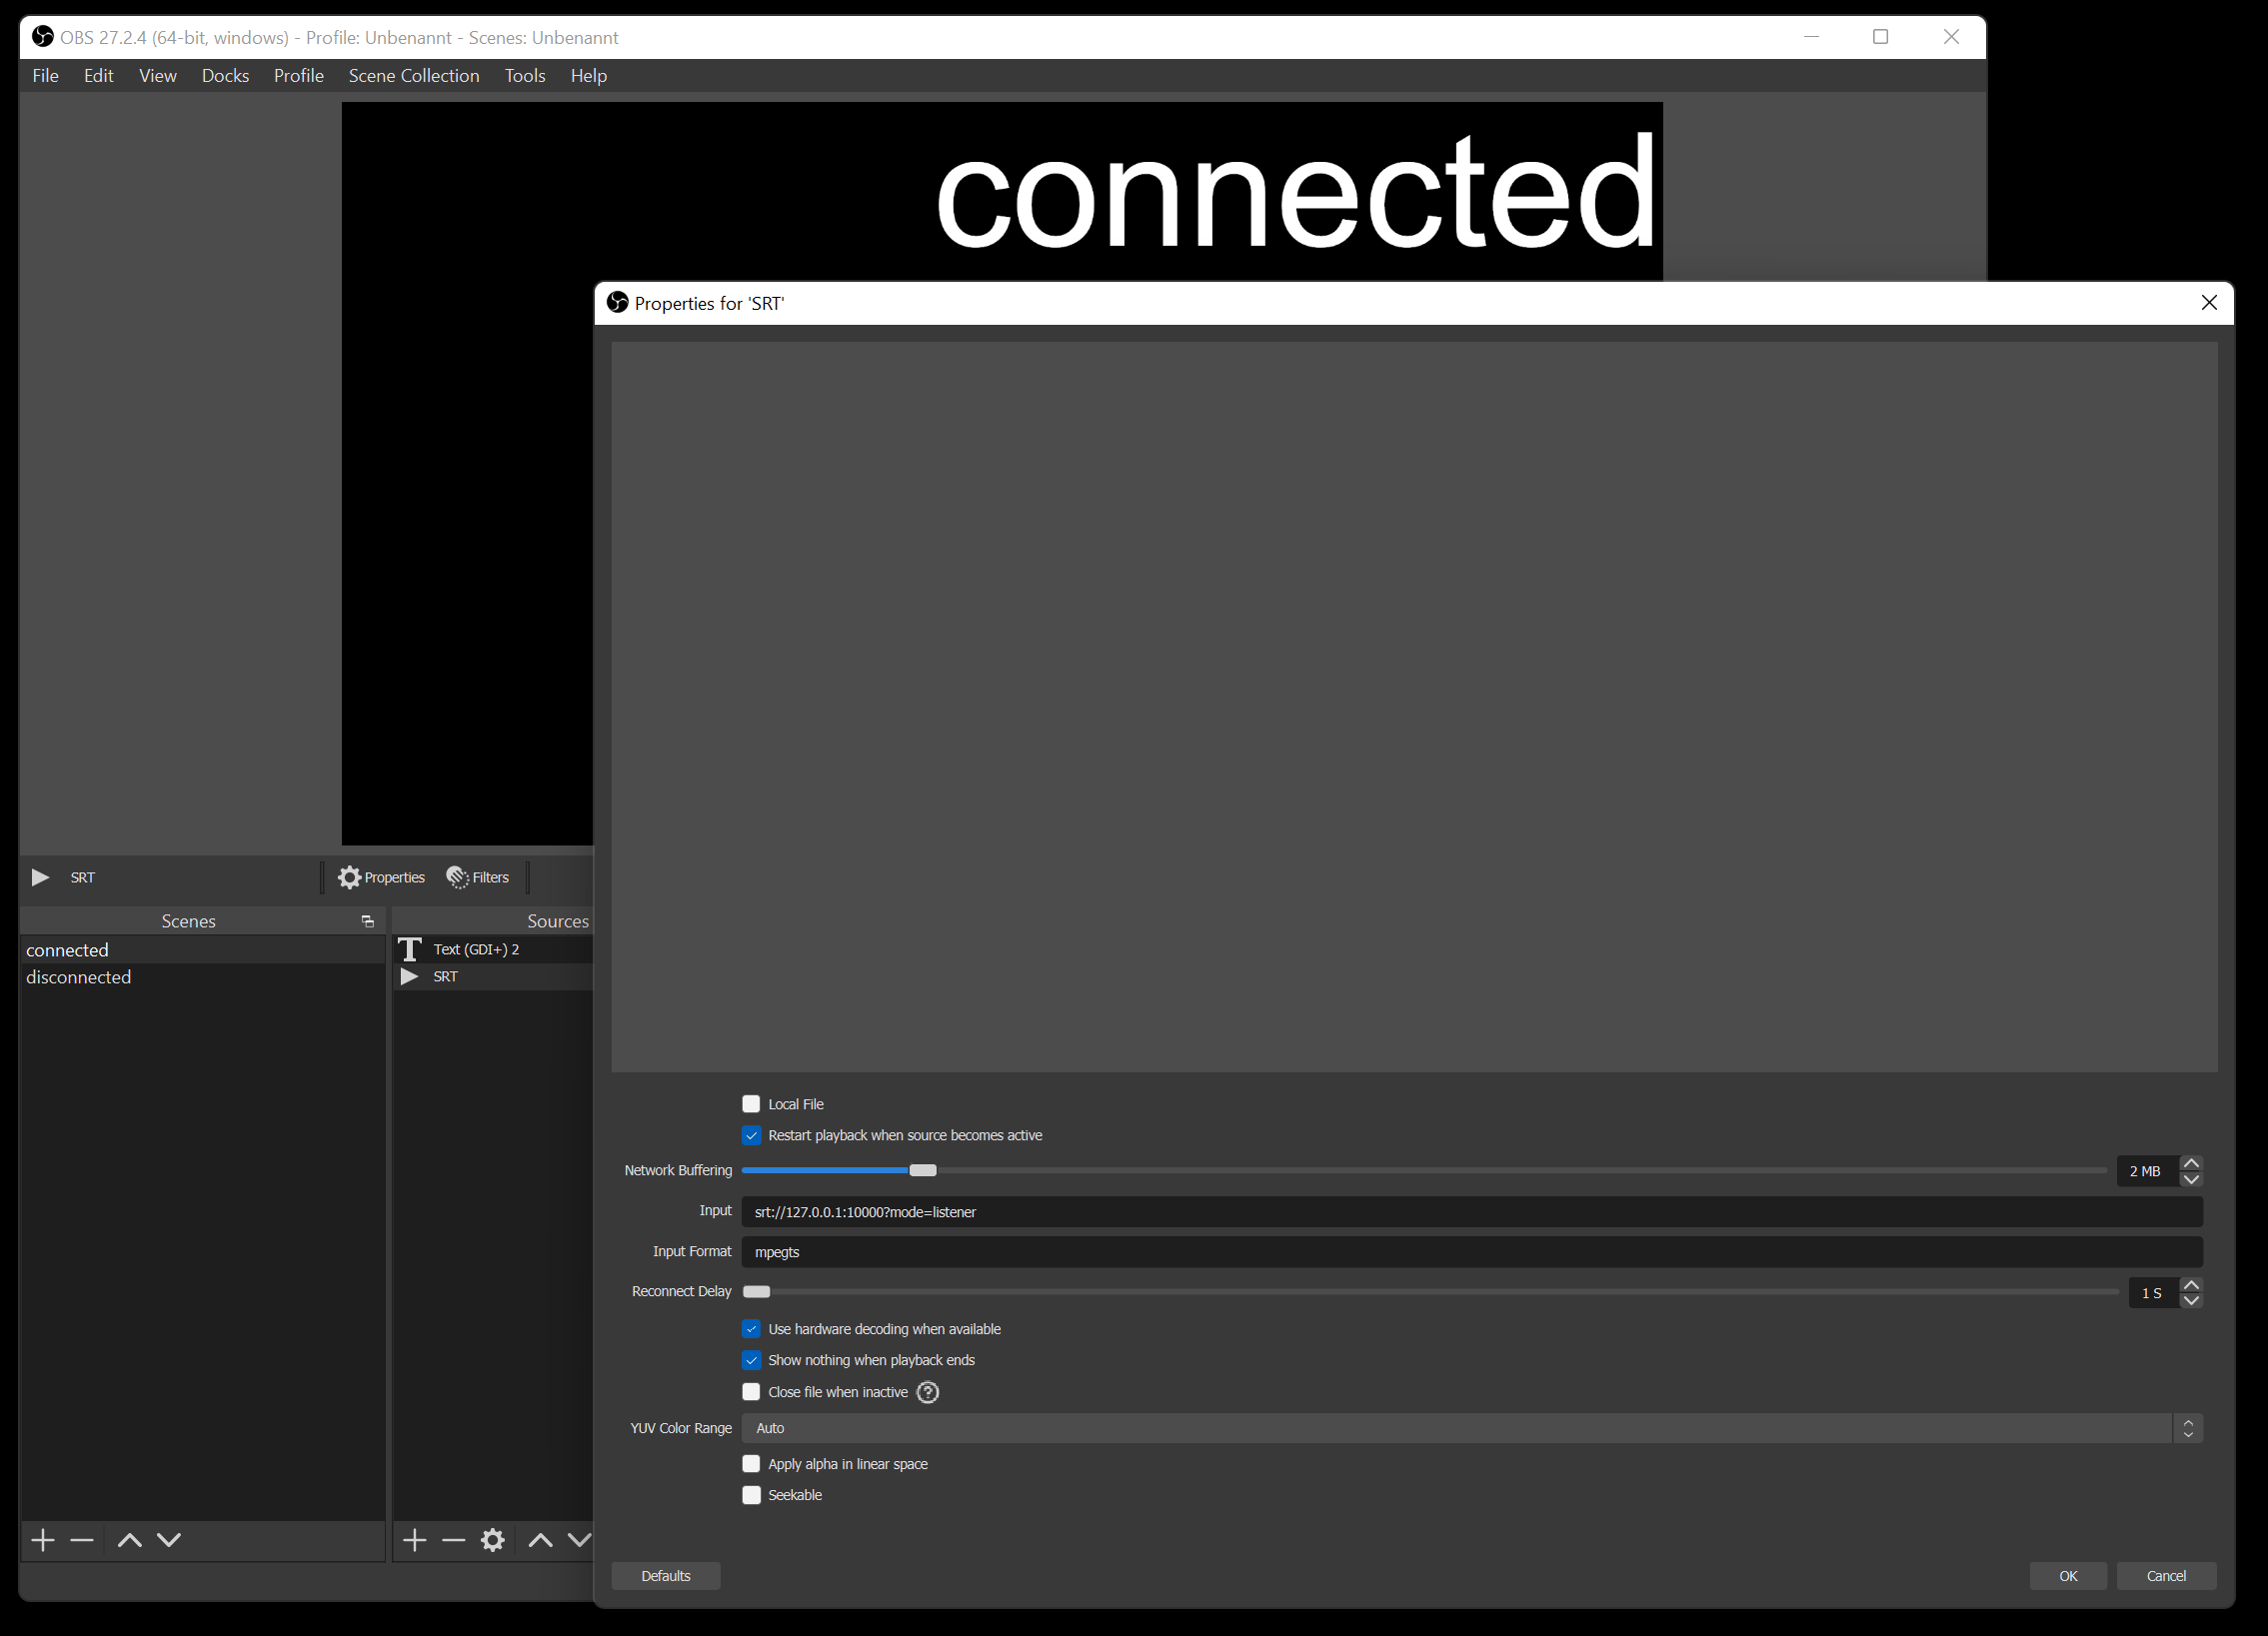
My tool basically runs on all sorts of platforms – including Linux, Windows and macOS. I run it inside the docker container with the OBS Studio. It essentially proxies all data to OBS and monitors wether or not the connection is established or currently disconnected. Furthermore it can be configured to switch scenes in OBS. So depending on wether there is a working connection or not it will switch between a “connected” and “disconnected” scene all automatically.
the “connected” scene configured as an SRT media source
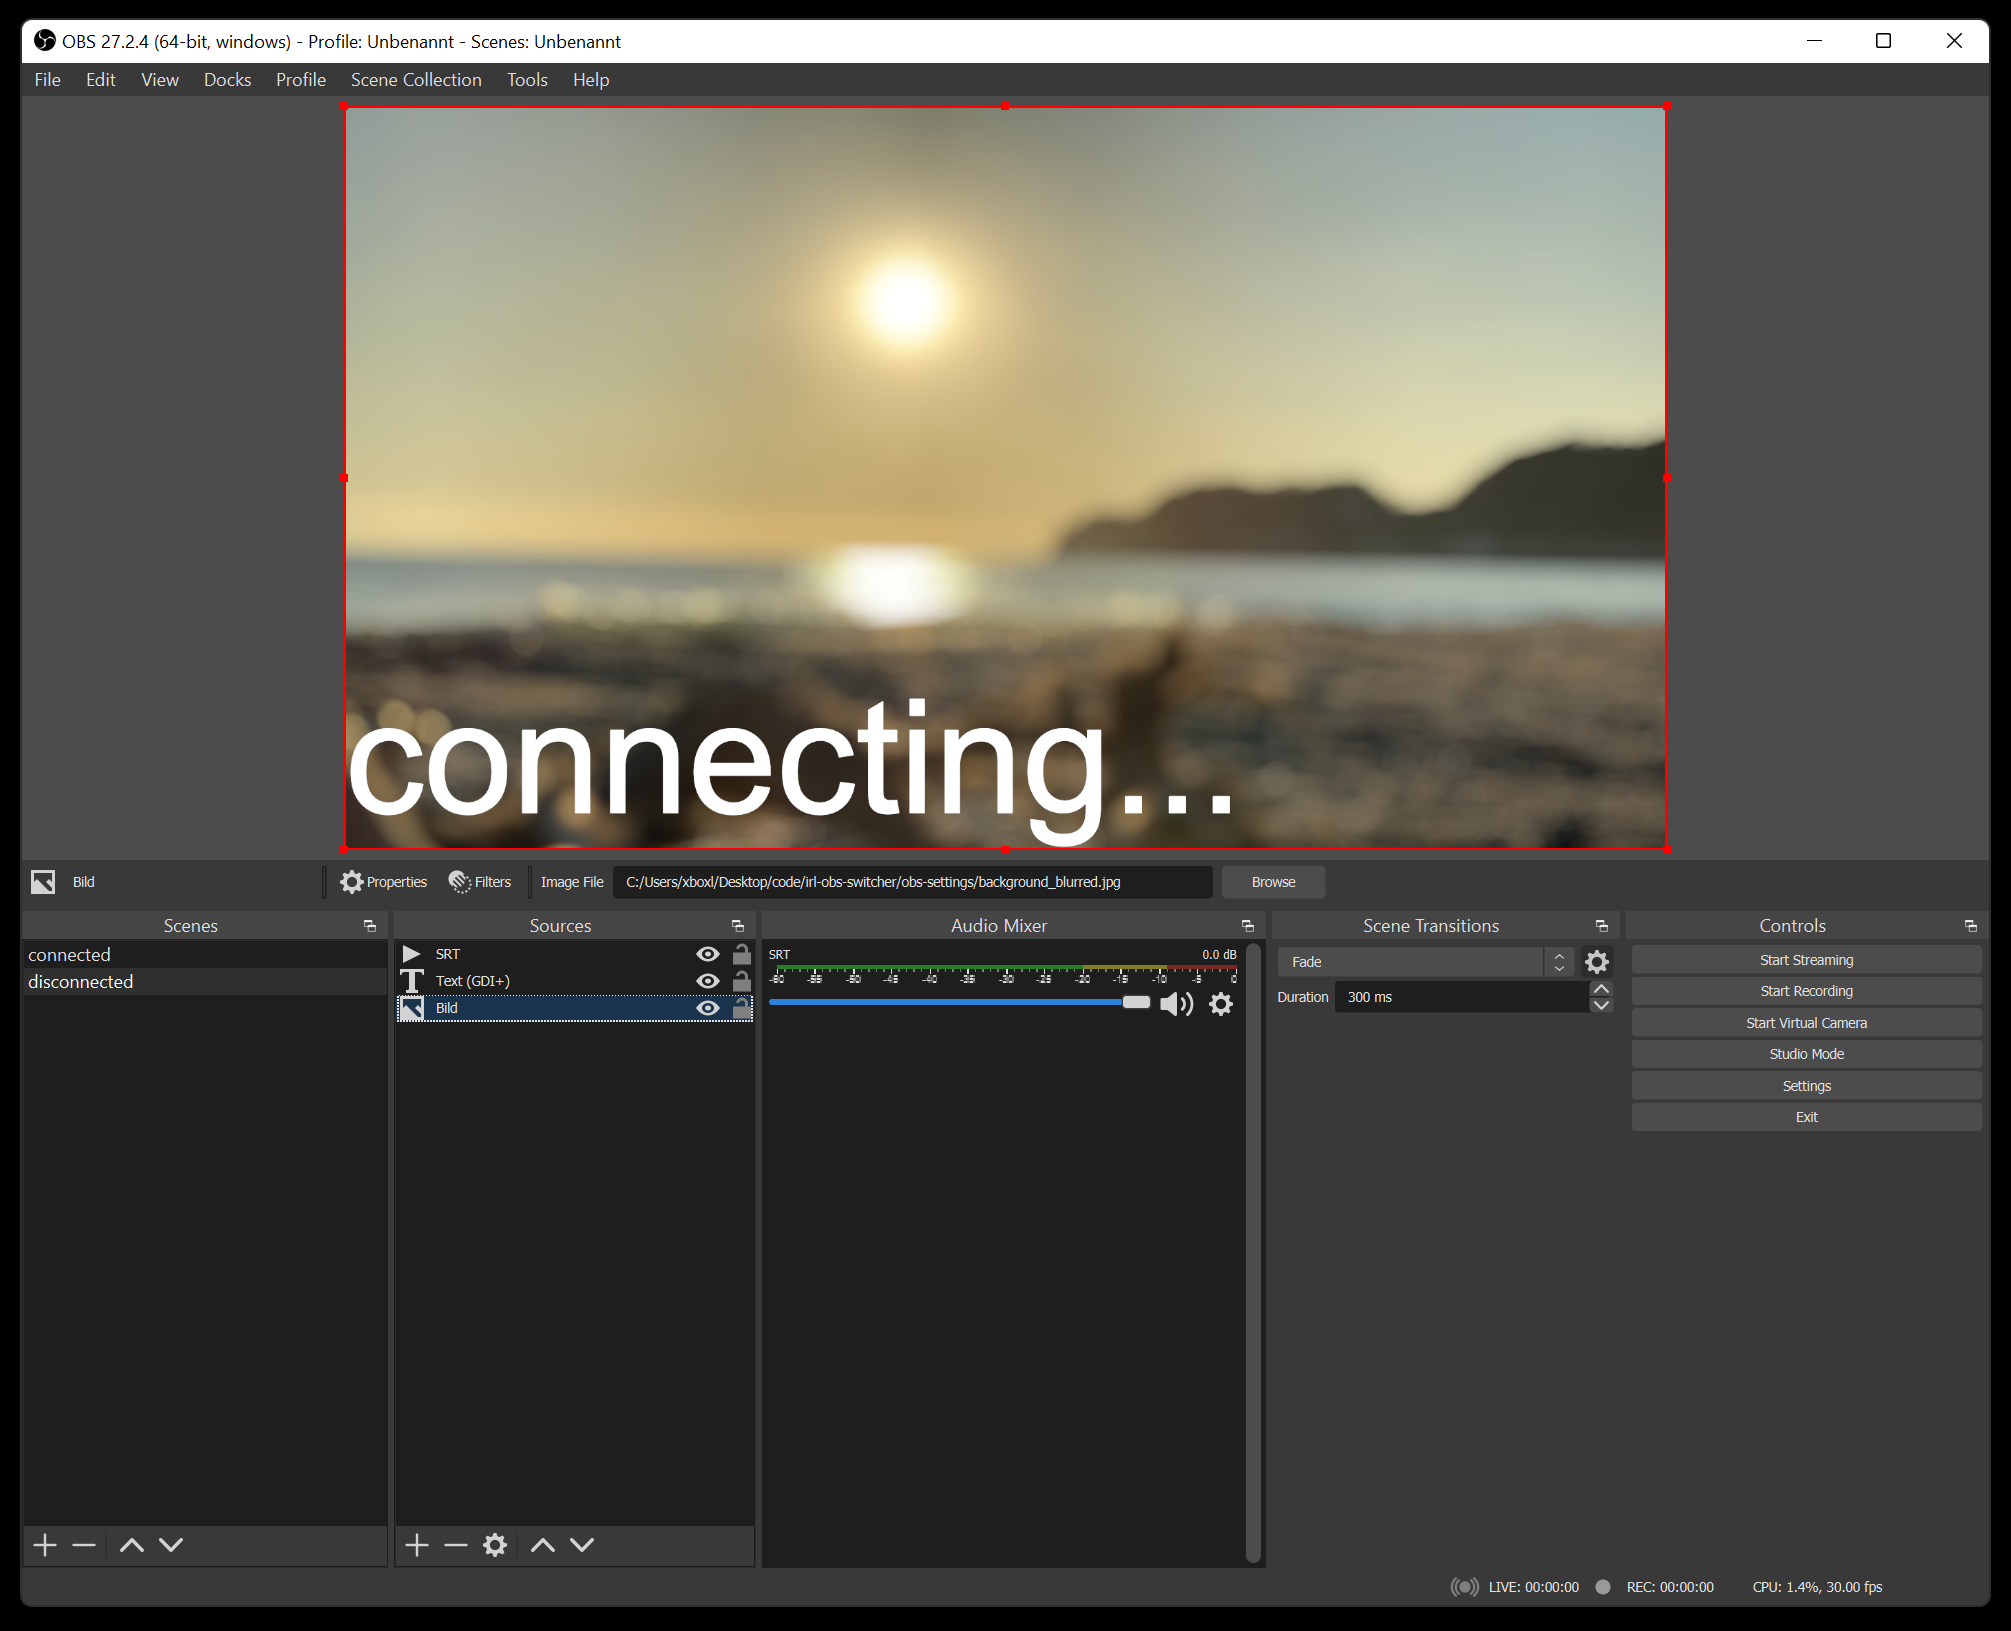
So when you are out and about live streaming your day this little tool takes care of controlling OBS Studio for you.
the “disconnected” scene configured to play a nice beach sunset and quiet music to calm people down as the live streamer reconnects…
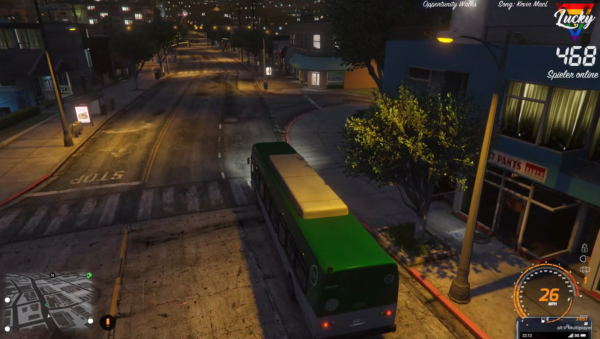
Gleich zu Anfang habe ich mir meinen Stream so eingerichtet dass jeweils der aktuelle Spieler-Counter immer im Bild zu sehen war. Ich finde das einfach eine ganze witzige Information vor allem für LuckyV-Interessierte.
rechts oben – die aktuelle Zahl der gleichzeitigen Spieler auf LuckyV
Meine ursprüngliche Implementierung war etwas kompliziert – zu kompliziert um sie einfach mit anderen zu teilen.
Daher habe ich mich entschlossen den Zähler in eine eigene Windows Applikation zu verpacken die von Streamern einfach verwendet und in OBS eingebunden werden kann.
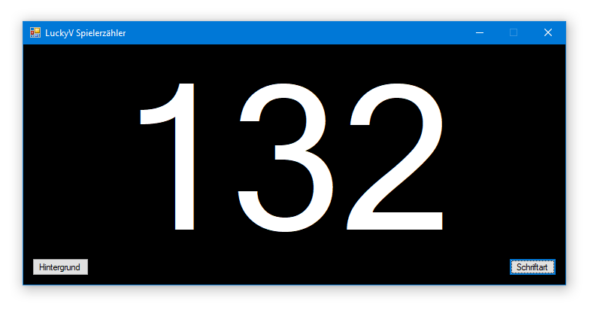
Starten und prüfen ob die Zahl auch angezeigt wird – es sollte ungefähr so aussehen:
Man kann das nun auf zwei Wegen einbinden.
Weg 1: Fensteraufnahme
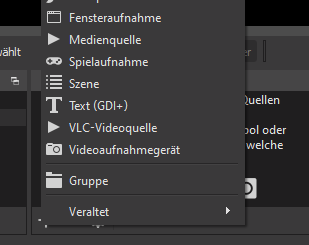
In der Applikation kann man Hintergrundfarben sowie Schriftart und Farbe konfigurieren. Wenn man das erledigt hat wie man es haben will wählt man im Quellenmenü “Fensteraufnahme” und dann das Applikationsfenster.
Fensteraufnahme
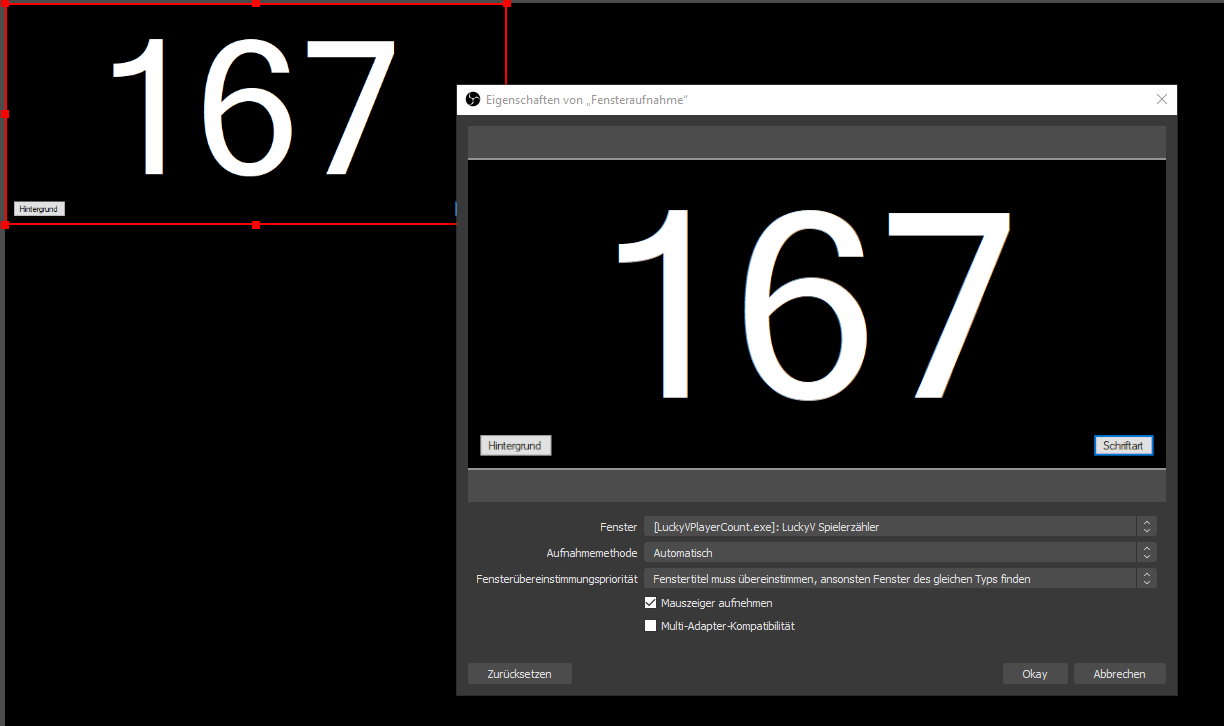
Diese Quelle kann man dann wie man möchte konfigurieren. z.B. mit Filtern um bis auf die Schrift alles transparent zu gestalten oder oder oder…
Weg 2: playercount.txt
Wenn die Applikation läuft aktualisiert sie ständig eine Datei “playercount.txt” im gleichen Ordner. Man kann nun OBS so konfigurieren dass diese Datei regelmässig ausgelesen und angezeigt wird.
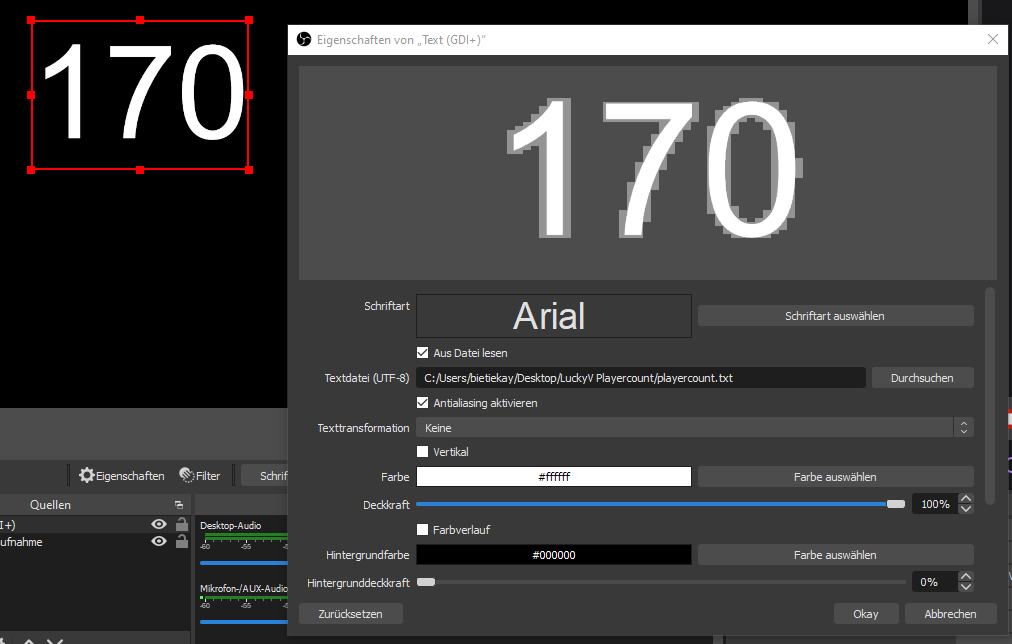
Dazu fügt man ein “Text (GDI+)” im Quellenmenü hinzu und konfiguriert diese Quelle so dass der Text aus einer Datei gelesen wird:
Hier kann man dann auch beliebig Schriftart, Größe und Farbe konfigurieren.
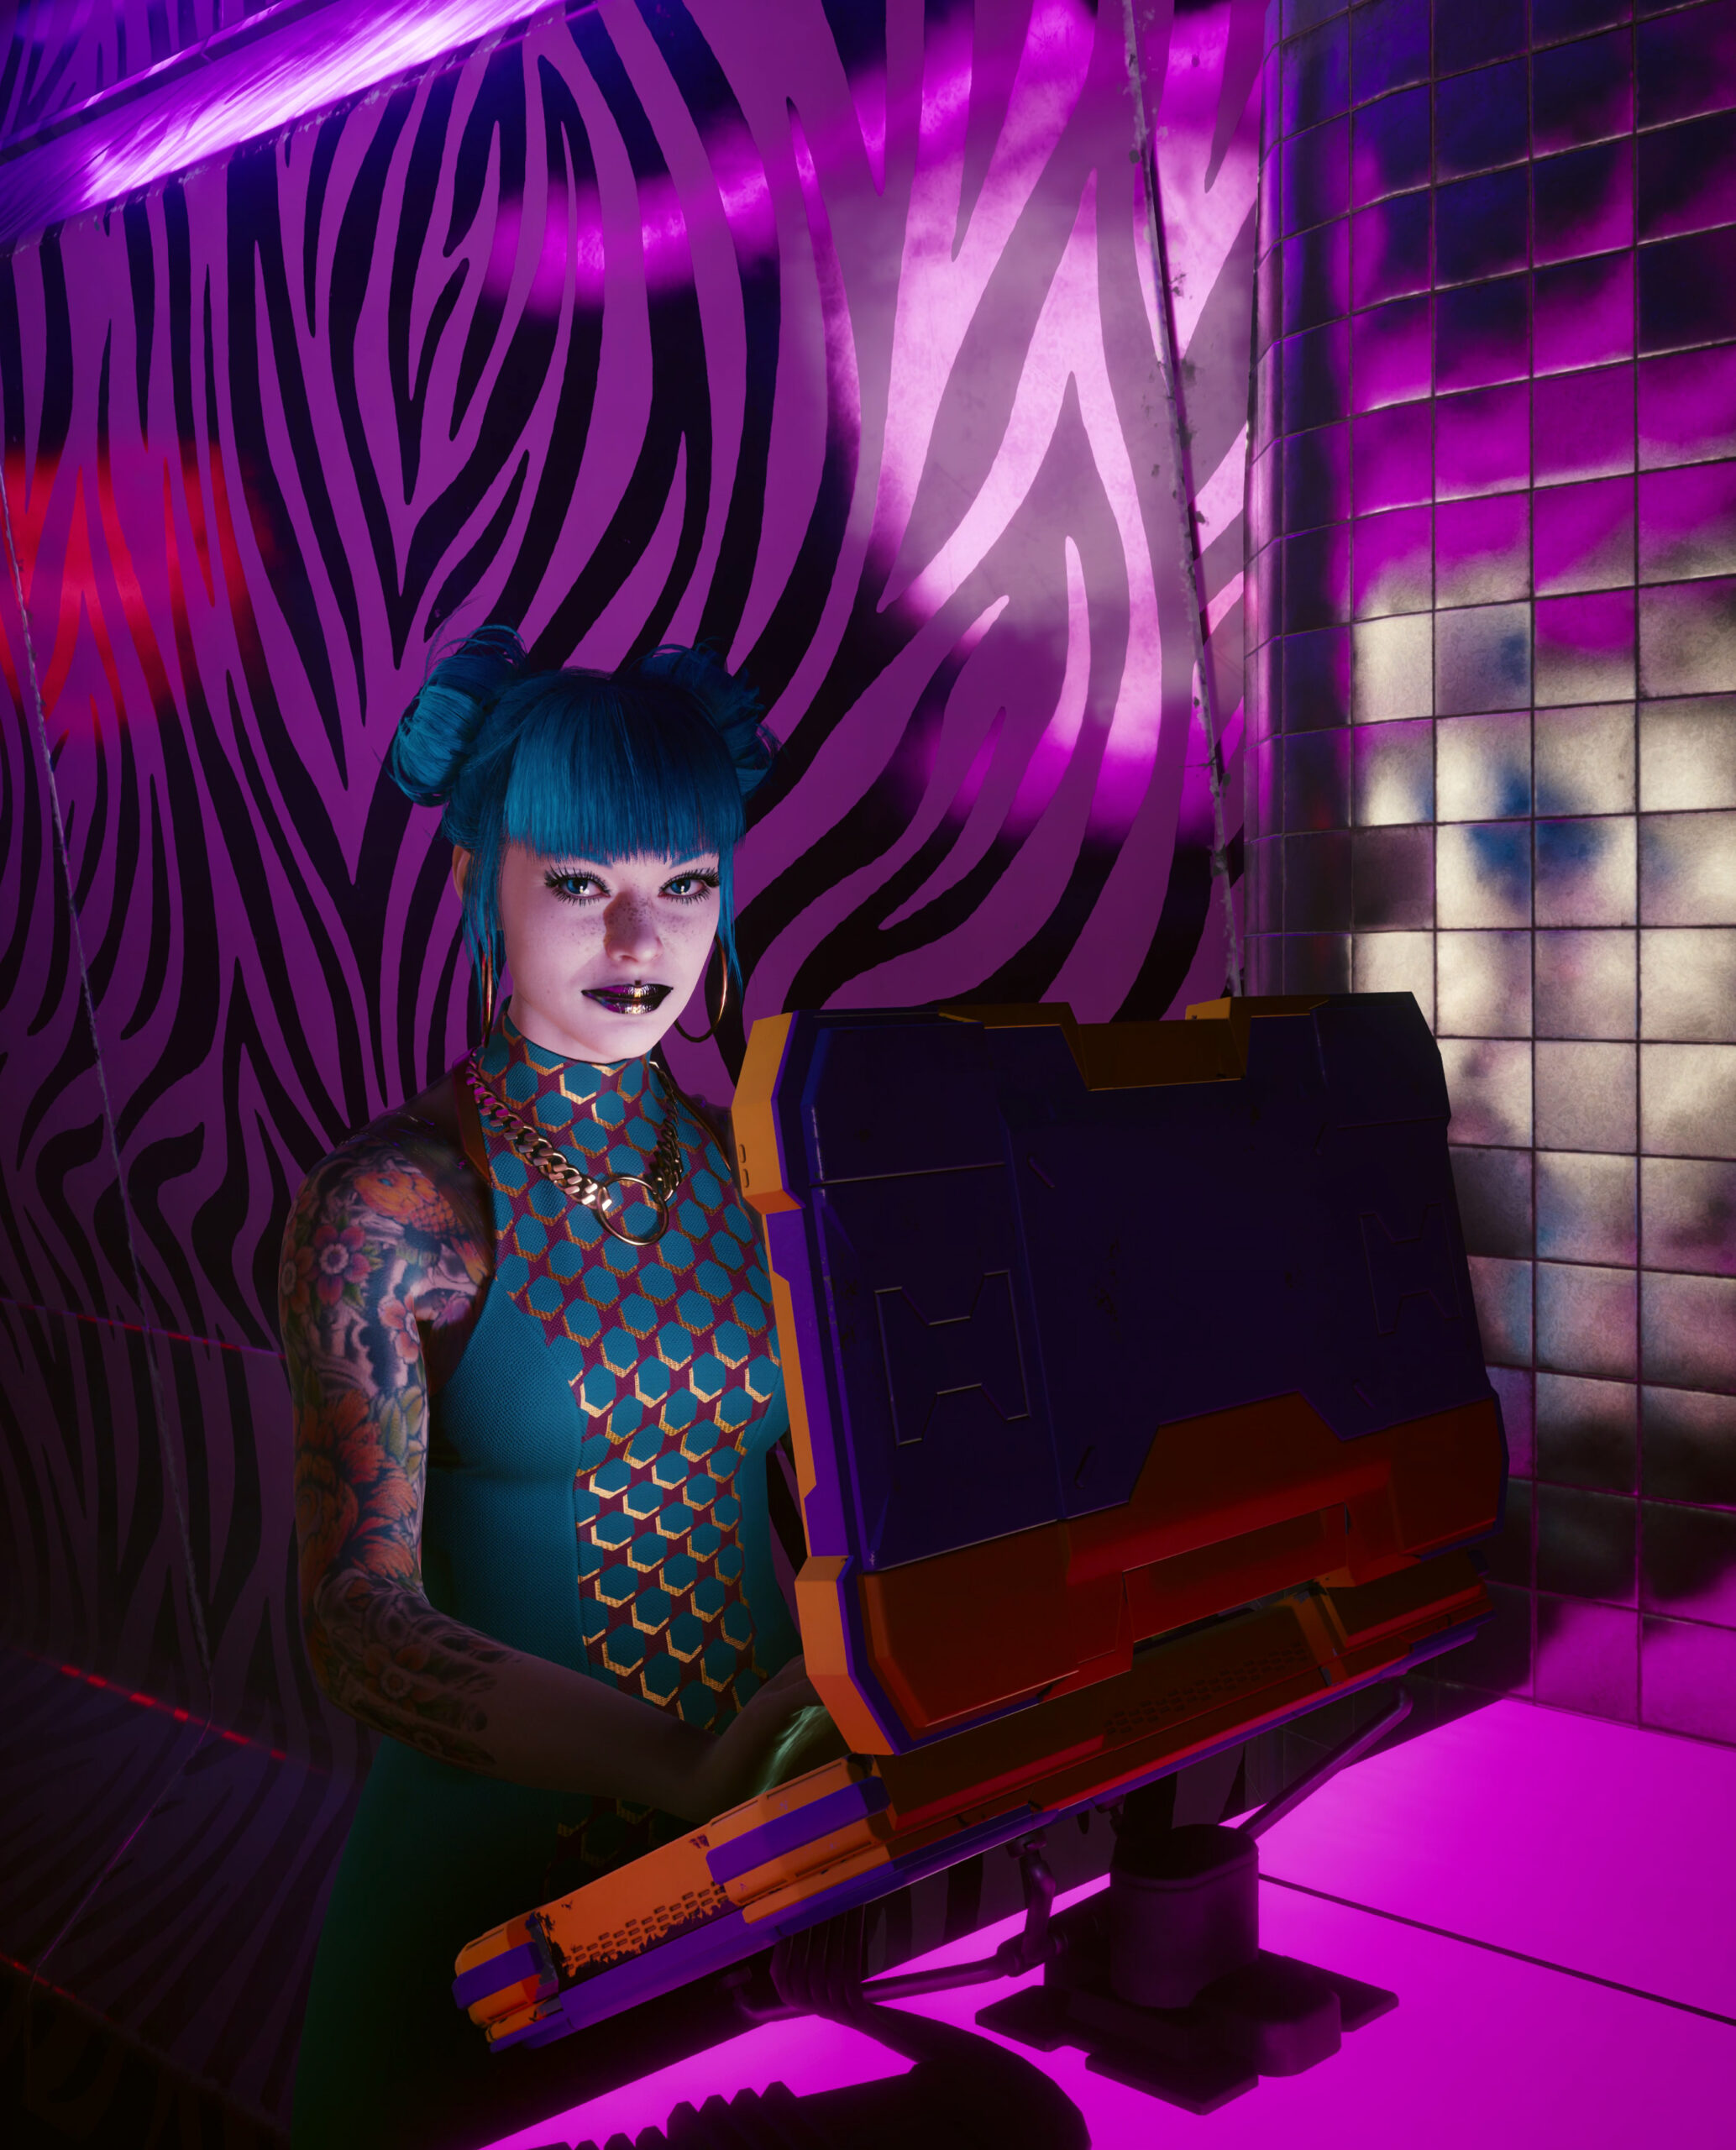
In part 1 I wrote a bit about this great game and shared some screenshots. By now I’ve finished the story and almost all side-quests and I still see it as the best game since years.
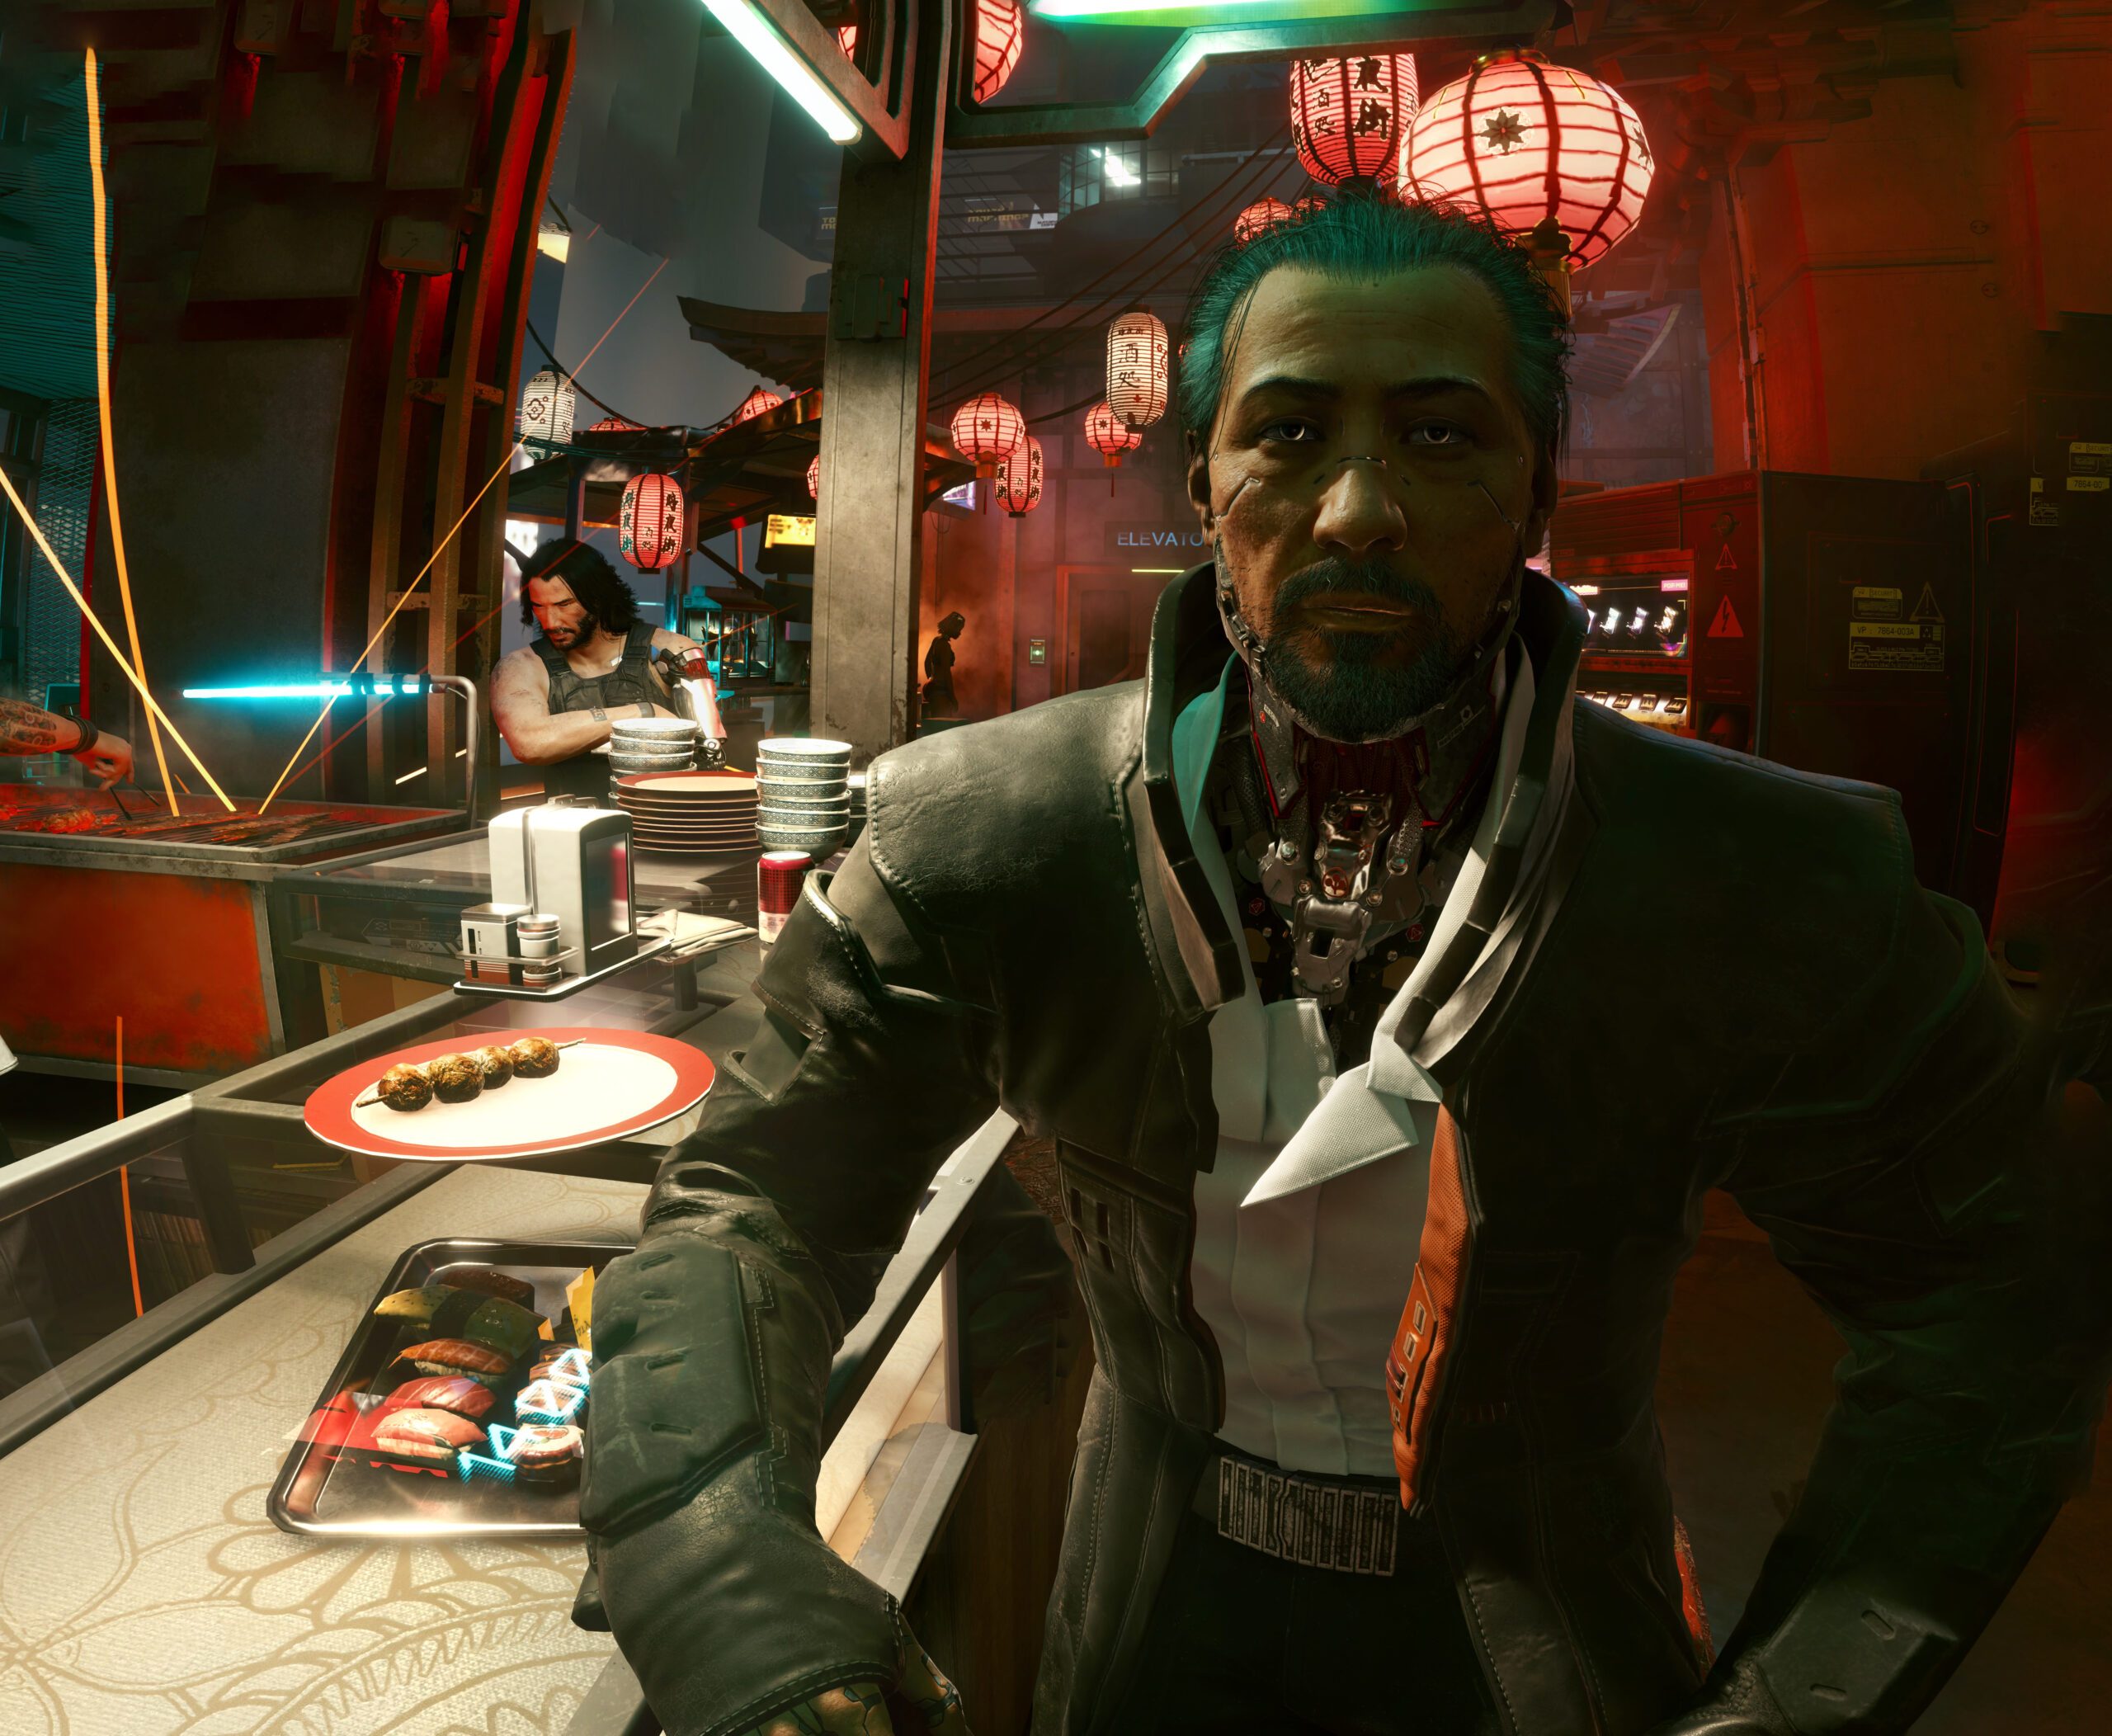
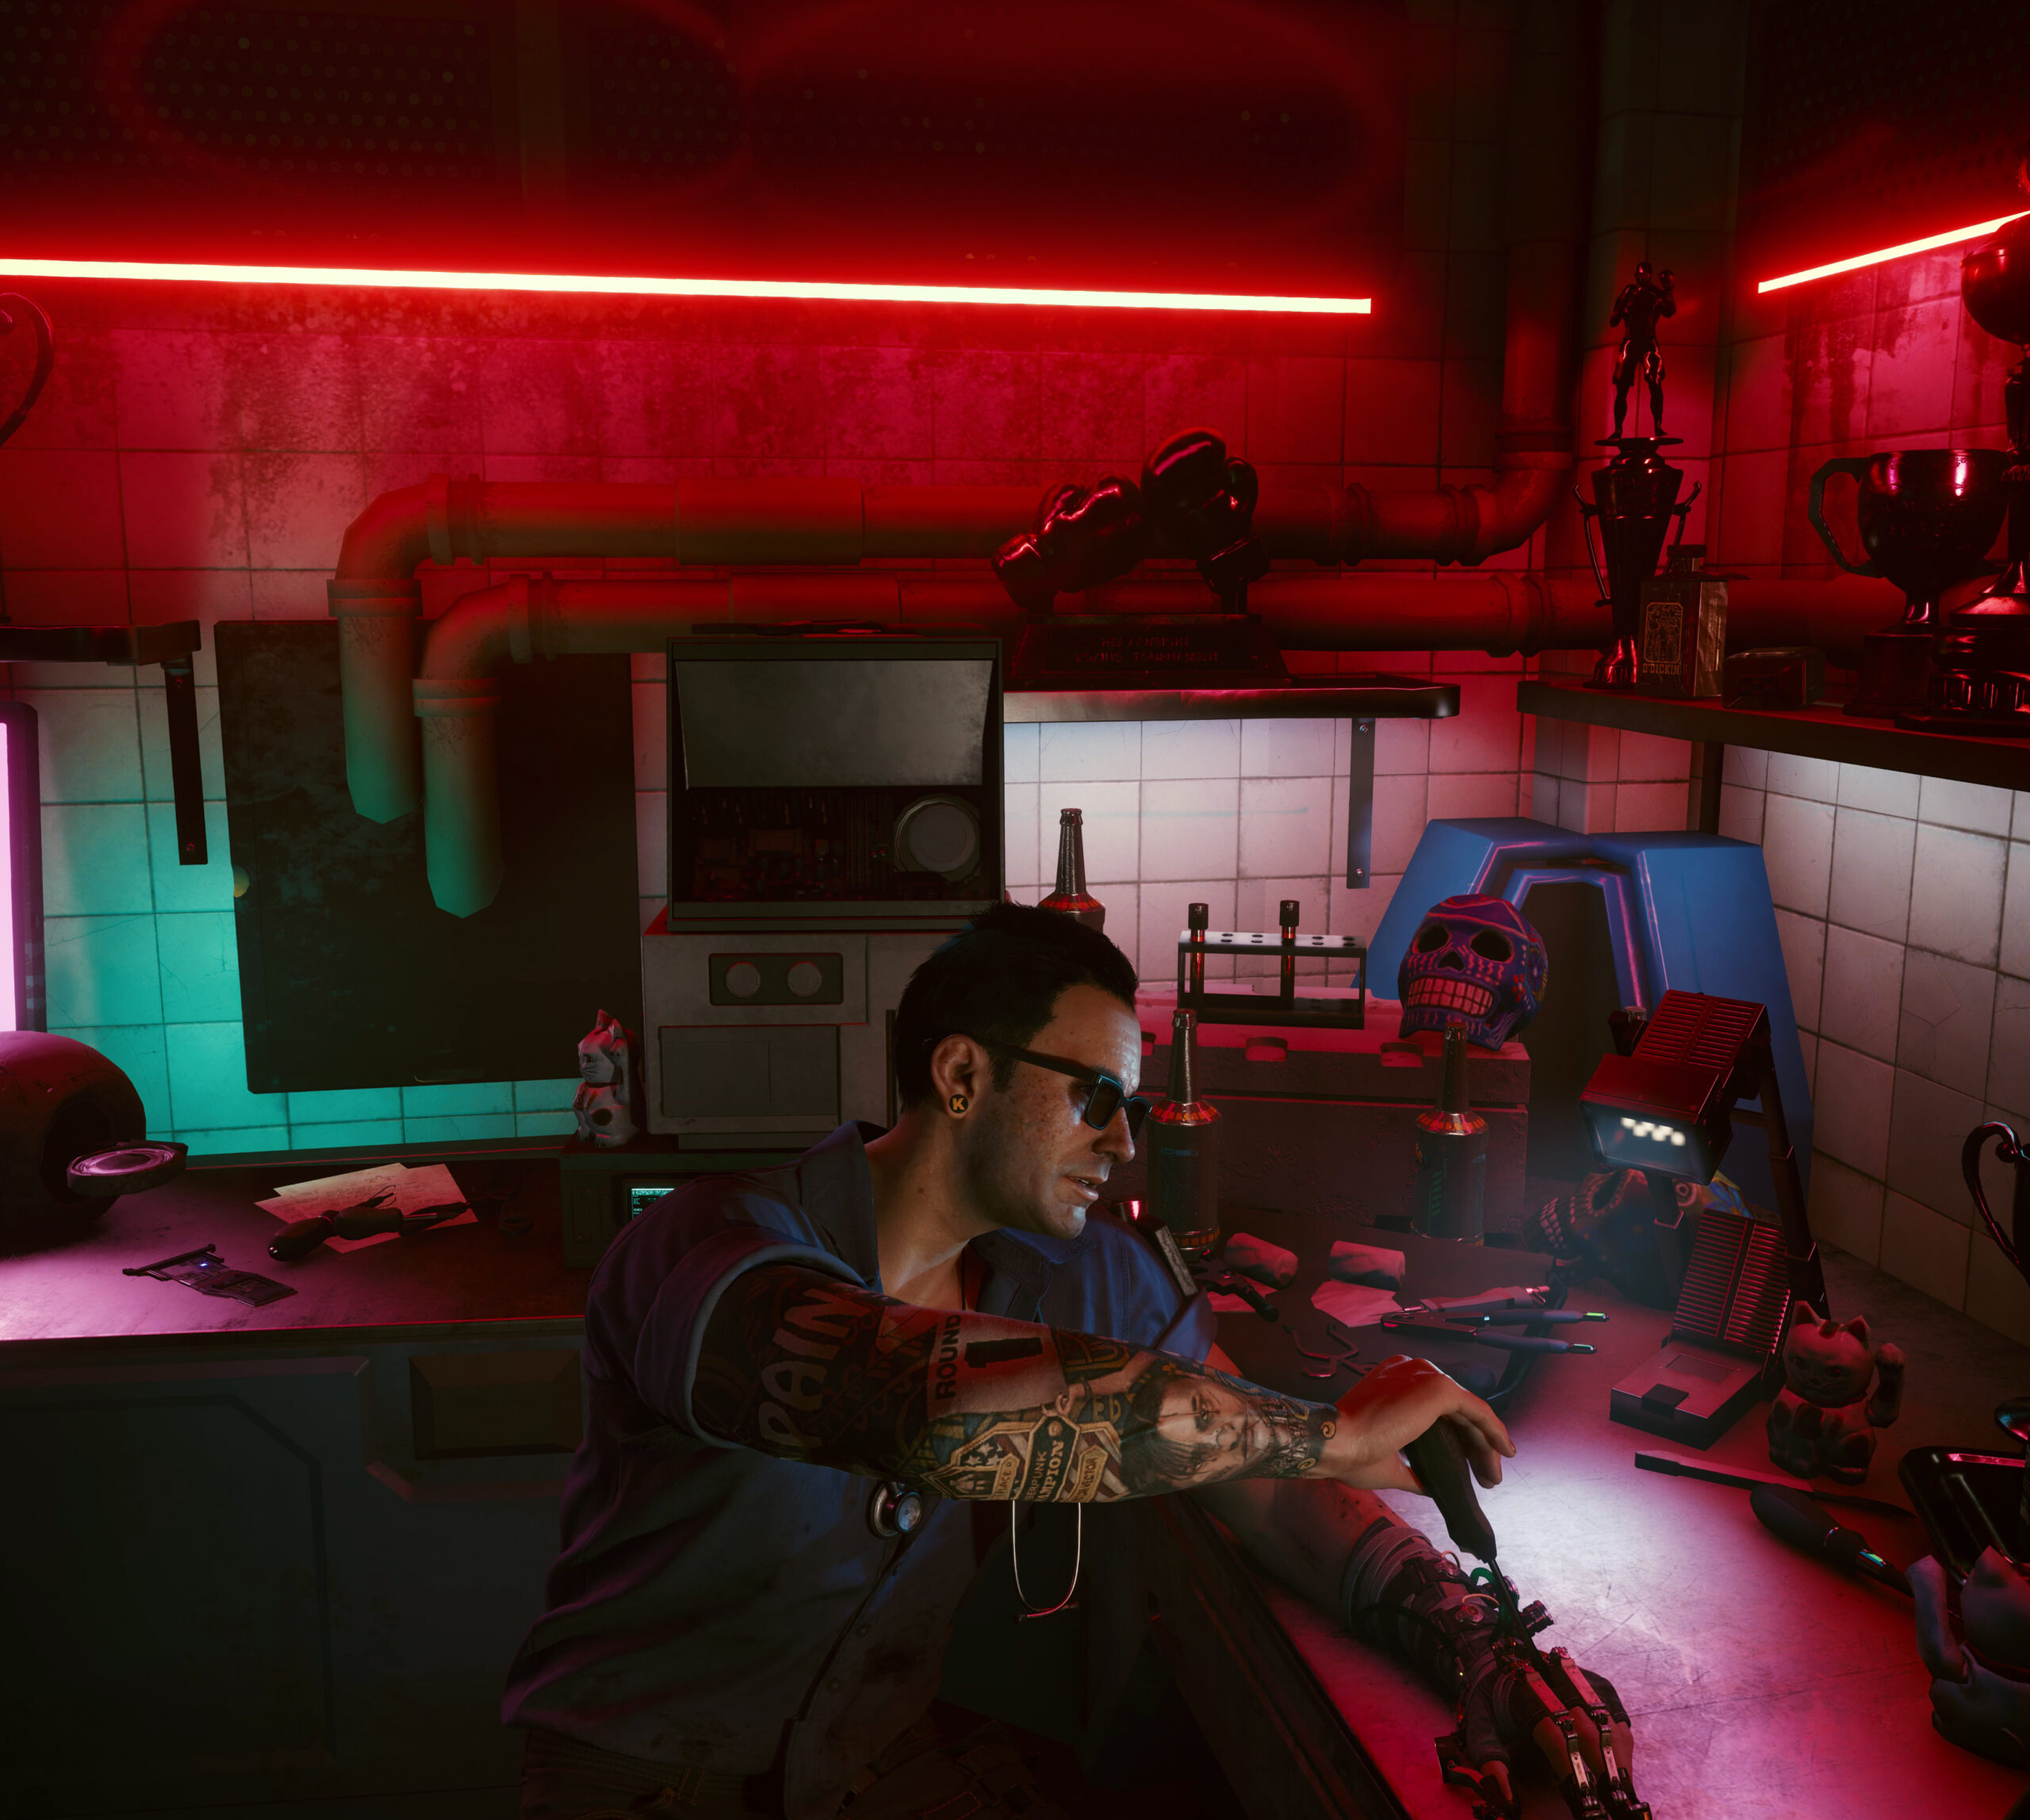
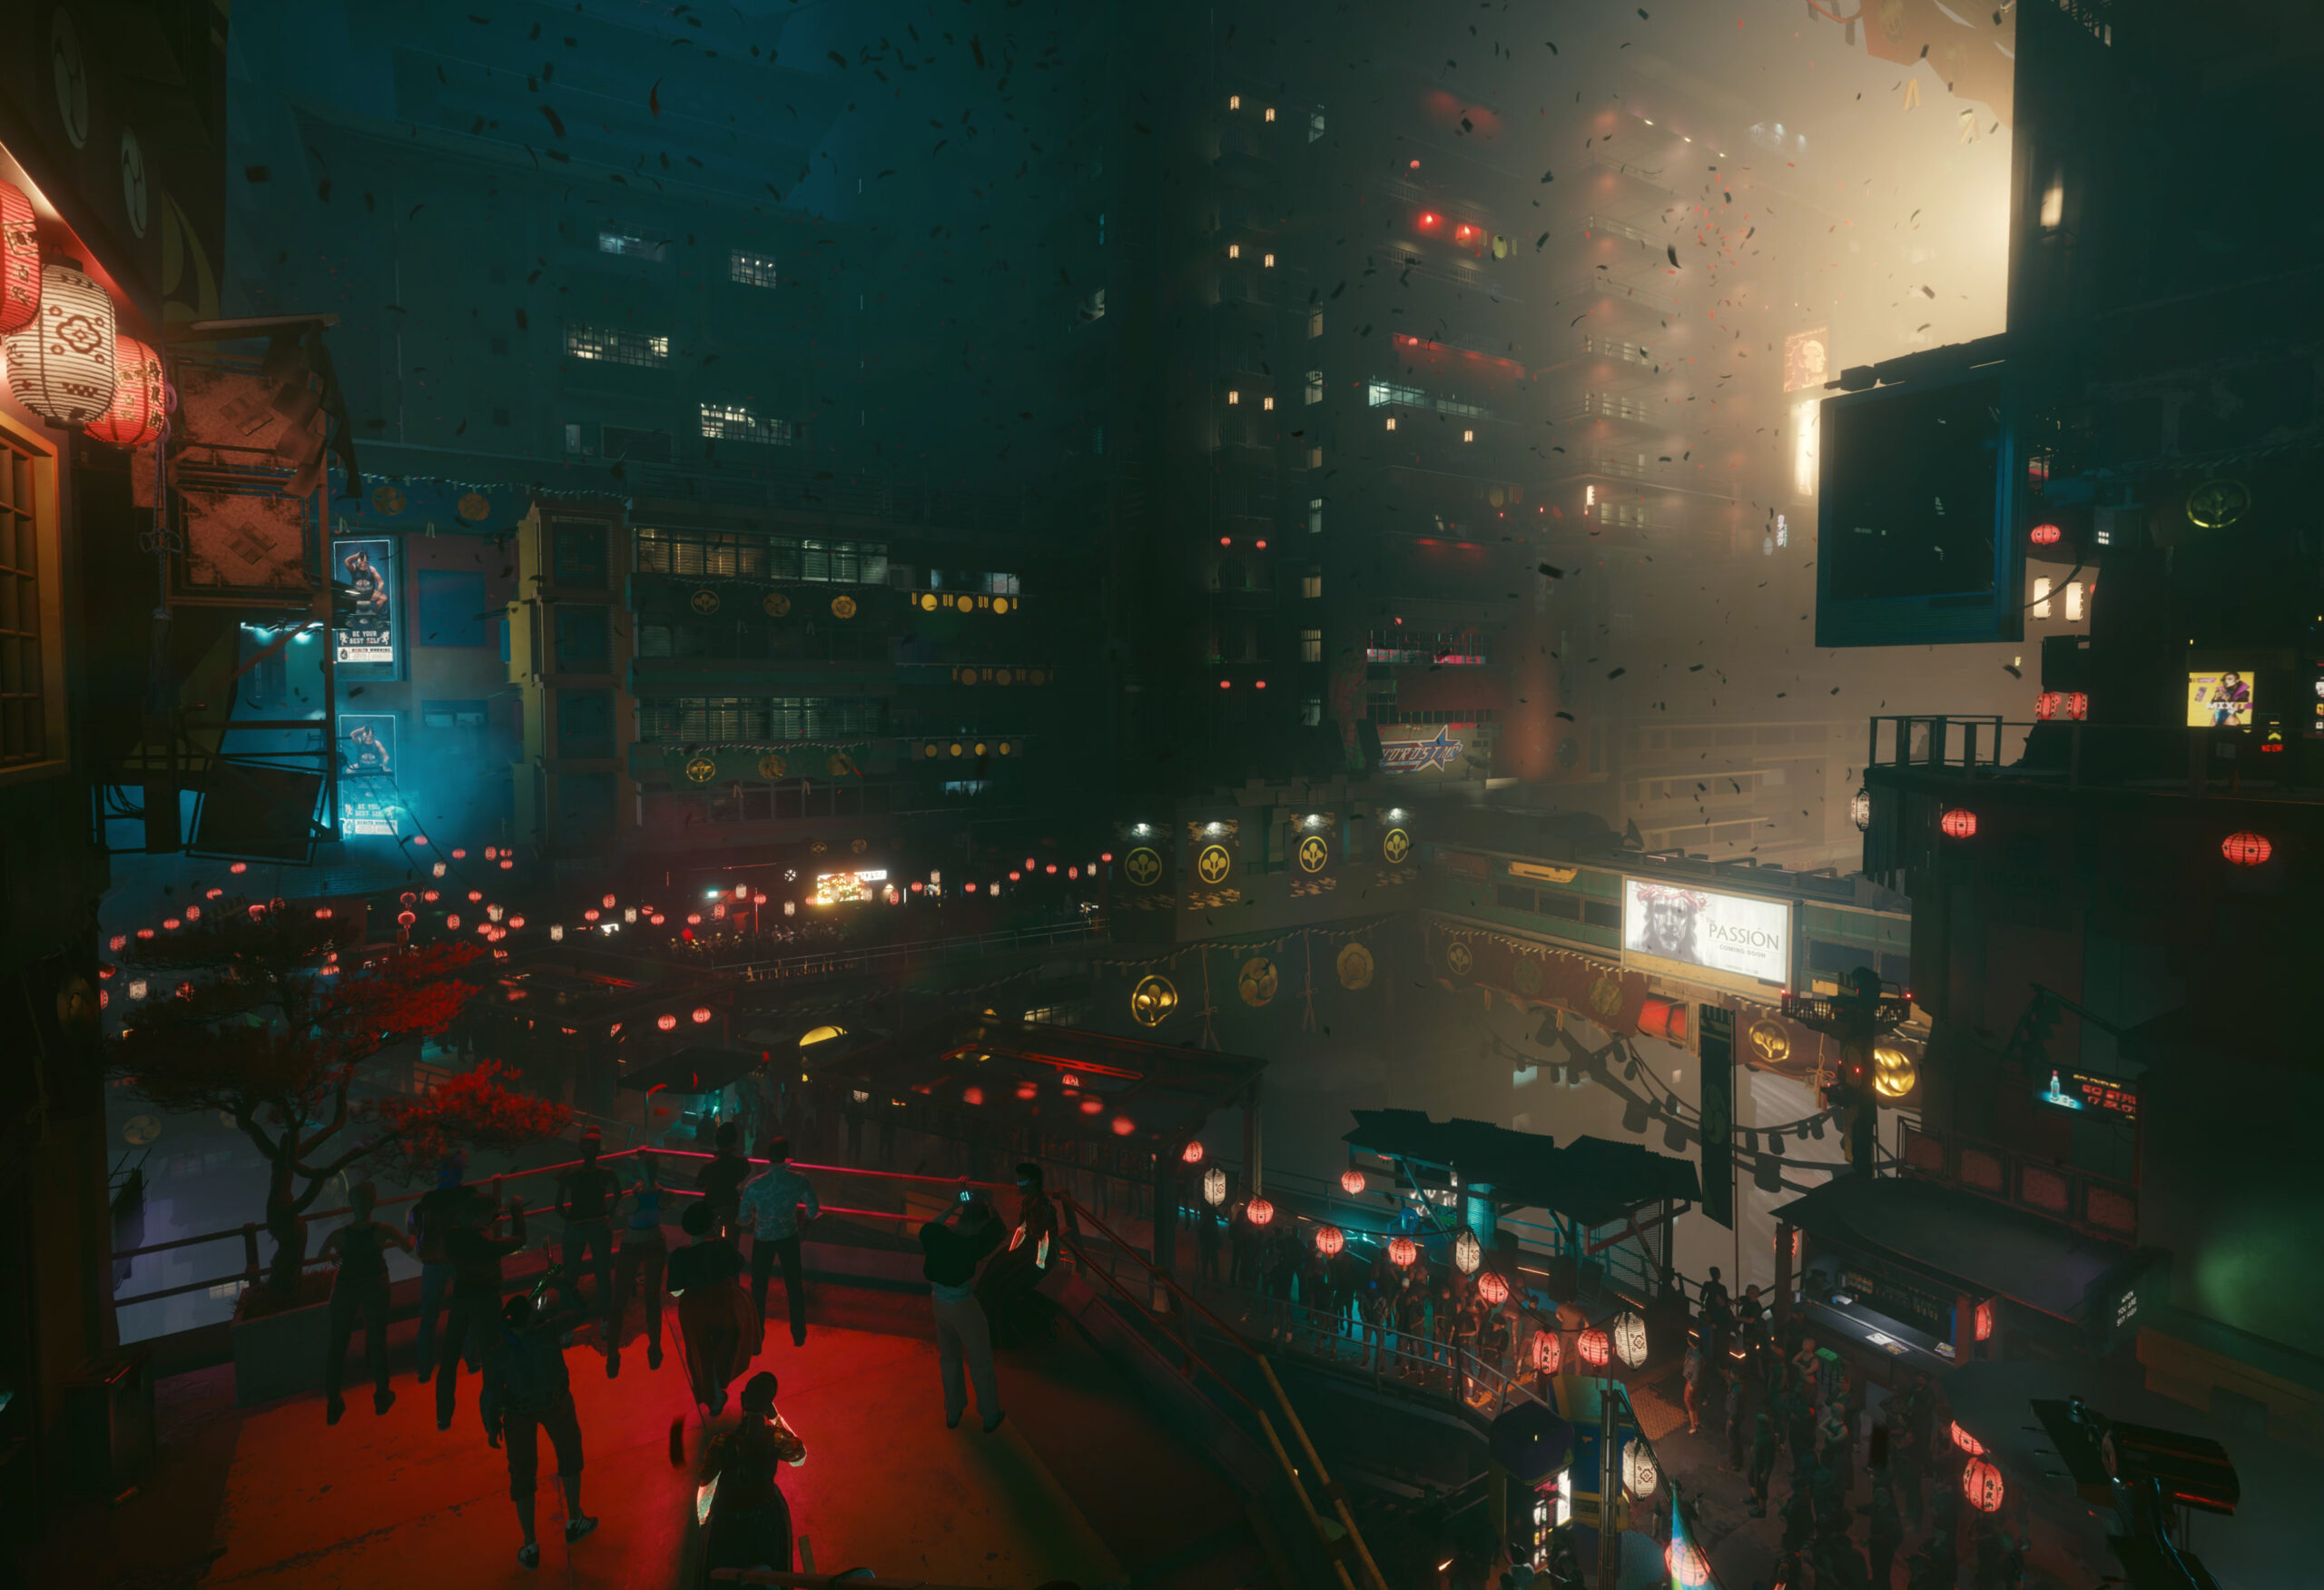
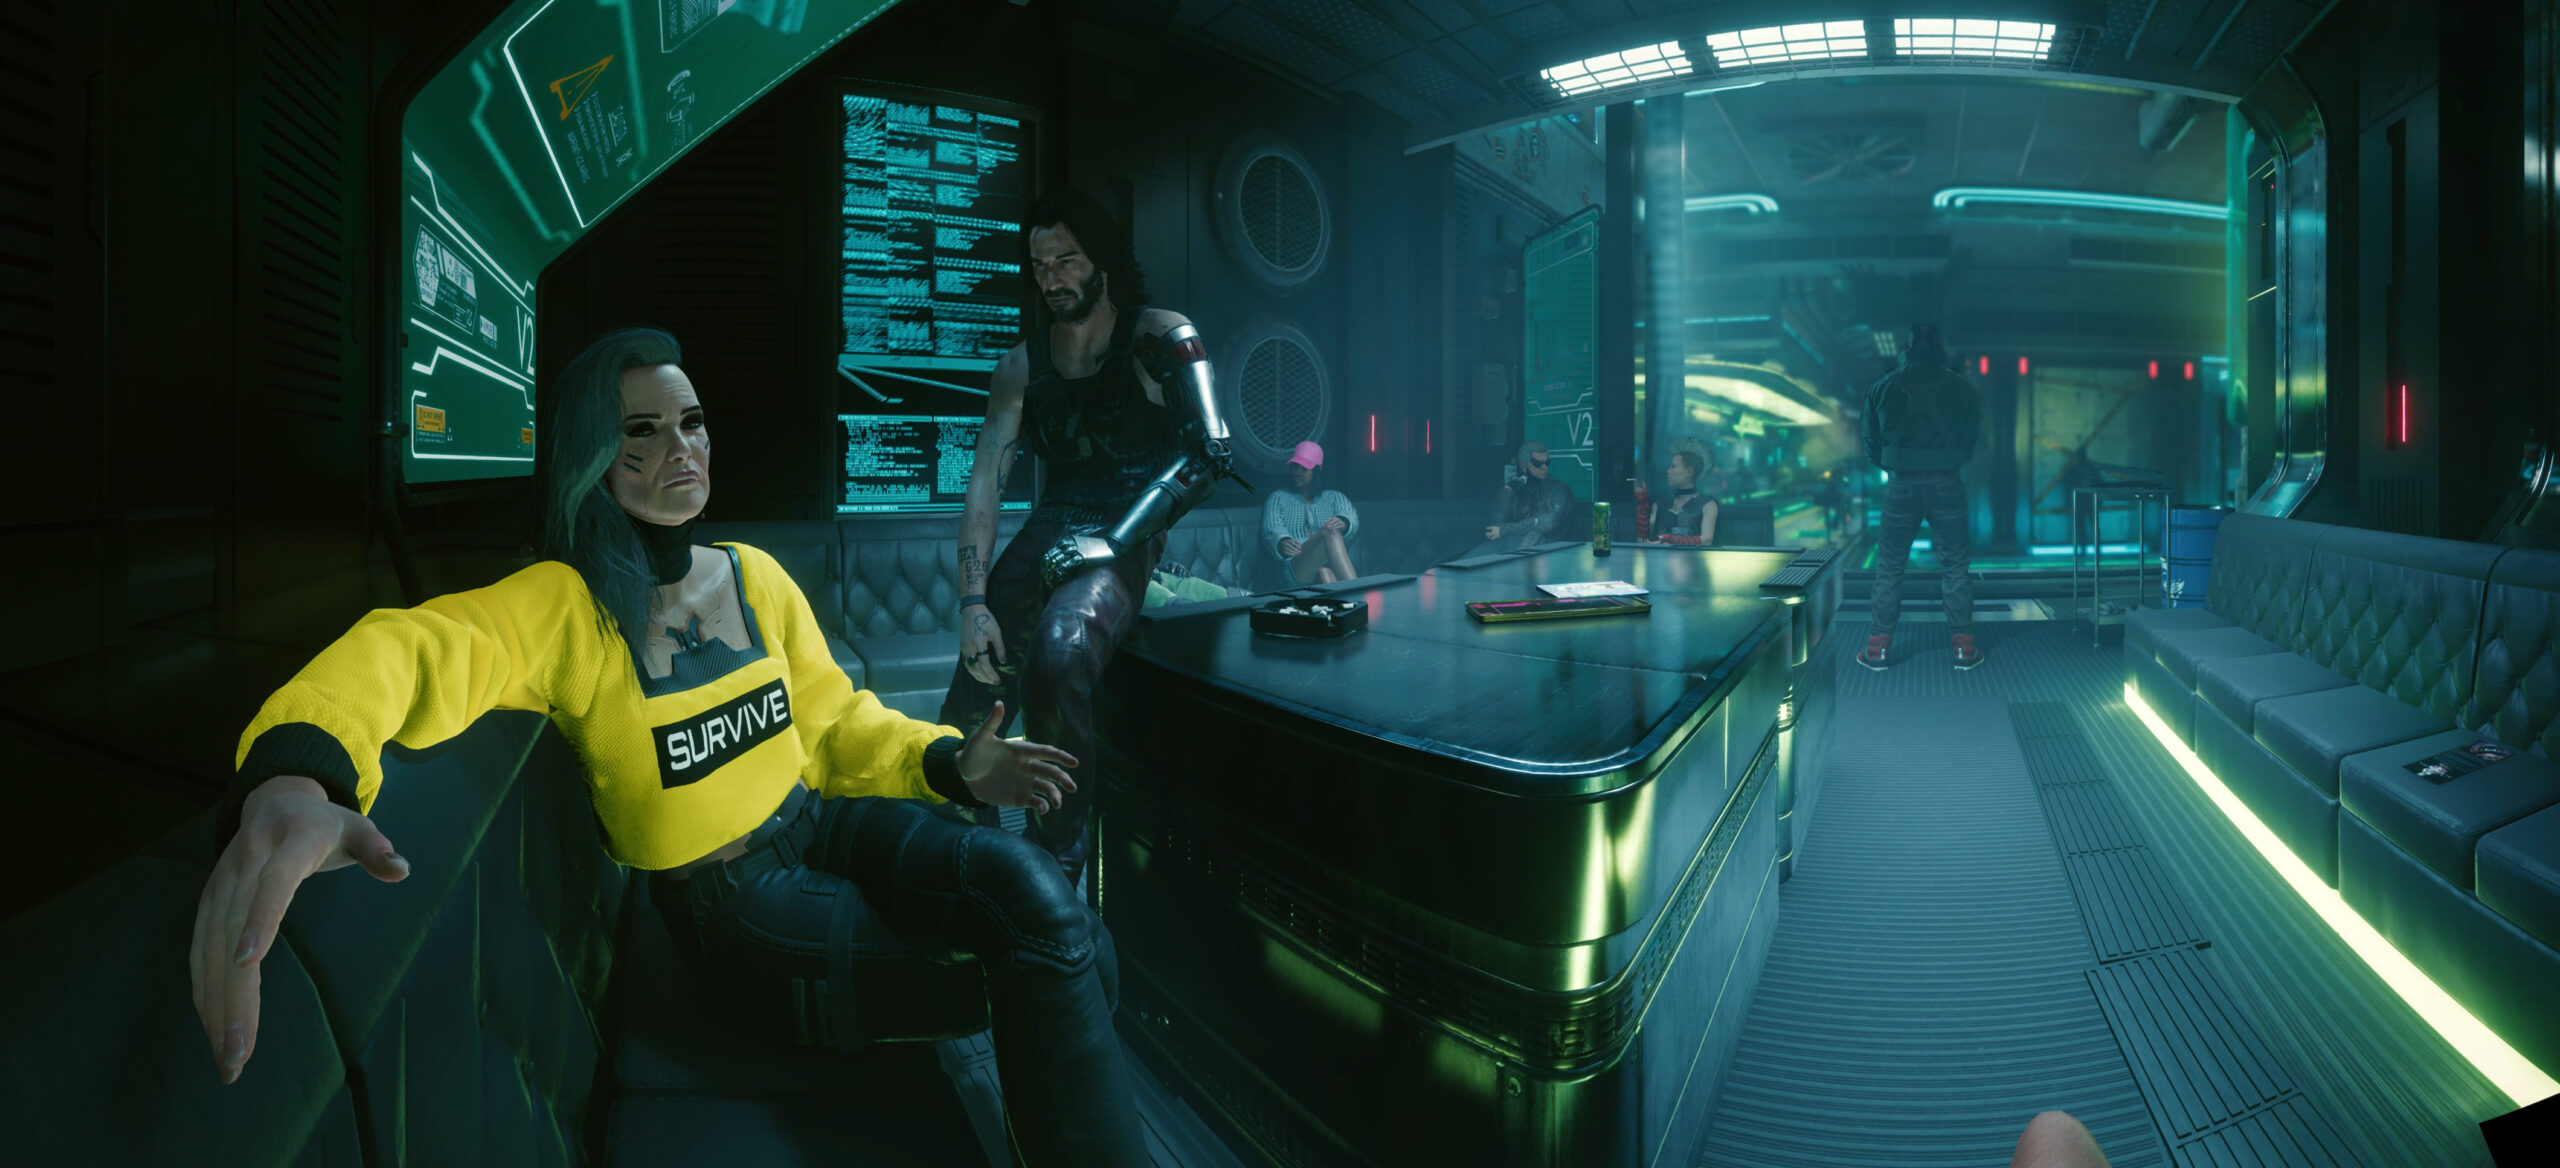
Anyway, here are more pictures taken in-game (sometimes stitched):
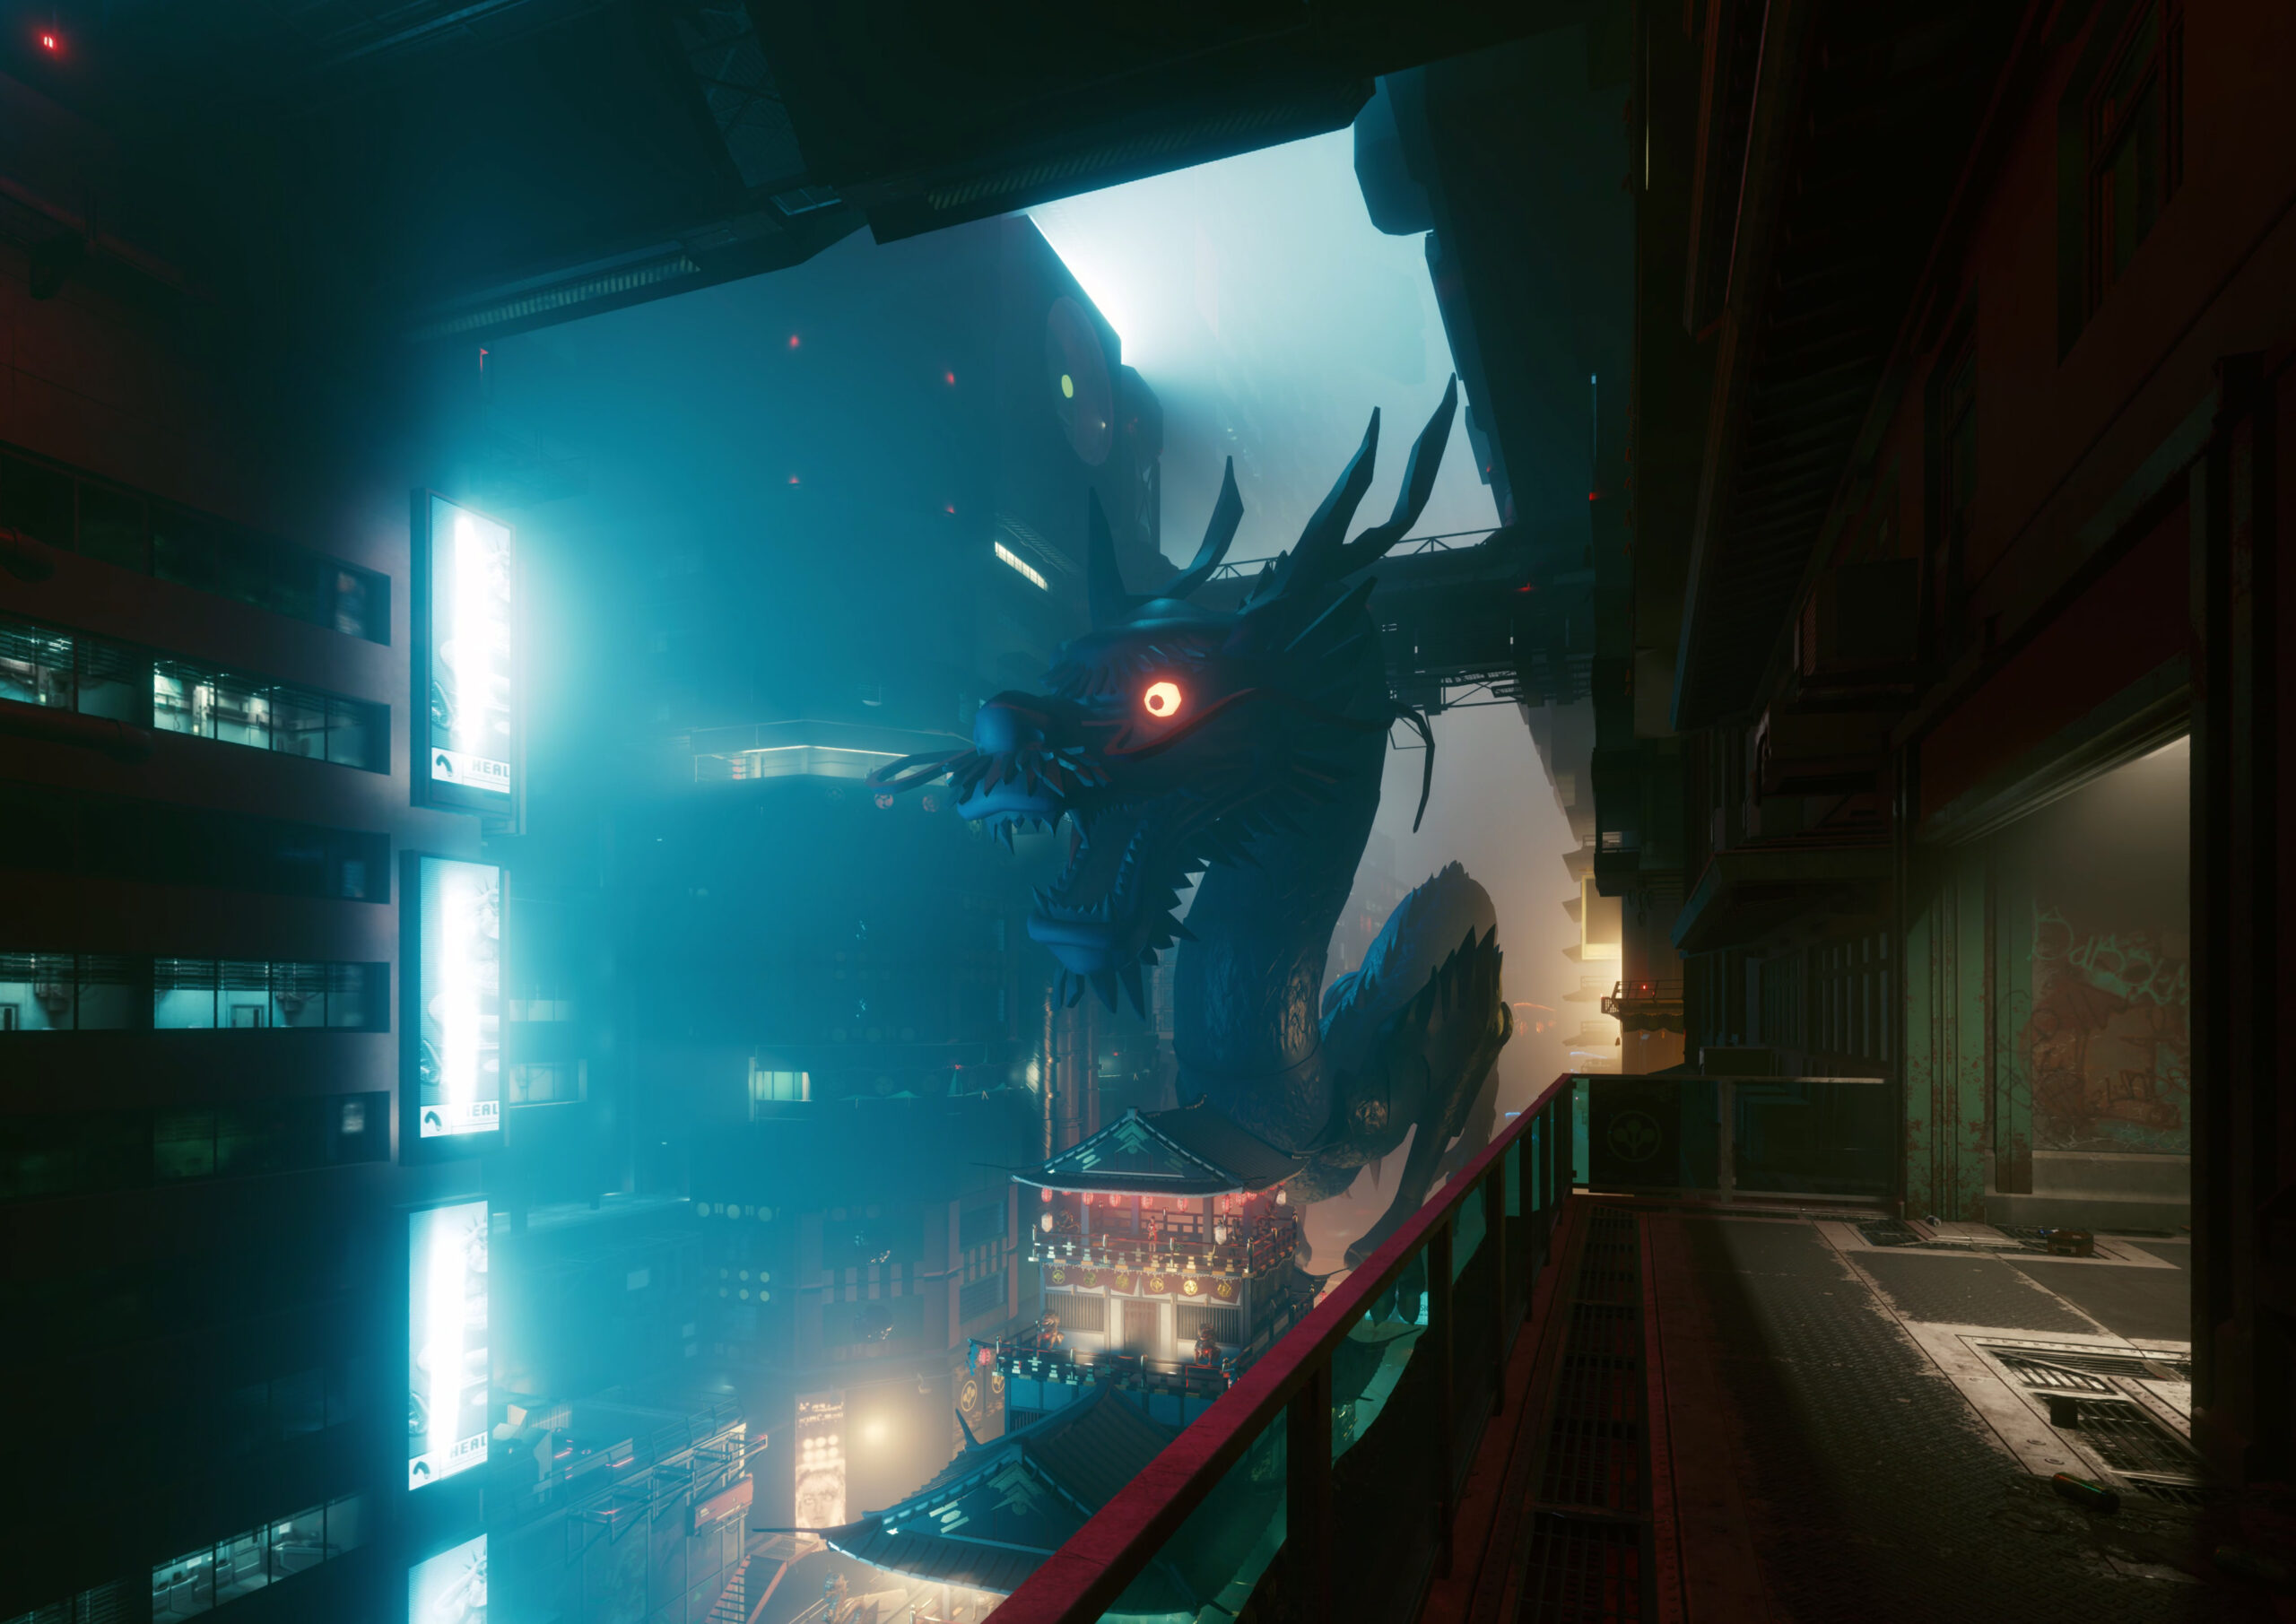
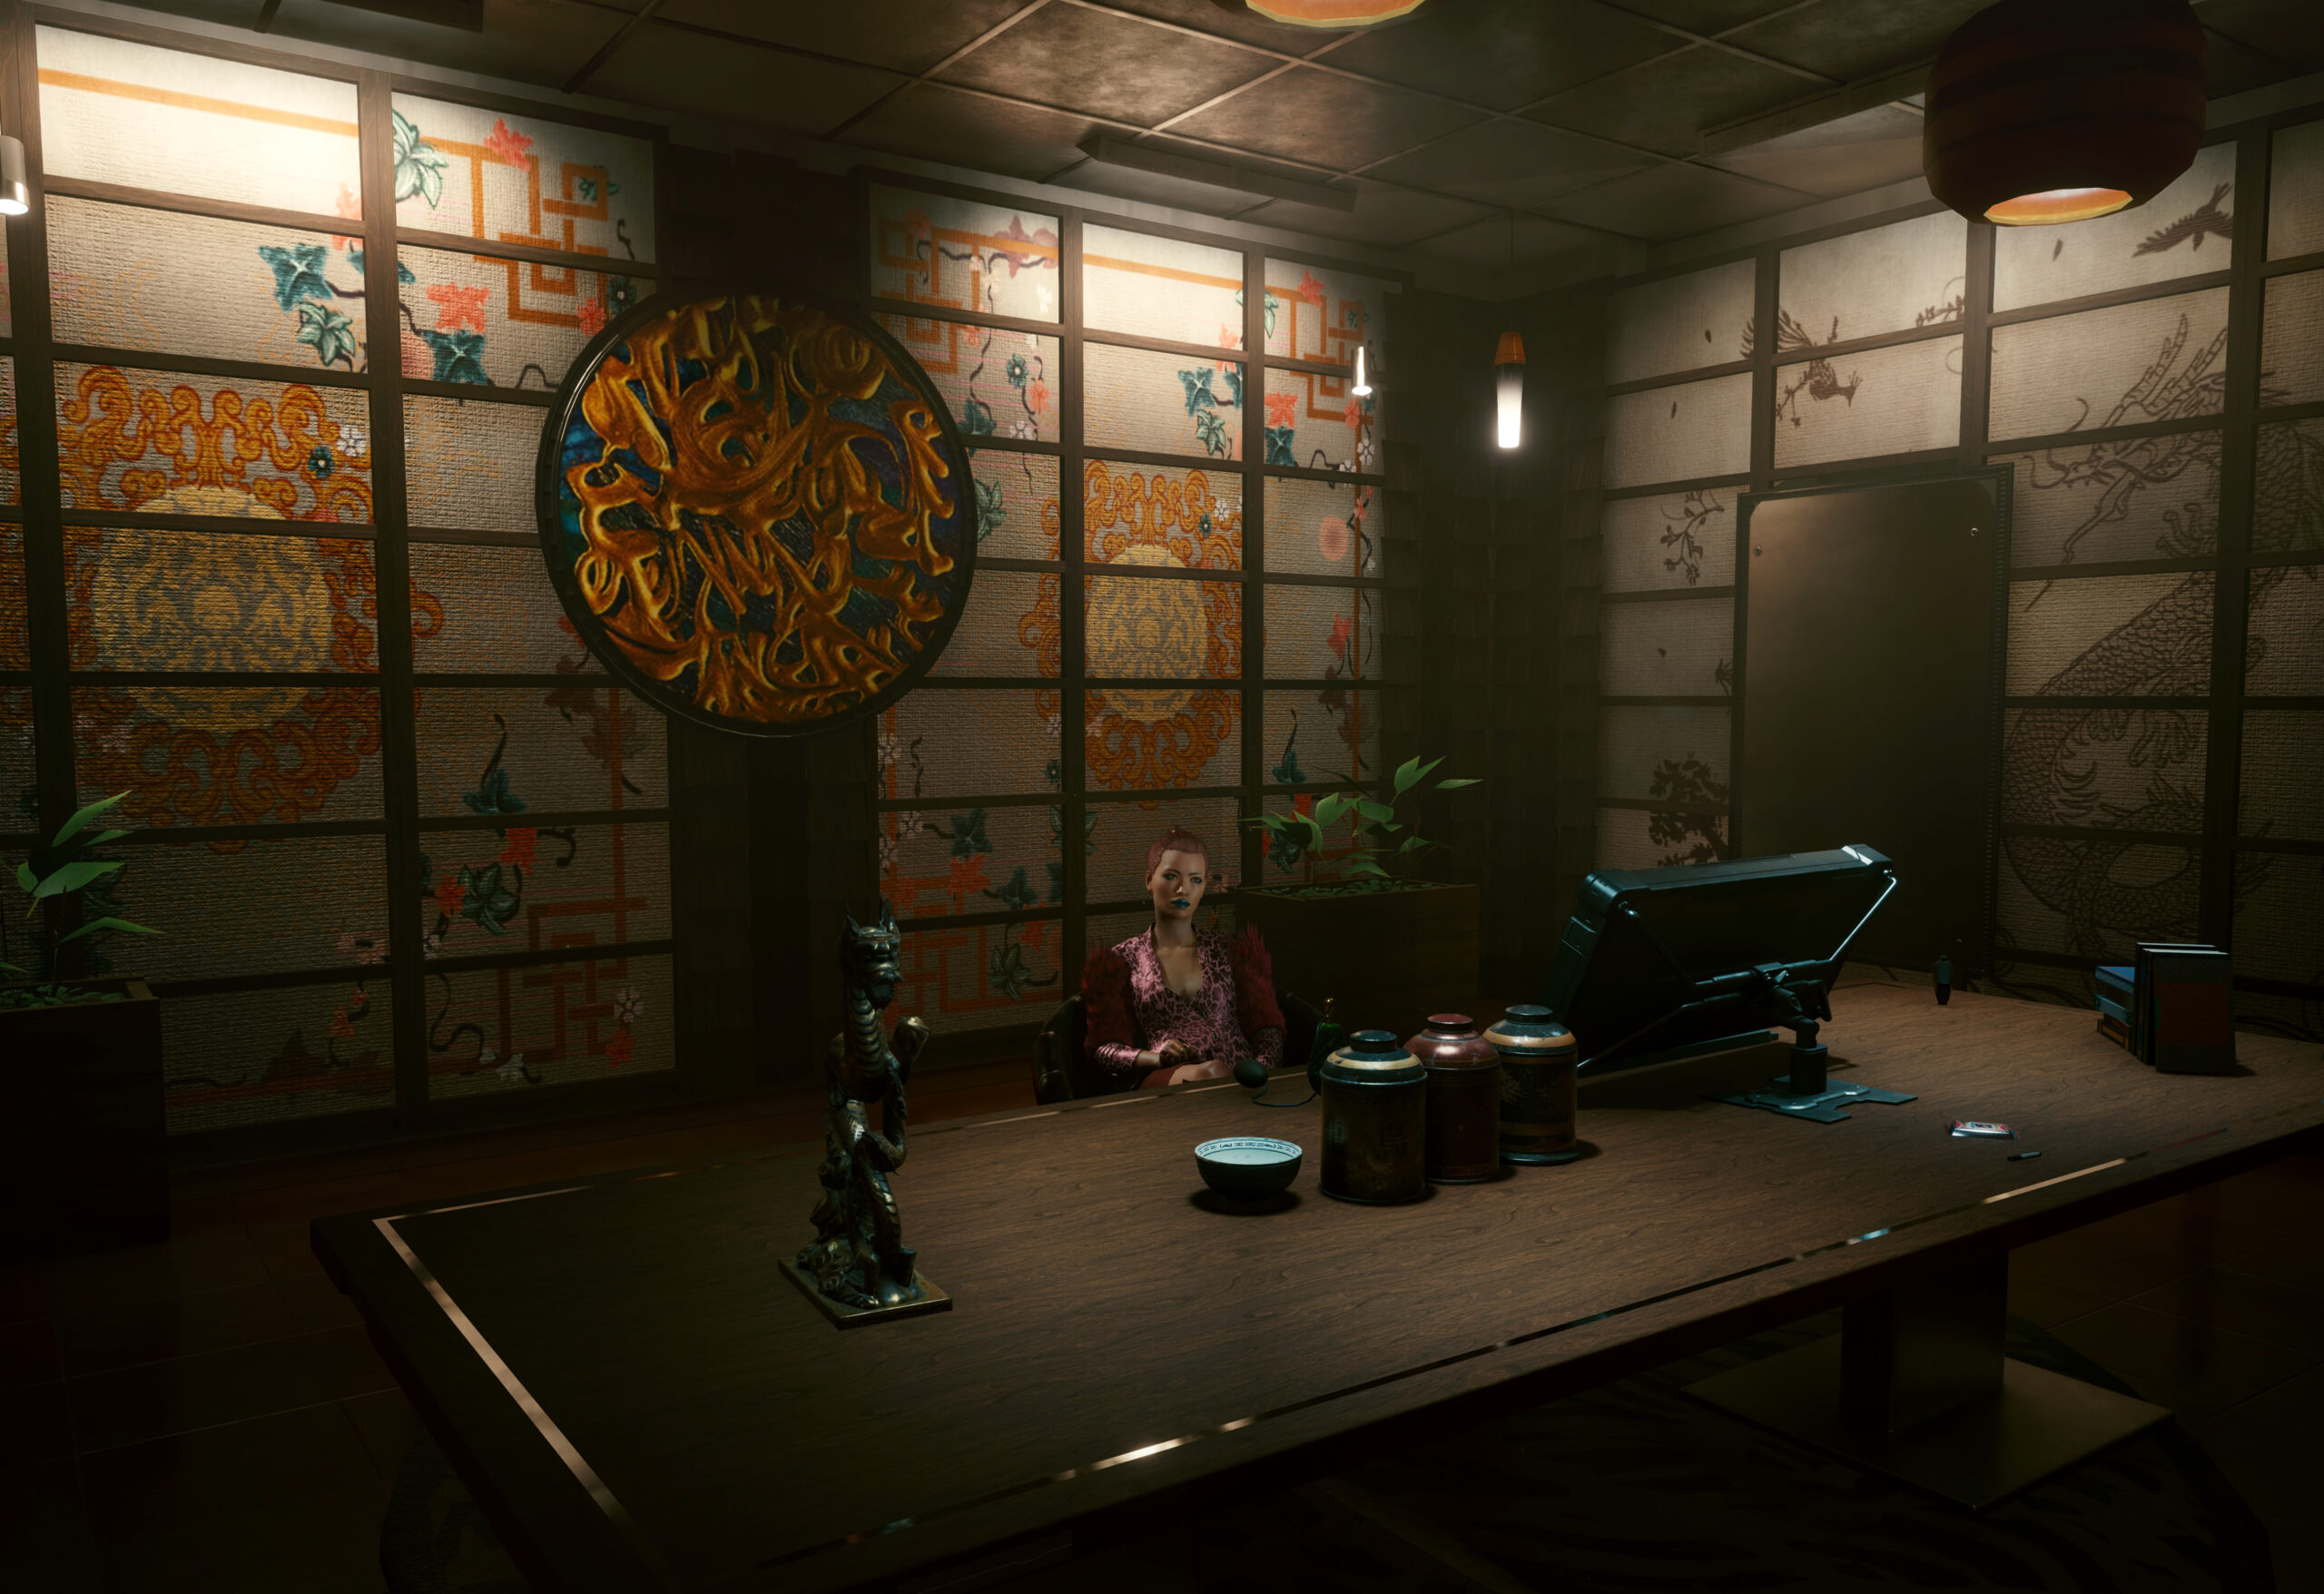
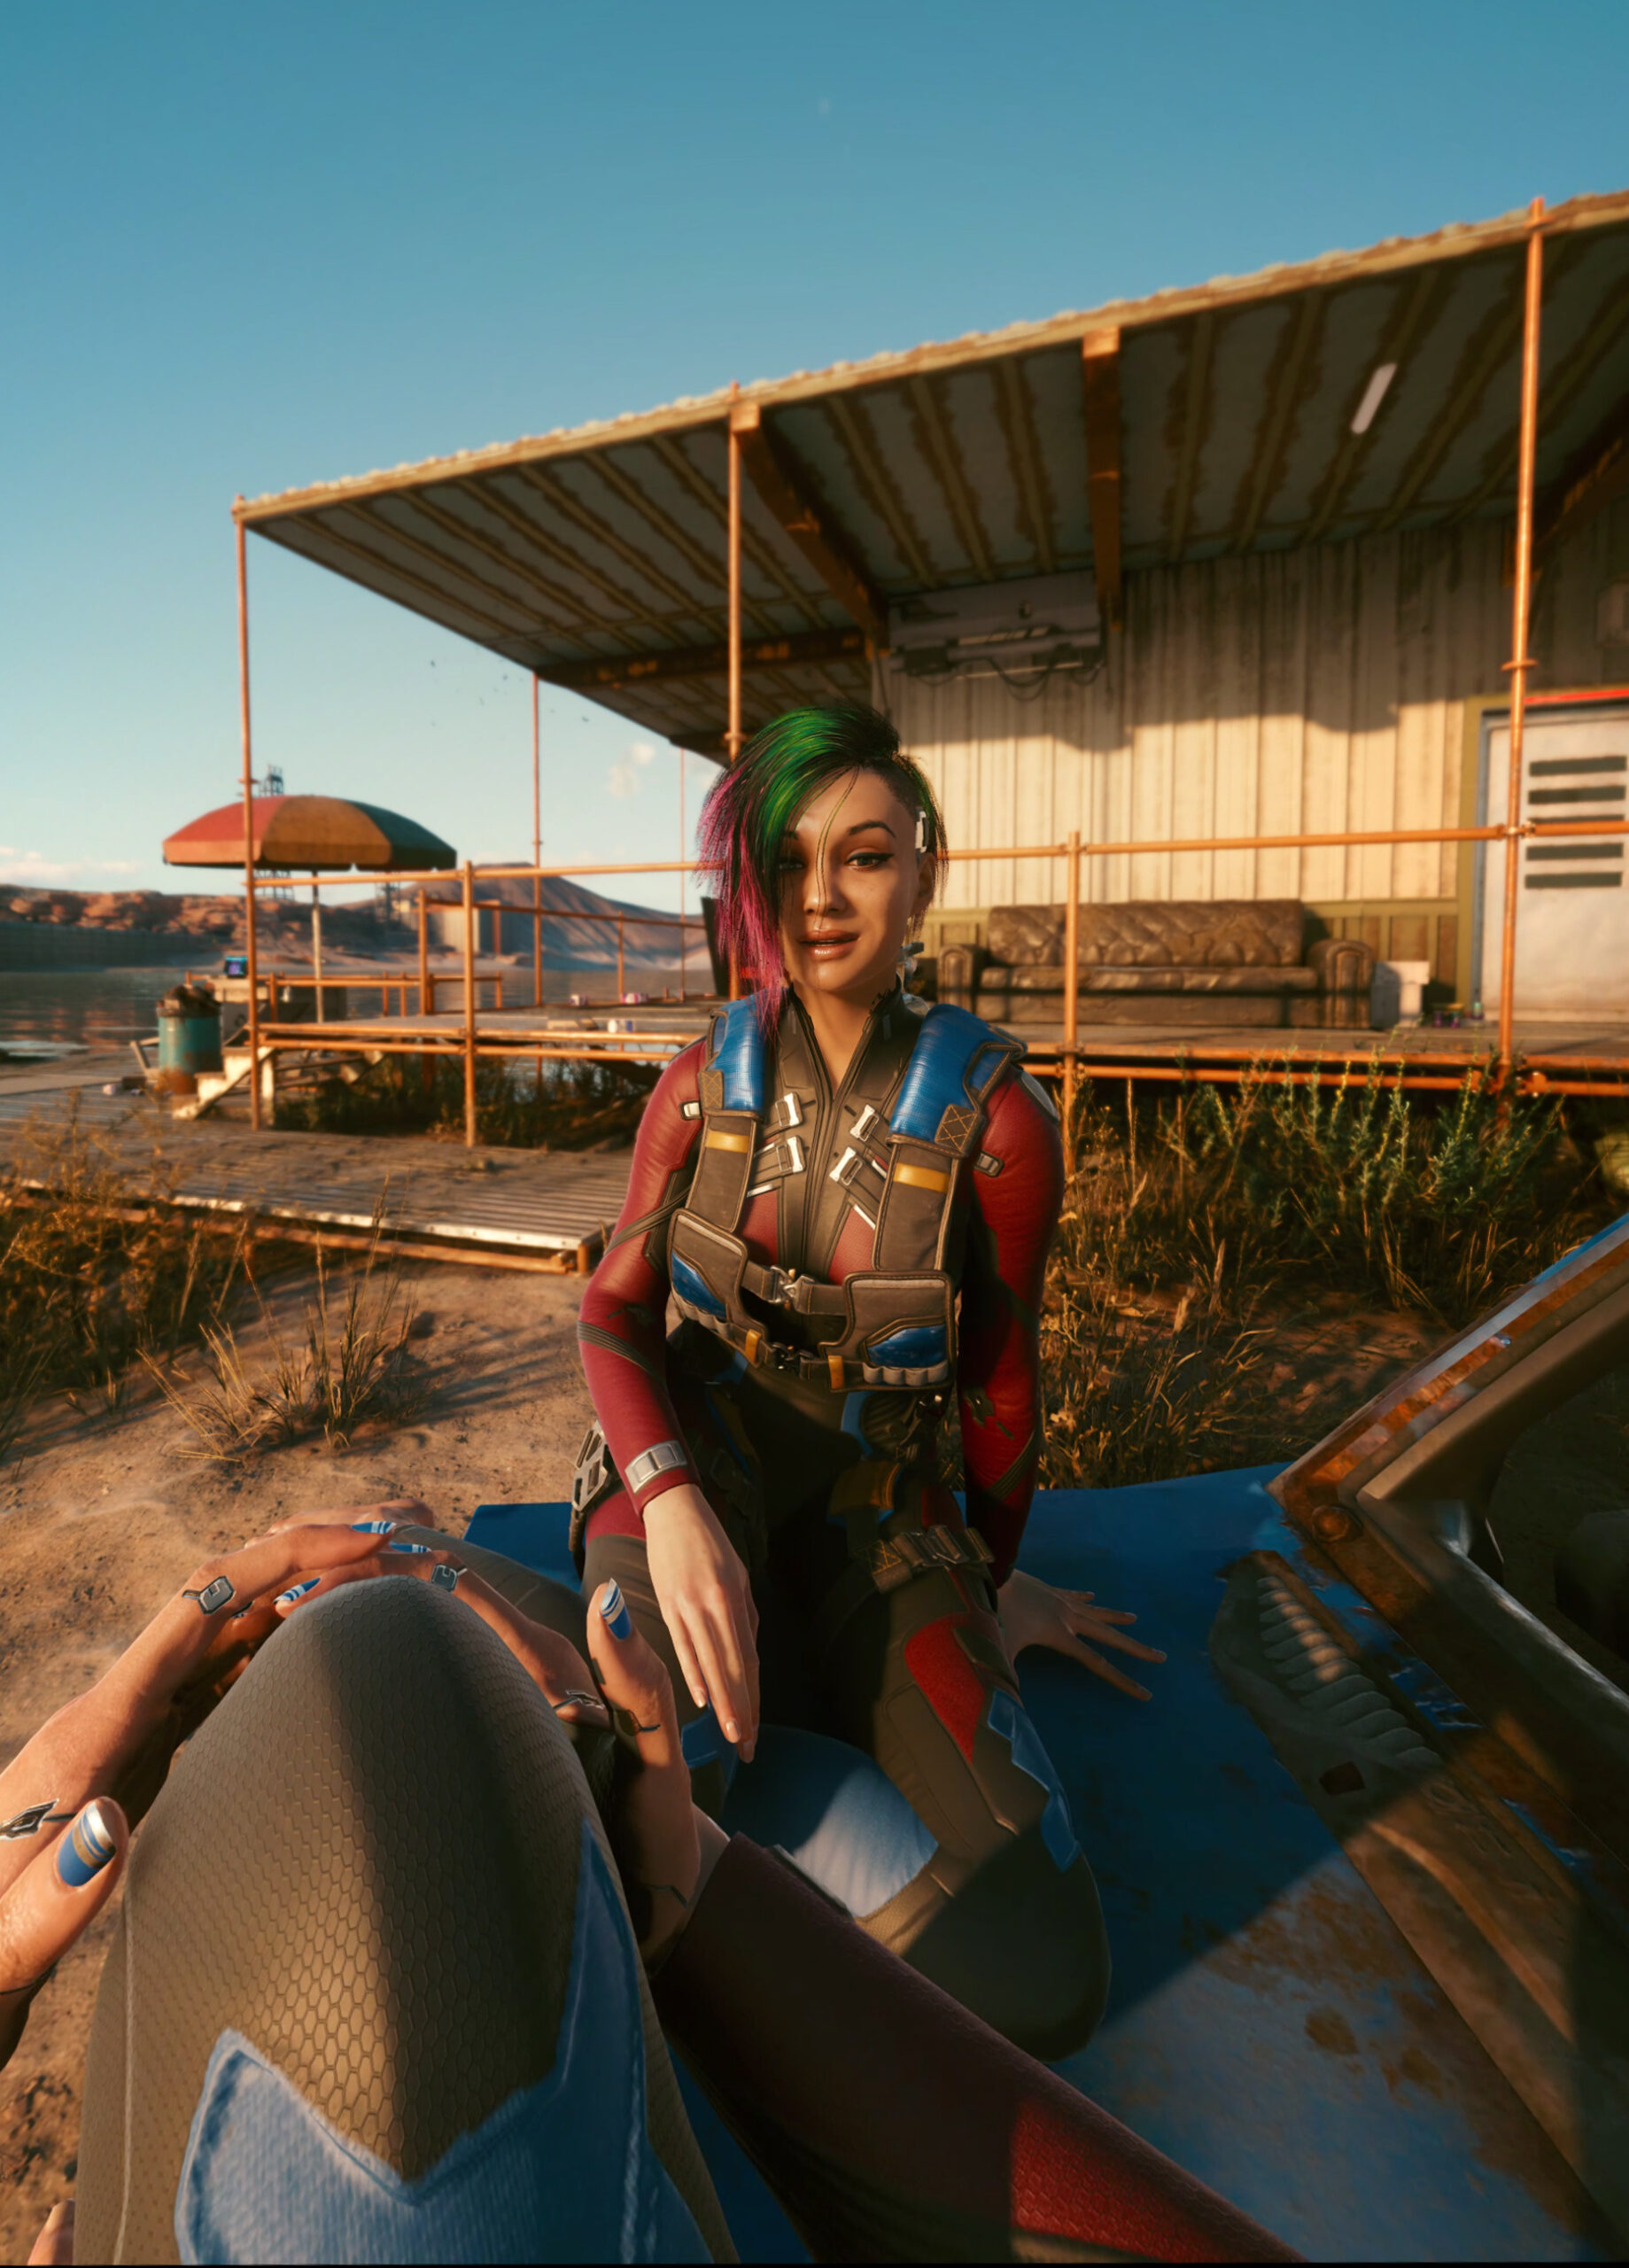
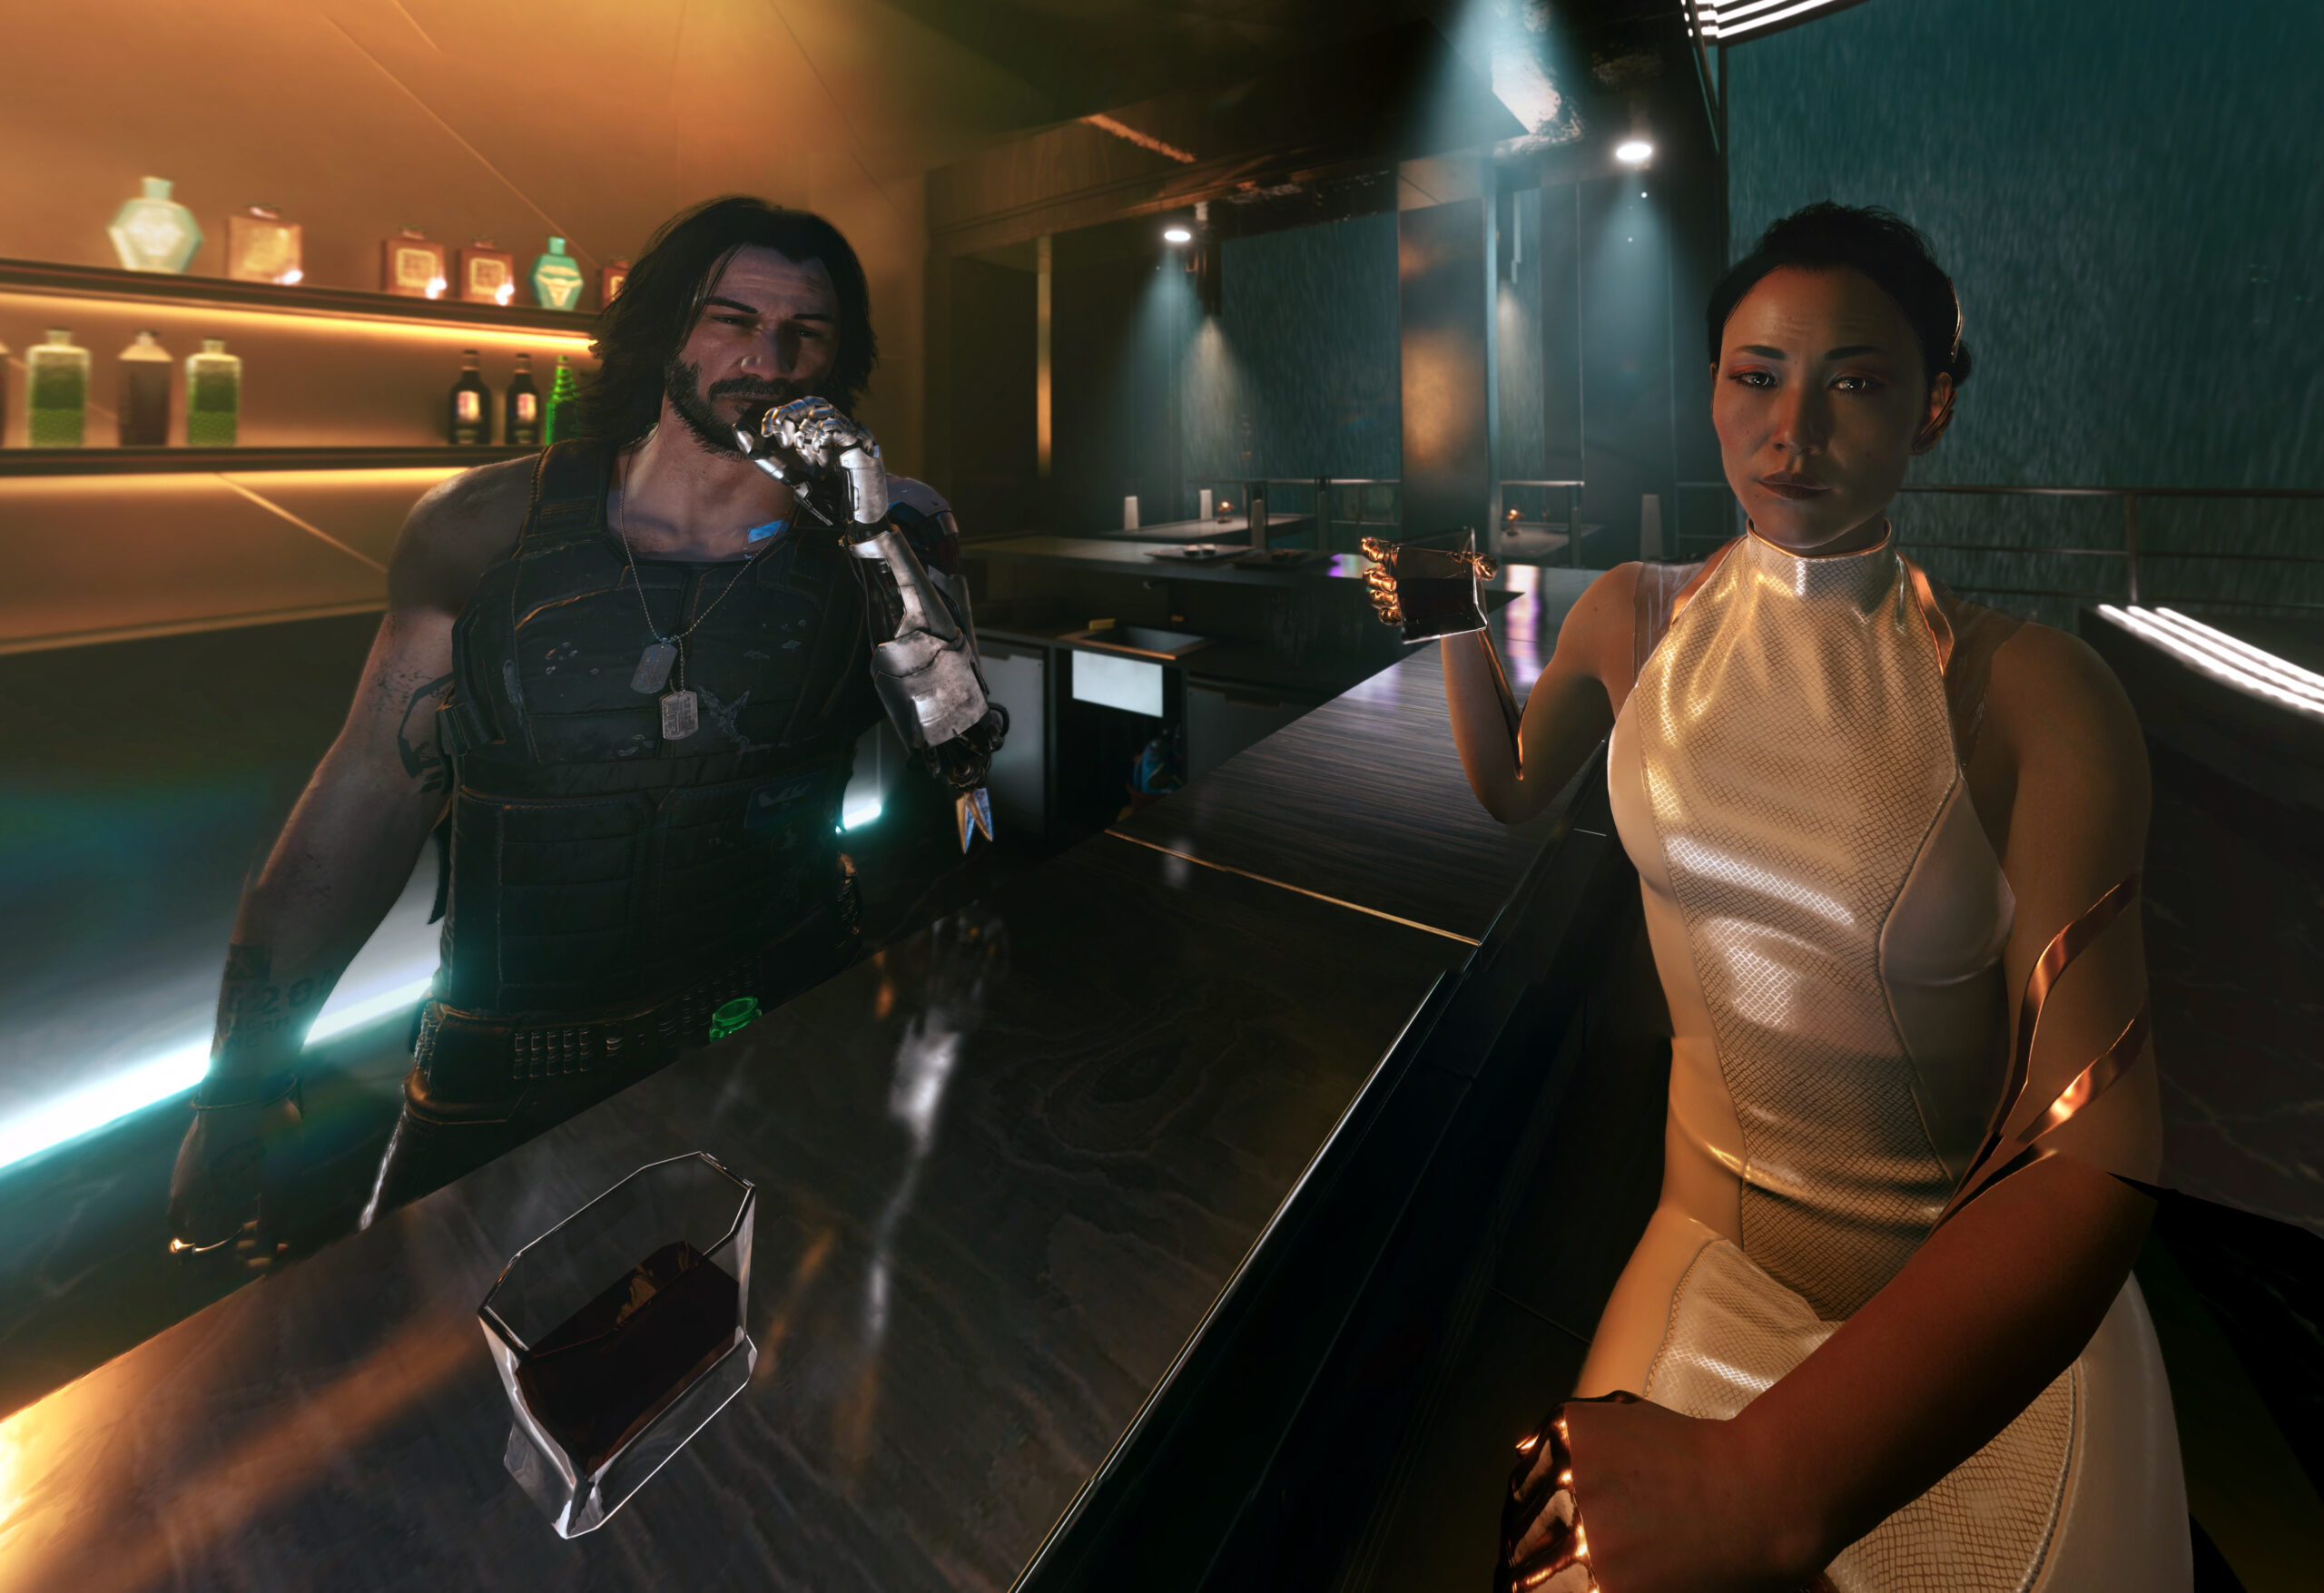
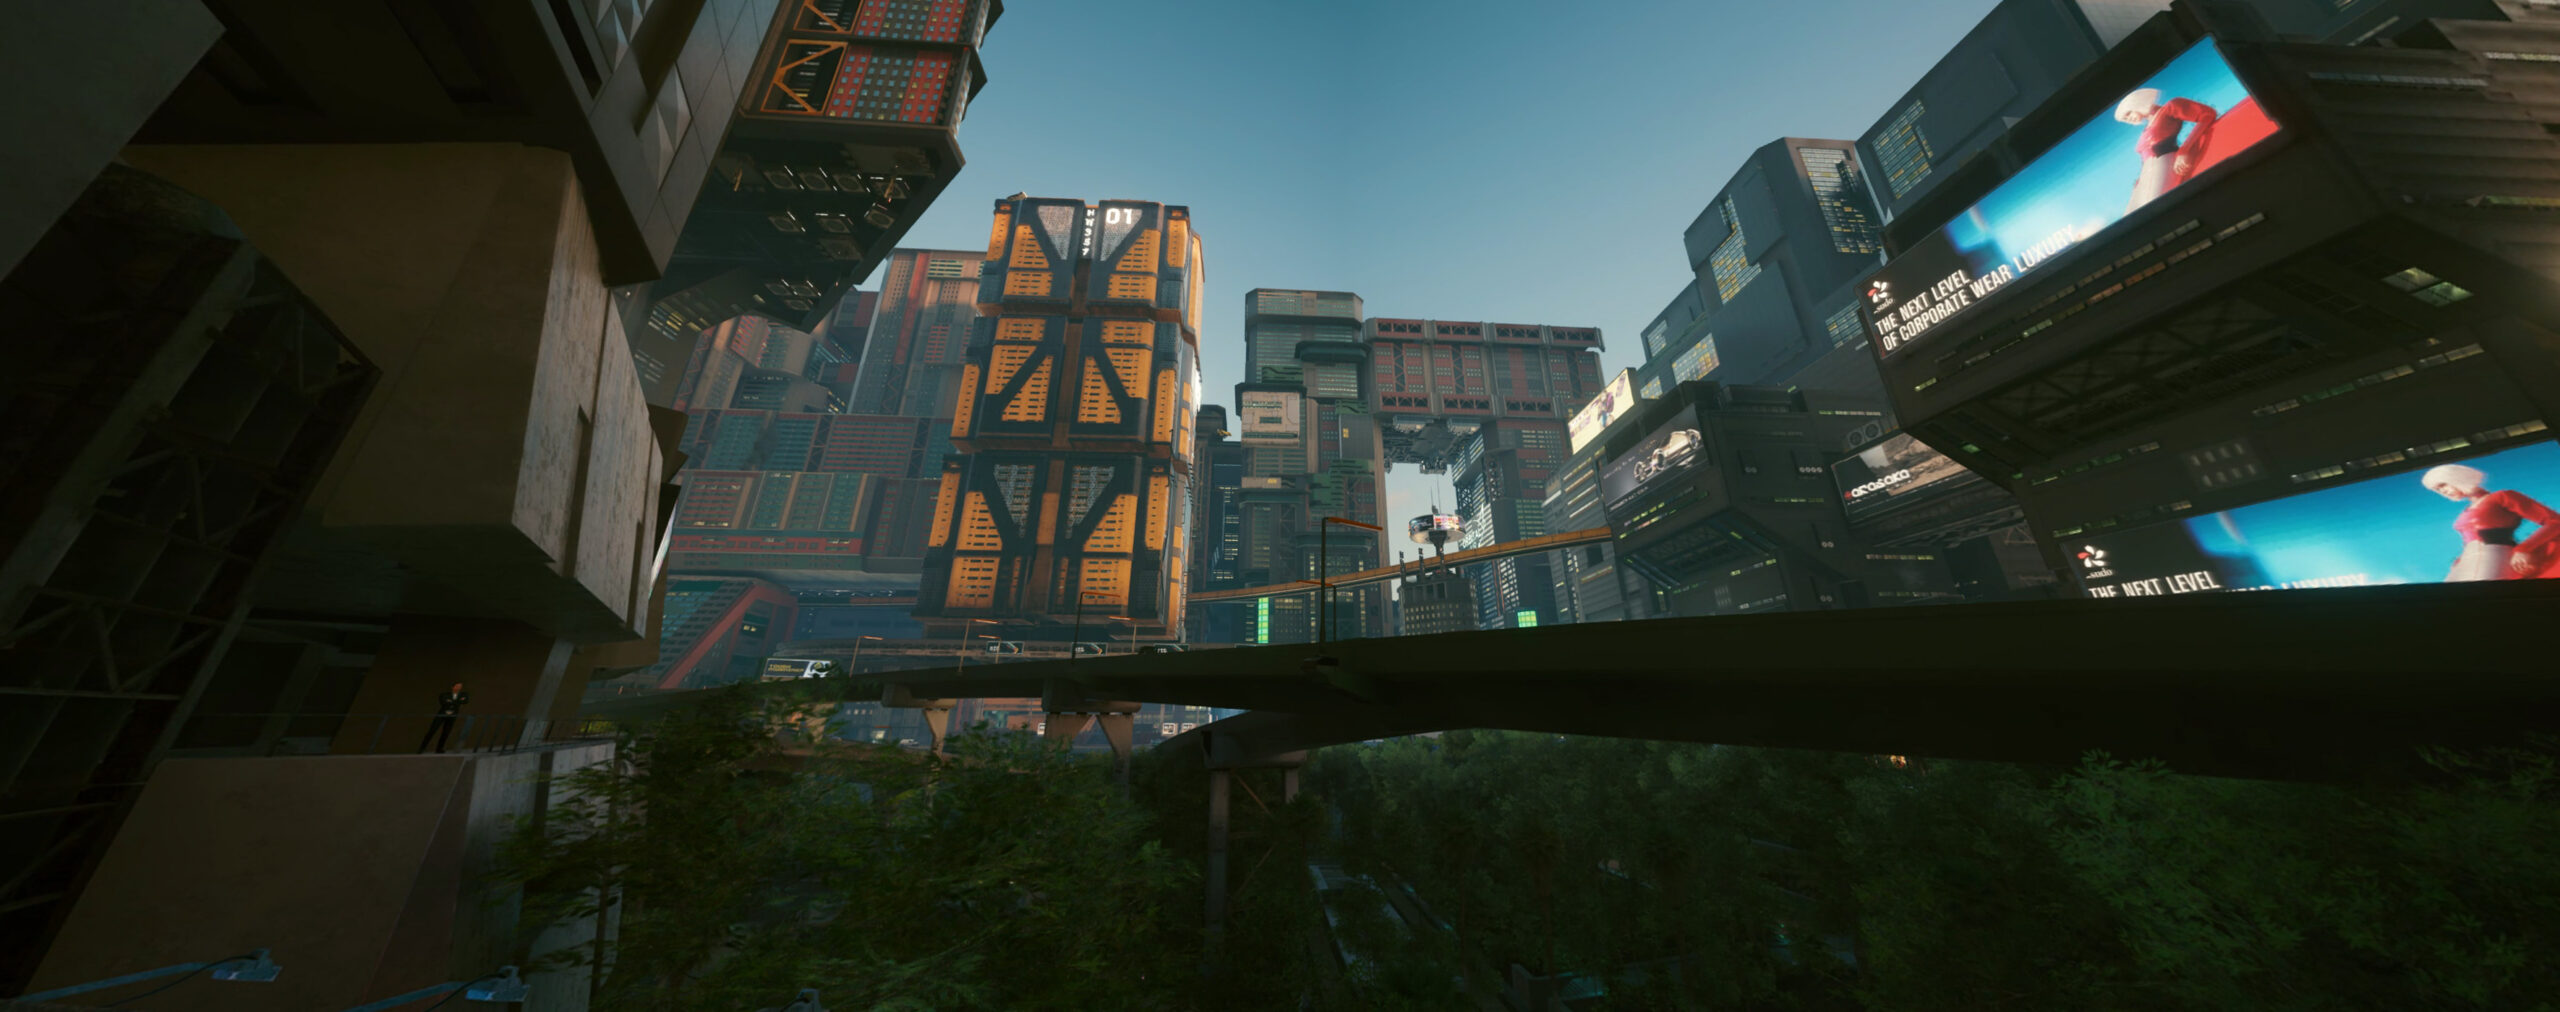
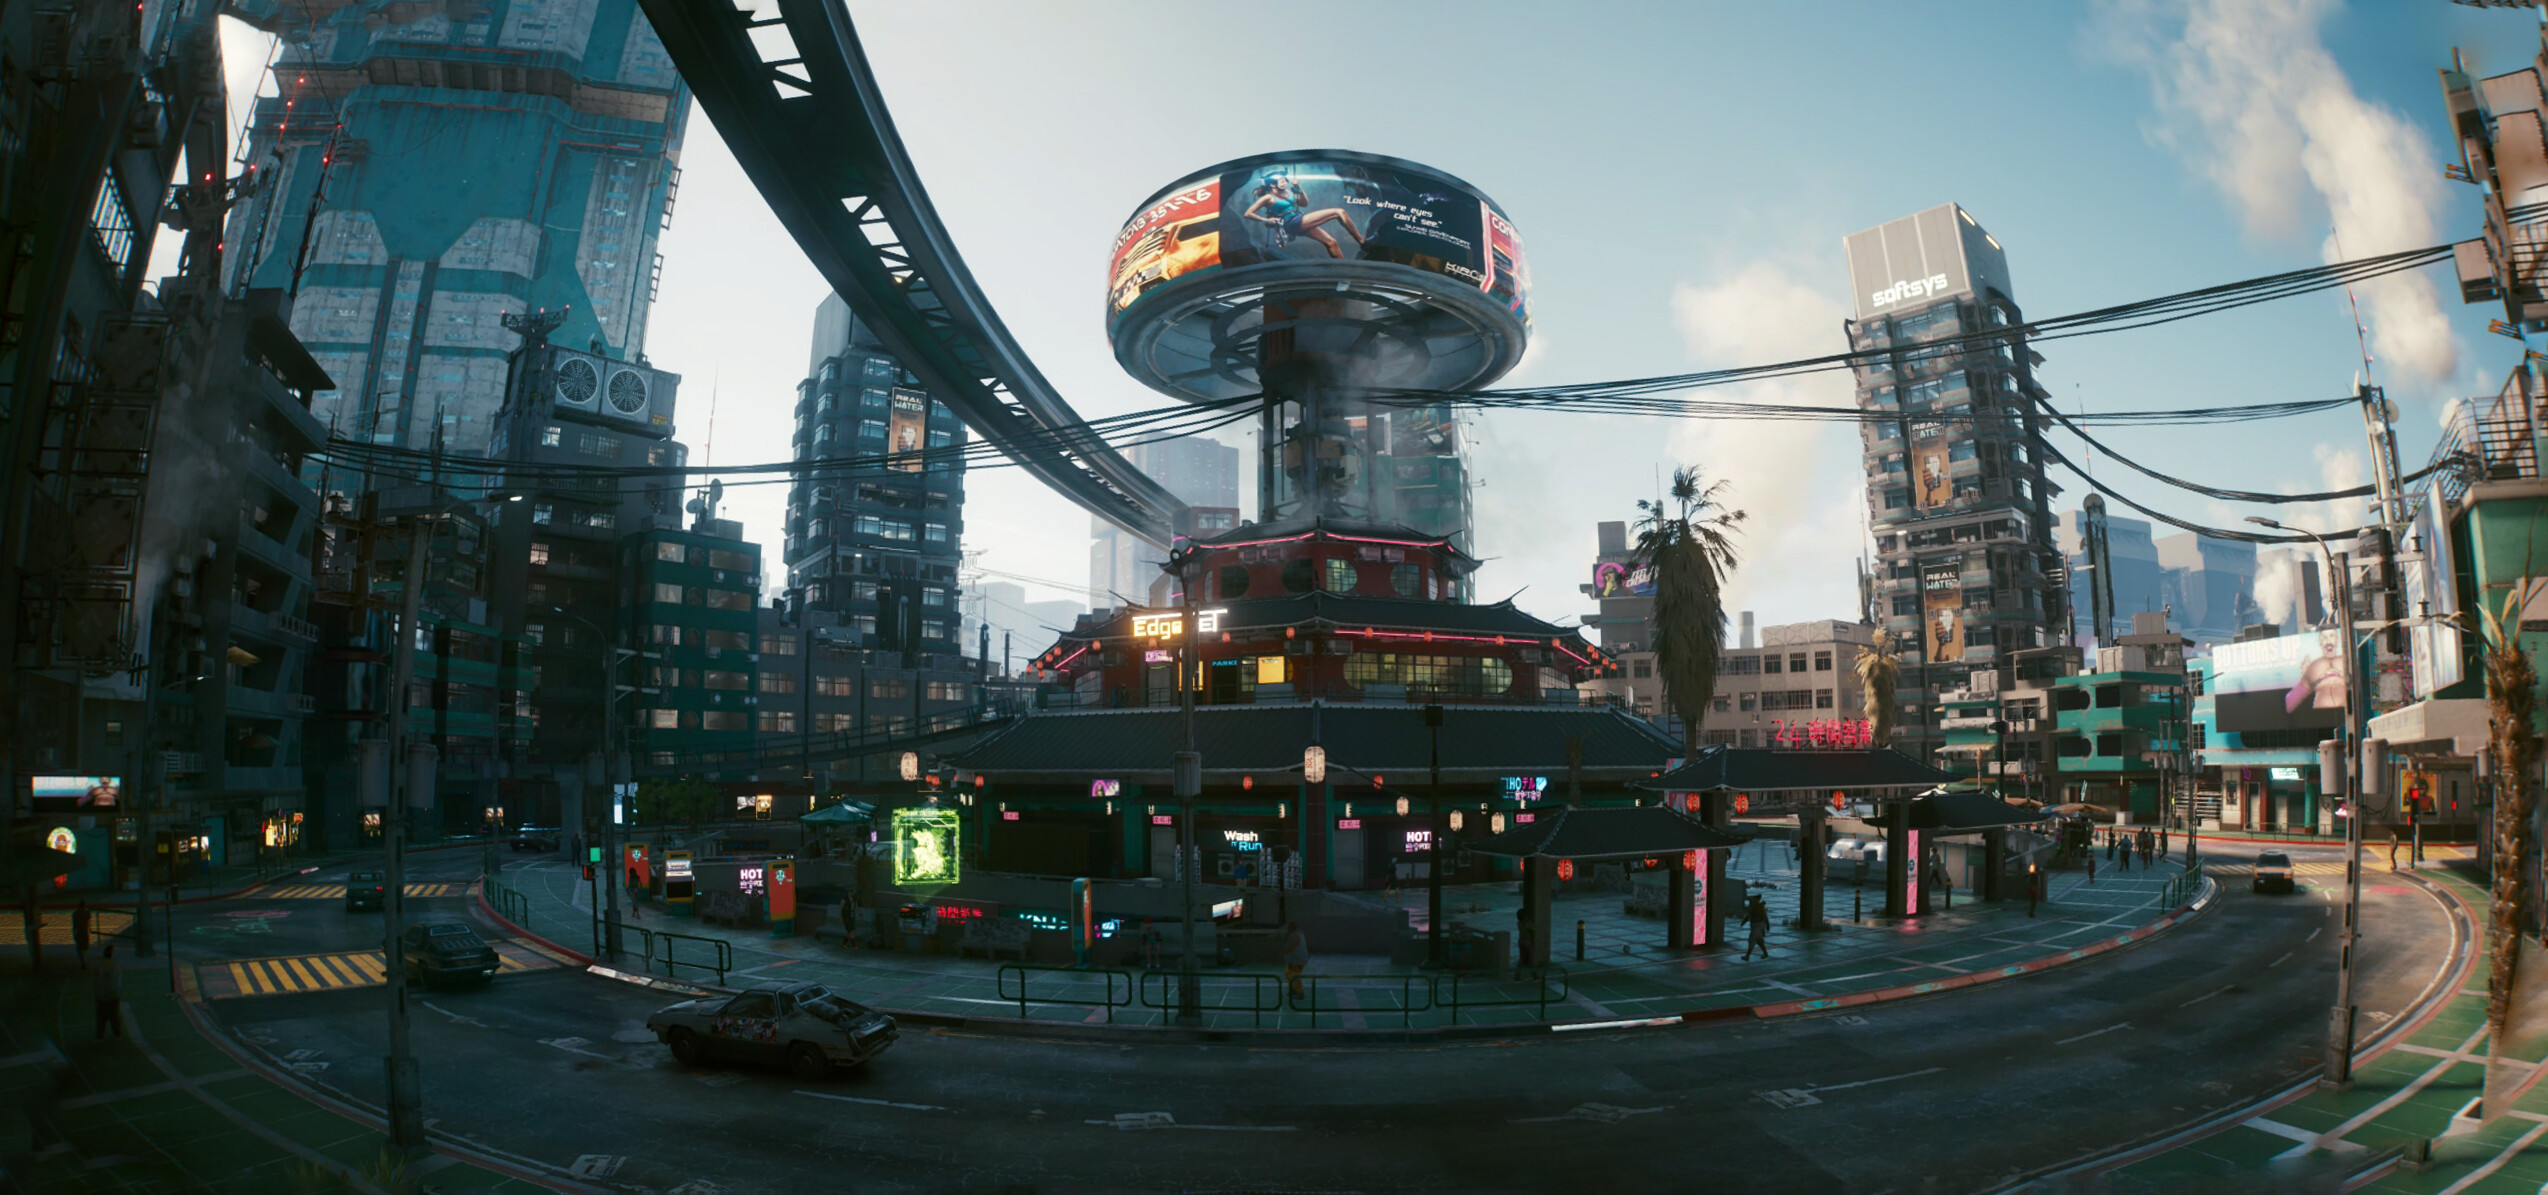
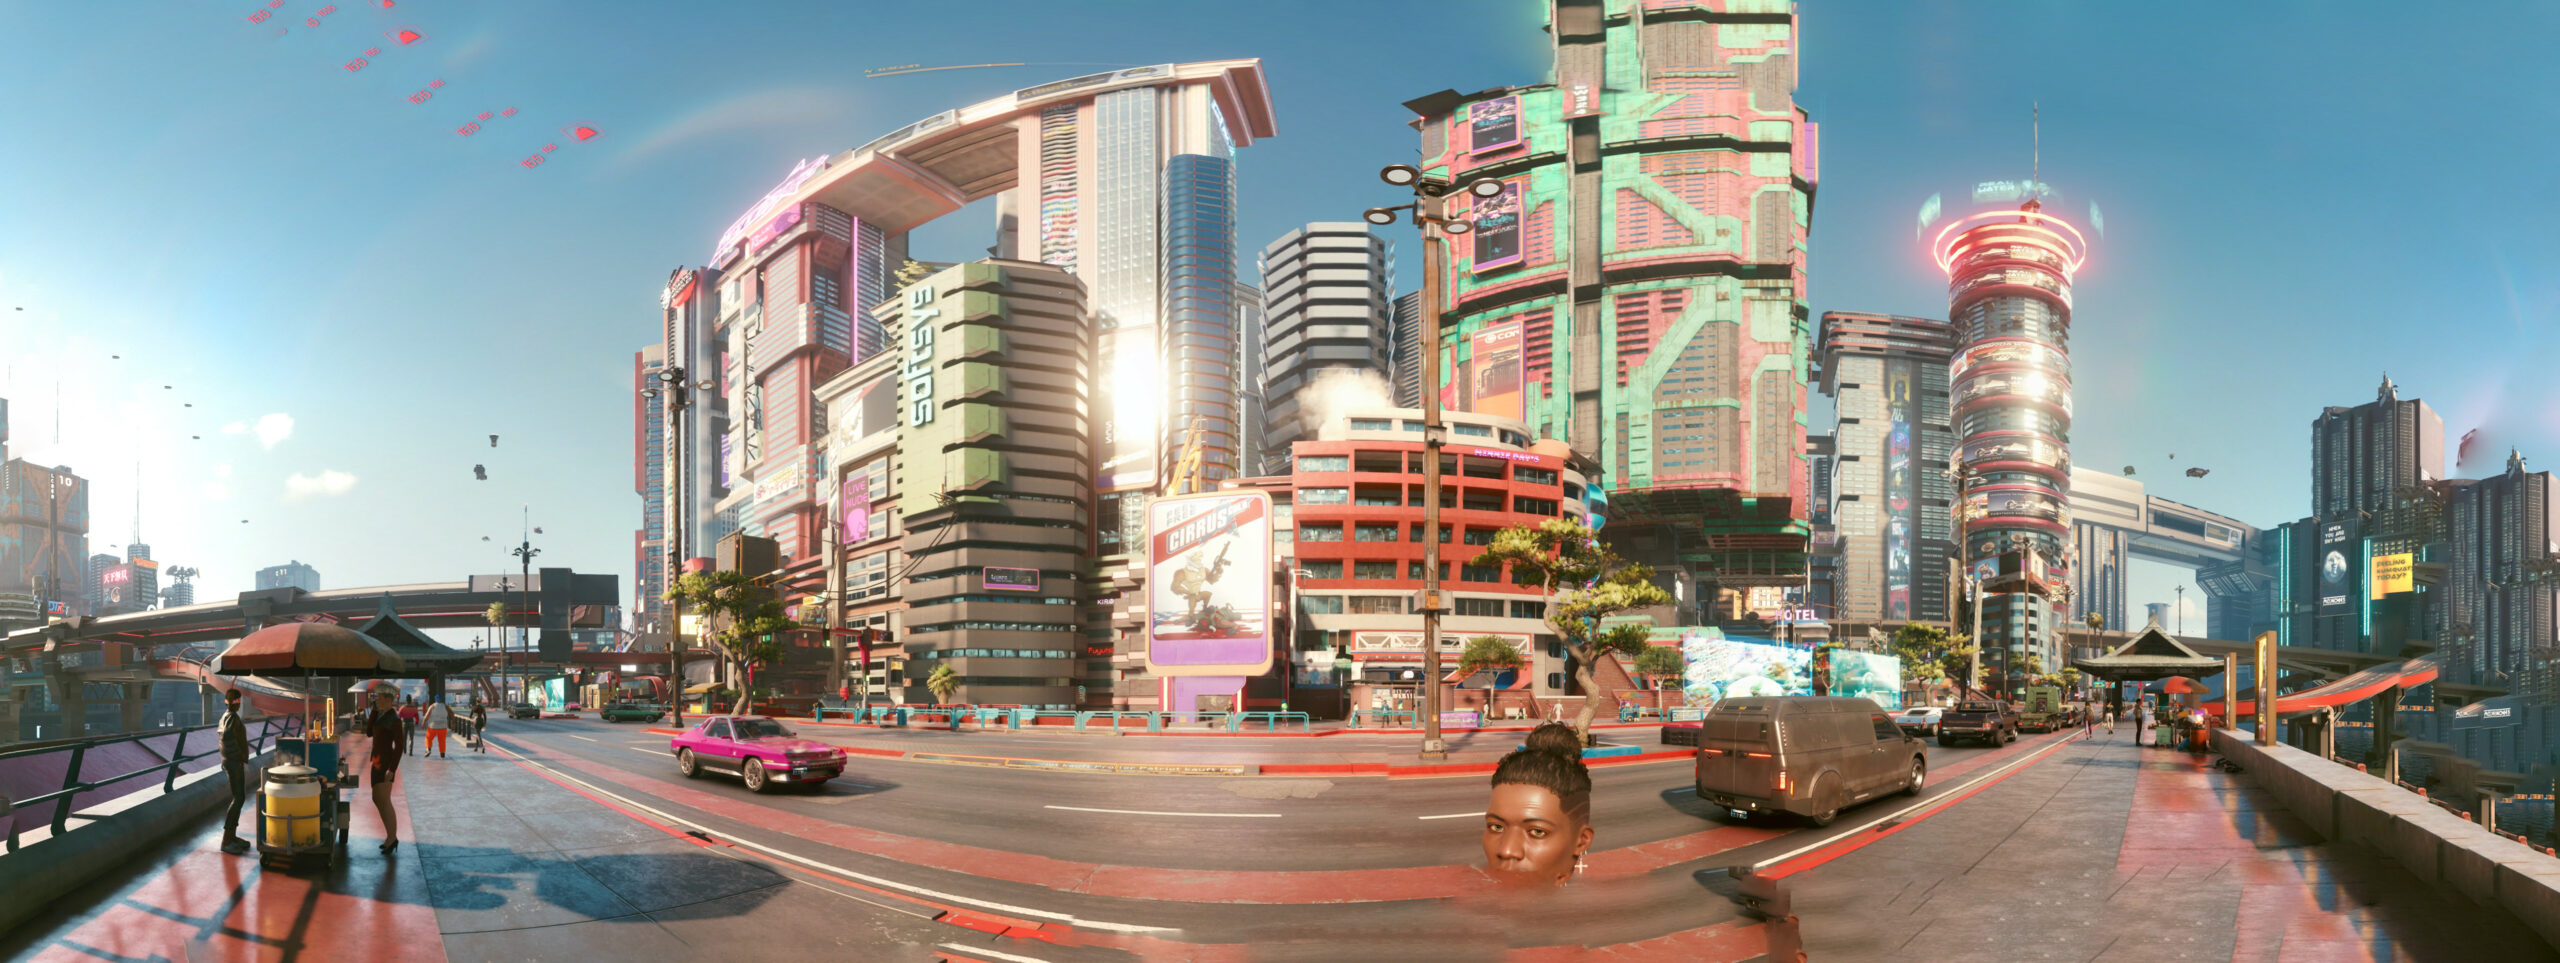
For the first time in the last 10ish years I am back playing a game that really impresses me. The story, the world and the technology of Cyberpunk 2077 really is a step forward.
It’s a first in many aspects for me. I do not own a PC capable enough of playing Cyberpunk 2077 at any quality level. Usually I am playing games on consoles like the Playstation. But for this one I have selected to play on the PC platform. But how?
I am using game streaming. The game is rendered in a datacenter on a PC and graphics card I am renting for the purpose of playing the game. And it simply works great!
So I am playing a next-generation open-world game with technical break-throughs like Raytracing used to produce really great graphics streamed over the internet to my big-screen TV and my keyboard+mouse forwarded to that datacenter without (for me) noticeable lag or quality issues.
The only downside I can see so far is that sooo many people like to play it this way that there are not enough machines (gaming-rigs) available to all the players that want – so there’s a queue in the evening.
But I am doing what I am always doing when I play games. I take screenshots. And if the graphics are great I am even trying to make panoramic views of the in-game graphics. Remember my GTA V and BioShock Infinite pictures?
So here is the first batch of pictures – some stitched together using 16 and more single screenshots. Look at the detail! Again – there are in-game screenshots. Click on them to make them bigger – and right-click open the source to really zoom into them.