Back in 2015 I built a small app because I was traveling a lot and kept running into the same slightly ridiculous, slightly stressful situation:
you never really know where the next public toilet is until it becomes… quite an urgent matter.
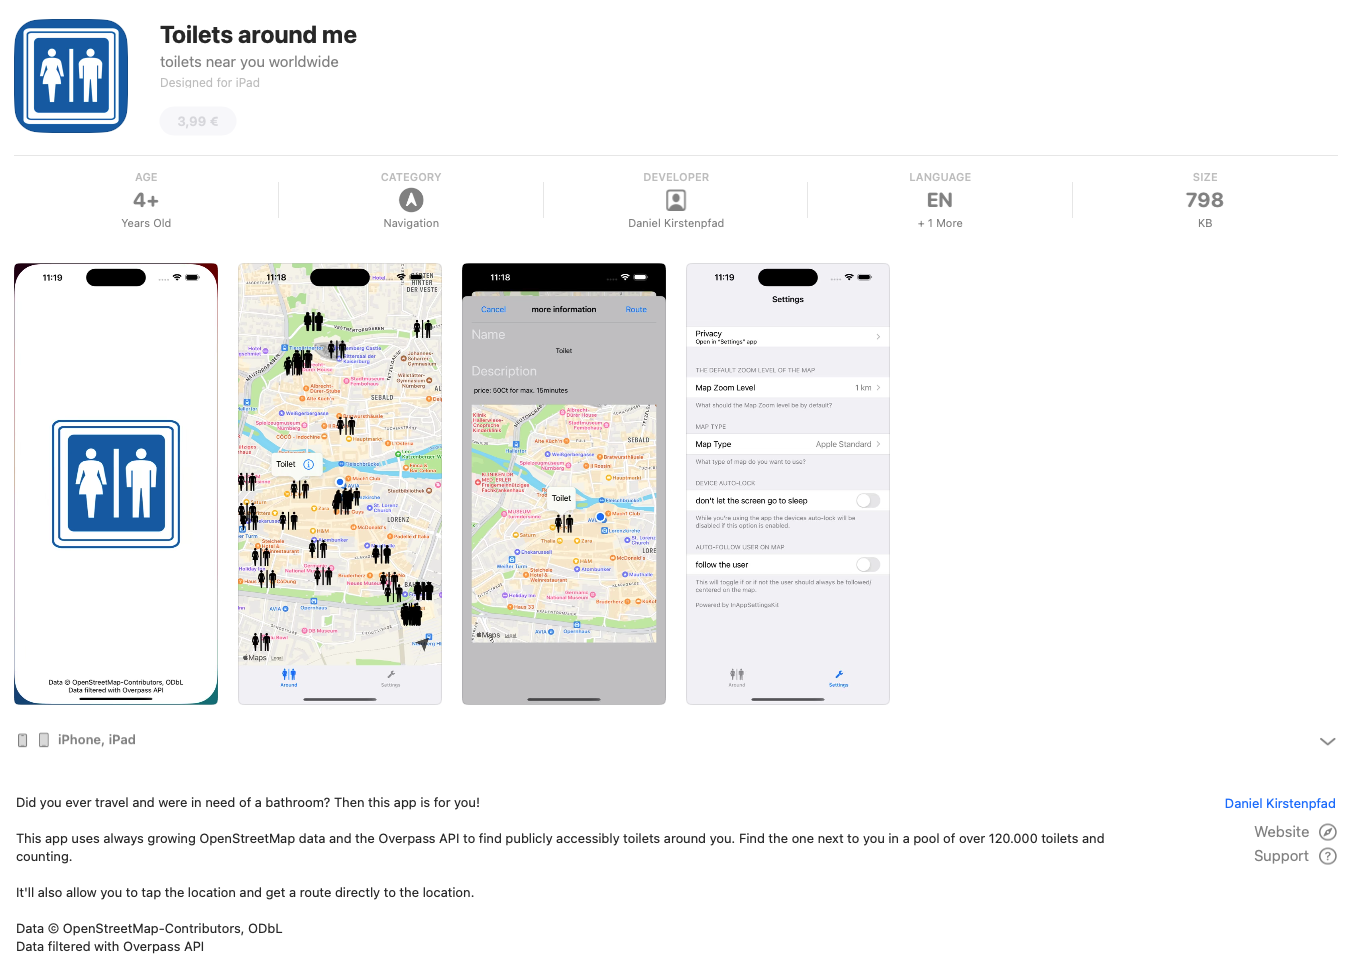
So I hacked together a simple iOS app, used OpenStreetMap data, showed nearby toilets, and uploaded it to the App Store.
It was called Toilet Finder.
It worked. And then it just… stayed that way for almost a decade.
Why a rewrite?
At some point, code just ages out of its time.
The original app was built in the early days of iOS development with ObjectiveC as the programming language.
It kept working but every time I tried to fix something, I ended up spelunking through a maze of compatibility shims and ancient delegate patterns.
A piece of software that functioned but didn’t feel maintainable anymore.
So I started over.
The same idea, just cleaner
The essence of the app hasn’t changed:
“Show me nearby toilets, instantly, without tracking me, and without subscriptions.”
But everything underneath was rewritten from scratch.
The new version is entirely SwiftUI, with structured concurrency and Apple’s MapKit for rendering and routing.
That change alone cut away thousands of lines of glue code.
Apple Maps now provides both the background map tiles and the walking routes directly inside the app — no context switch to another app.
Open data, still the foundation
From the very beginning, the data came from OpenStreetMap (OSM), and it still does. It’s hard to overstate how valuable that project is — an open, crowd-maintained map of the entire planet, full of tiny details that commercial datasets rarely bother with. And crowd-maintained means: you can add something anytime yourself (which I do a lot when I am travelling).
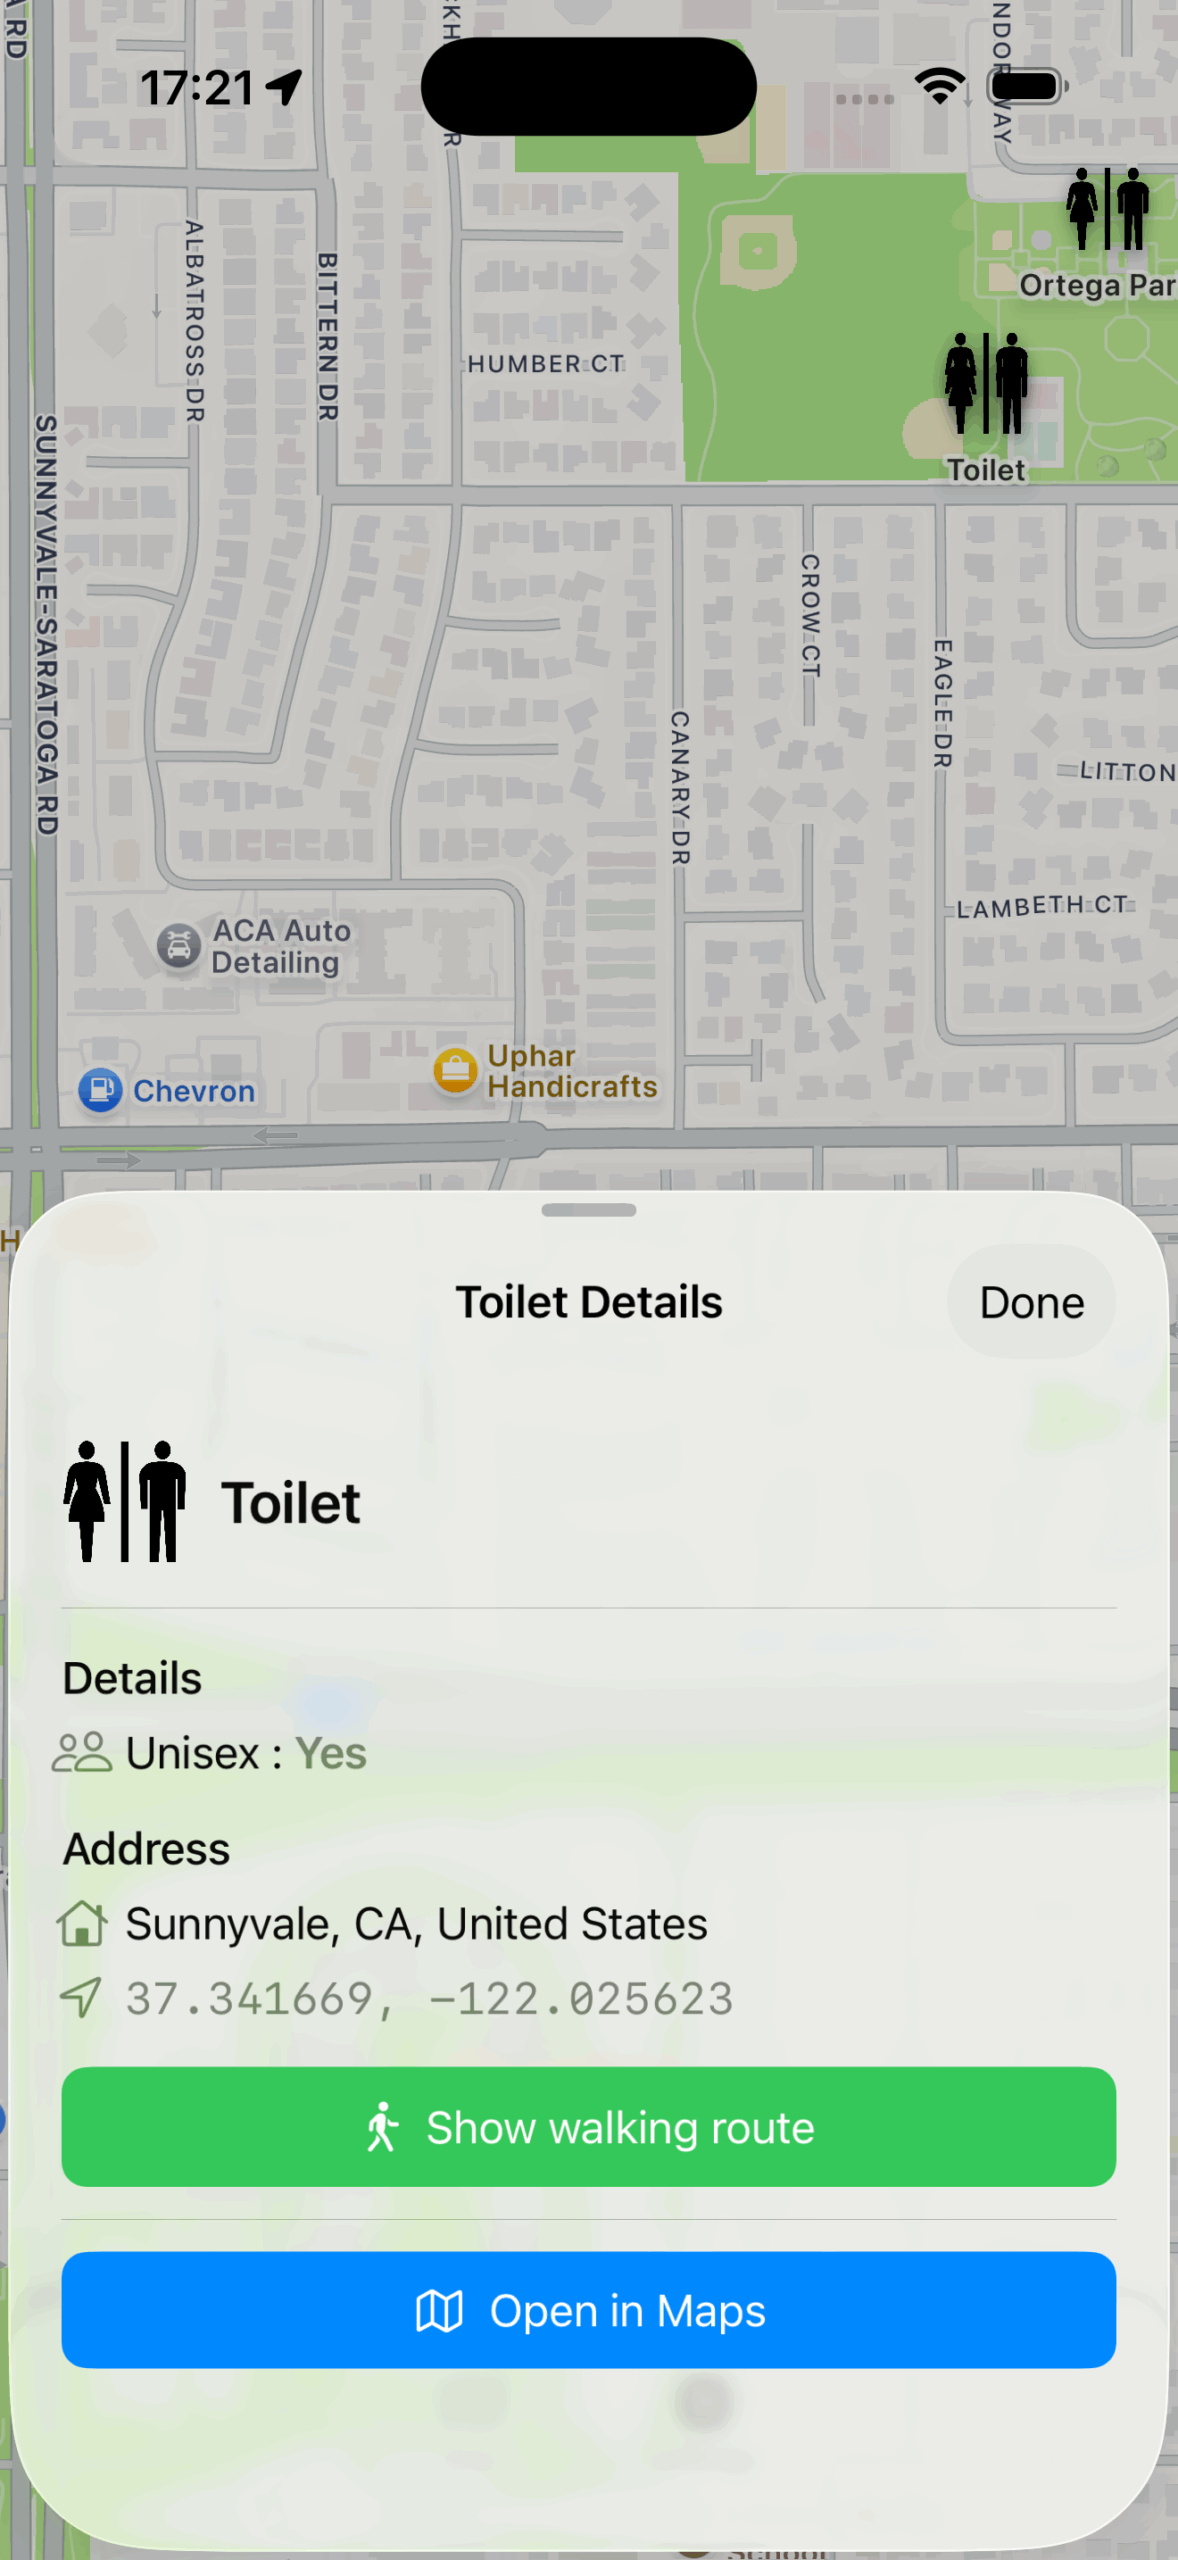
Every public toilet in OSM carries a little bundle of metadata: whether it’s wheelchair accessible (wheelchair=yes), has a baby-changing table (changing_table=yes), costs money (fee=yes), or is unisex.
That richness makes OSM perfect for this use case — but only if you can query it efficiently.
About Overpass – and why I run my own
That’s where Overpass comes in.
Overpass is a specialized database engine built to answer complex questions about OSM data.
Instead of downloading the entire world, you can ask things like:
node
  [amenity=toilets]
  ({{bbox}});
out;
This means: “Give me all objects tagged as toilets within this bounding box.”
The result is a clean JSON structure that contains just what’s needed — coordinates, tags, and nothing else. It’s elegant, but also resource-intensive.
The public Overpass servers are shared by thousands of users worldwide. To avoid adding load or hitting rate limits, I decided early on to operate a dedicated Overpass instance specifically for this app.
It runs on my own infrastructure, continuously synchronised with the global OSM database, and tuned for quick bounding-box queries.
That setup means the app never touches the public endpoints. Every user query goes against my own server, which mirrors the OSM planet file and indexes it for exactly this use case. And my servers do not log anything. Every request is stateless and gone after it’s done.
Privacy by design
Because the app directly queries Overpass, there’s no need for user accounts, analytics, or any logging. The app simply constructs a bounding box around your visible map area and sends it to the Overpass instance.
The result is just a list of toilets — which are then drawn locally on the map.

The new logic under the hood
The rewrite gave me a chance to rethink the app’s internal logic.
In the old version, every pan or zoom triggered a new request. It worked, but it was noisy — and sometimes slow.
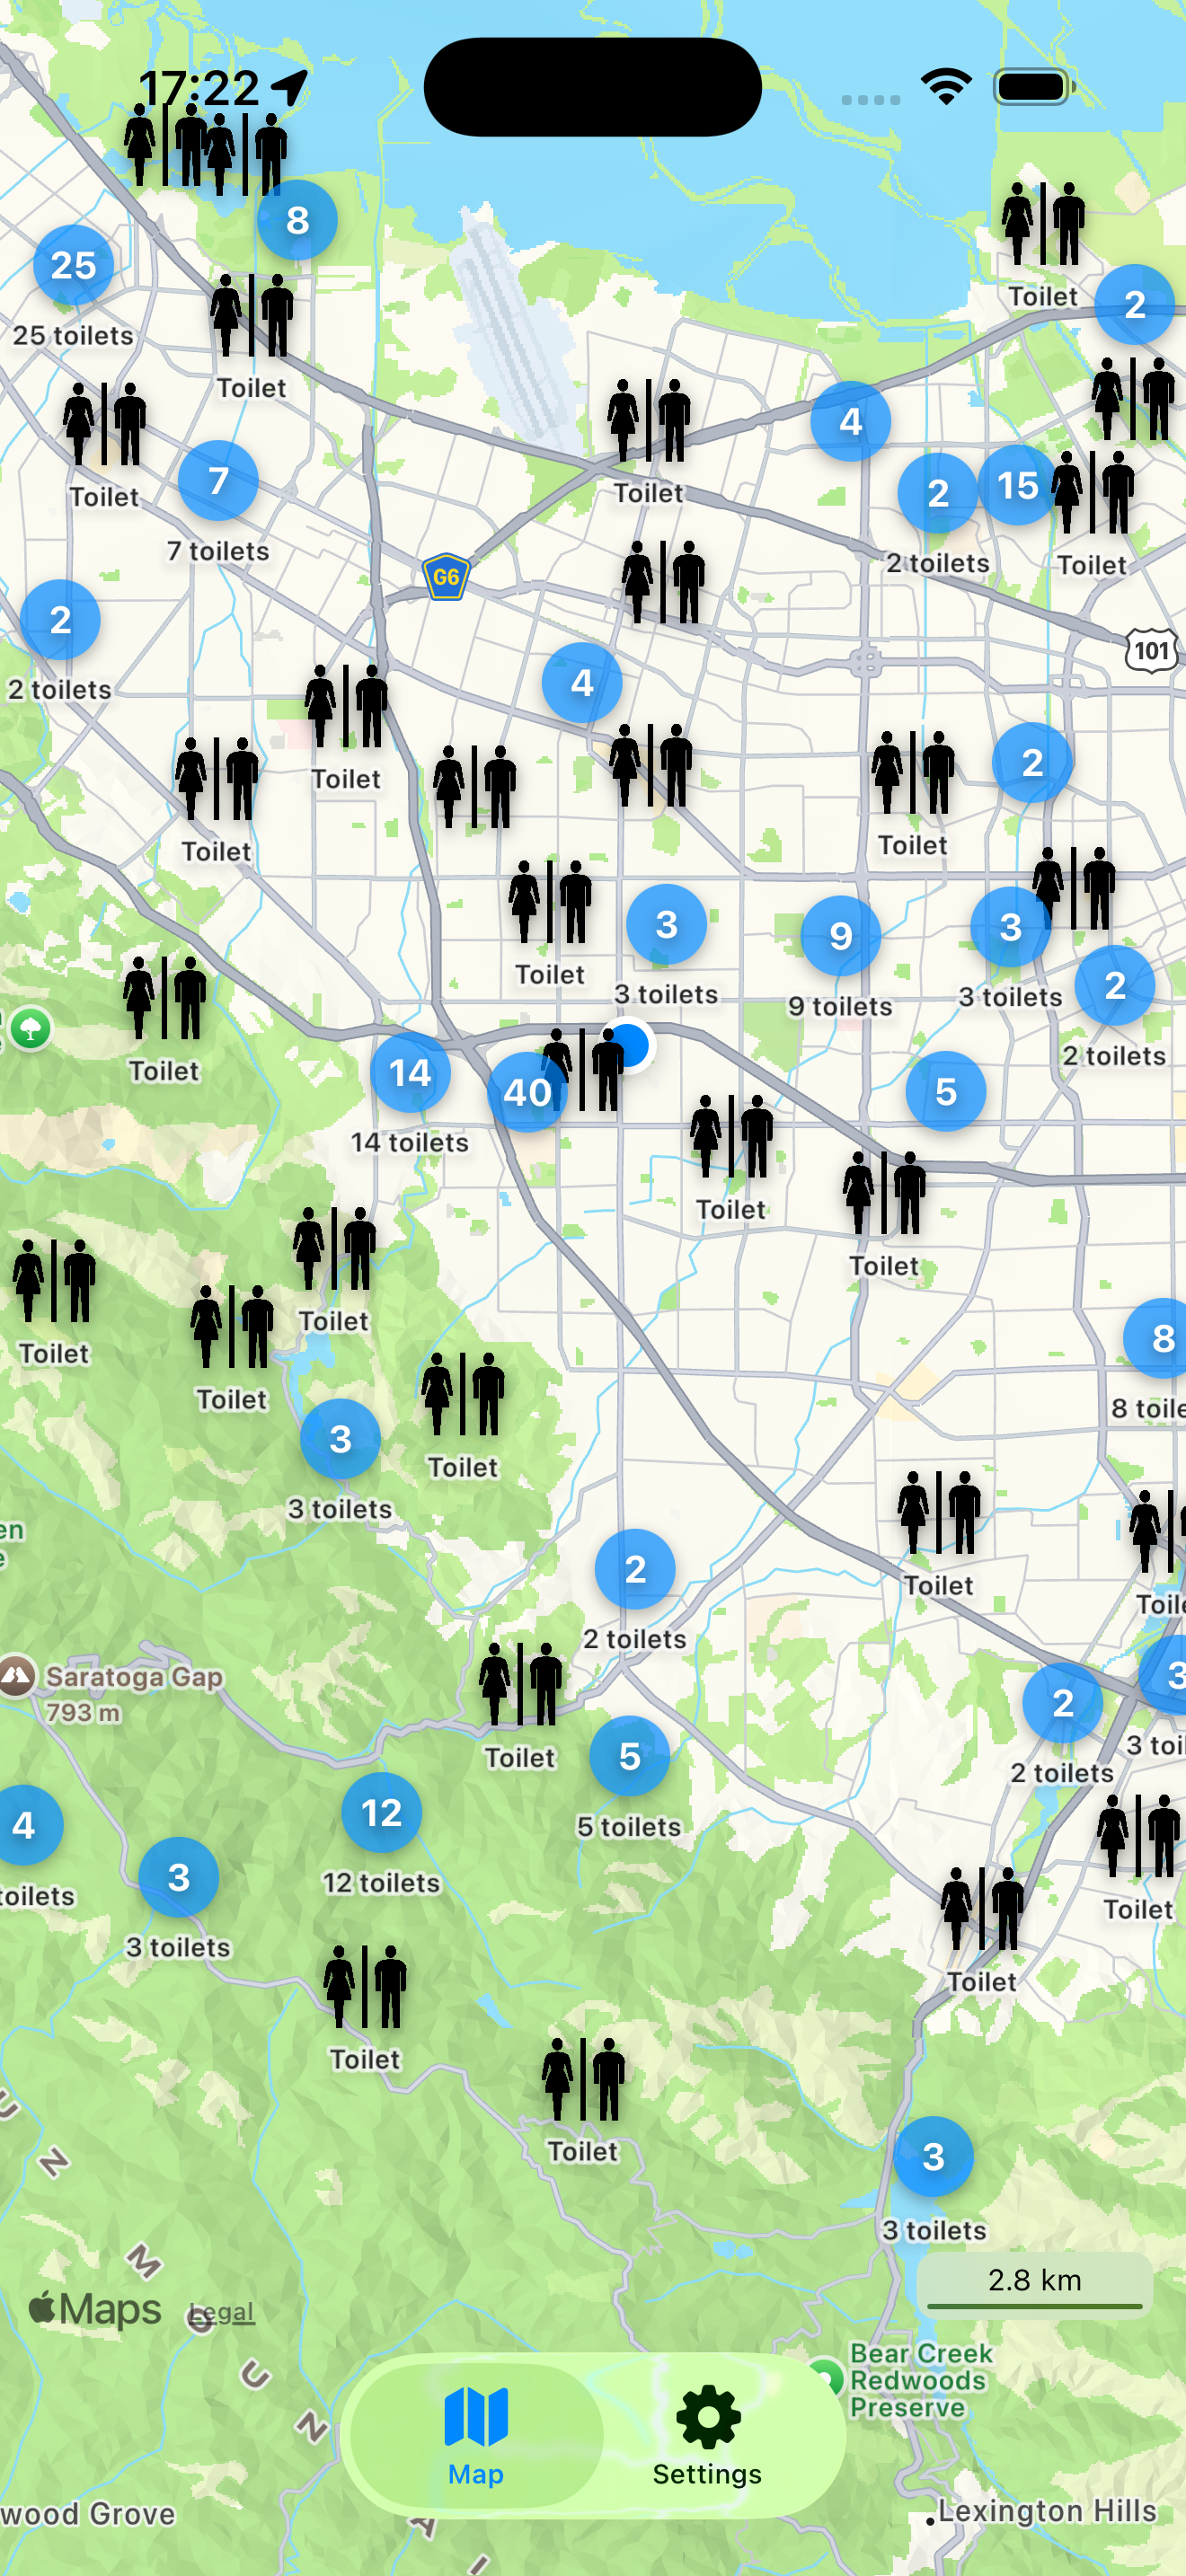
Now, the app uses a spatial cache. It remembers which regions of the map you’ve already seen and reuses them instantly. If you return to the same area later (even offline), the toilets appear immediately, and a background task quietly checks for updates.
There’s also clustering now. Instead of dropping hundreds of overlapping pins in dense city areas, the app groups nearby toilets into a single marker that expands smoothly as you zoom in.
It keeps the map readable — and strangely satisfying to explore.
Walking routes, finally in-app
One of the small frustrations with version 1 was that navigation meant switching to the Maps app.
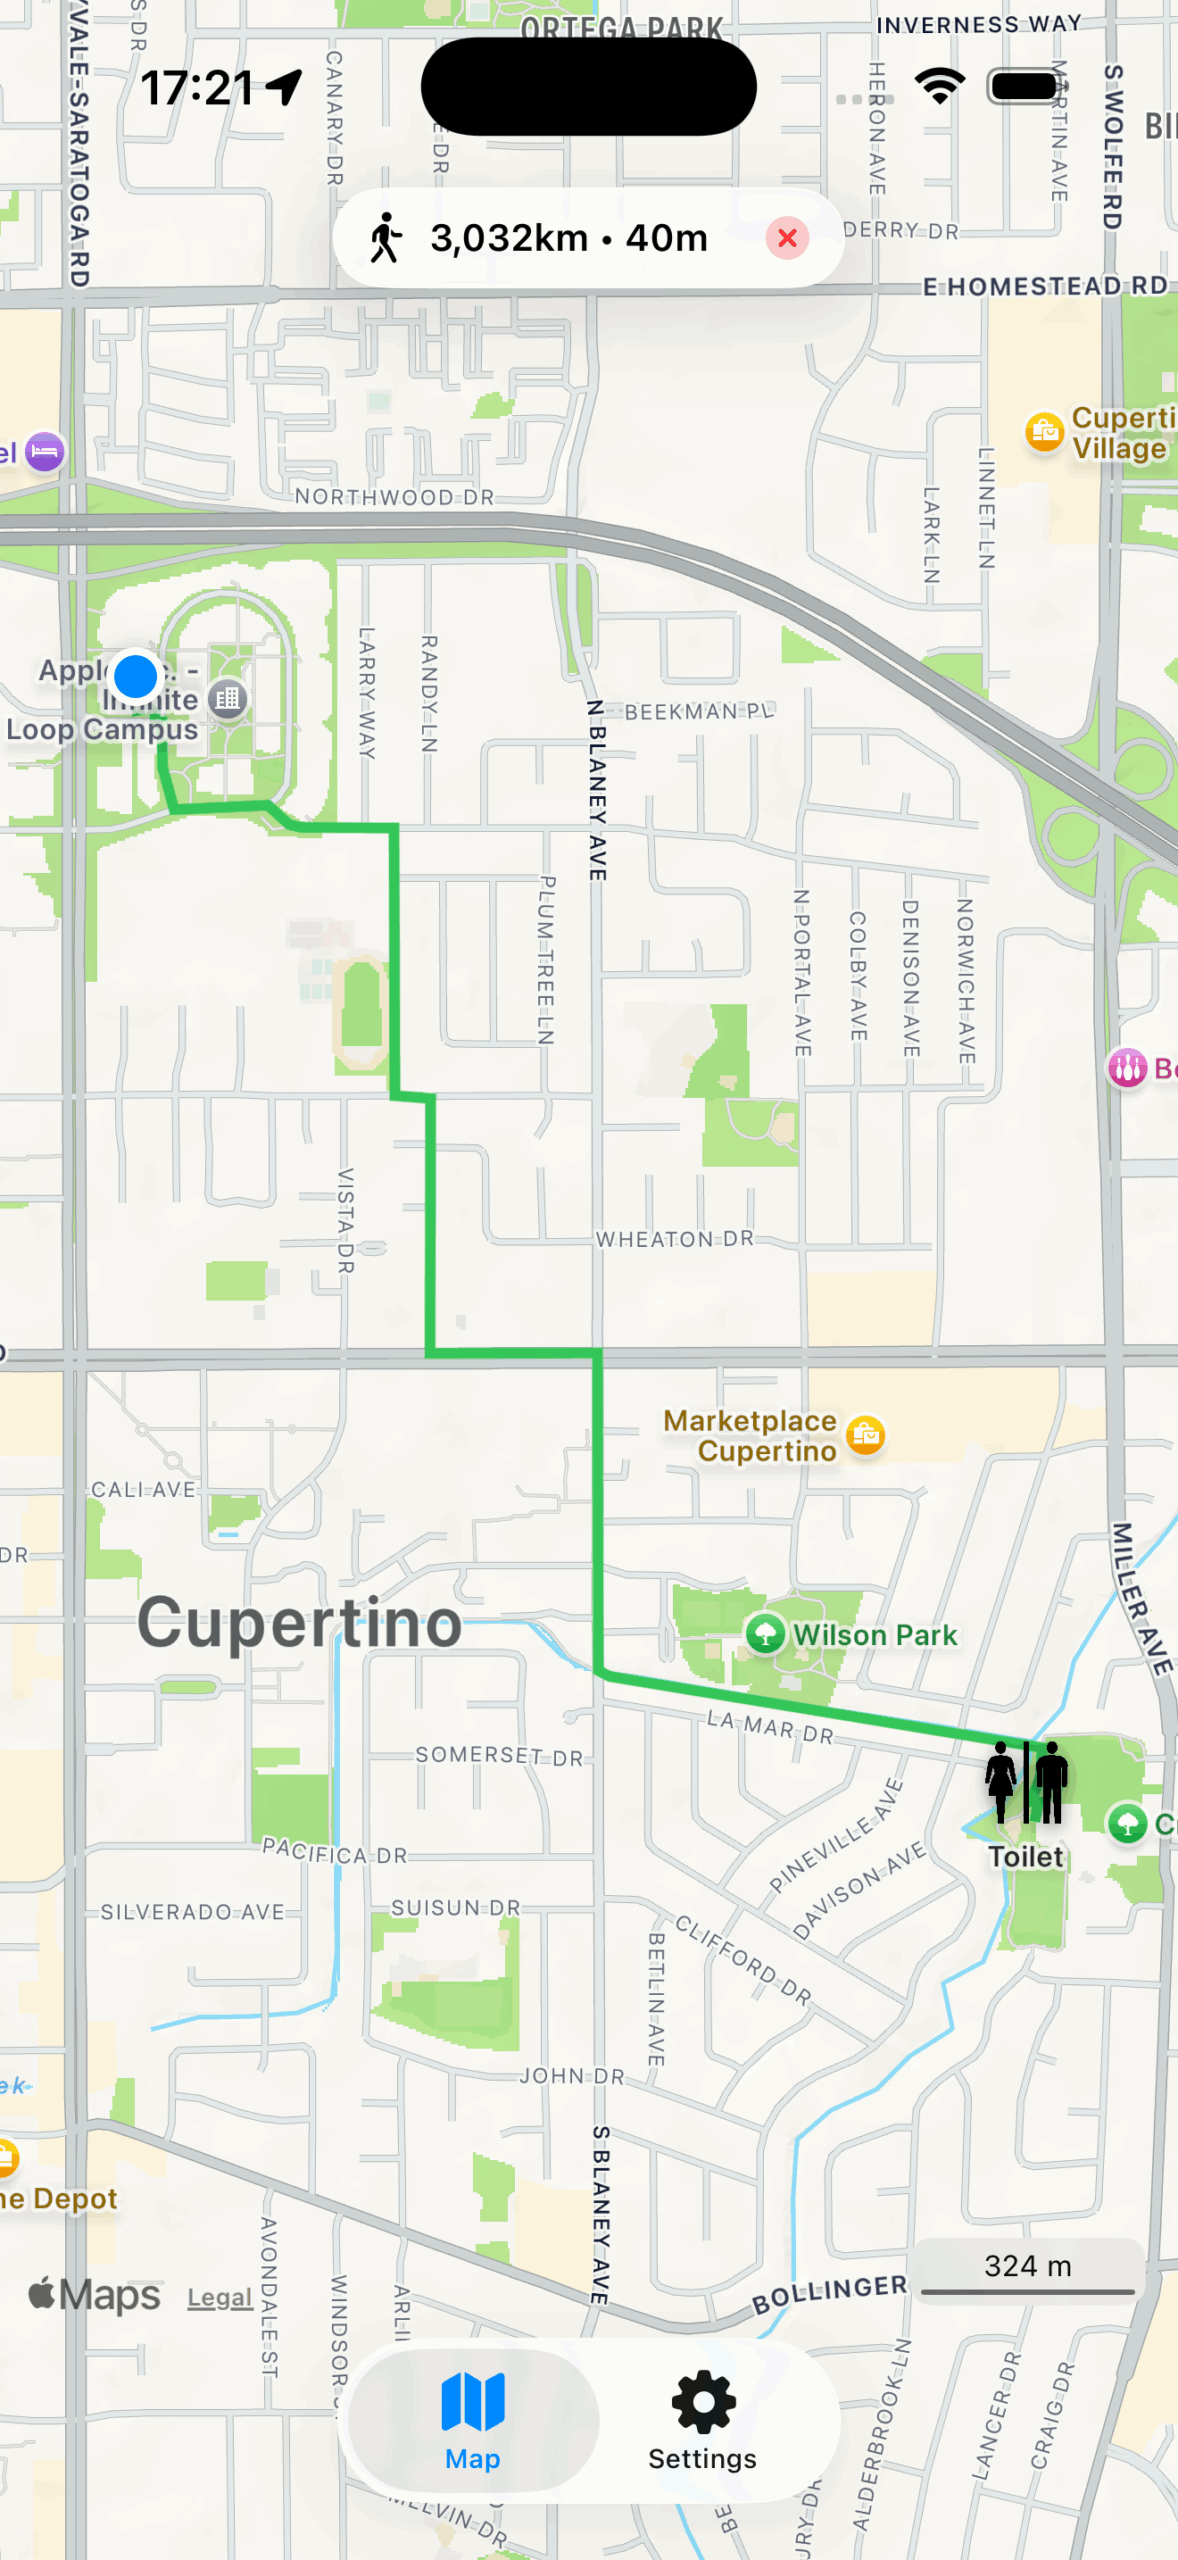
Now, when you tap “Show walking route,” the path appears right there, drawn in green on the same map.
That might sound like a detail, but it changes how it feels to use the app.
You don’t lose context; the map doesn’t disappear. You tap, it shows, you walk.
Looking back
When I first uploaded Toilet Finder in 2015, I never imagined it would still exist ten years later.
It was a small weekend project, built to solve a personal nuisance.
But people started to use it and still do. Now the app itself is translated to multiple languages. The old version knew English. Version 2.0 comes with English, German, French, Spanish and Japanese.
Rewriting it in 2025 wasn’t about chasing new trends; it was about giving an old idea a proper modern home.
The app feels the same, but lighter, smoother, and more trustworthy.
You can get the new version here: Toilett Finder in the Apple AppStore