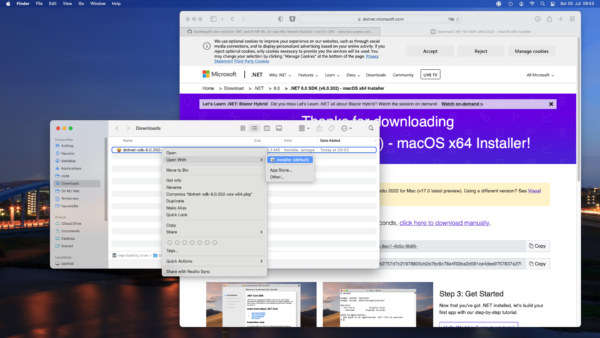
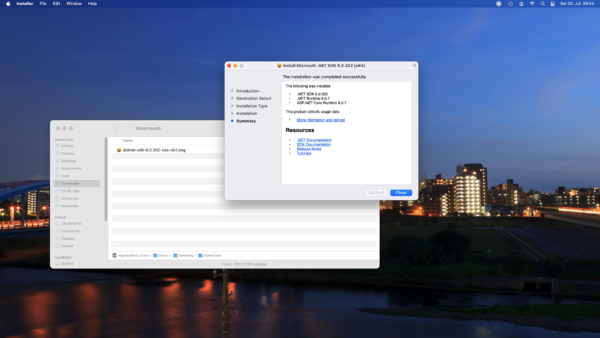
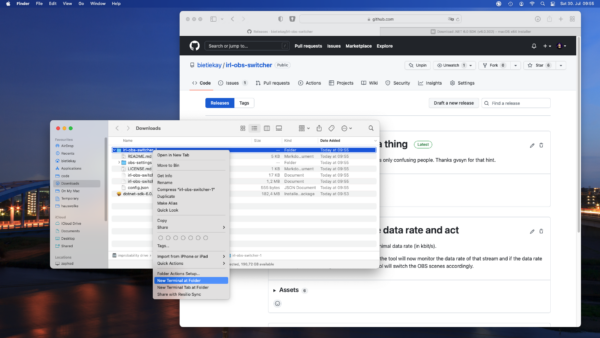
after unzipping right click the folder and select „new Terminal at Folder“. If your menu does not show this item just open a Terminal (search for Terminal) and navigate to the folder you unpacked the binary release to („cd Downloads“)
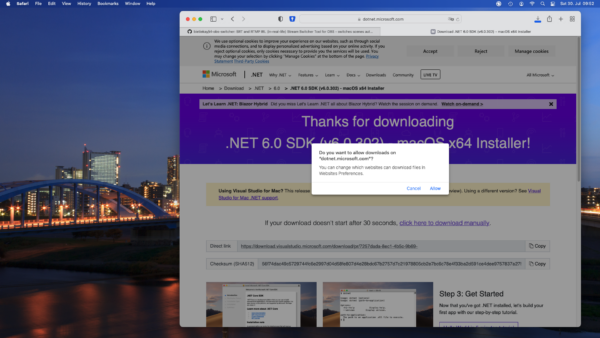
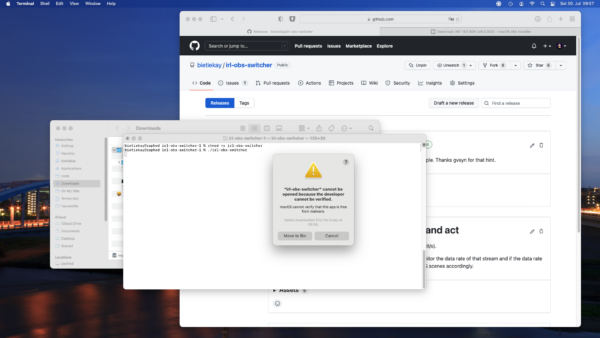
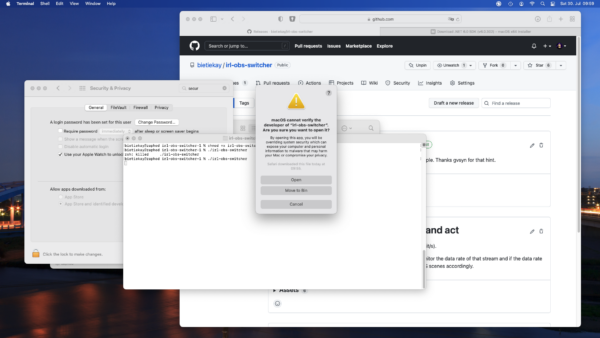
Then mark the irl-obs-switcher executable by running „chmod +x irl-obs-switcher“. Then try to run it with ./irl-obs-switcher. On current macOS you might get a pop-up warning you about the file you are trying to run. This is a default warning as the binary release of irl-obs-switcher is not signed/approved by Apple but just made available by the developer (me) to you. Choose „Cancel“ as might not want to move it to the recycle bin just yet.
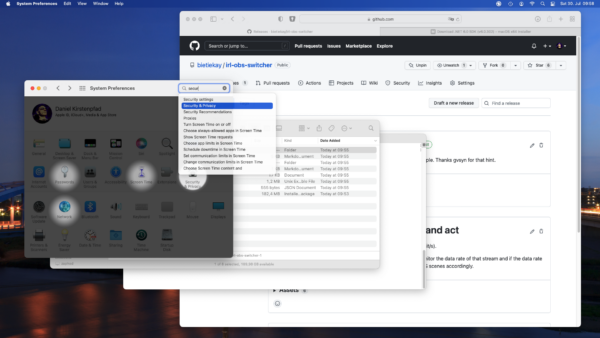
Next we need to tell macOS to anyway allow us to run the irl-obs-switcher file by going to the „Security&Privacy“ section of the System Settings.
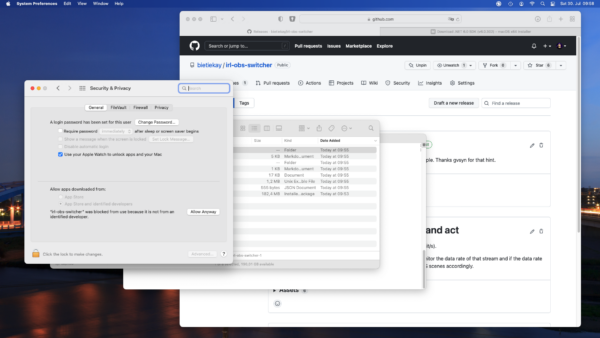
You will see a button „Allow Anyway“ that you can click to allow running of irl-obs-switcher.
Now when you try to run irl-obs-switcher again the warning will look different. Click „Open“ and you‘re good to go.
Ever since I stumbled across several IRL streamers I was intrigued by the concept of it.
IRL or “in-real-life” is essentially the art of streaming everyday life. For hours and totally mobile. Of course there are some great gems in the vast sea of content creators. One of them – robcdee – streams for hours live almost every day and shows you his way around in Japan.
Apart from the content – Japan is great – the technical side of this IRL streaming set-ups is quite interesting. Imagine: These streamers wander around with usually a backpack filled with batteries, several modems (4G/5G…) that load balance and bundle a 2-6 Mbit/s video+audio stream that gets sent to a central server either through SRT or RTMP protocol. This central server runs OBS Studio and receives the video stream offering the ability to add overlays and even switch between different scenes and contents.
After I had a basic understanding of the underlying technologies I went ahead and started building my own set-up. I do have plenty of machines with enough internet bandwidth available so they could be the host machine of OBS Studio. I wanted all of this live in a nice docker container.
I went ahead and built a docker container that is based upon the latest Ubuntu 21.04 image and basically sets up a very minimal desktop environment accessible over VNC. In this environment there is OBS Studio running and waiting for the live stream to arrive to then send out to Twitch or YouTube.
How I have set-up this docker desktop environment exactly will be part of another blog article.
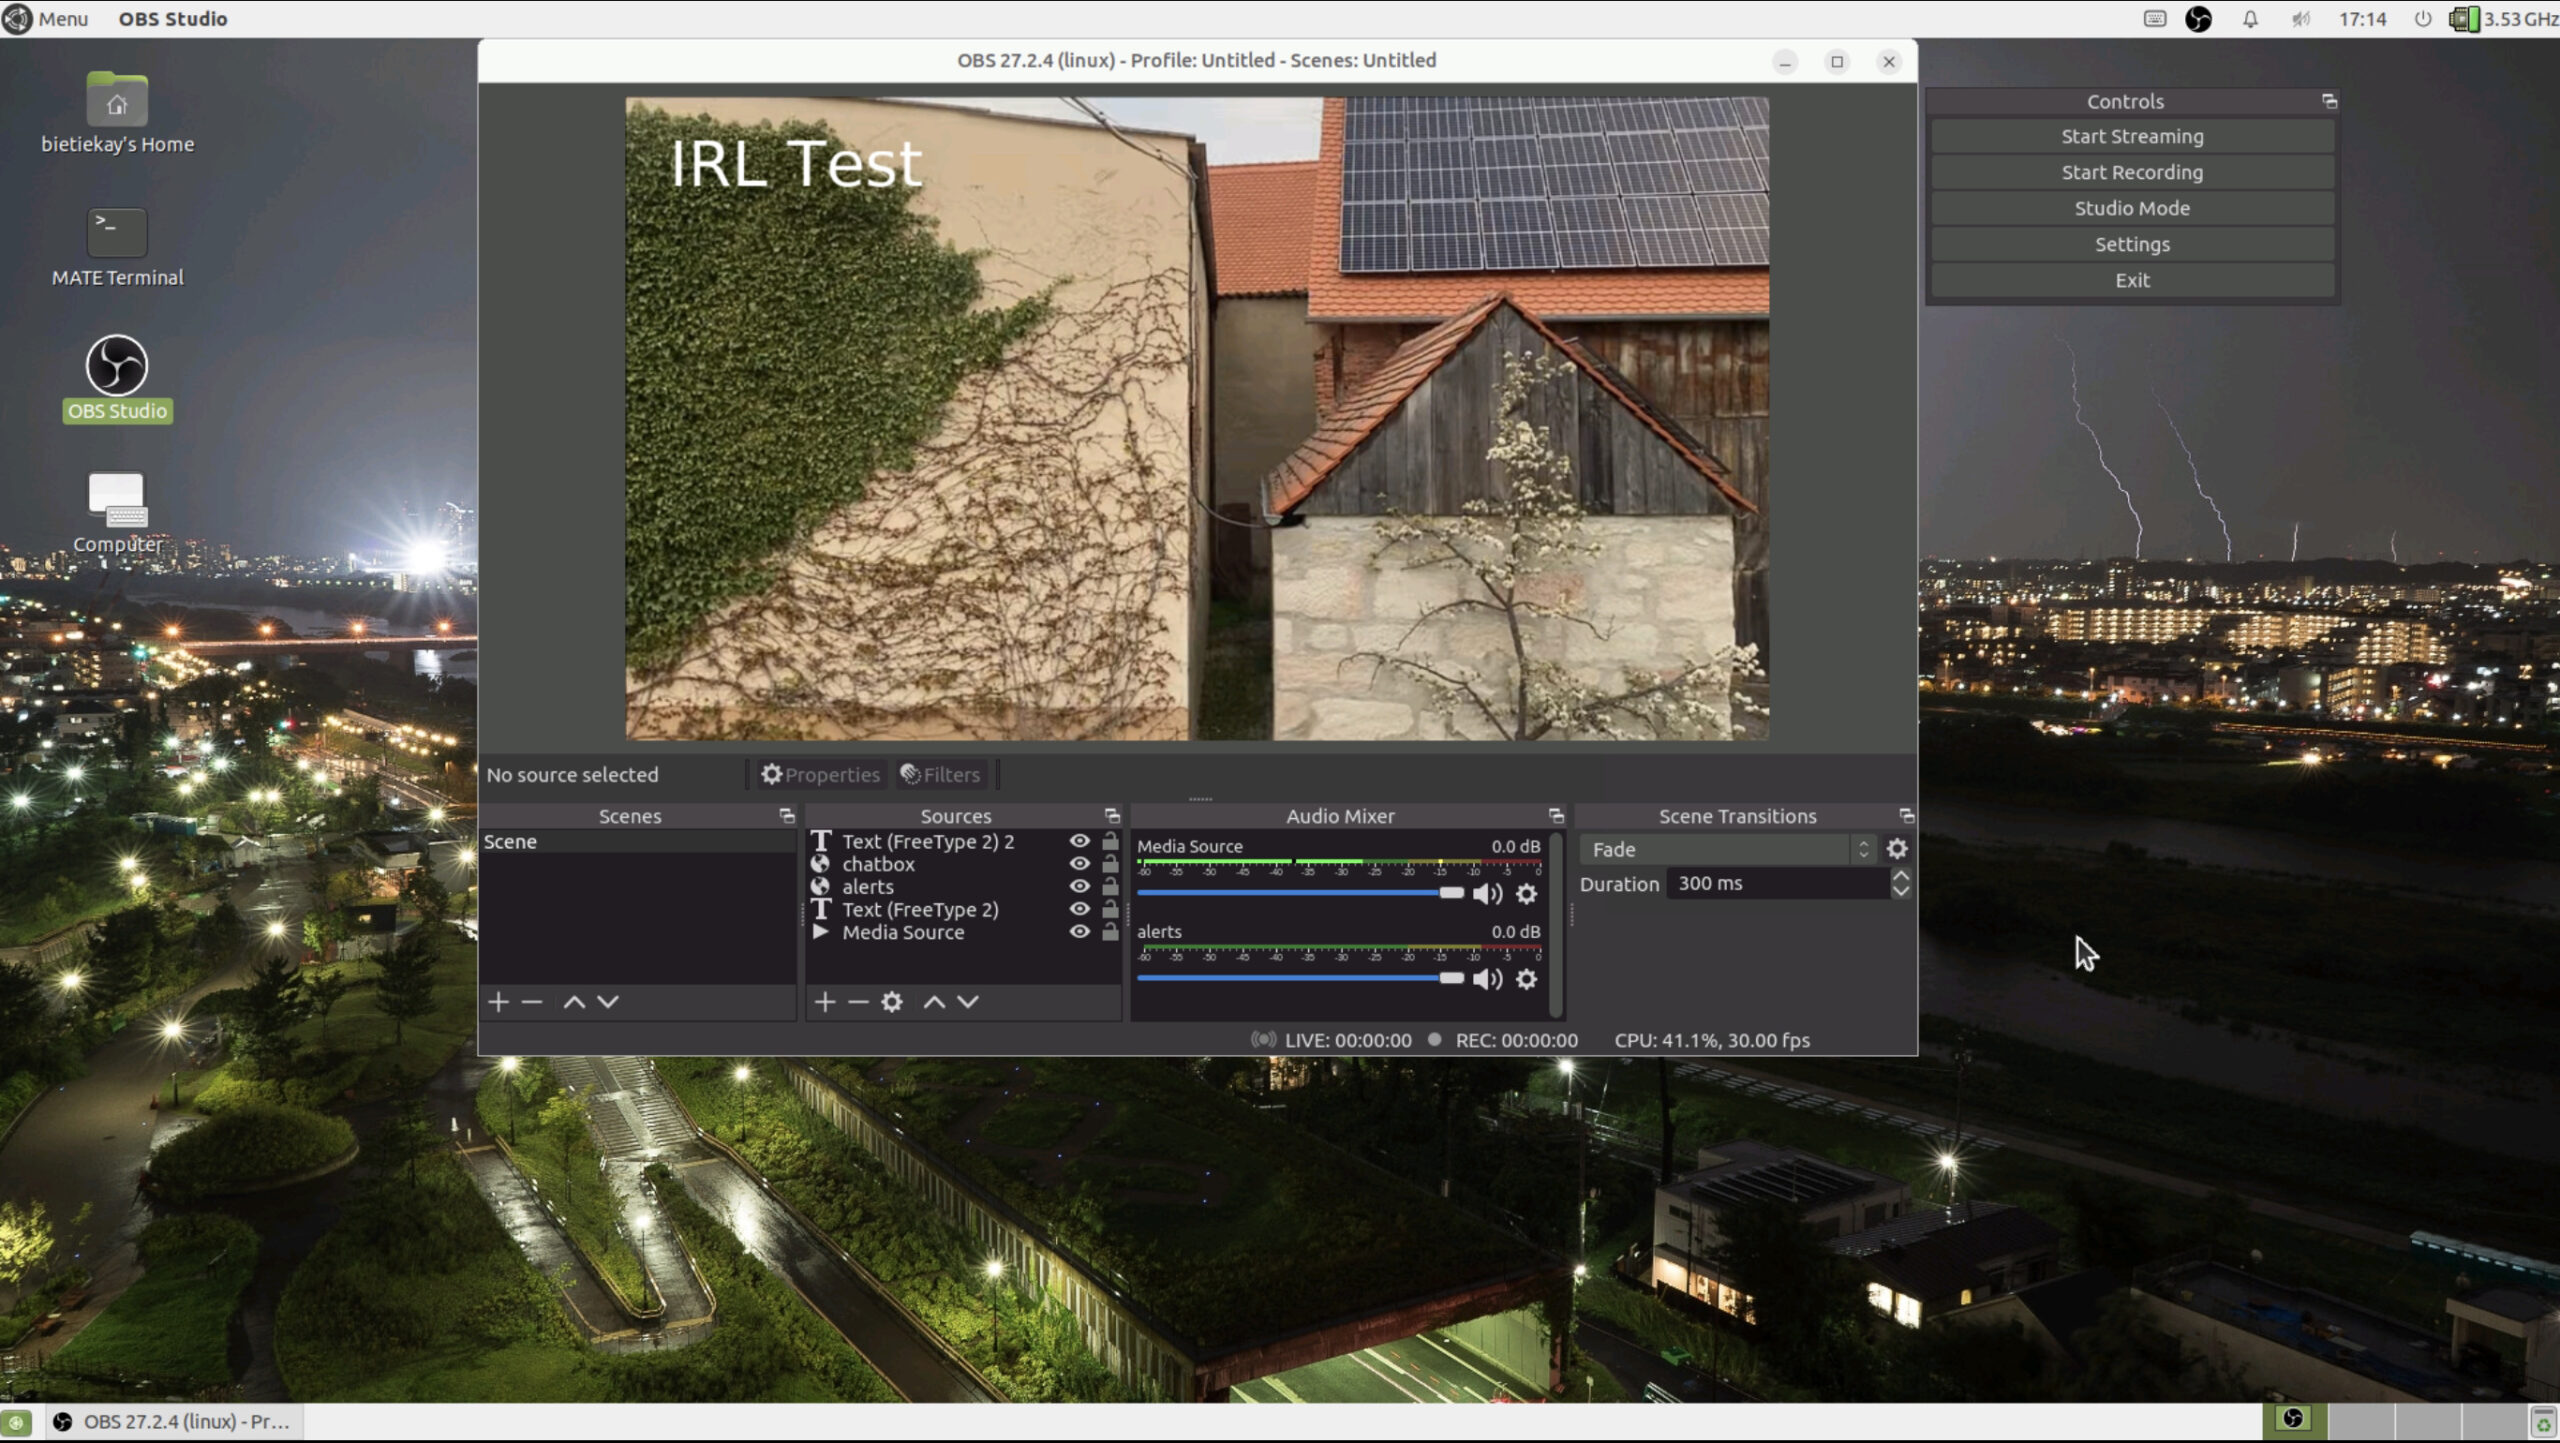
look at this nice OBS Studio running on Linux inside a Docker Container on a root server on the other side of the country…
So far so good. OBS offers the ability to define multiple scenes to switch between during a live stream.
These IRL streamers usually have one scene for when they are starting their stream and two more scenes for when they are having a solid connection from their camera/mobile setup and when they are currently experiencing connection issues.
All of the streamers seemingly use the same tooling when it comes to automatically switch between the different scenes depending on their connectivity state. This tool unfortunately is only available for Windows – not for Linux or macOS.
So I thought I give it a shot and write a platform independent one. Nothing wrong with understanding a bit more about the technicalities of live streaming, right?
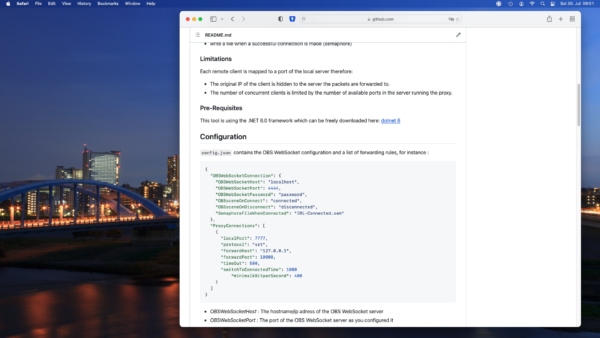
It runs on Linux, Windows, macOS as I have used the .NET framework 6.0 to create it. It is all open source and essentially just a bit of glue and logic around another open source tool called “netproxy” and OBS WebSocket.net.
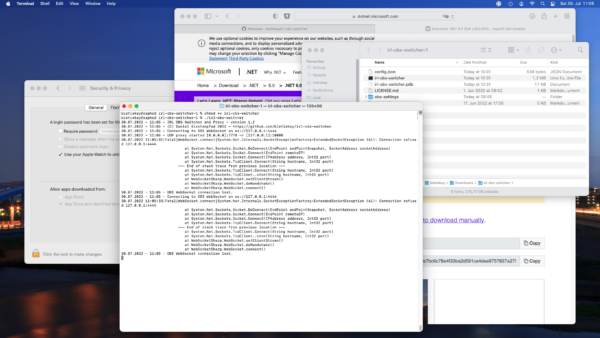
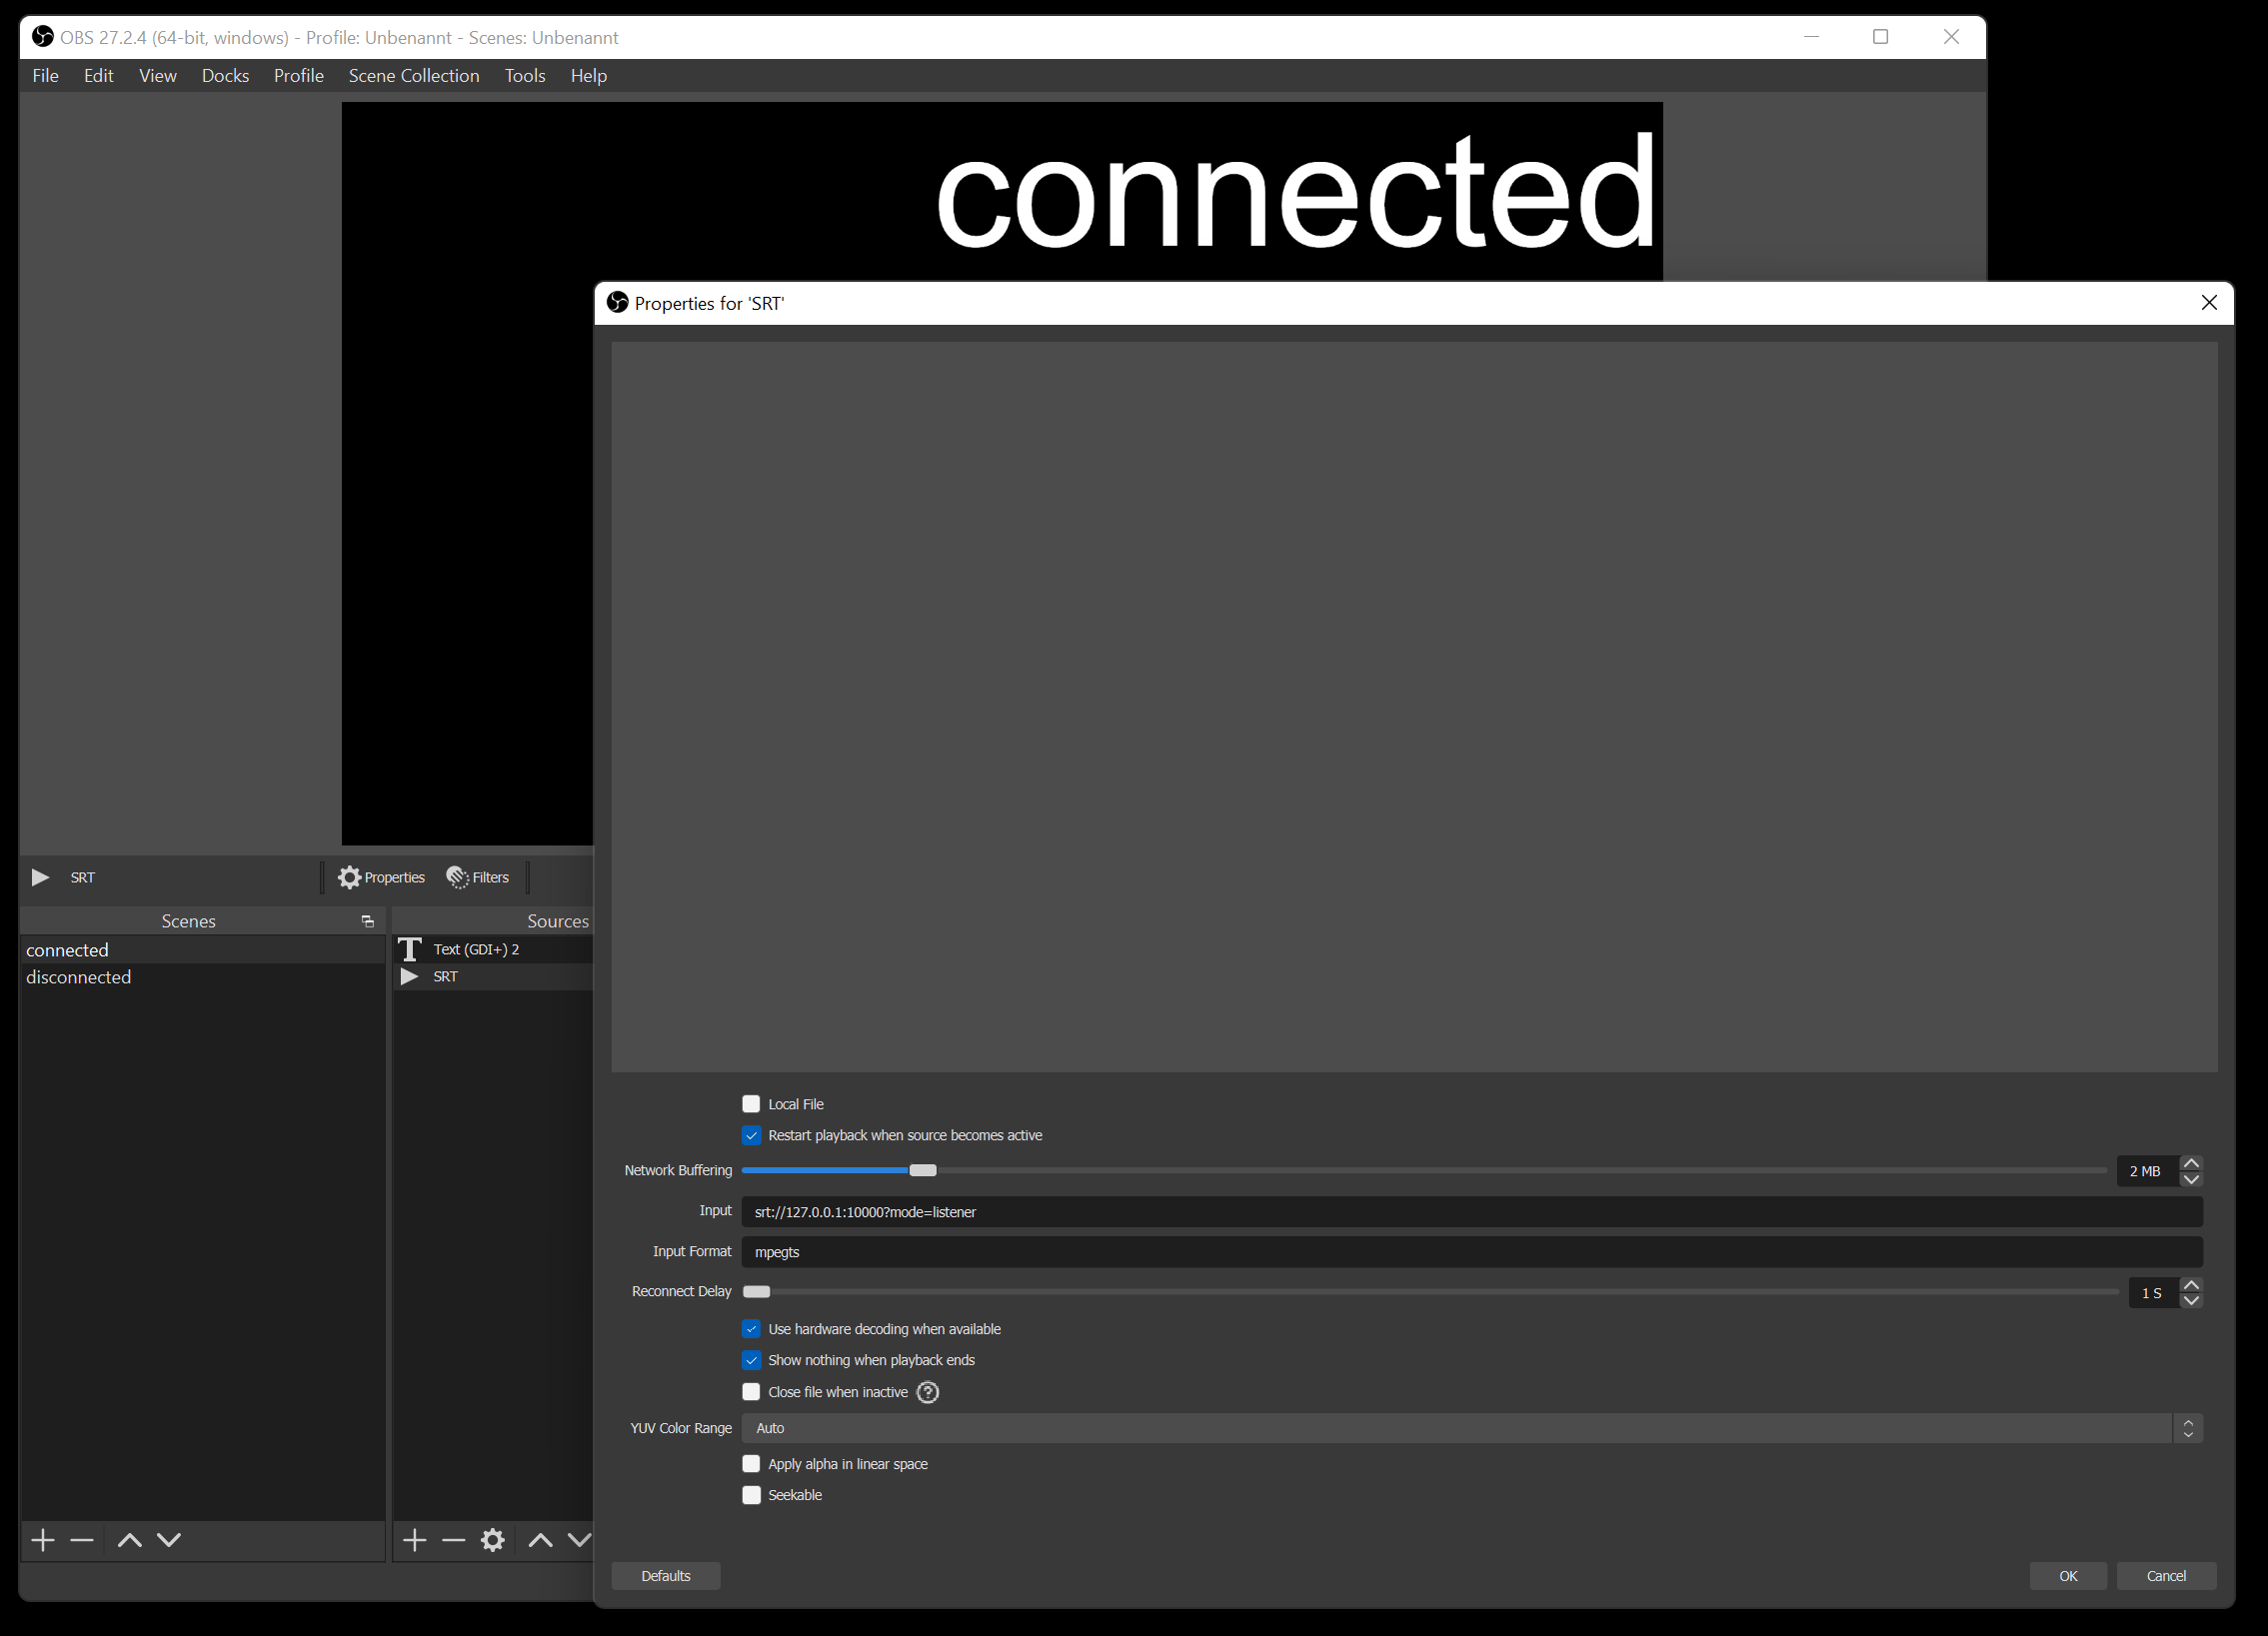
My tool basically runs on all sorts of platforms – including Linux, Windows and macOS. I run it inside the docker container with the OBS Studio. It essentially proxies all data to OBS and monitors wether or not the connection is established or currently disconnected. Furthermore it can be configured to switch scenes in OBS. So depending on wether there is a working connection or not it will switch between a “connected” and “disconnected” scene all automatically.
the “connected” scene configured as an SRT media source
So when you are out and about live streaming your day this little tool takes care of controlling OBS Studio for you.
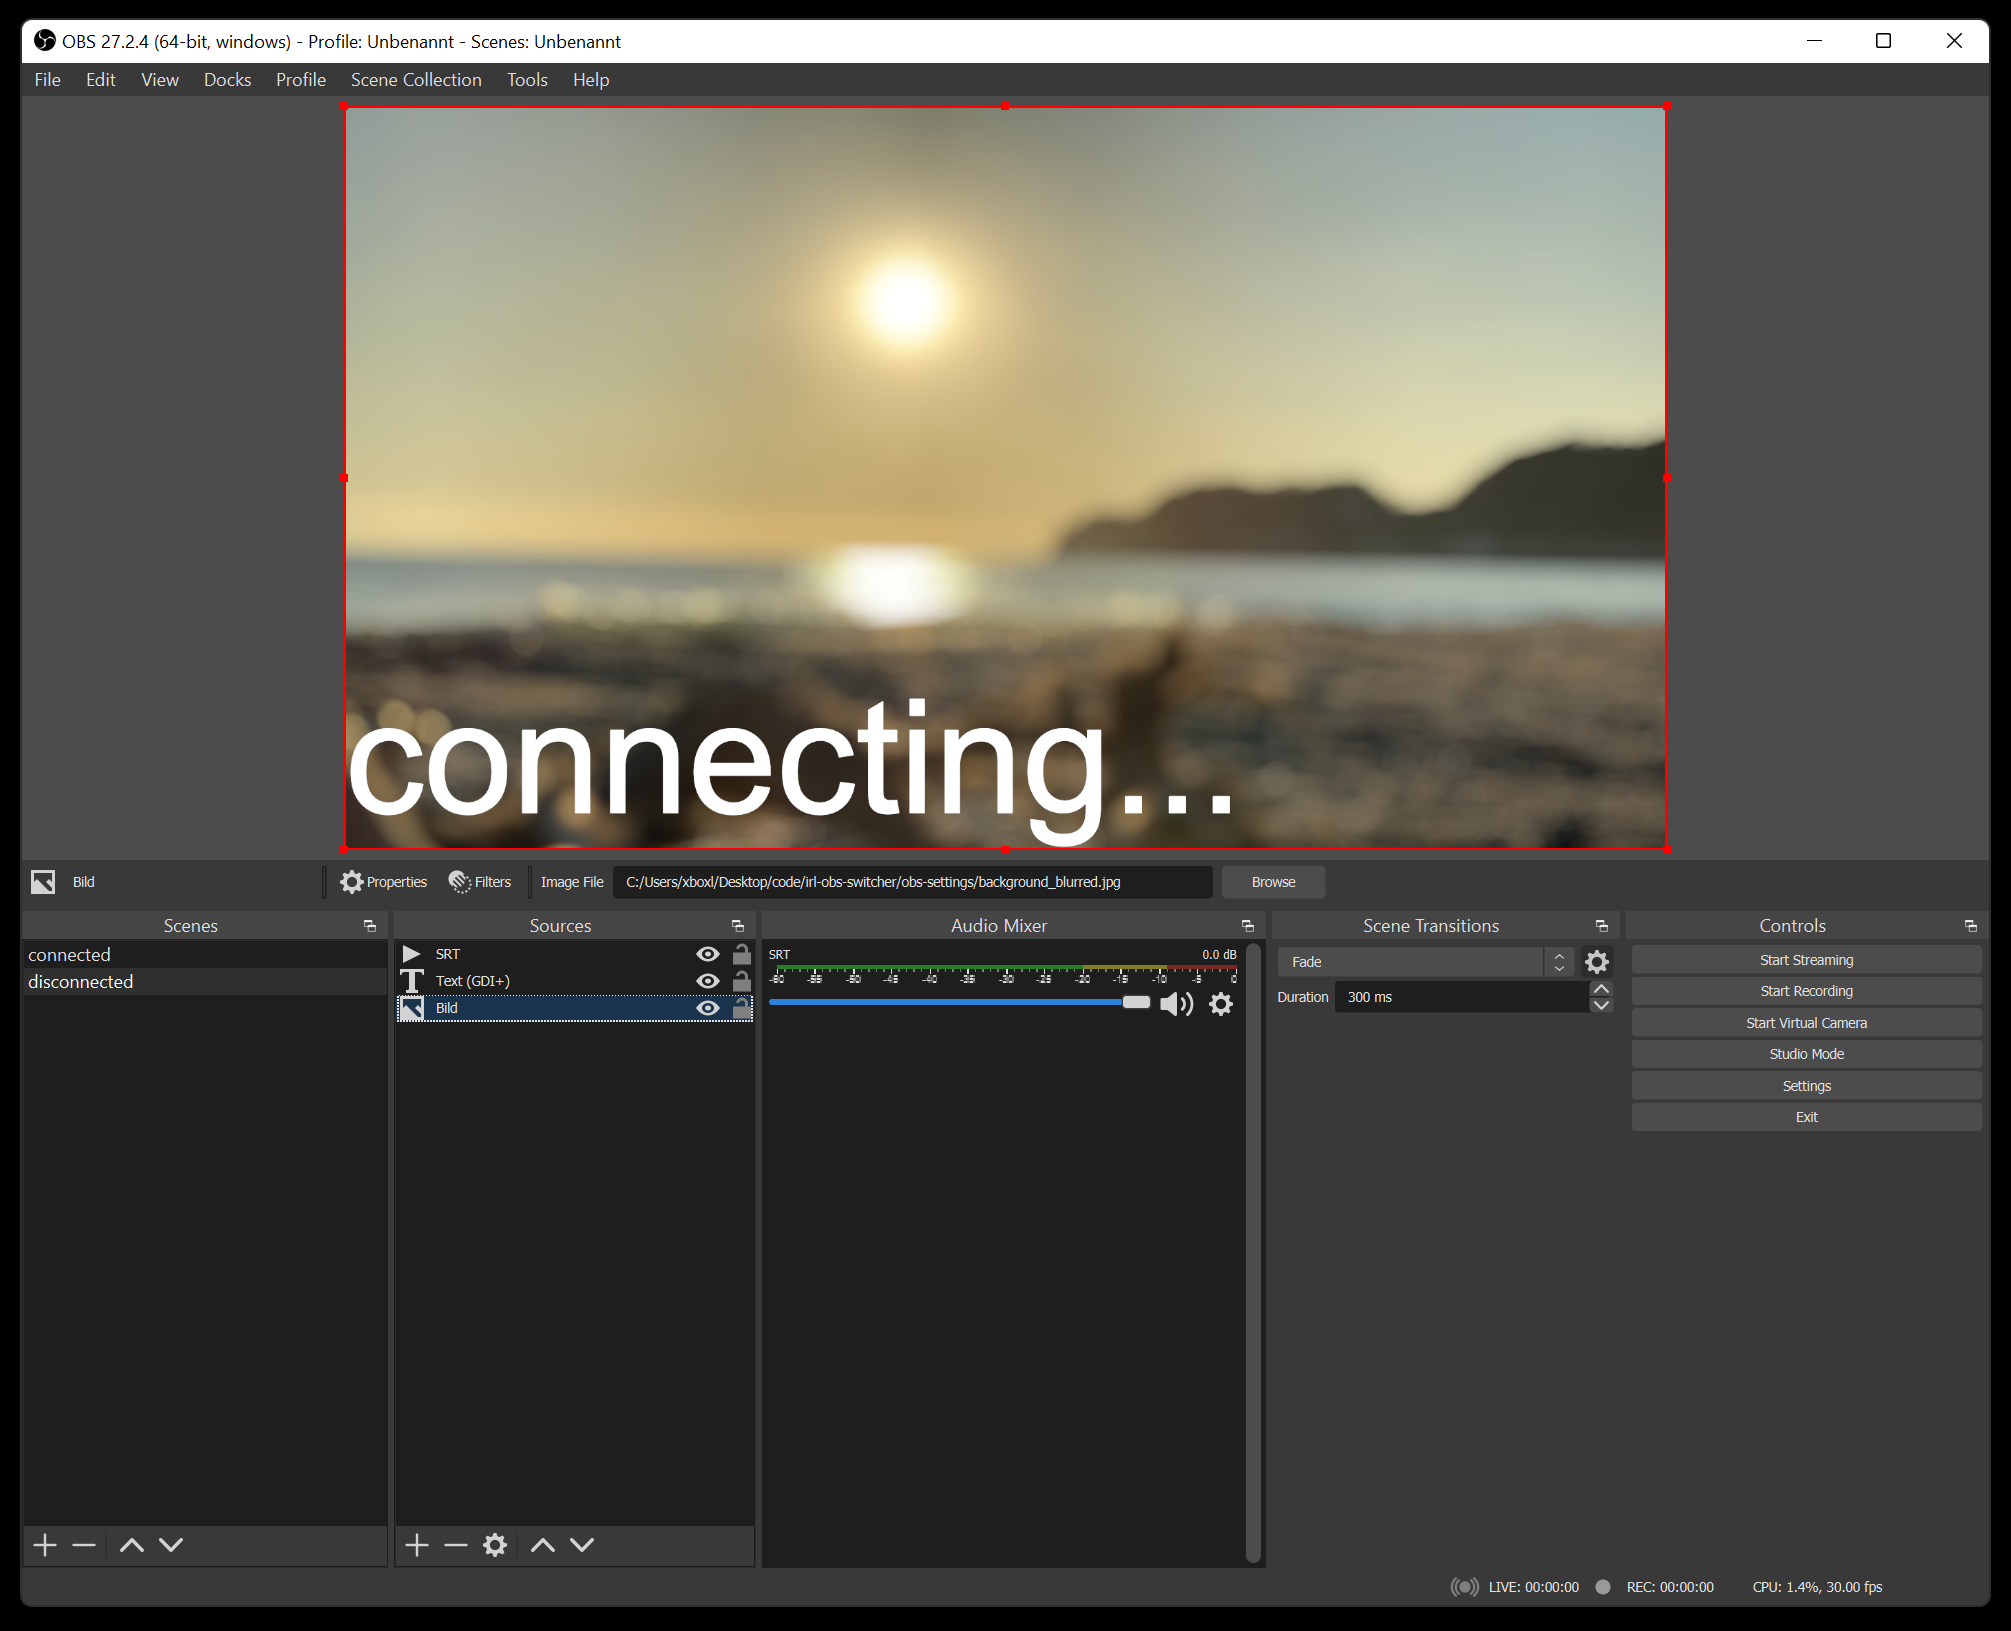
the “disconnected” scene configured to play a nice beach sunset and quiet music to calm people down as the live streamer reconnects…
Let me introduce you to a wonderful concept. We are using these movies as backdrop when on the stepper or spinning, essentially when doing sports or as a screensaver that plays whenever nothing else is playing on the screens around the house.
What is it you ask?
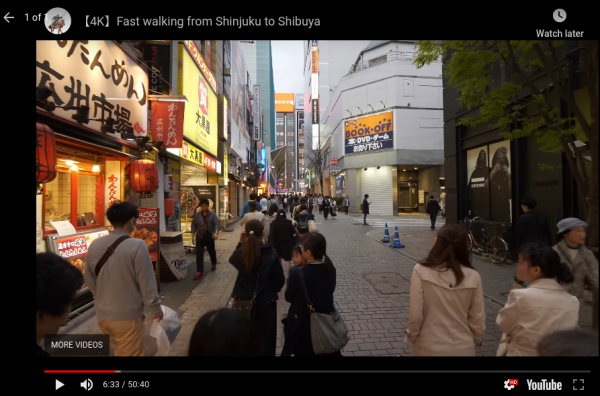
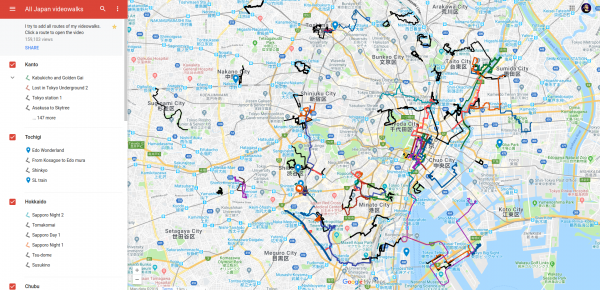
The thing I am talking about is: Walking Videos! Especially from people who walk through Tokyo / Japan. And there are lots of them!
Think of it as a relaxing walk around a neighborhood you might not know. Take in the sounds and sights and enjoy. That’s the idea of it.
If you want the immediate experience, try this:
Of course there are a couple of different such YouTube channels waiting for your subscription. The most prominent ones I know are: