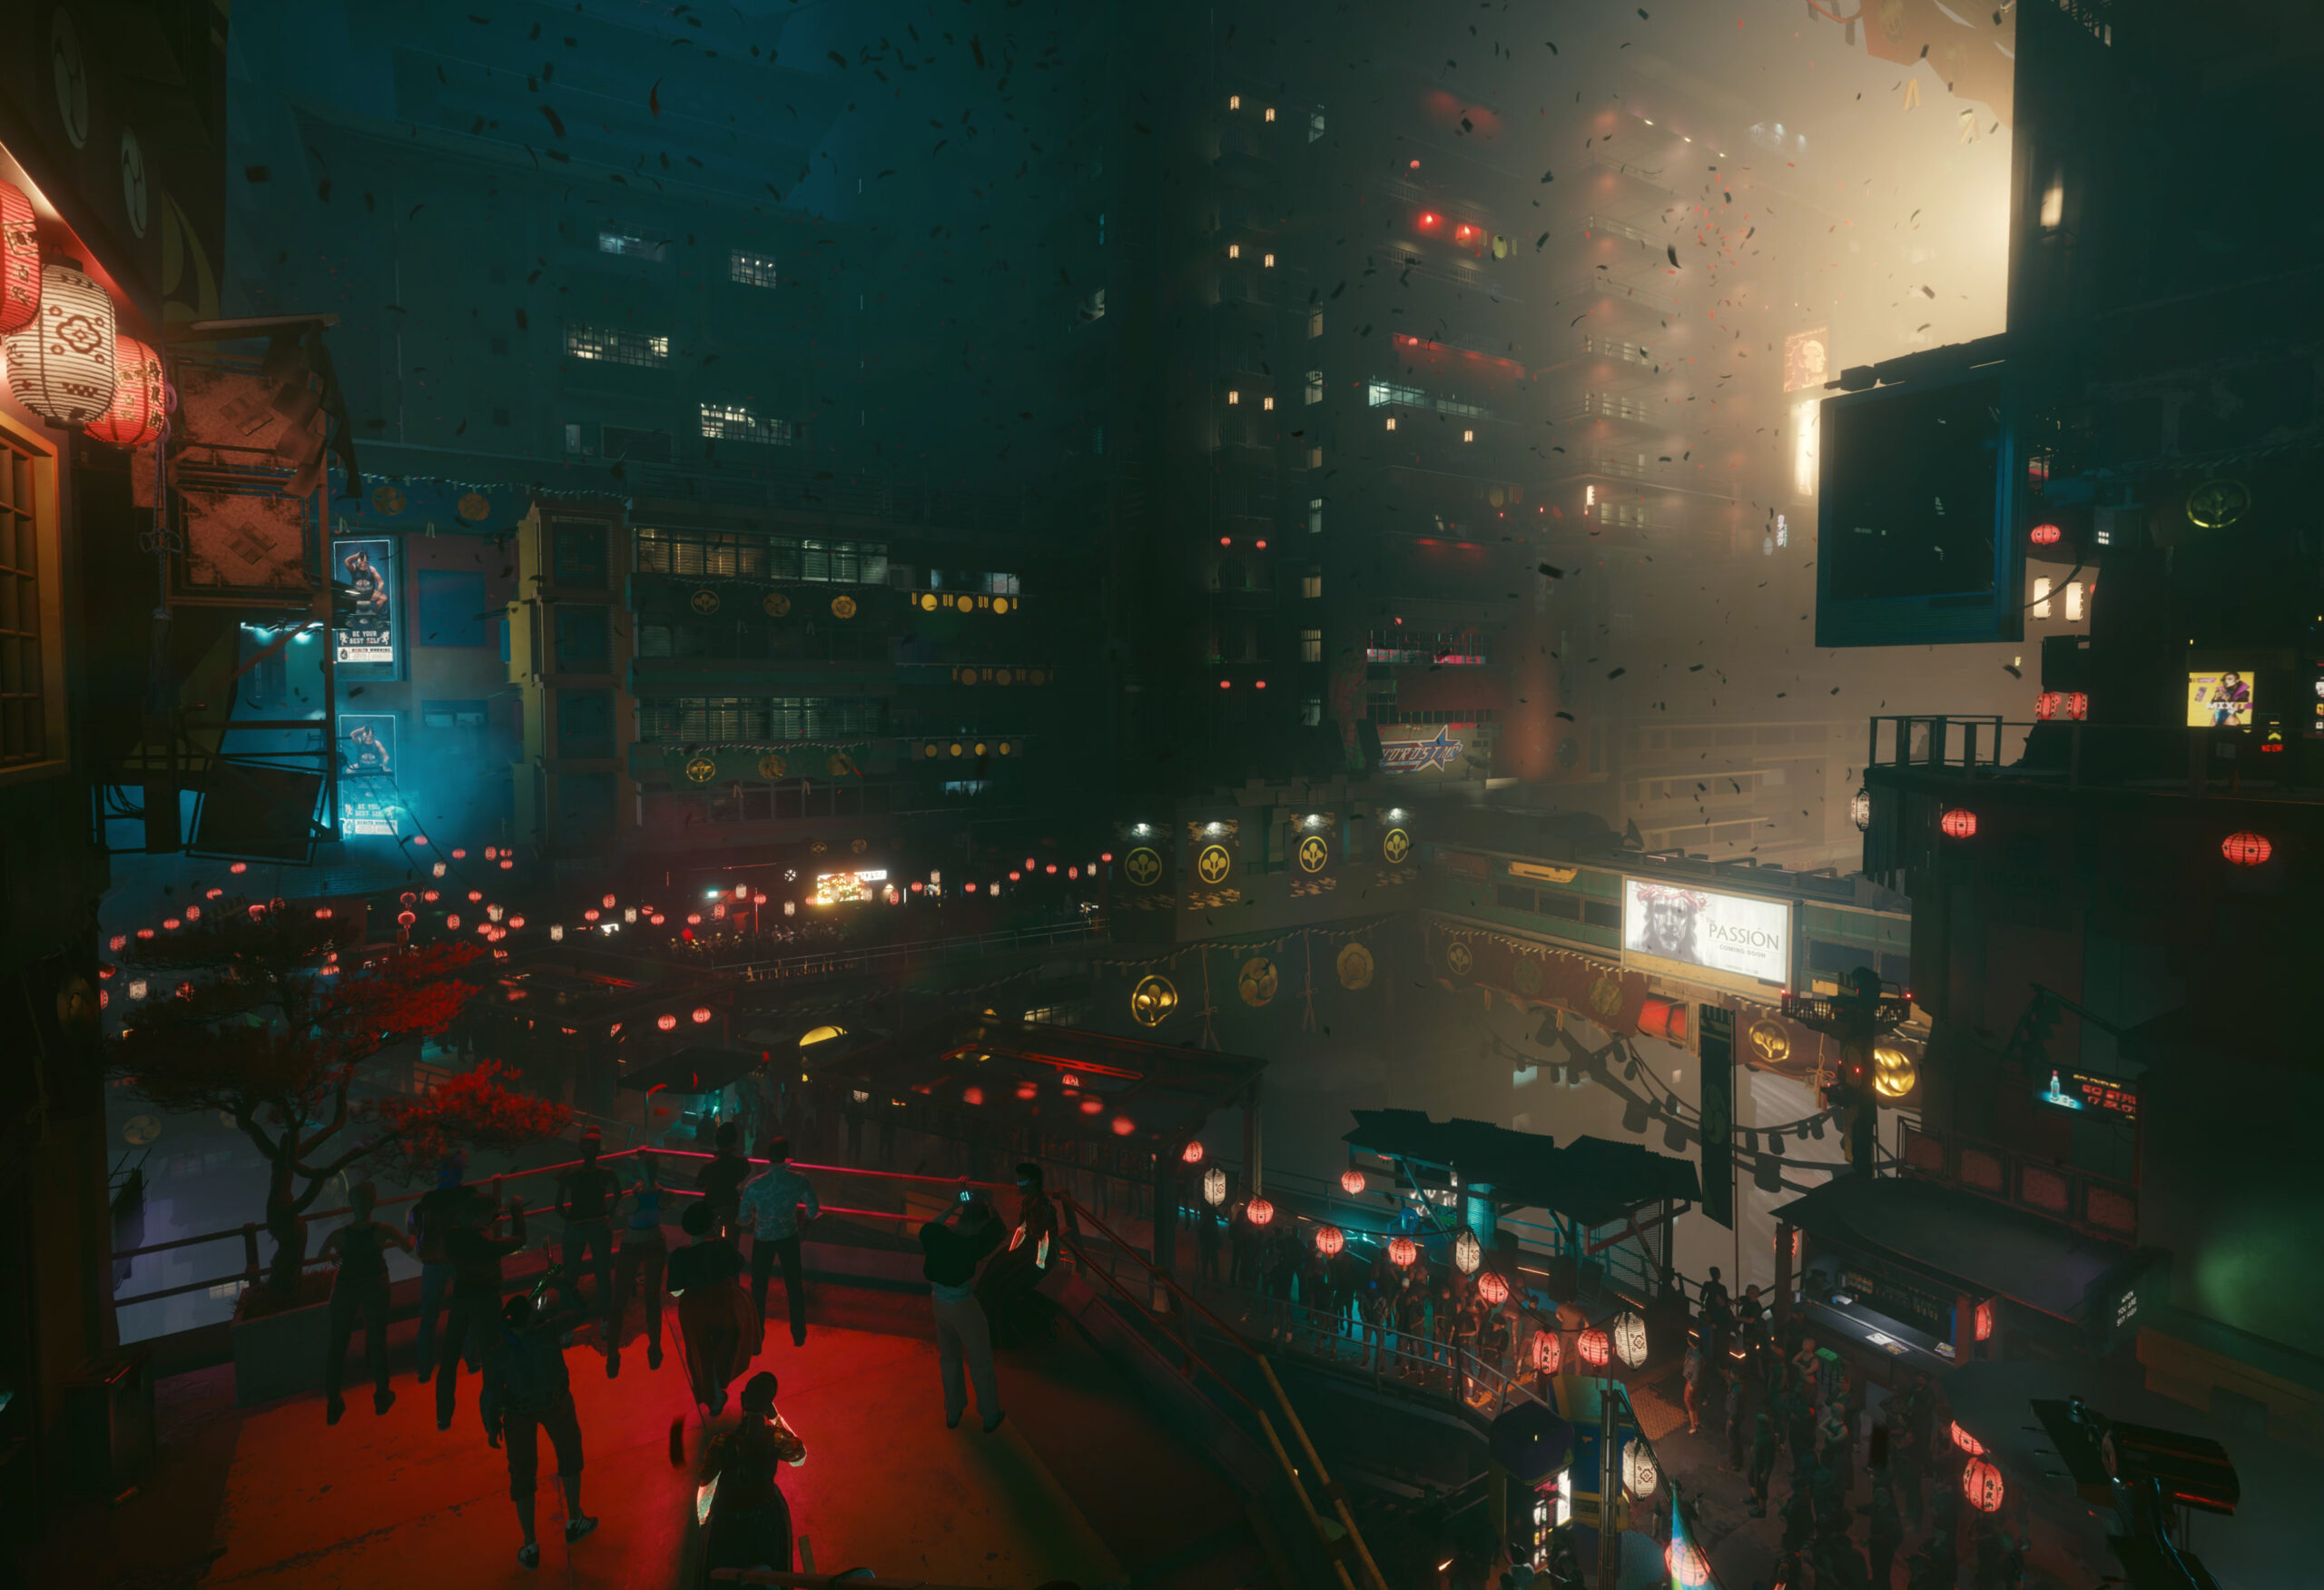
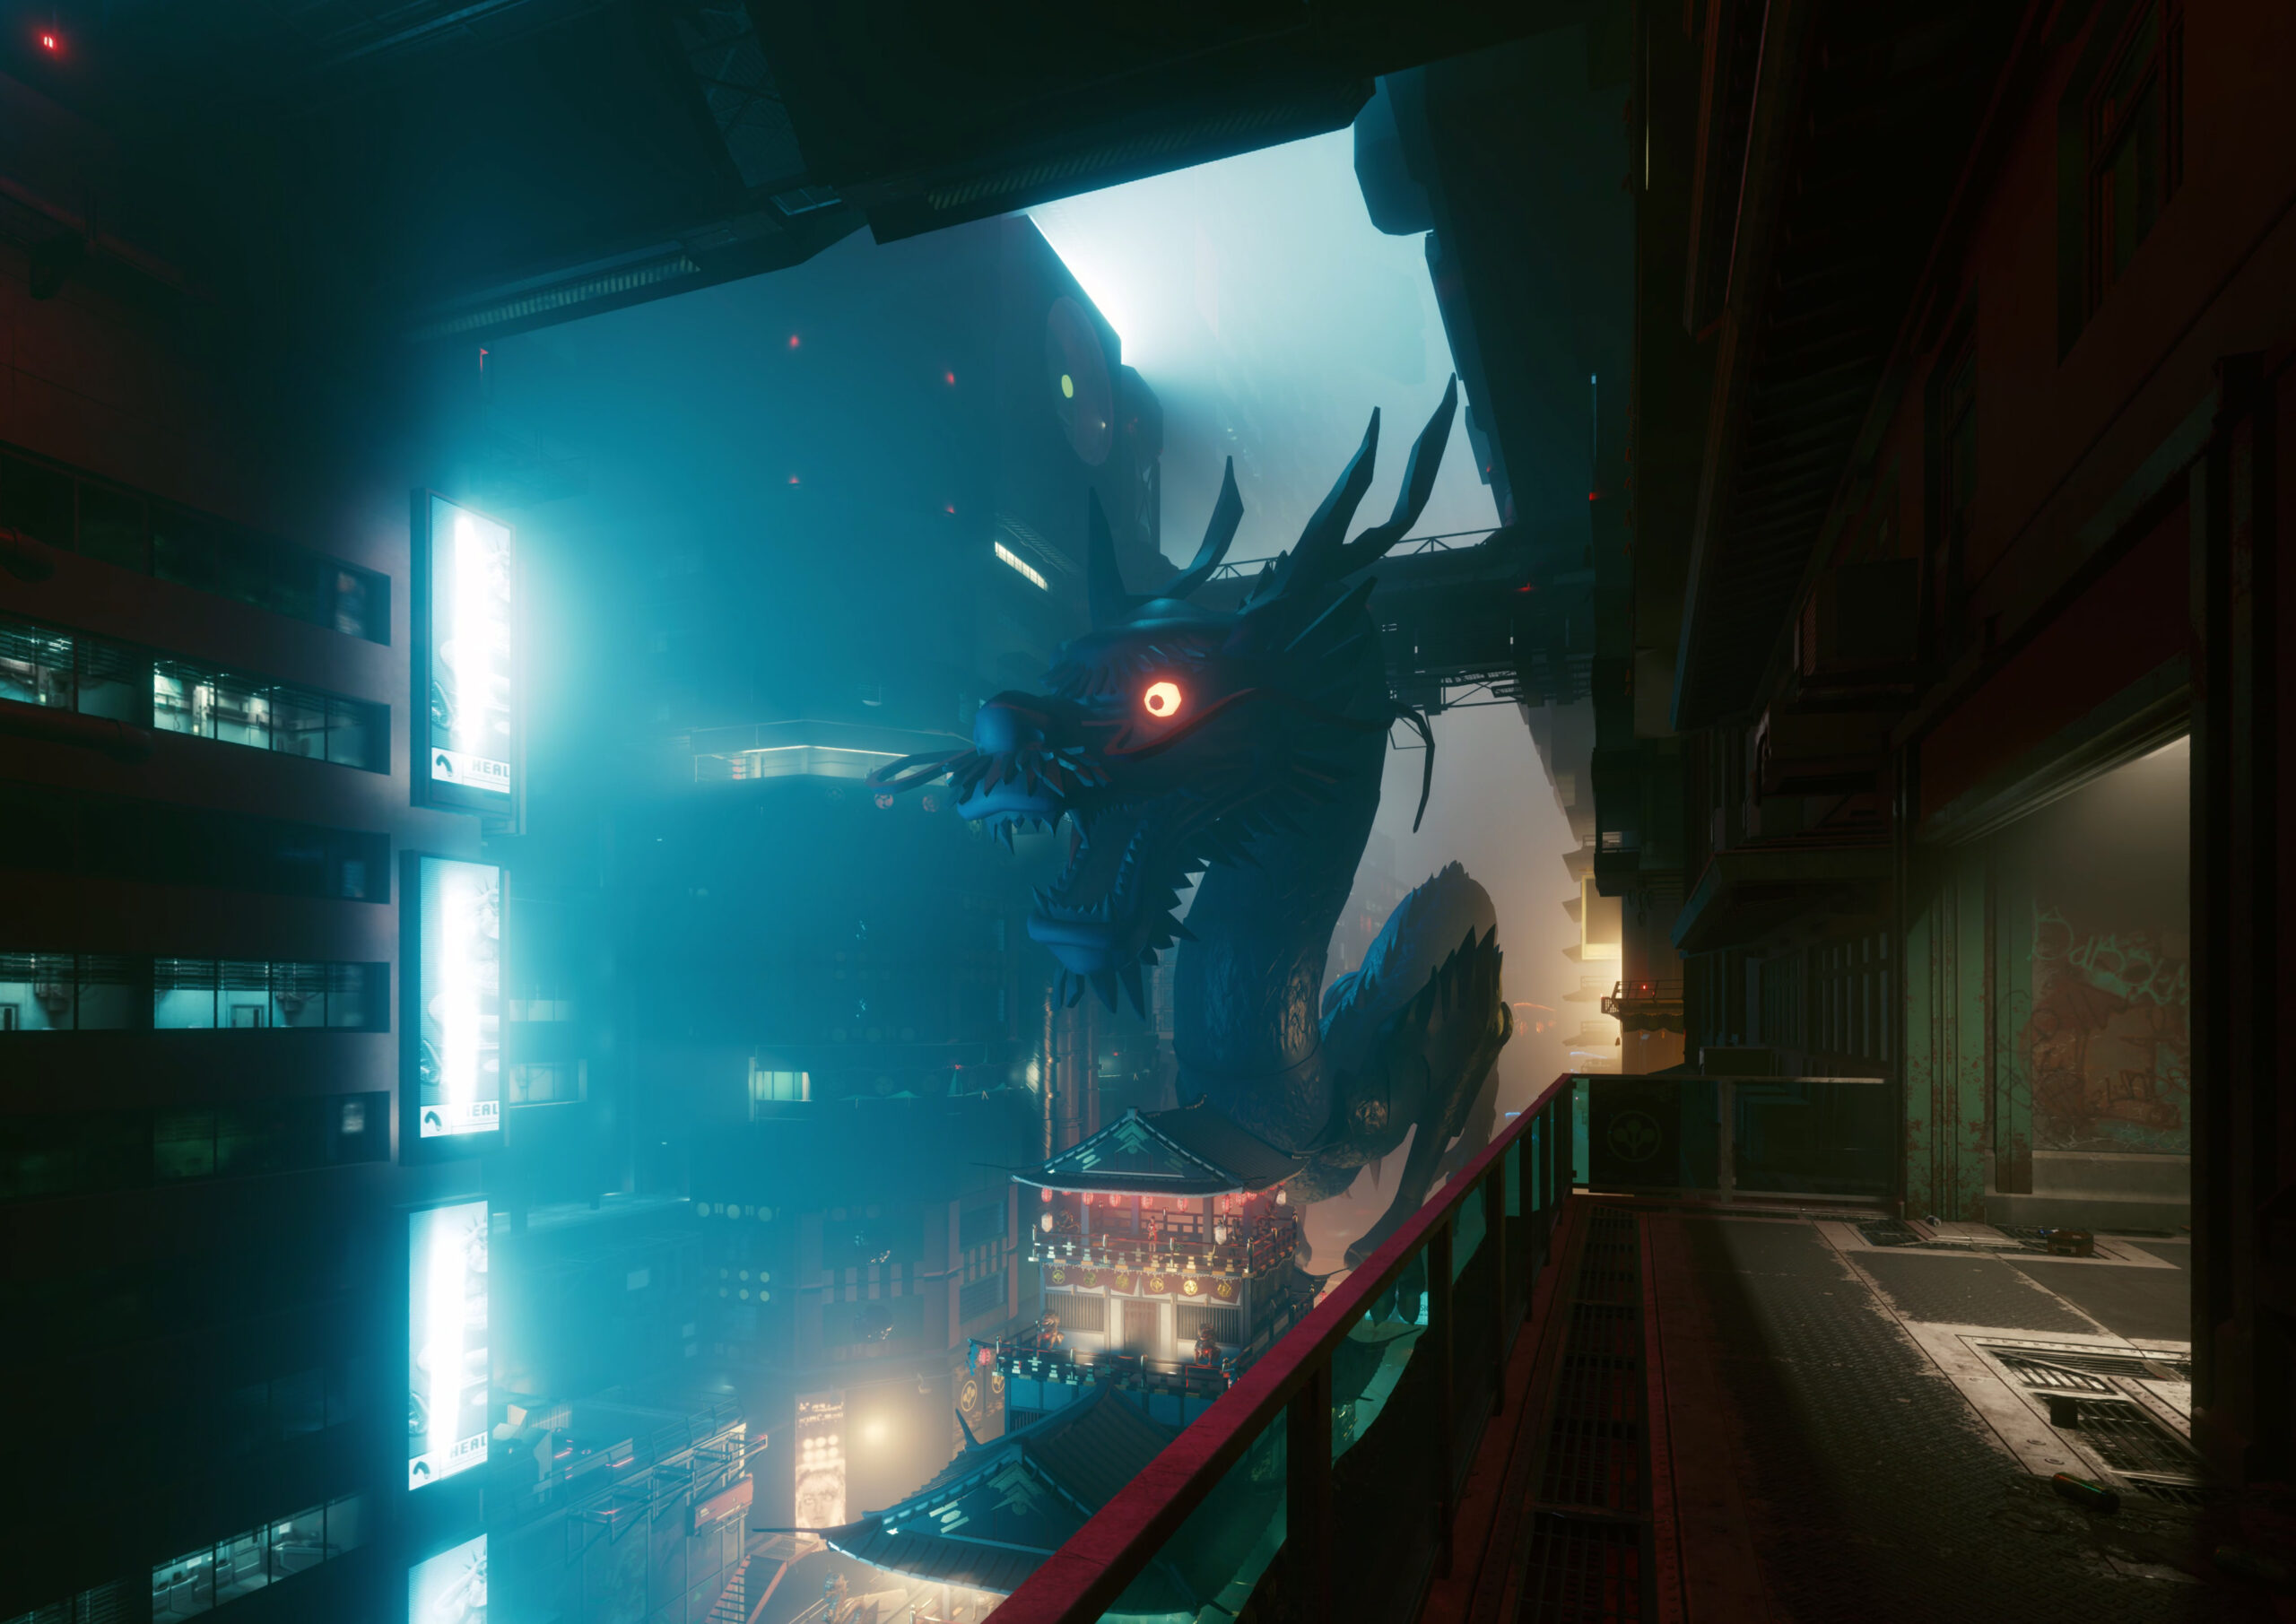
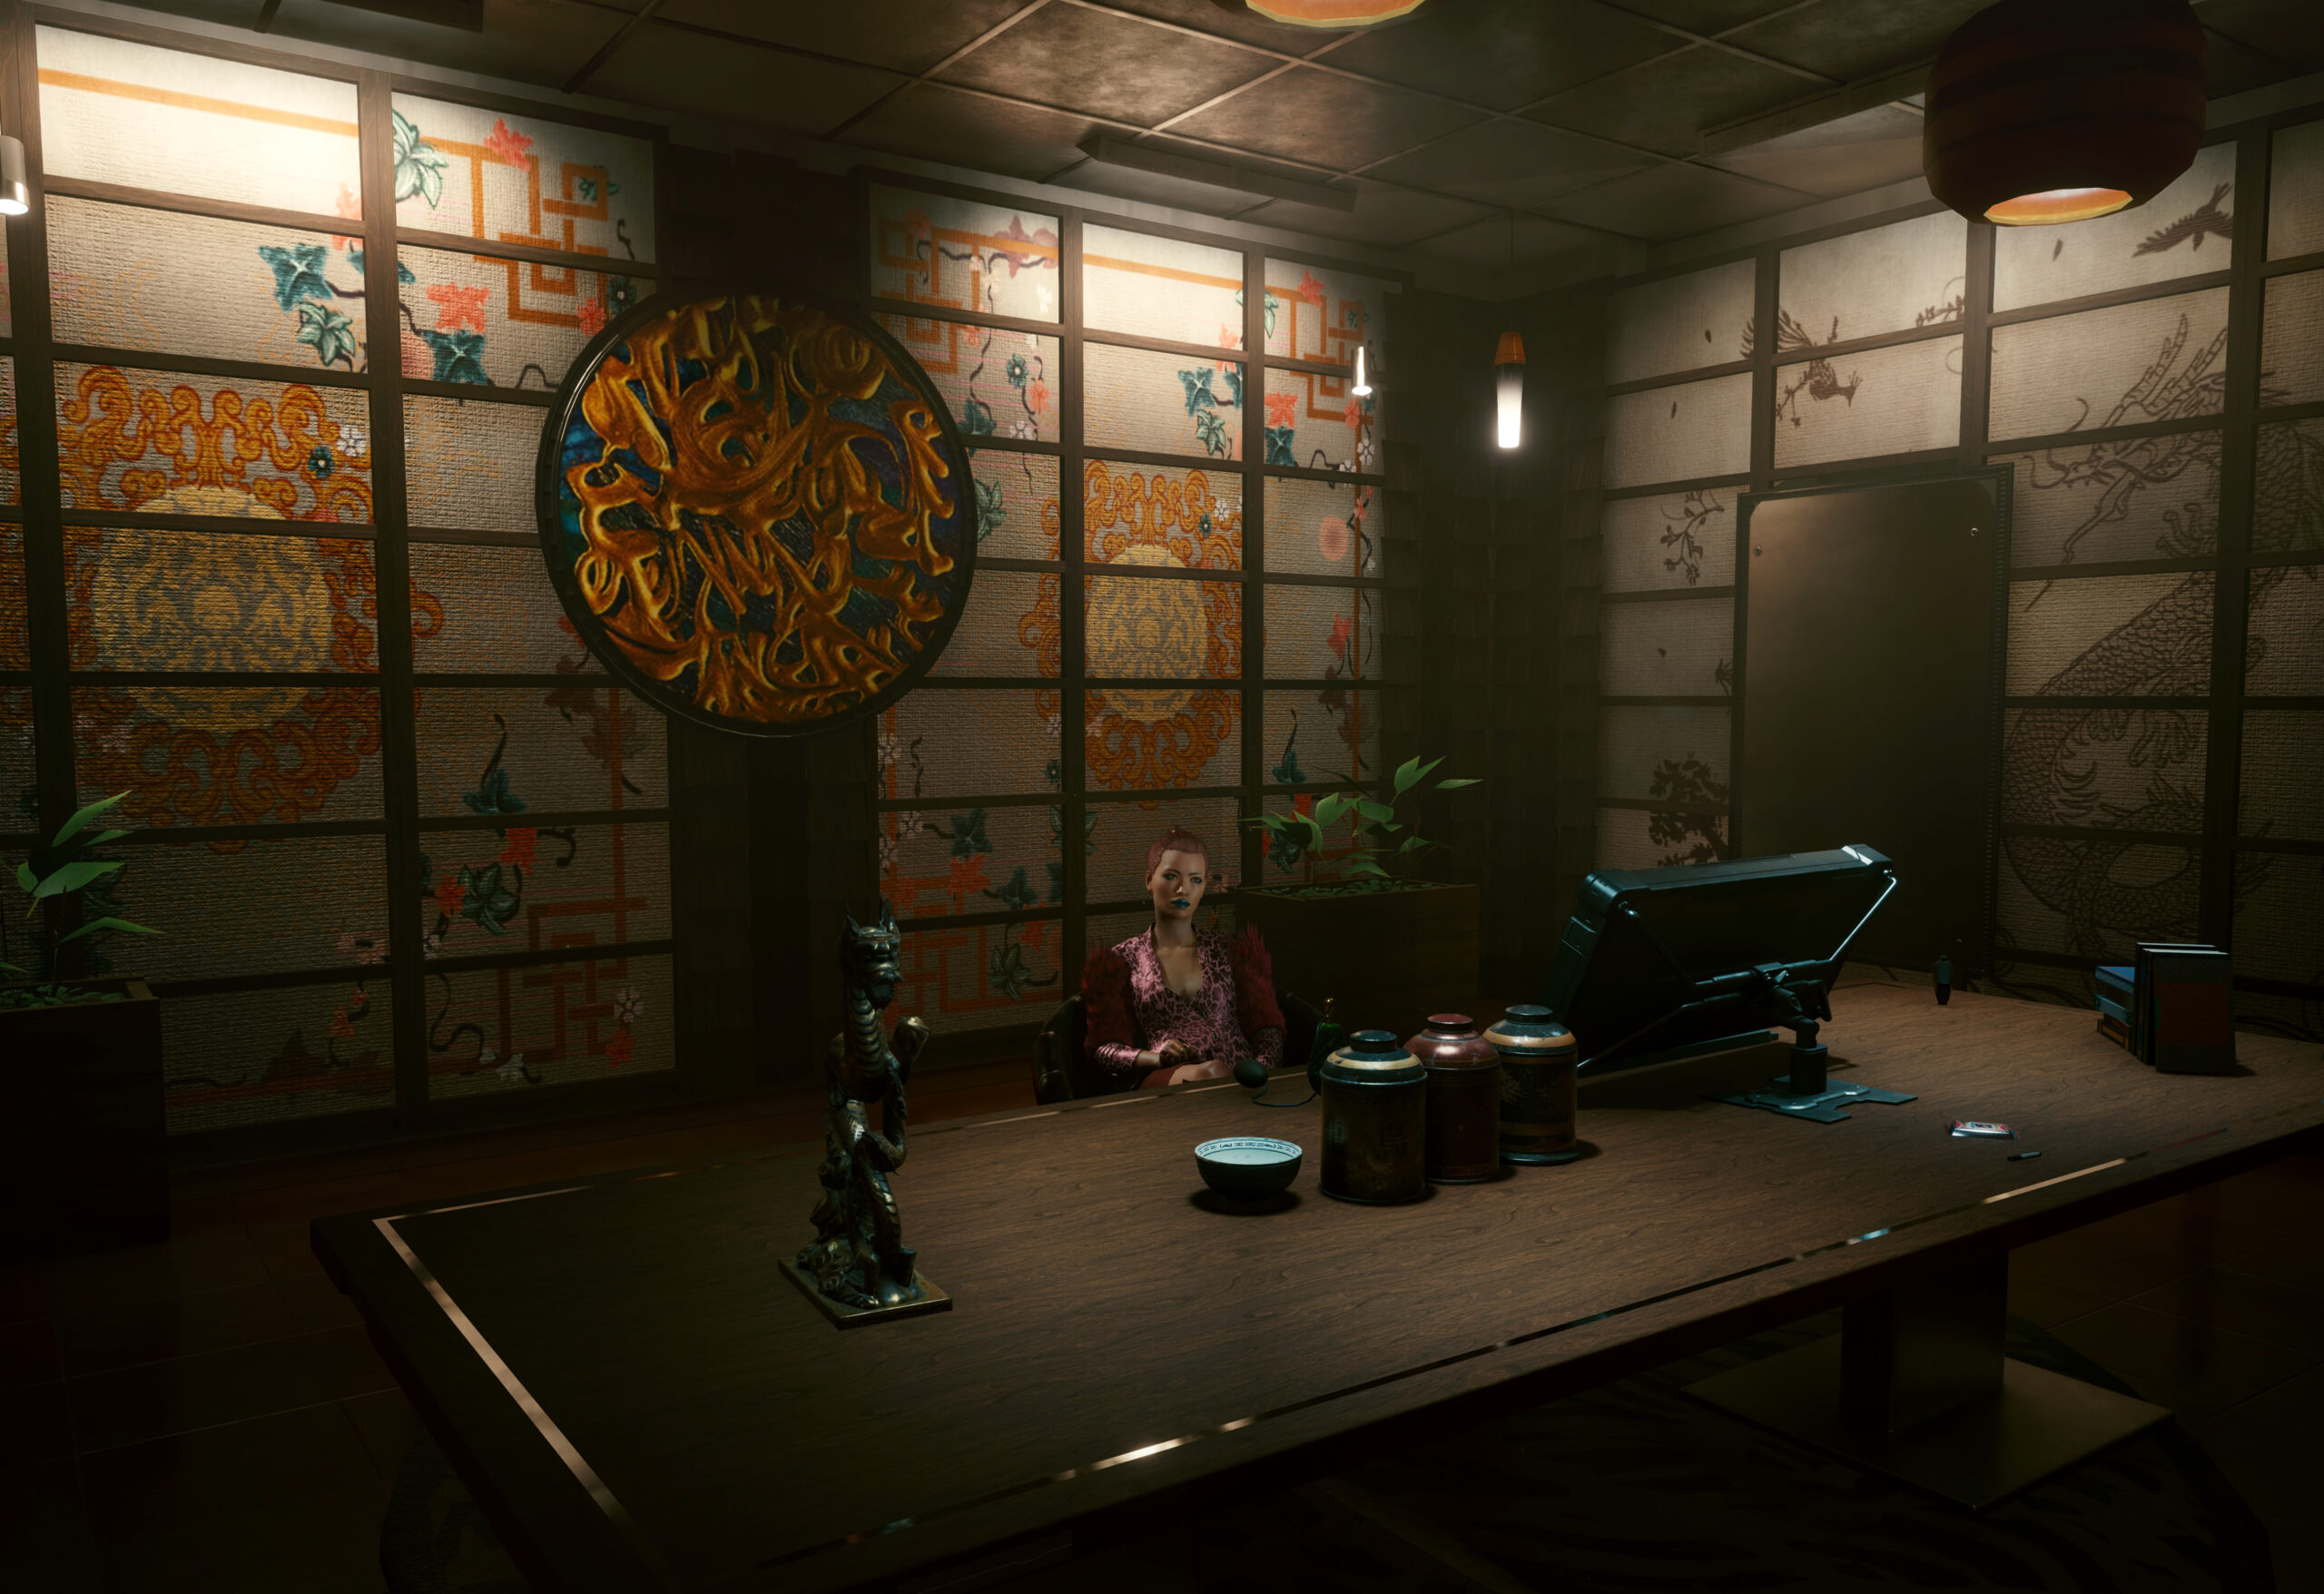
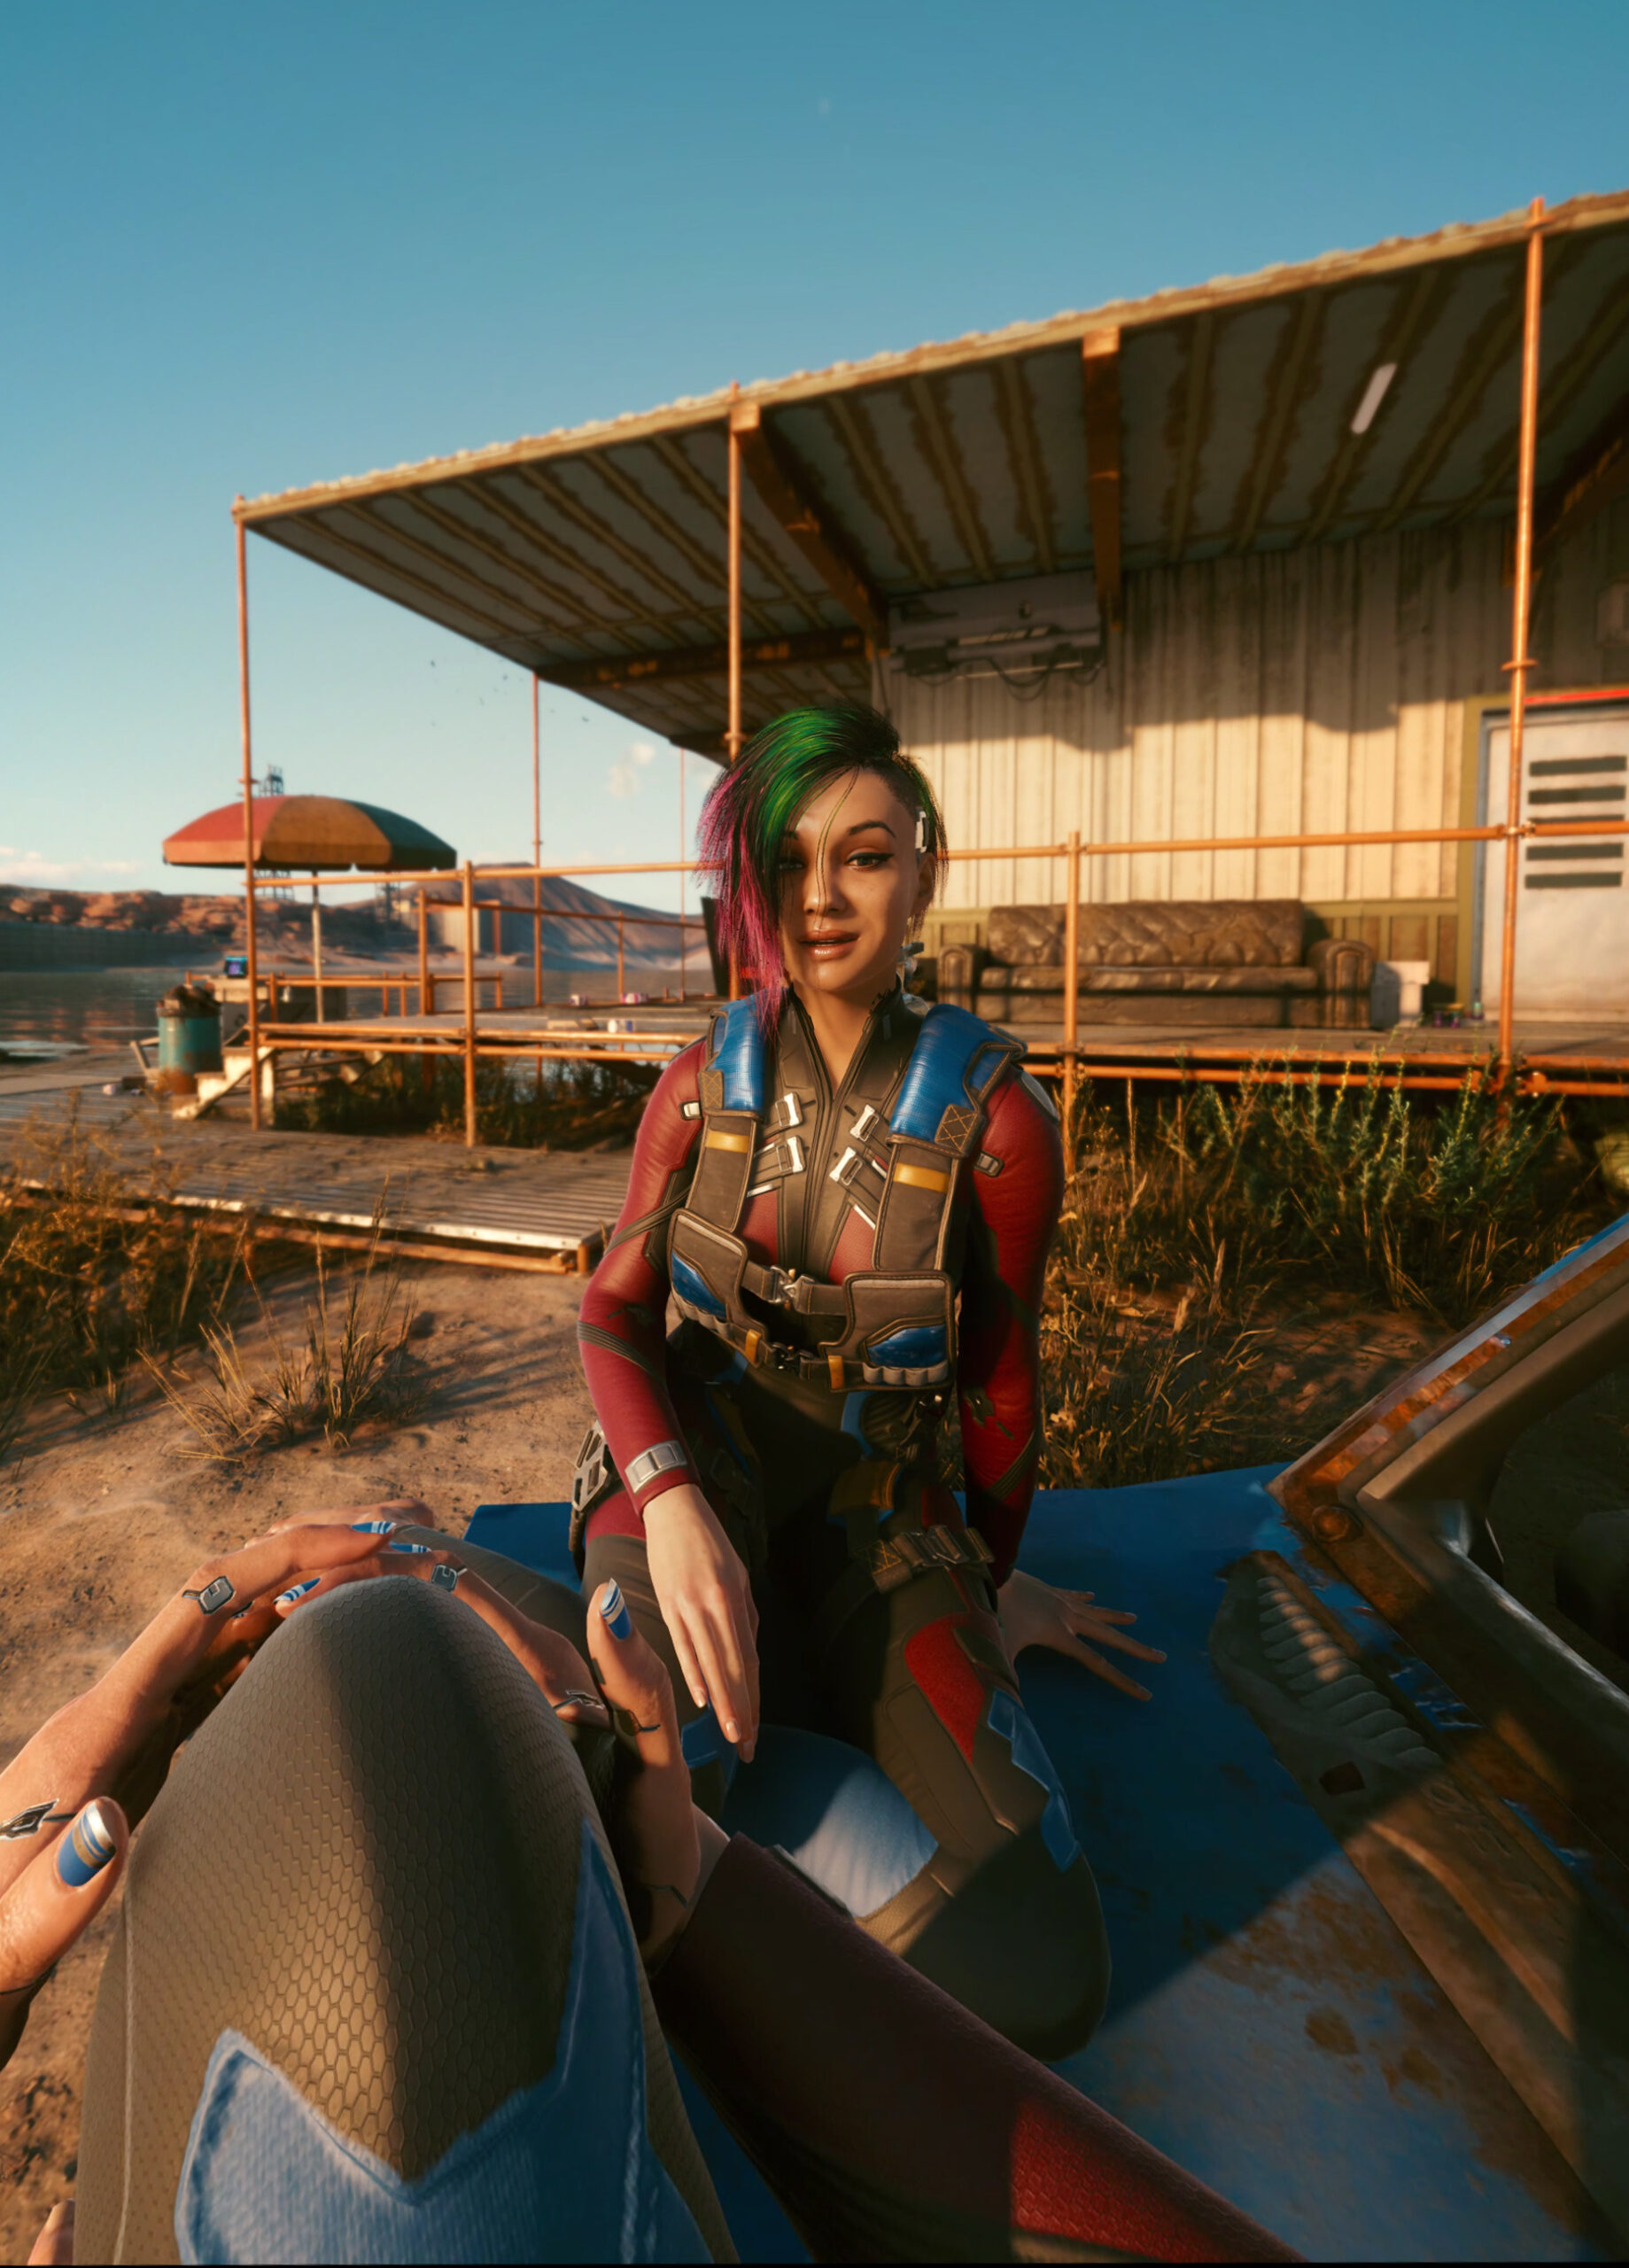
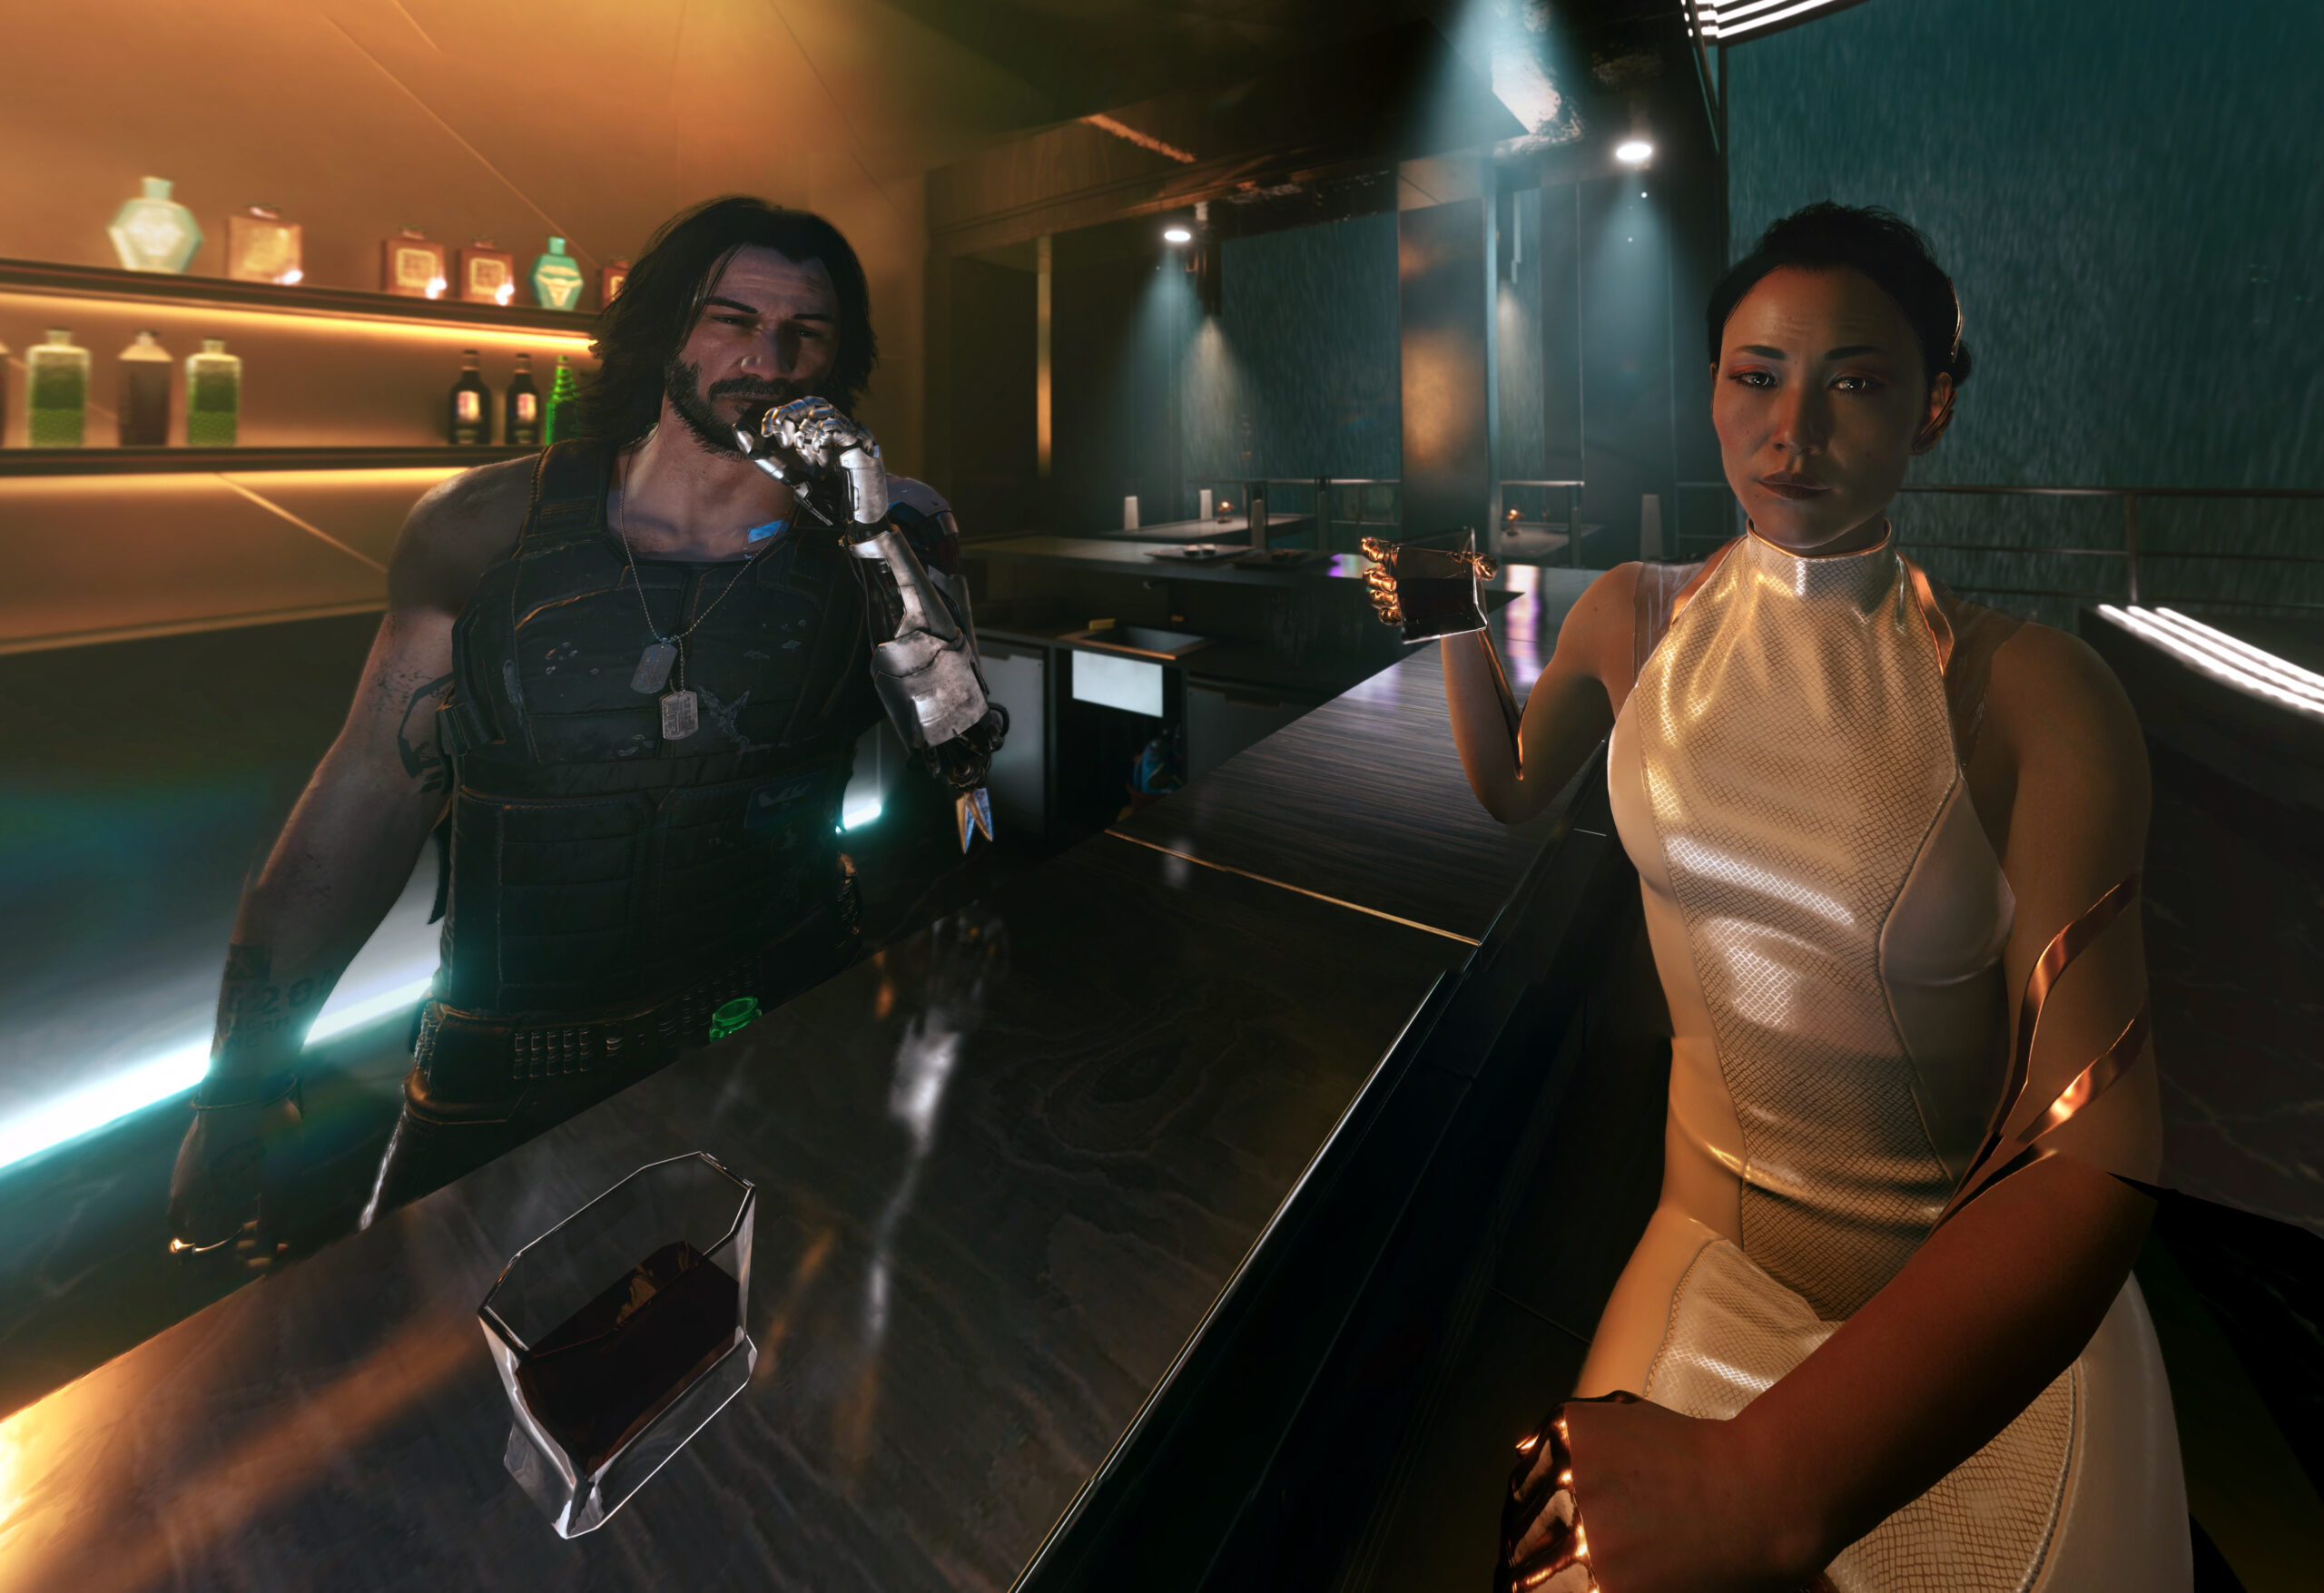
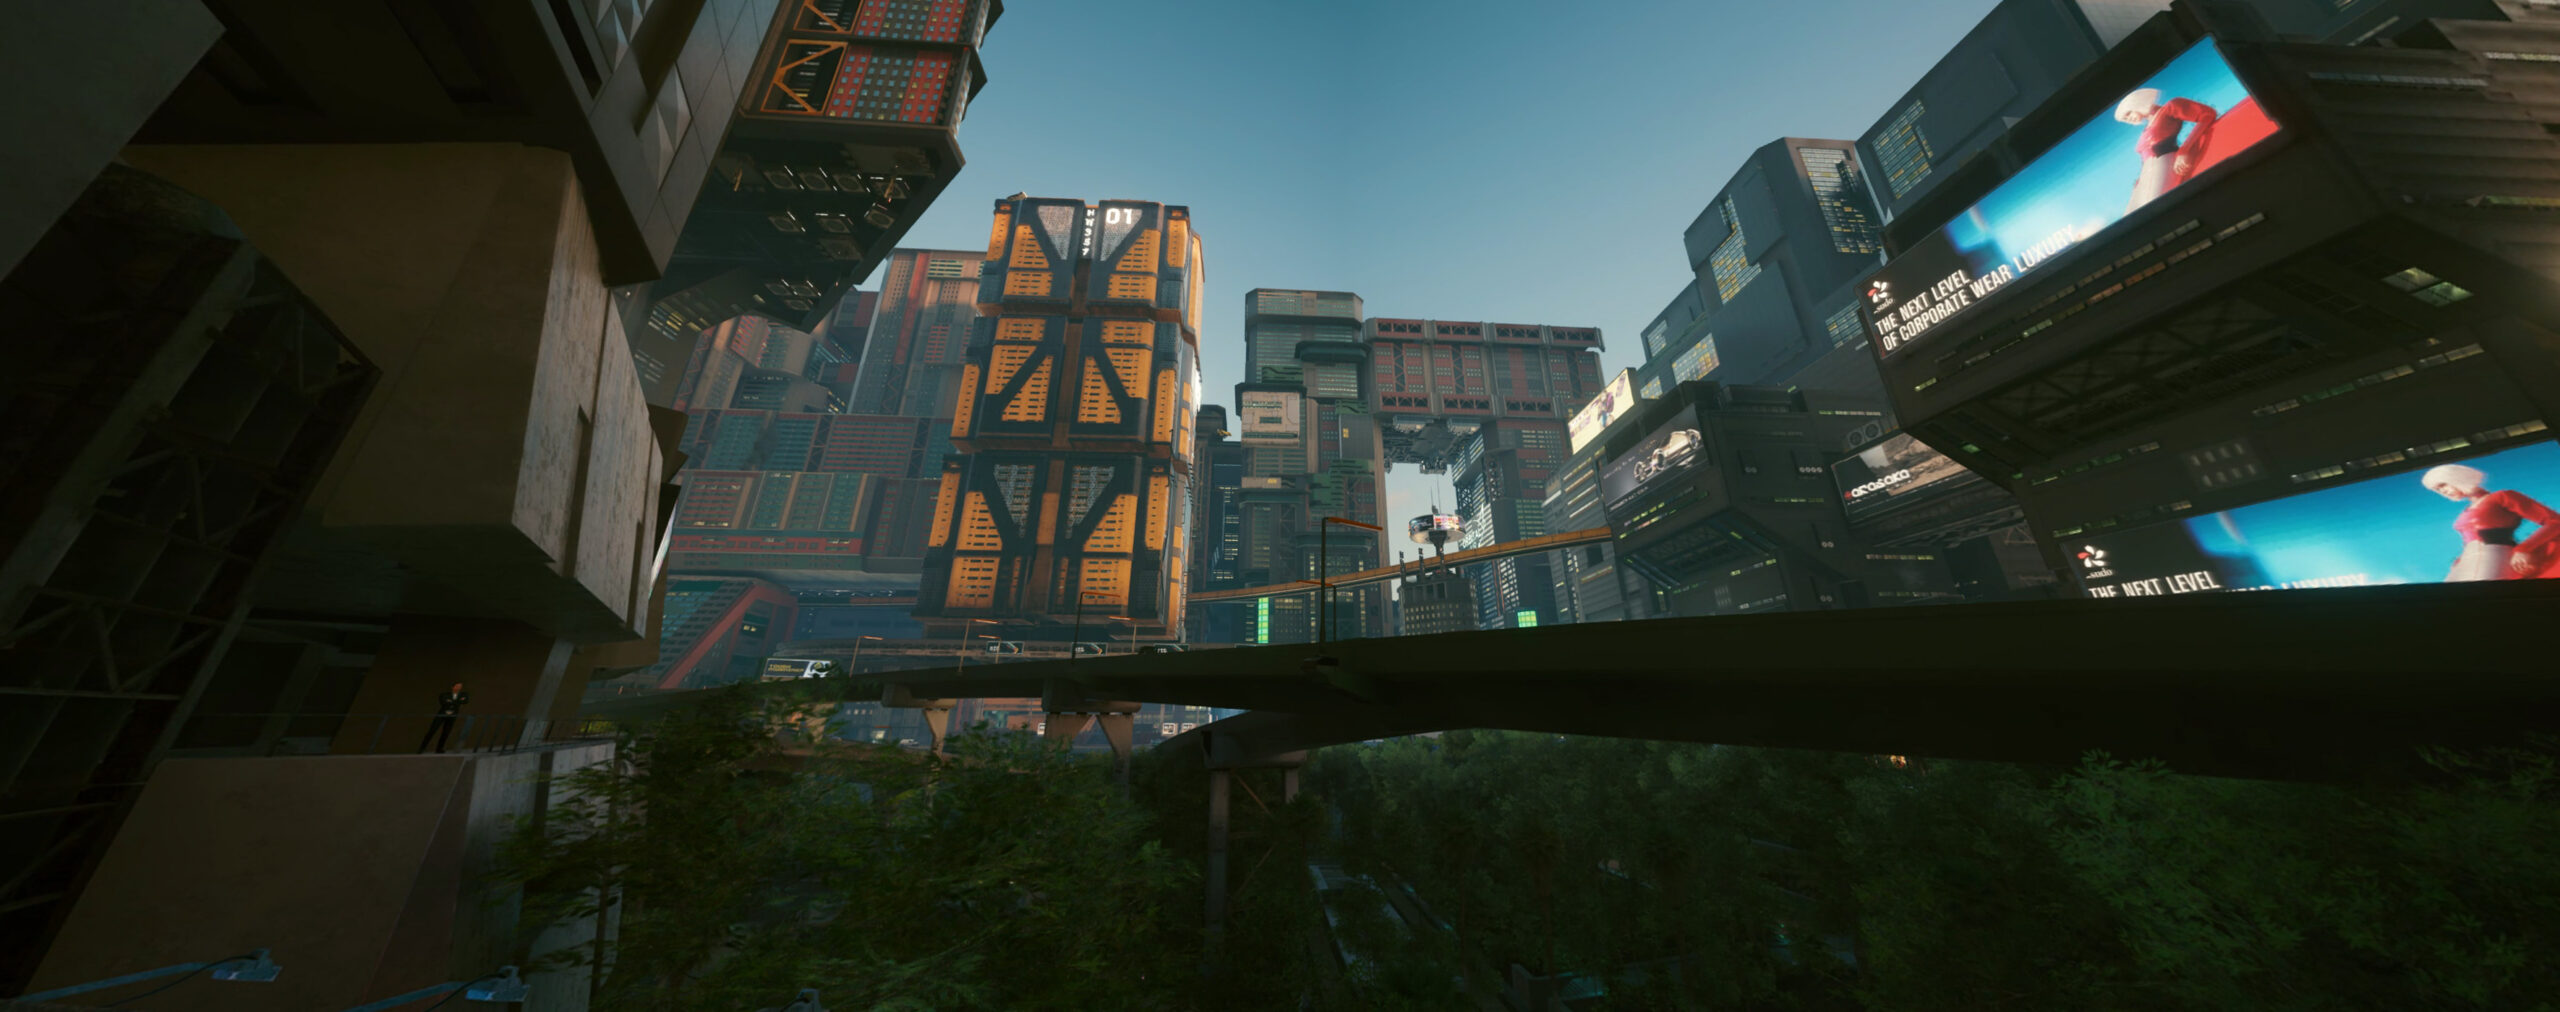
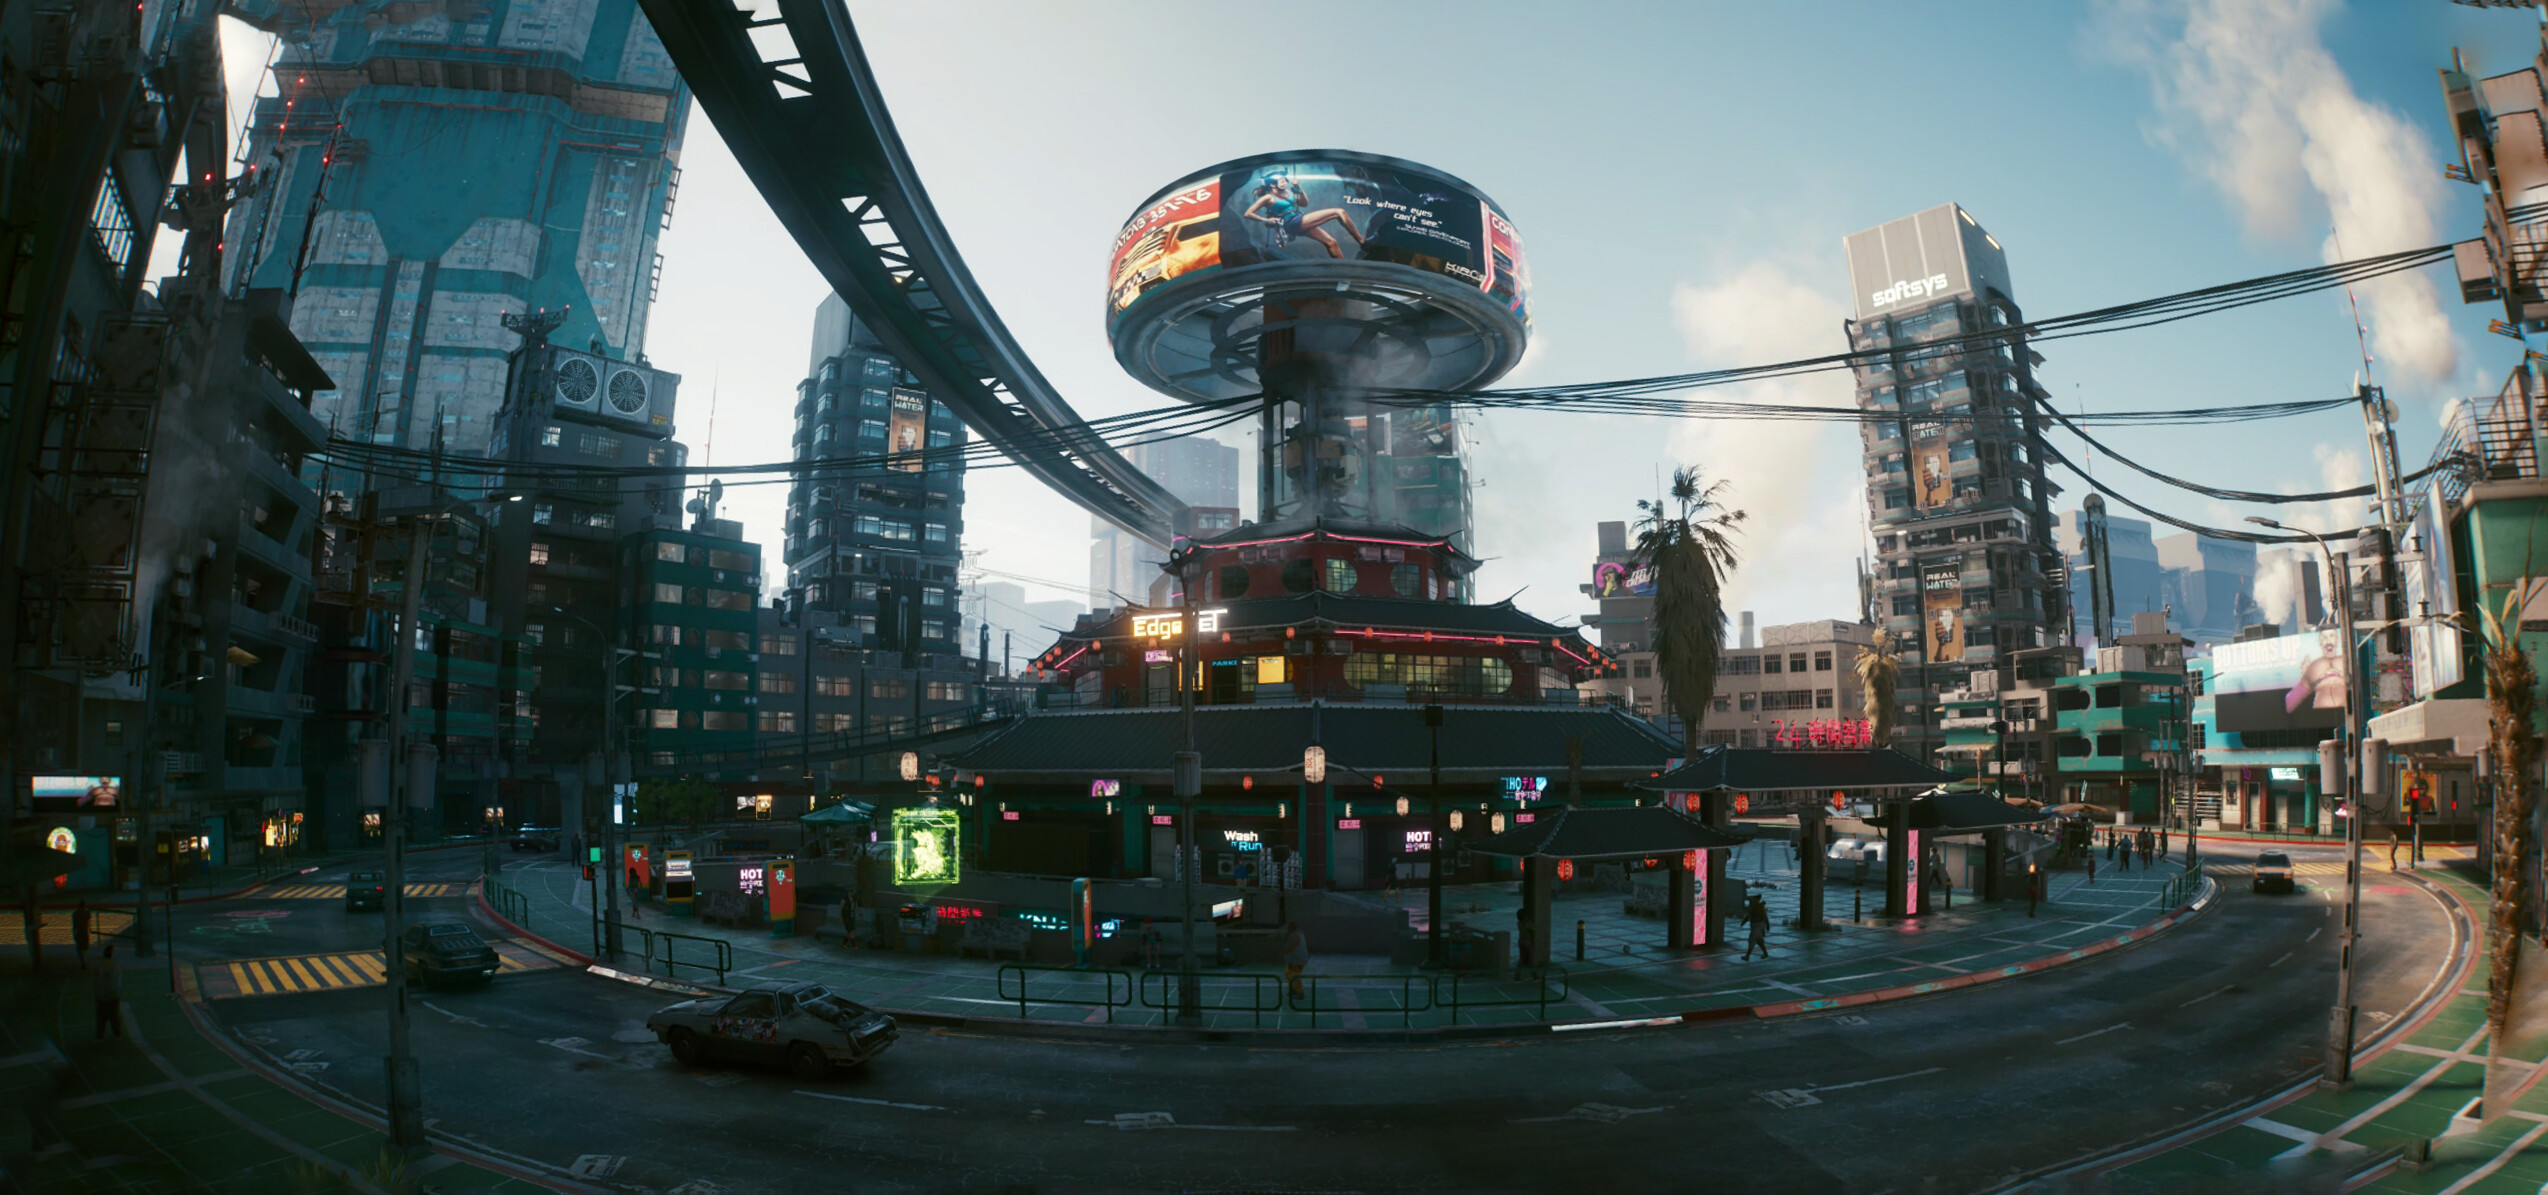
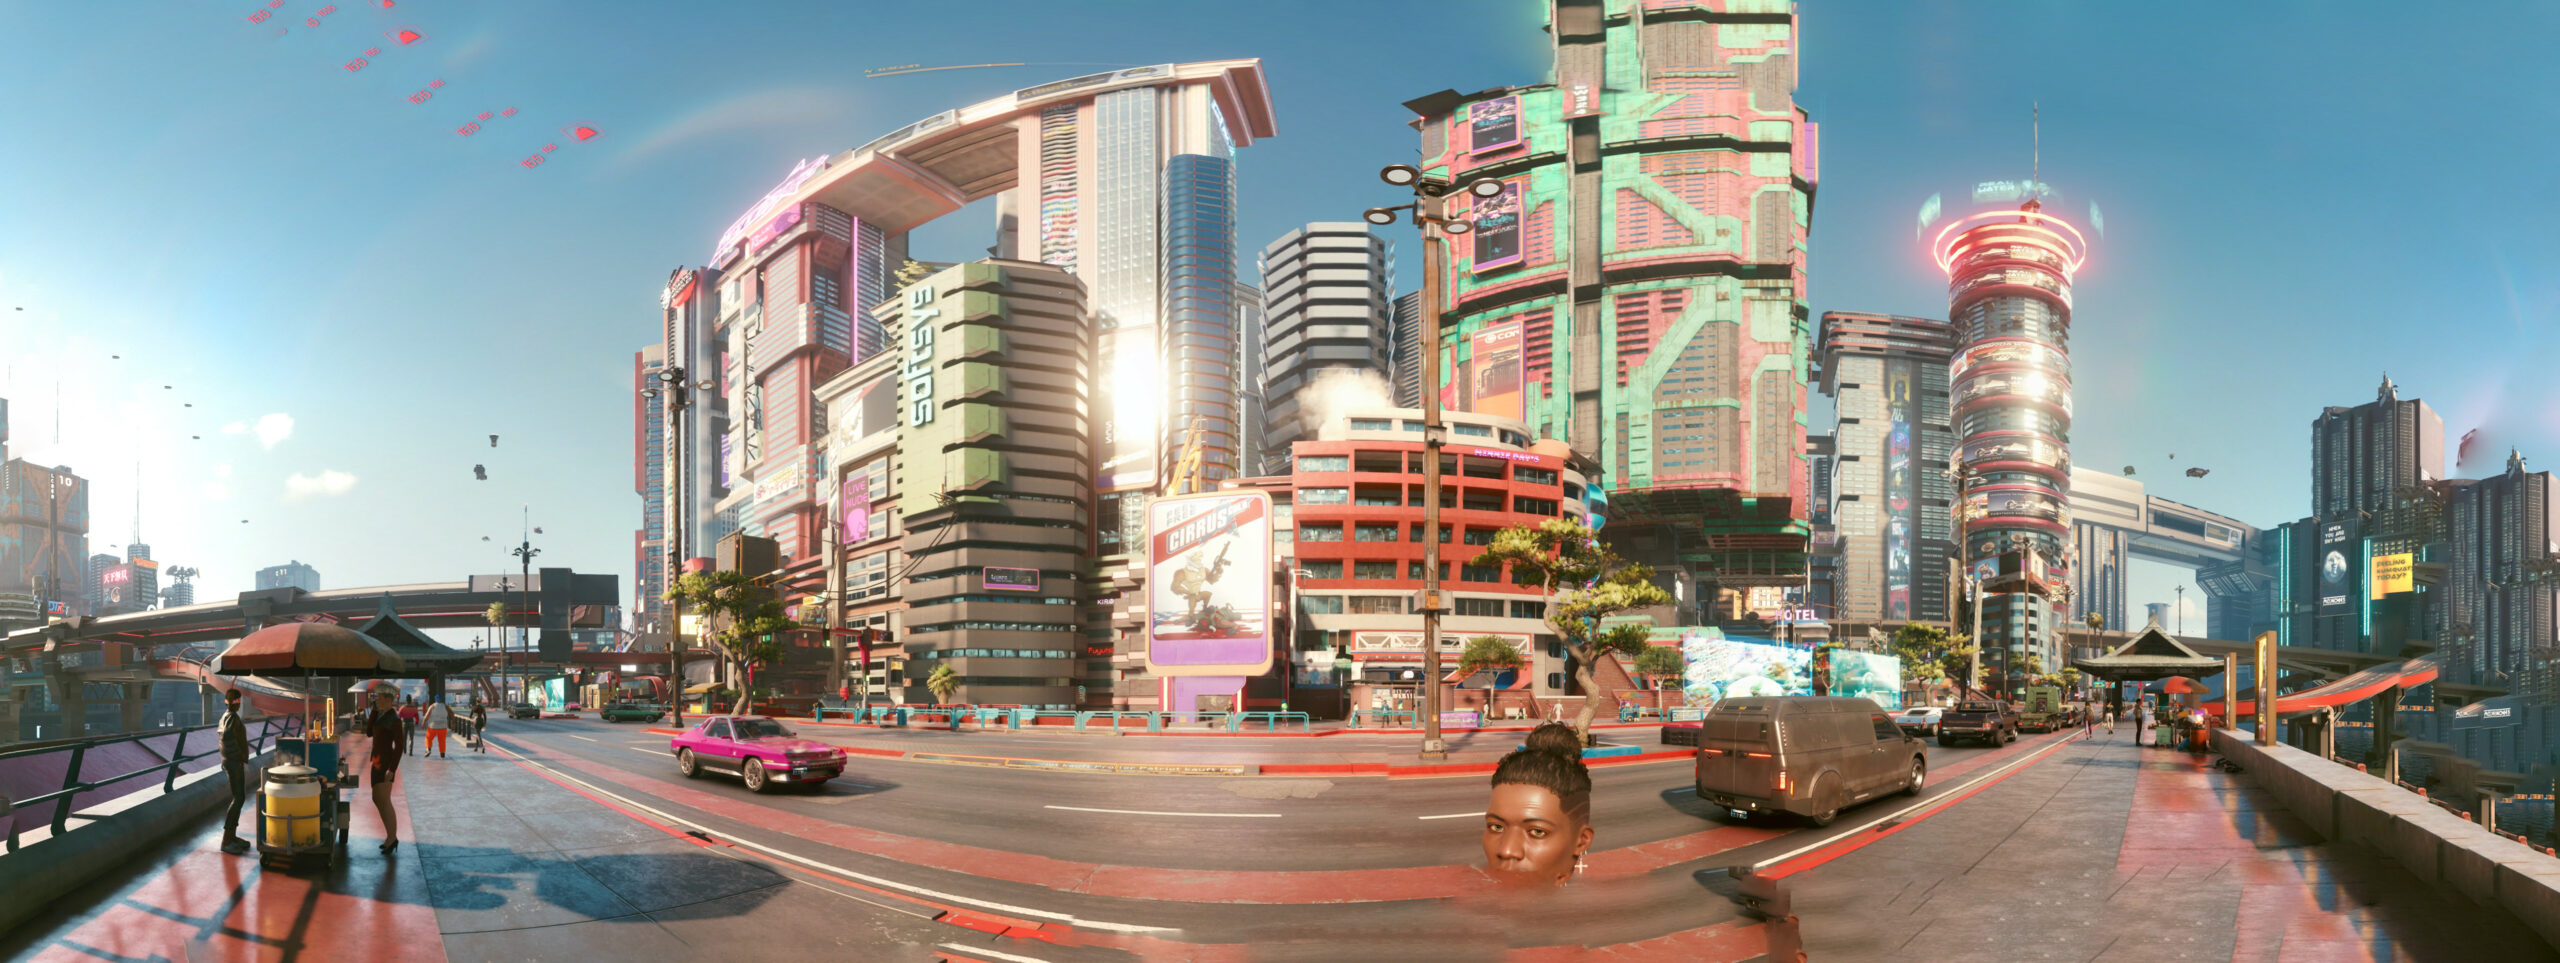
In part 1 I wrote a bit about this great game and shared some screenshots. By now I’ve finished the story and almost all side-quests and I still see it as the best game since years.
Anyway, here are more pictures taken in-game (sometimes stitched):
In part 1 I wrote a bit about this great game and shared some screenshots. By now I’ve finished the story and almost all side-quests and I still see it as the best game since years.
Anyway, here are more pictures taken in-game (sometimes stitched):
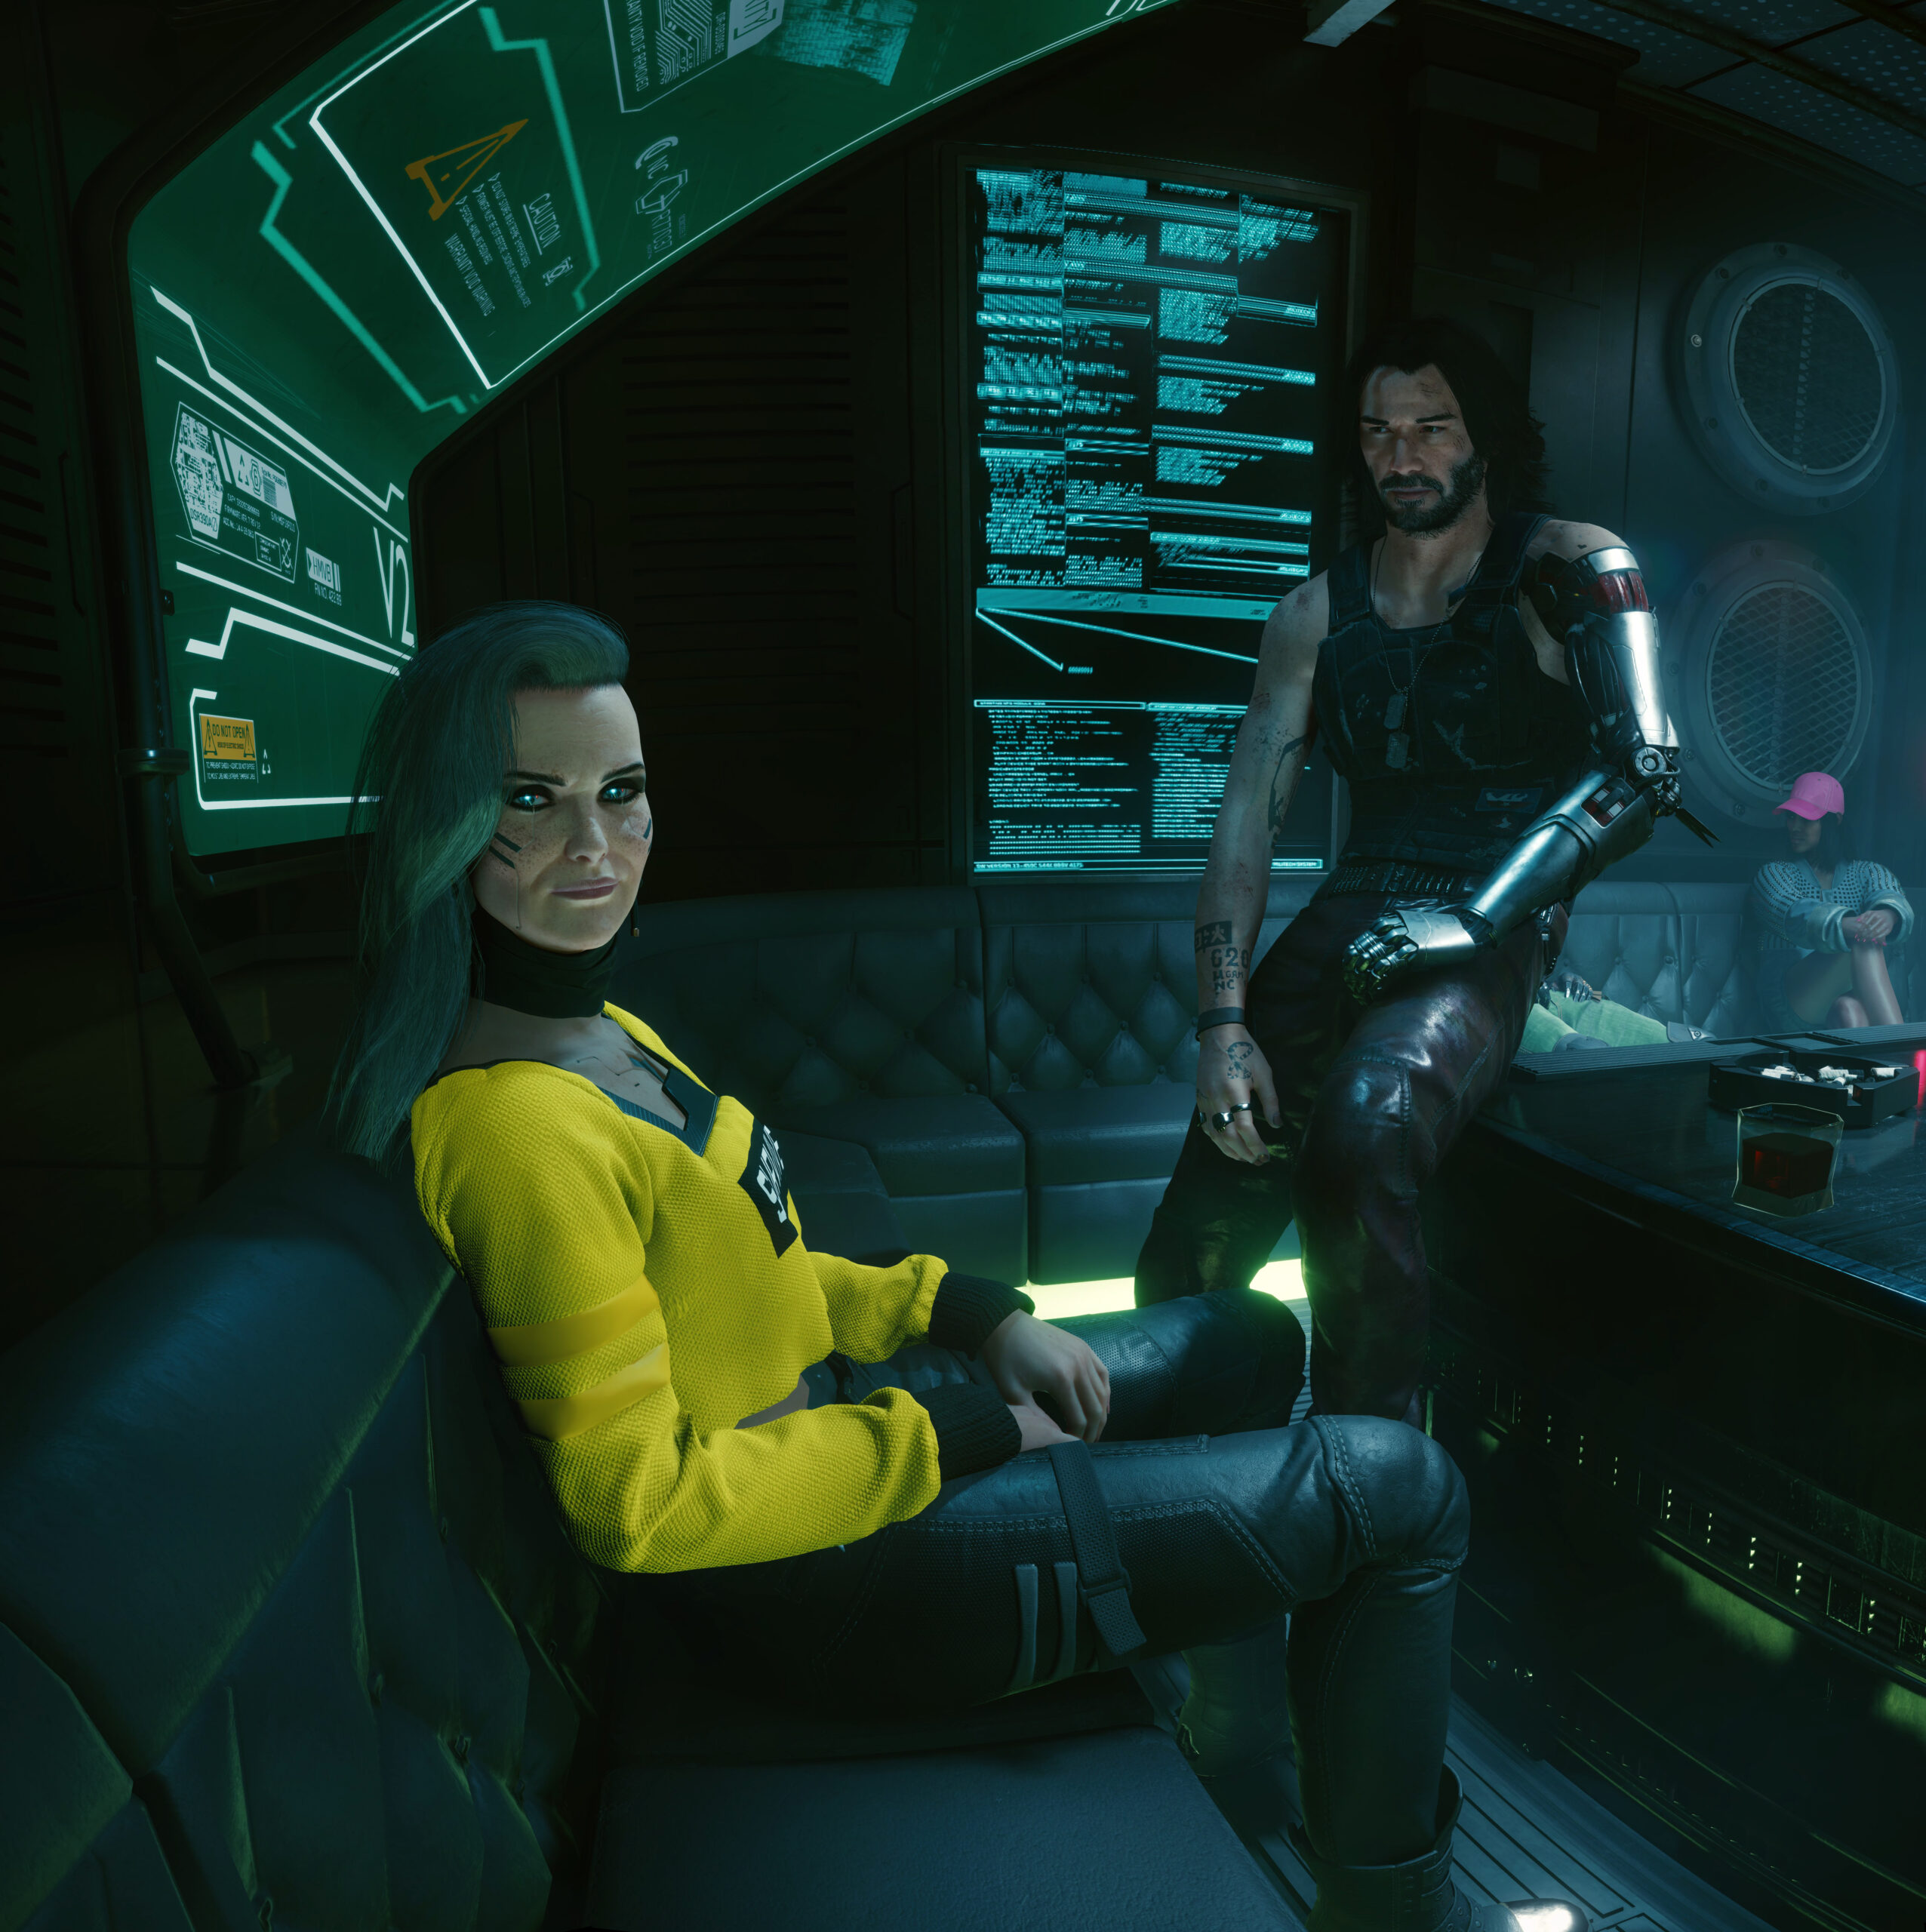
For the first time in the last 10ish years I am back playing a game that really impresses me. The story, the world and the technology of Cyberpunk 2077 really is a step forward.
It’s a first in many aspects for me. I do not own a PC capable enough of playing Cyberpunk 2077 at any quality level. Usually I am playing games on consoles like the Playstation. But for this one I have selected to play on the PC platform. But how?
I am using game streaming. The game is rendered in a datacenter on a PC and graphics card I am renting for the purpose of playing the game. And it simply works great!
So I am playing a next-generation open-world game with technical break-throughs like Raytracing used to produce really great graphics streamed over the internet to my big-screen TV and my keyboard+mouse forwarded to that datacenter without (for me) noticeable lag or quality issues.
The only downside I can see so far is that sooo many people like to play it this way that there are not enough machines (gaming-rigs) available to all the players that want – so there’s a queue in the evening.
But I am doing what I am always doing when I play games. I take screenshots. And if the graphics are great I am even trying to make panoramic views of the in-game graphics. Remember my GTA V and BioShock Infinite pictures?
So here is the first batch of pictures – some stitched together using 16 and more single screenshots. Look at the detail! Again – there are in-game screenshots. Click on them to make them bigger – and right-click open the source to really zoom into them.

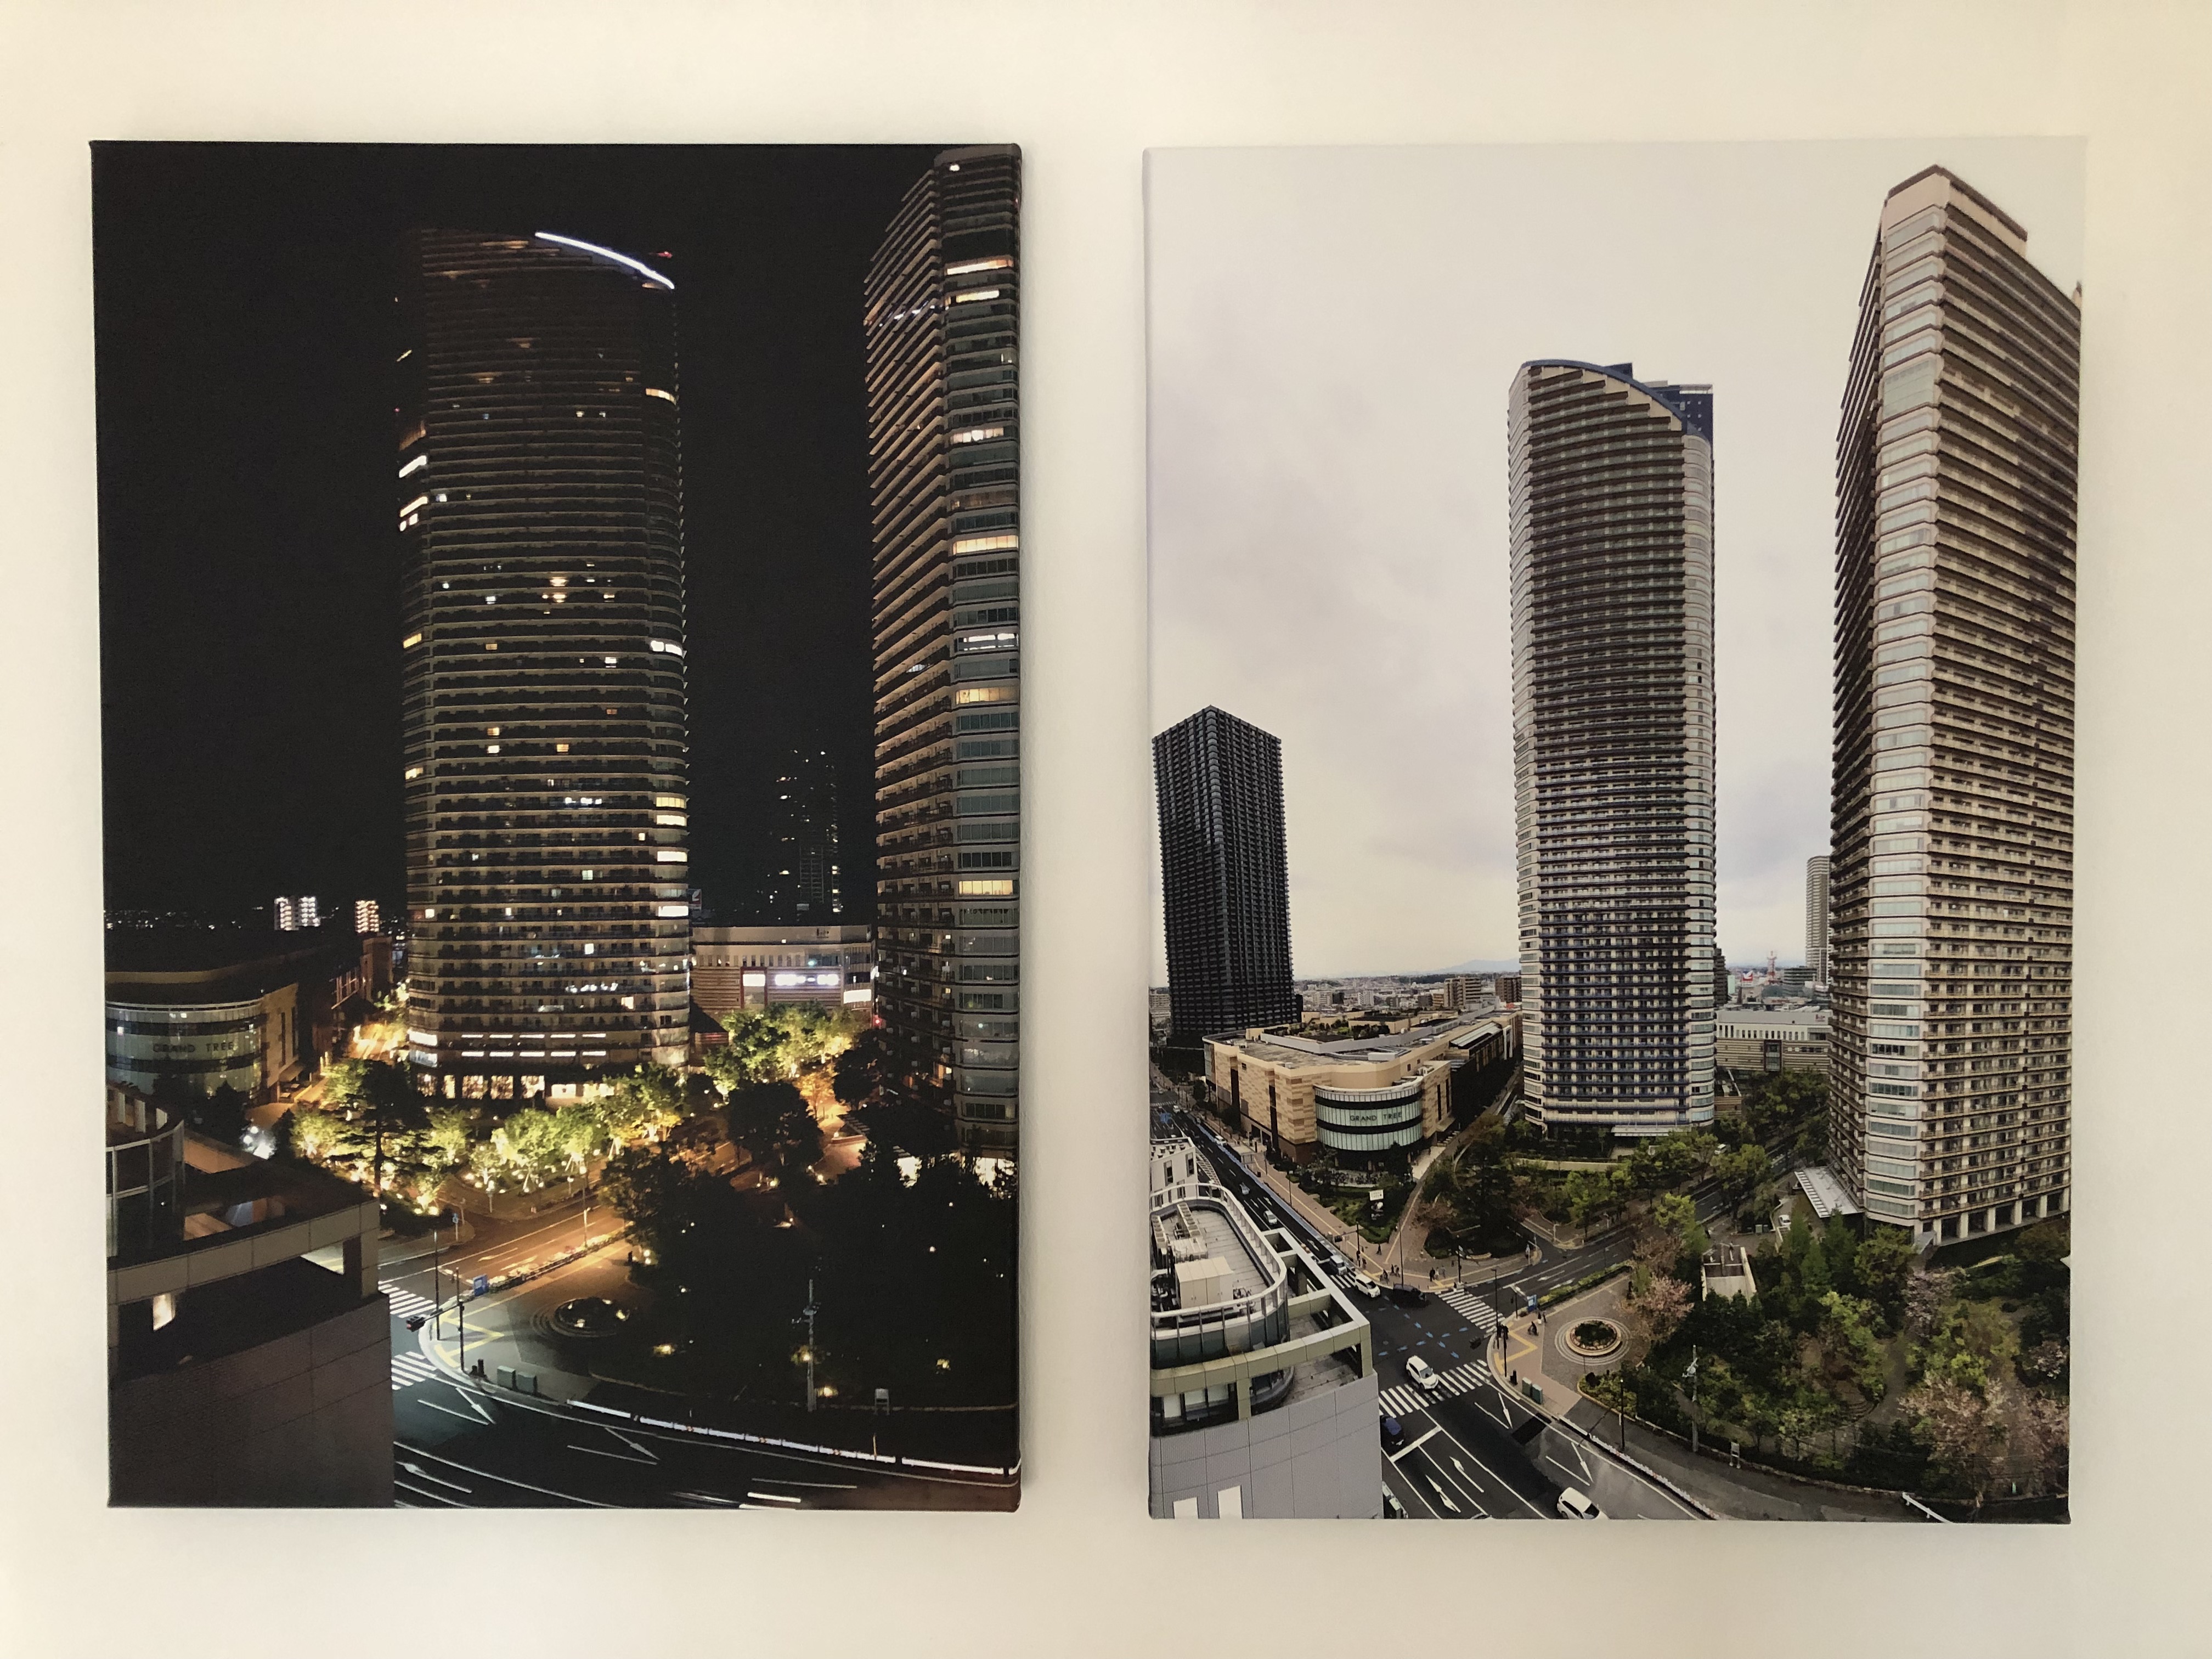
I’ve blogged about those pictures taken day- and night-time before. I’ve also blogged about how they where produced.
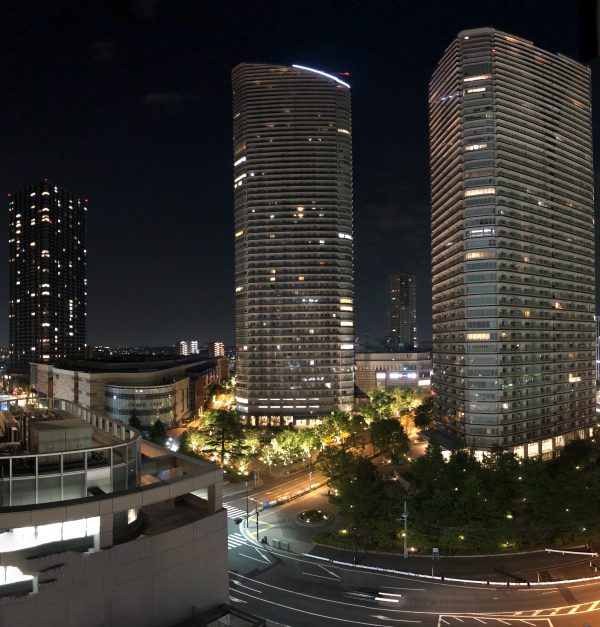
With a picture spot freed at one of the walls in our house we decided to print the day and night pictures on canvas and have them side-by-side. And it looks great, I think.
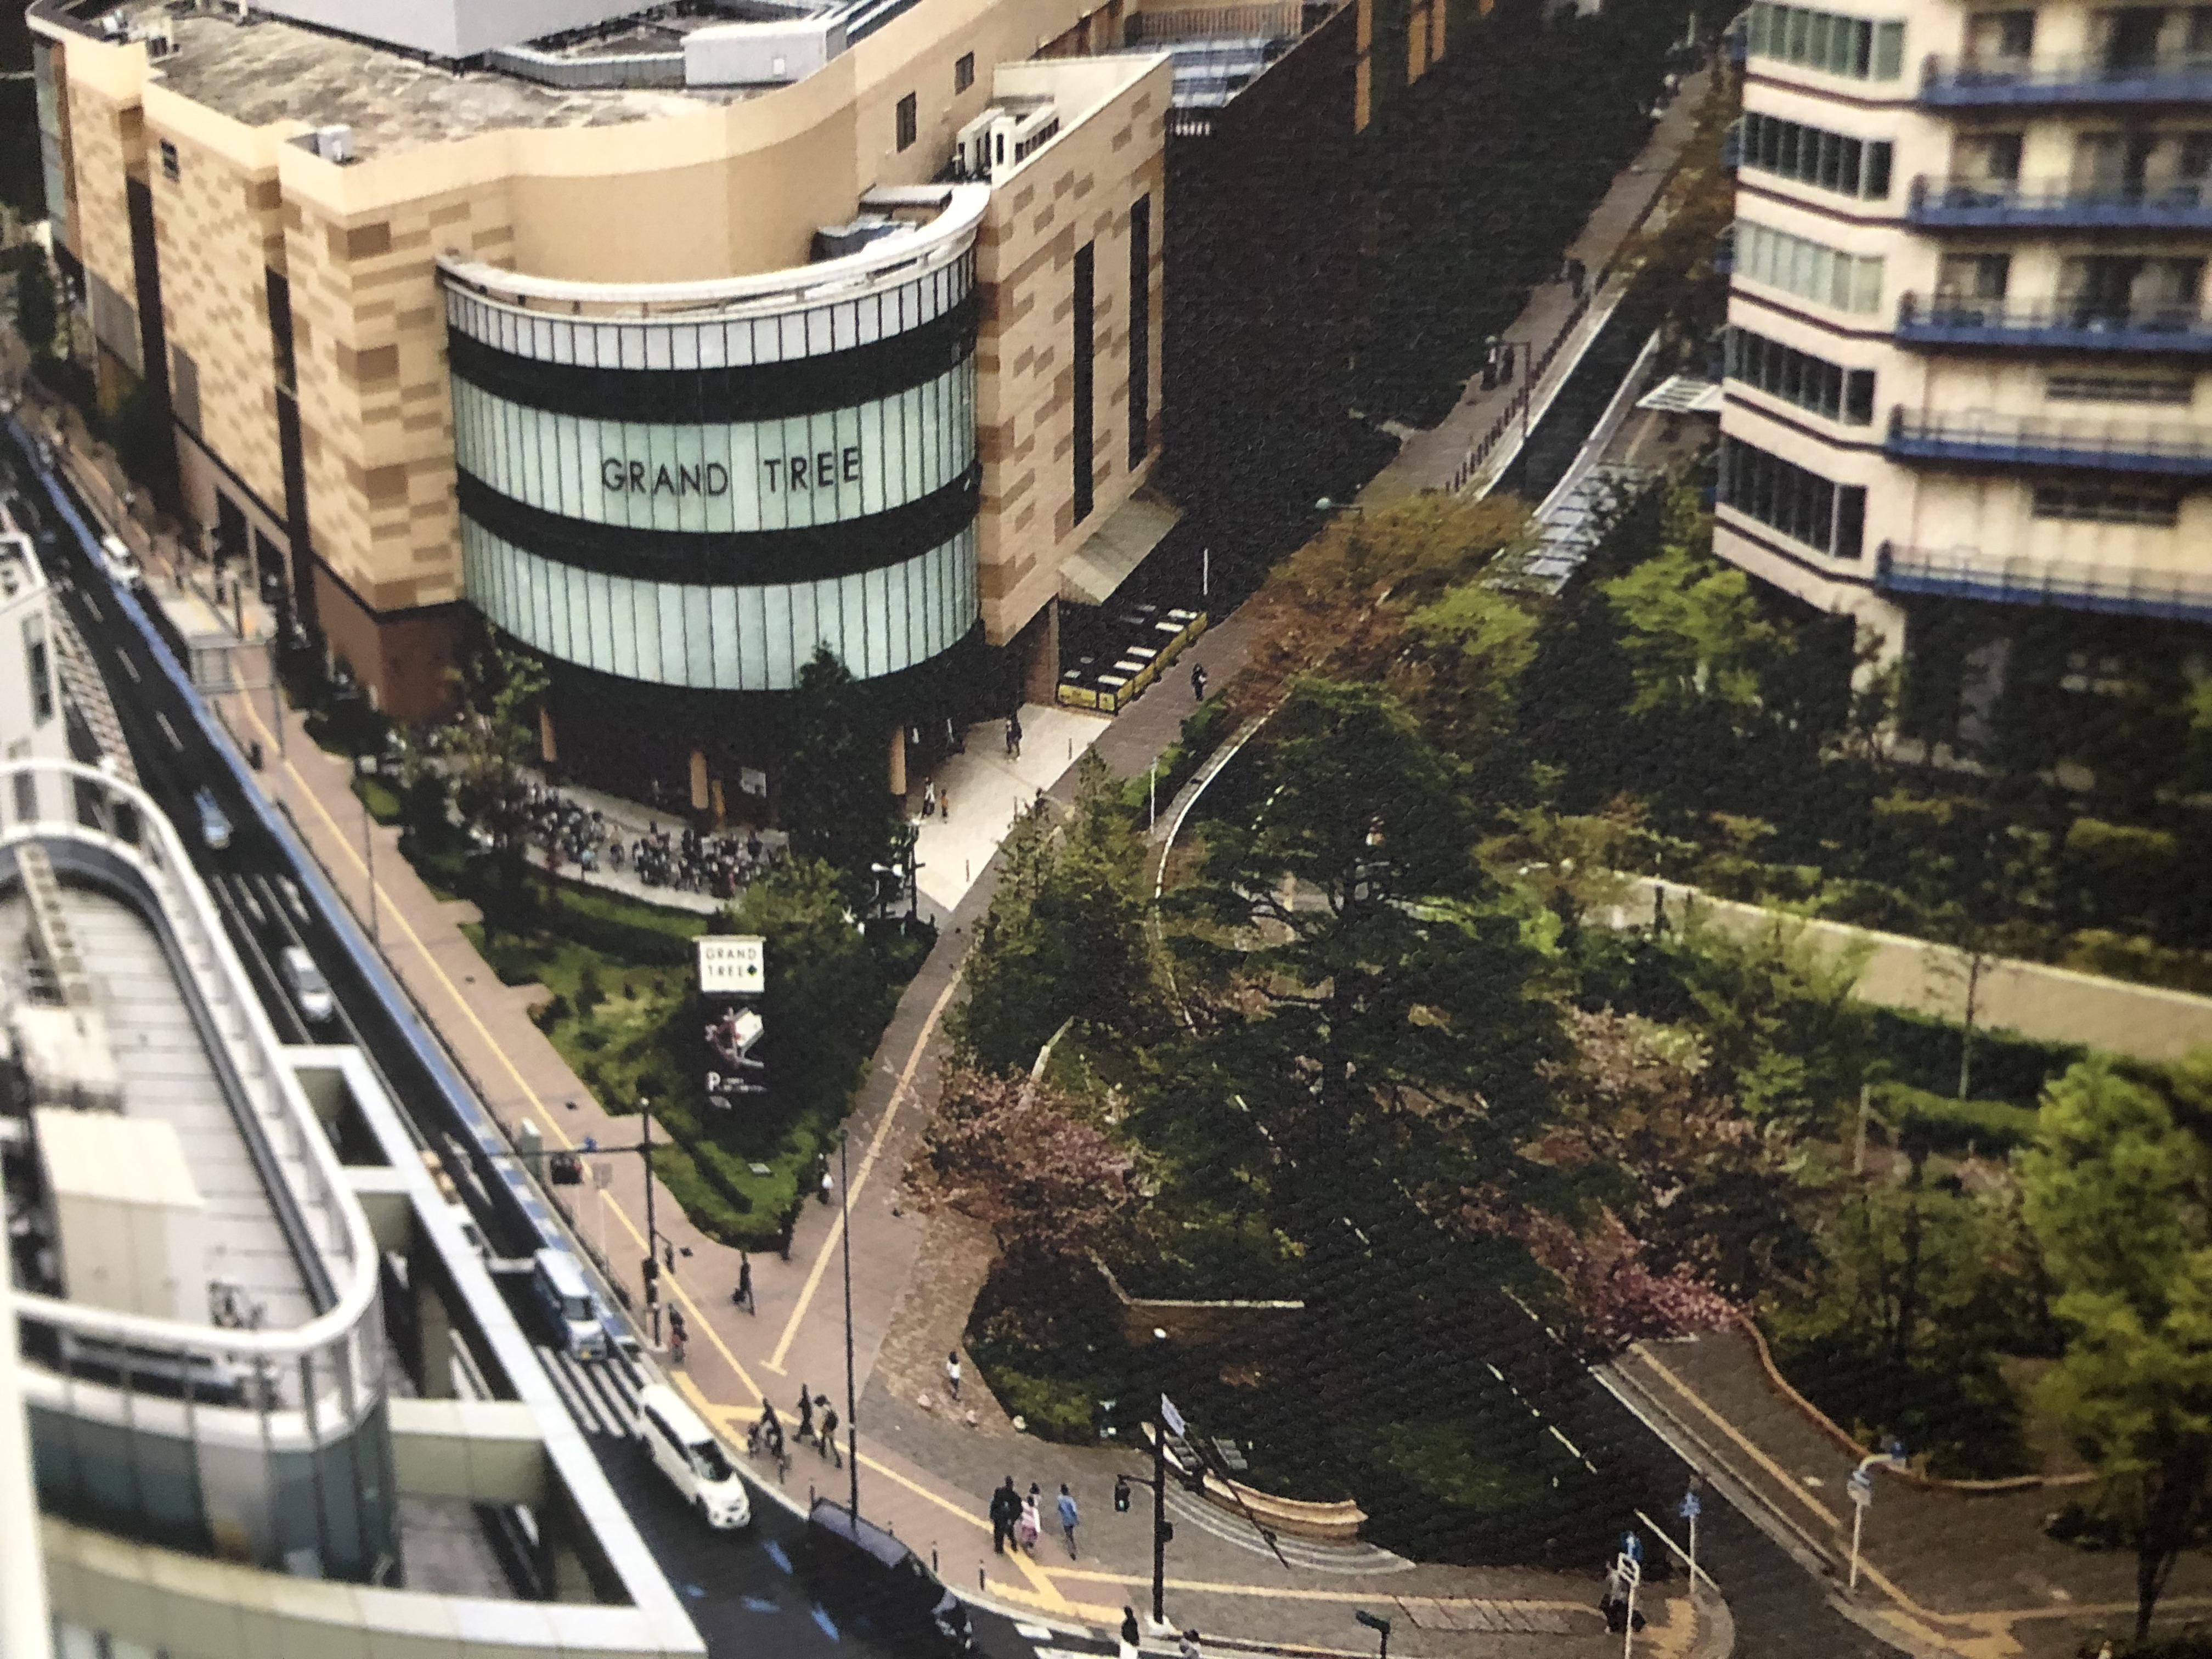
I really like taking panoramic images whenever I can. They convey a much better impression of the situation I’ve experienced then a single image. At least for me. And because of the way they are made – stitched together from multiple images – they are most of the time very big. A lot of pixels to zoom into.
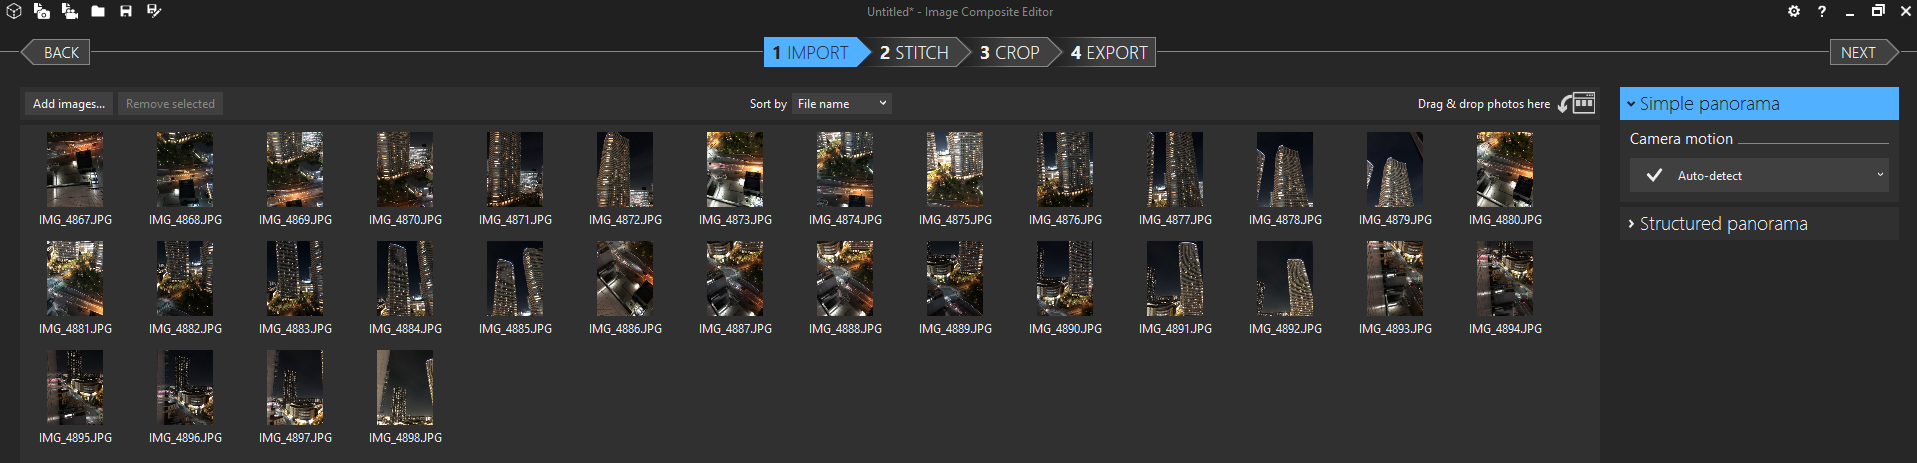
The process to take such a panoramic image is very straight forward:
The tools used are all free. So my recommendation is the Microsoft Image Composite Editor. Which in itself was a Microsoft Research project.
Image Composite Editor (ICE) is an advanced panoramic image stitcher created by the Microsoft Research Computational Photography Group. Given a set of overlapping photographs of a scene shot from a single camera location, the app creates high-resolution panoramas that seamlessly combine original images. ICE can also create panoramas from a panning video, including stop-motion action overlaid on the background. Finished panoramas can be saved in a wide variety of image formats,
Image Composite Editor

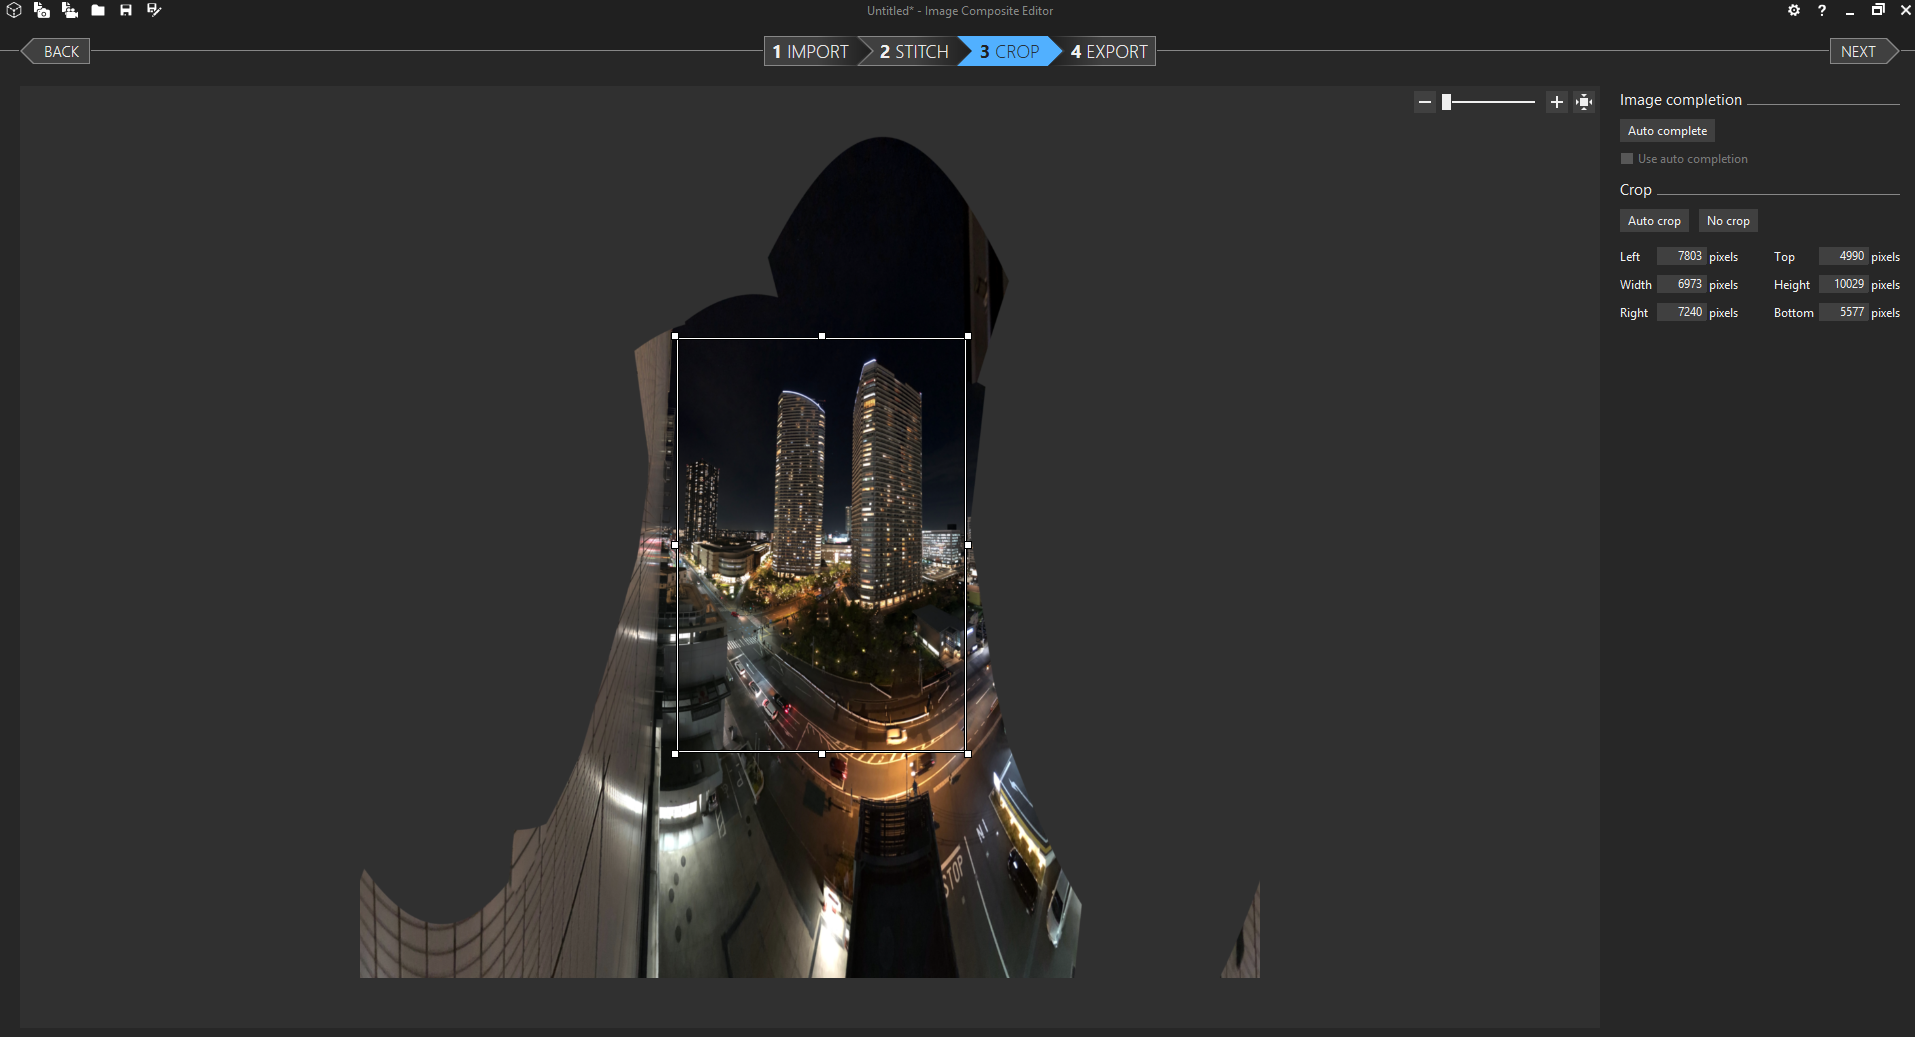
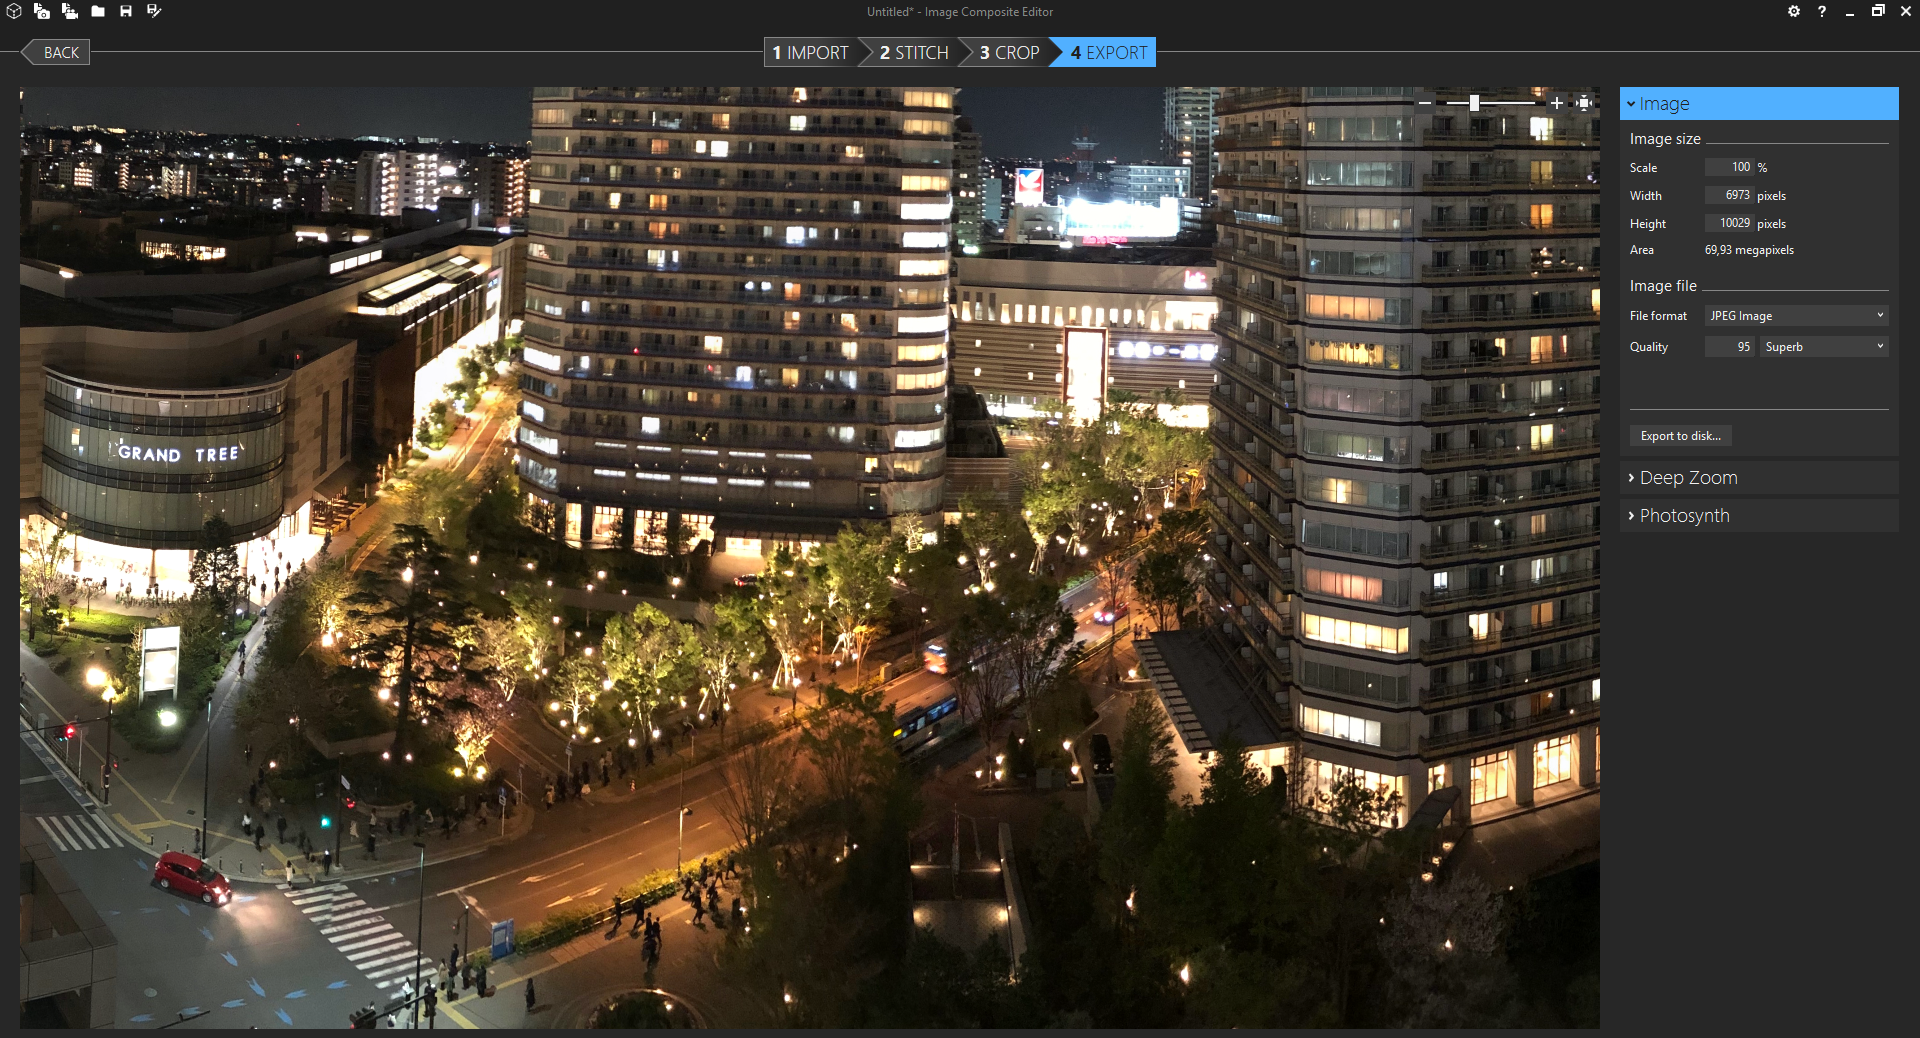
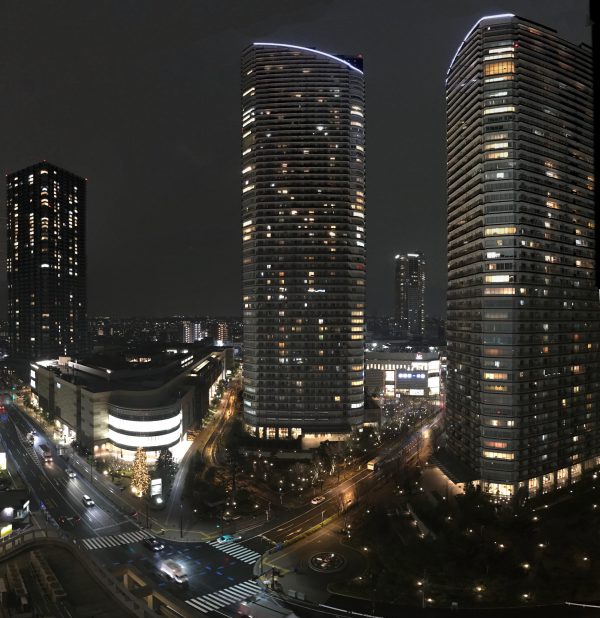
Here’s how the stitching process of the Musashi-kosugi Park City towers night image looked like:


Ever since I’ve first visited Tokyo in 2012 I fell in love with country, culture and the city. On average I was there 4 times a year to do business.
After leaving Rakuten I went back to Tokyo for a vacation together with my wife in October 2017. The idea was to show her what I was enthusiastically mumbling about all the time when I came back from Japan.
When staying in Tokyo I’ve stayed in different areas across the city. From very center to not-so-much-center. Given the great public transportation and taxi system in Tokyo it always was a great experience.
So after a couple of times I developed a preference for an area that was in walking distance to the Rakuten office, was well connected to the public transport system and offered all sorts of starting-points for daily life on a longer term. It ticked a lot of boxes.
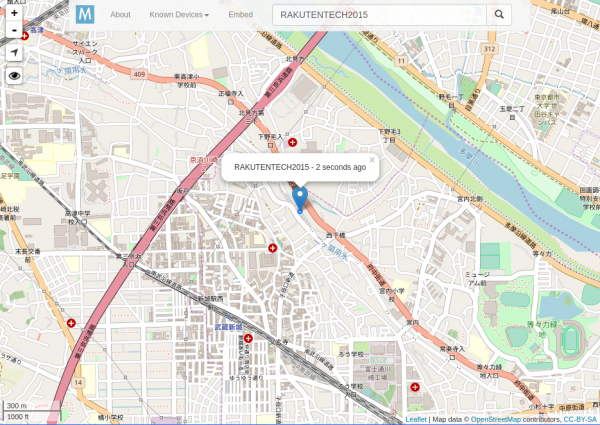
You can follow my foot-steps from a route I had recorded in 2015 in preparation for a presentation I’ve held at the Rakuten Technology Conference on my pet project Miataru.
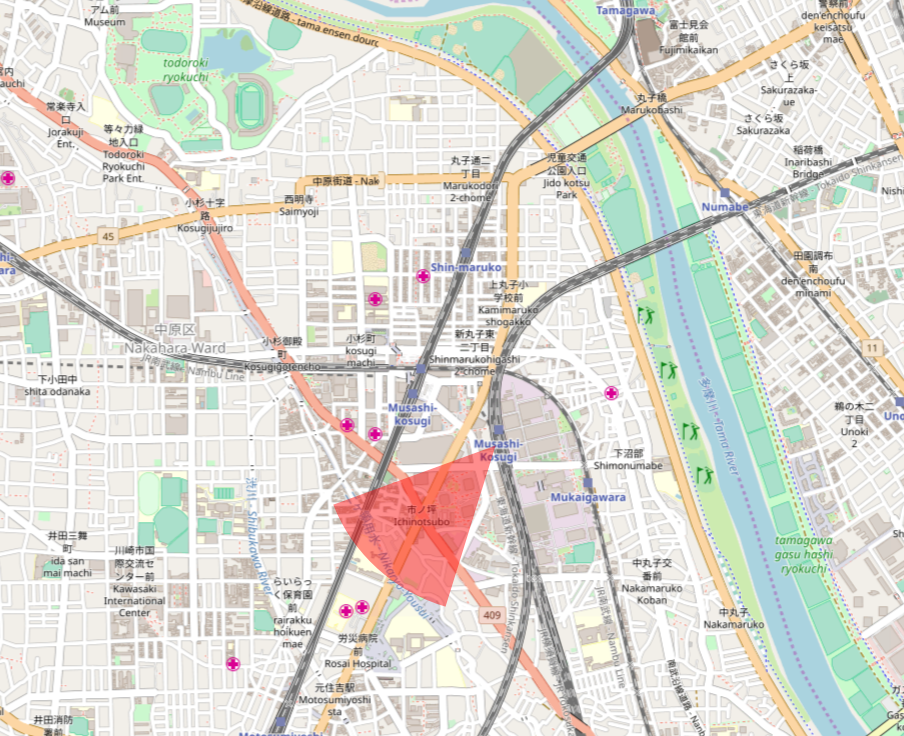
The areas name is Musashi-Kosugi (武蔵小杉). And it actually is in the city of Kawasaki in Kanagawa prefecture. Effectively just across the Tama river from Ota-city in Tokyo prefecture.
Like any great neighborhood everything is conveniently close and the service everywhere is spotless. The hotel of preference is fairly priced and extremely close to the two train stations. So you can get anywhere quick by train.
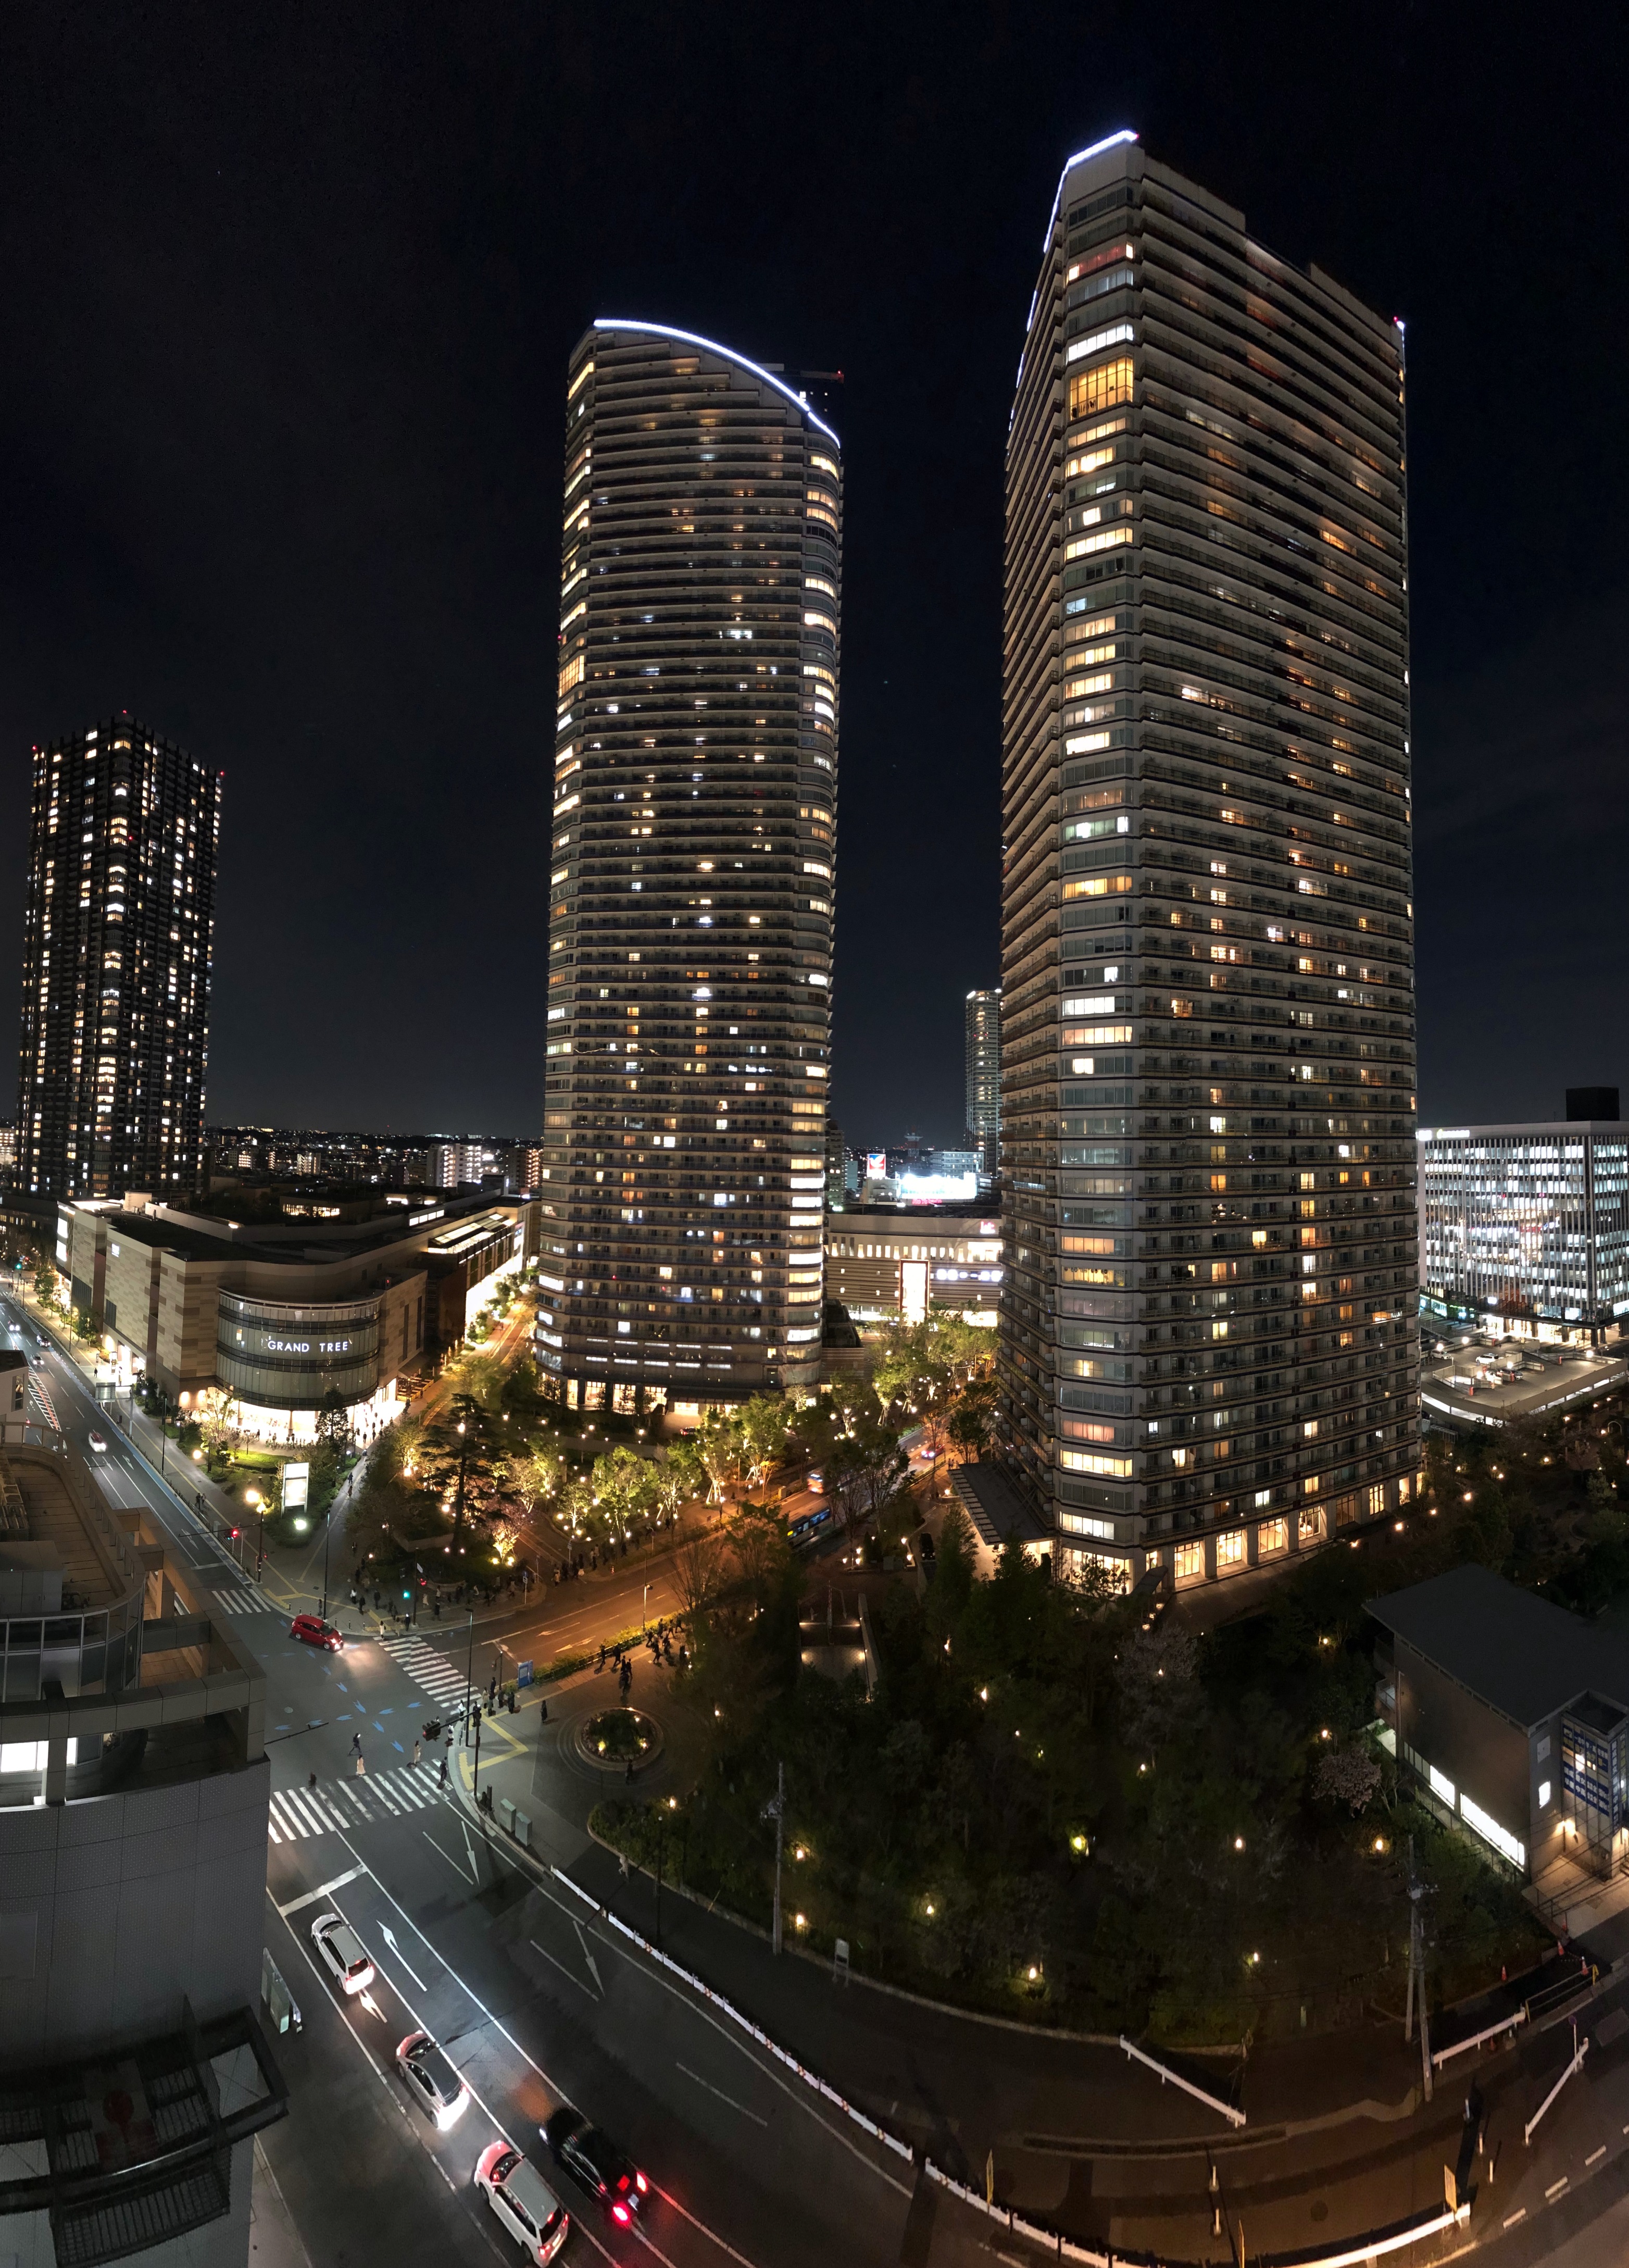
You can see the hotel location and the train tracks pretty well on this next map. The red portion shows the viewing direction of the night-picture below.
And like any great neighborhood there’s loads of current information available and lots of community activities around the year. In the case of Musashi-Kosugi you can have the more official website and the more up-to-date blog.
If you plan to visit Tokyo I can only recommend you take a look at more off center options of accomodation. I’ve always enjoyed being able to leave the center of buzz like Shibuya, Ropongi and get back into my bubble of quietness without compromising on everything else than party-and-entertainment options. Actual longer-term daily-life is much more enjoyable off-center – as you can imagine.
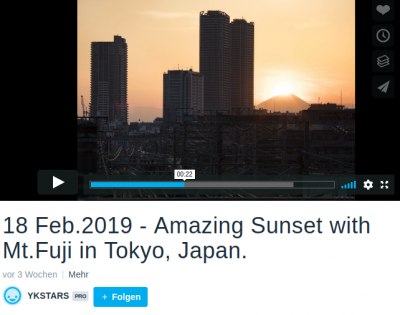
And for the end of this post: Let us enjoy a sunset with parts of the Musashi-Kosugi skyline:
I am using this for more several years now. Even though all my workflow happens on Macintosh computers these days I’ve kept this tool in my toolbox: Microsoft Image Composite Editor.
Now after along while with the 1.0 version Microsoft Research decided to release a new version of the free tool with even more features and a new streamlined user interface. This is so much better than before.
[youtube]https://www.youtube.com/watch?v=zhdXLH2GYPA[/youtube]
“Image Composite Editor (ICE) is an advanced panoramic image stitcher created by the Microsoft Research Computational Photography Group. Given a set of overlapping photographs of a scene shot from a single camera location, the app creates a high-resolution panorama that seamlessly combines the original images. ICE can also create a panorama from a panning video, including stop-motion action overlaid on the background. Finished panoramas can be shared with friends and viewed in 3D by uploading them to the Photosynth web site. Panoramas can also be saved in a wide variety of image formats, including JPEG, TIFF, and Photoshop’s PSD/PSB format, as well as the multiresolution tiled format used by HD View and Deep Zoom.”
Source 1: http://research.microsoft.com/en-us/um/redmond/projects/ice/
Here are just two of the panoramic images I’ve made while playing through BioShock Infinite this year. Gorgeous art!
We’re living near a very nice city called Bamberg. And after a long time there are new Webcams availabel for anyone to look at. Even a 360 degree panoramic view!


Source 1: https://www.stadt.bamberg.de/
Source 2: http://www.bnv-bamberg.de/index.php/hotline/71-die-neuen-webcams
It’s been some months years since the once Microsoft Research Project got public and Microsoft started offering it’s great Photosynth service to the public.
I’ve been using the Microsoft panoramic and Photosynth tools for years now and I tend to say that they are the best tools one can get to create fast, easy and high-quality panoramic images.
There is photosynth.net to store all those panoramic pictures like this one from 2008:
The photosynth technology itself contains several other interesting technologies like SeaDragon which allows high quality image zooming on current internet connection speeds.
This awesome technology is as of now available on the iPhone (3GS and upwards) and it’s better than all the other panoramic tools I’ve used on a phone.


Source 1: Photosynth articles from the past
Source 2: Photosynth in Wikipedia
Source 3: Photosynth on iPhone App Store
After a very very long wait finally Forza 3 arrived! The first panoramic view of a 1-series BMW in Forza 3:

Finally a game where I can drive that car!
Source: http://www.forzaclans.com