Panoramic Images free (-hand)

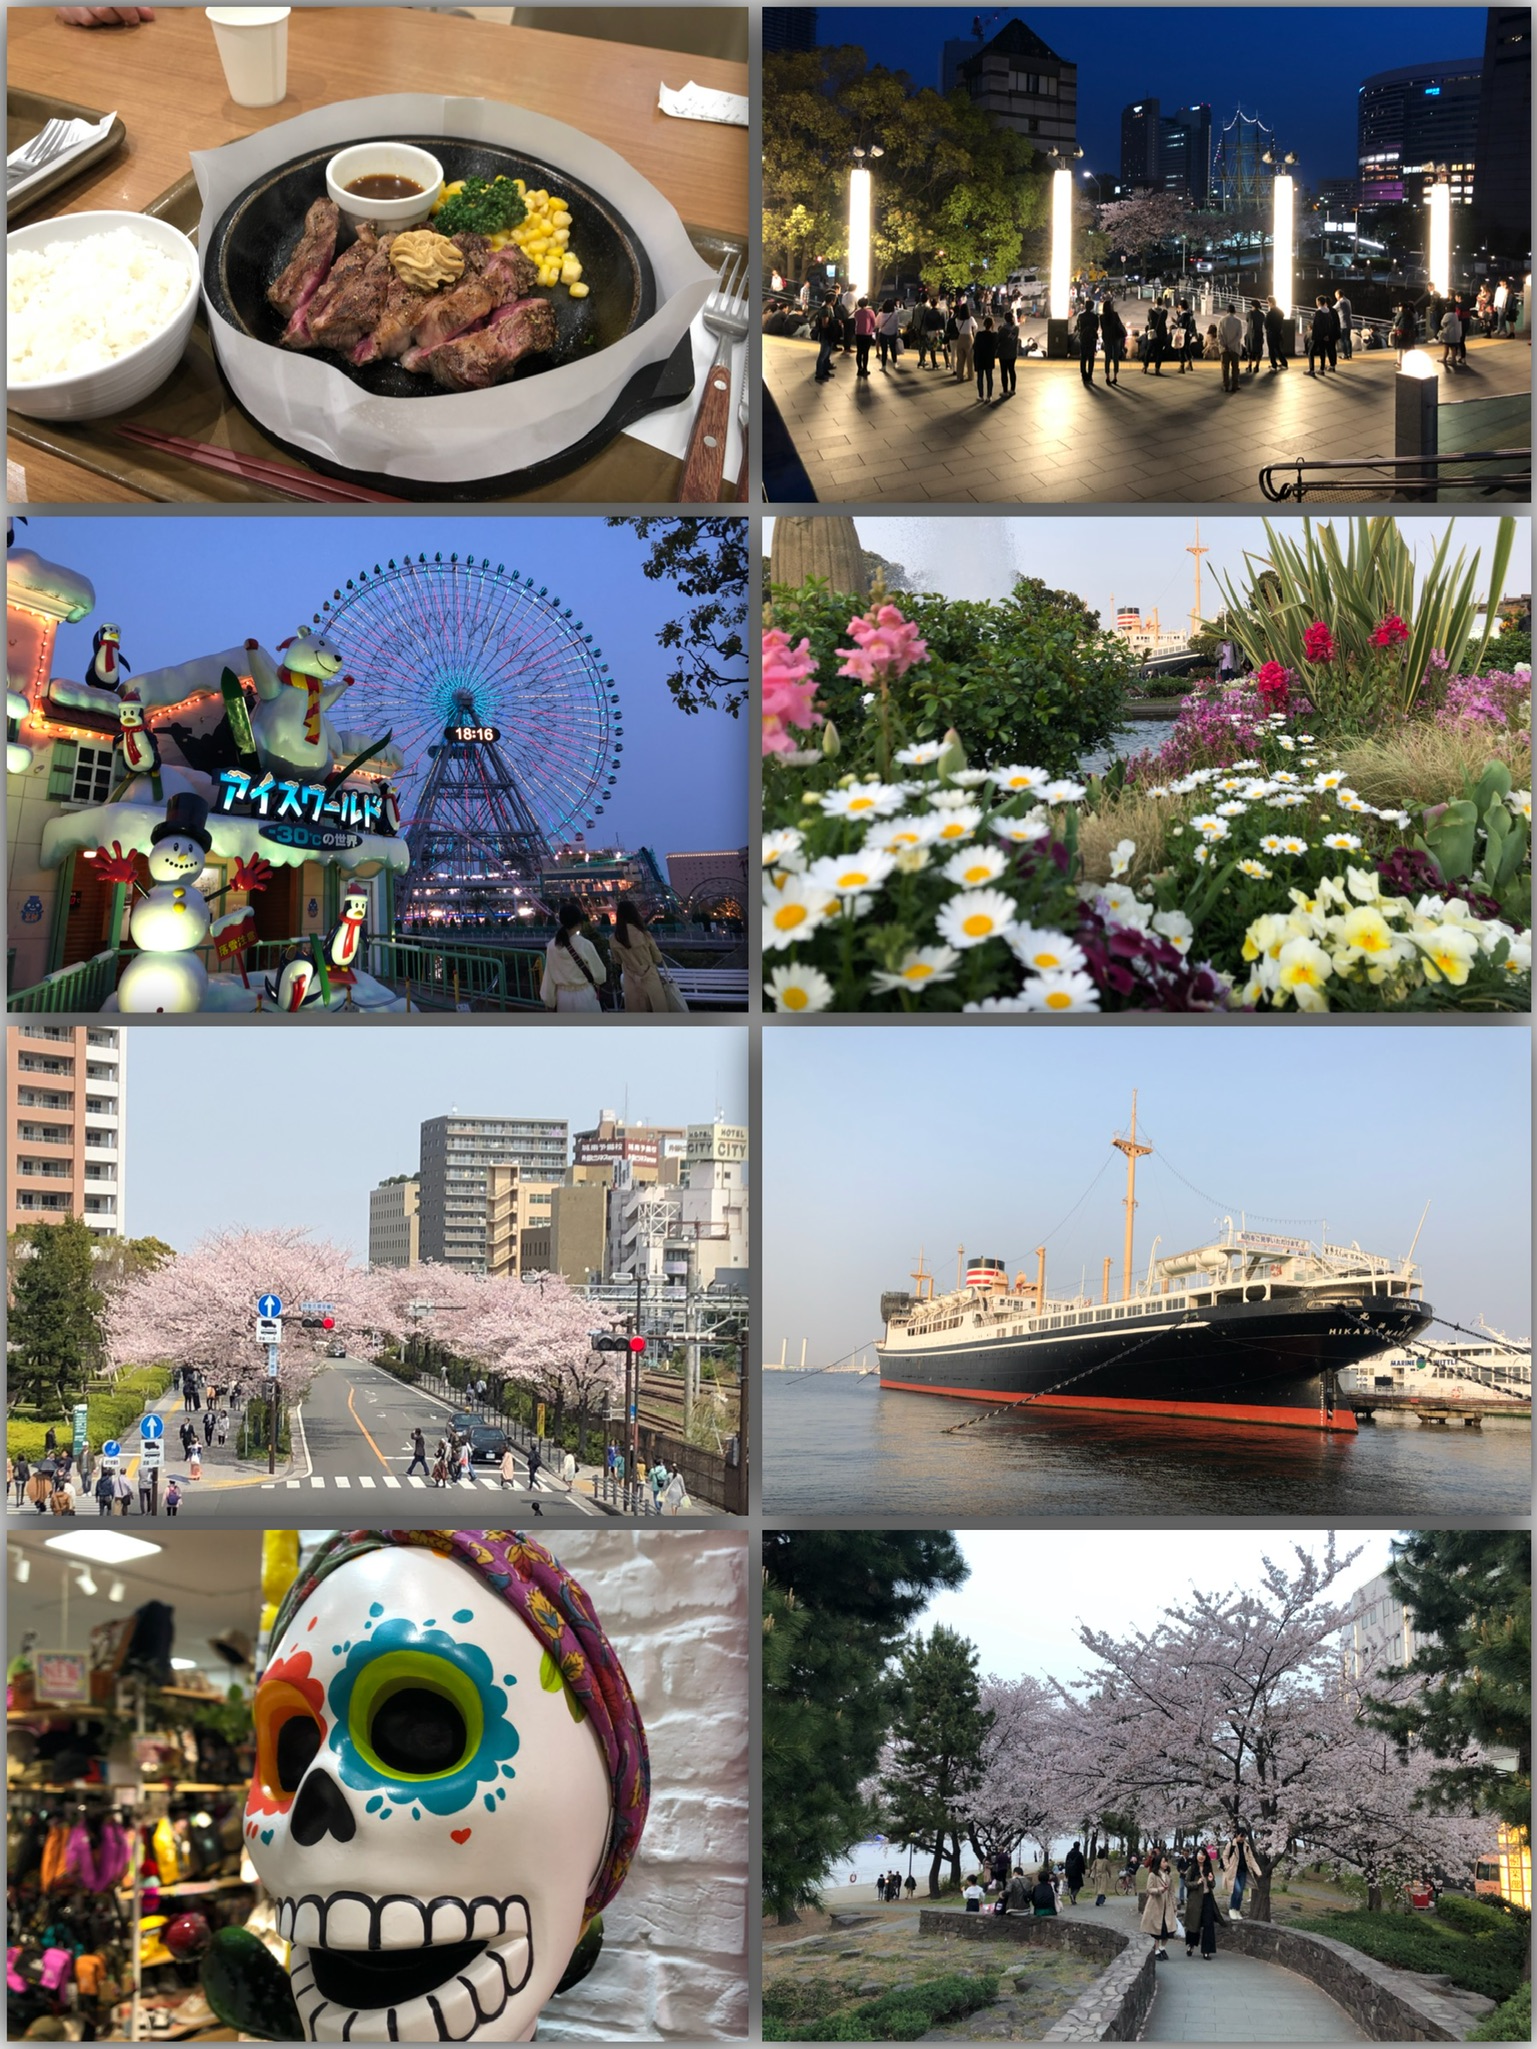
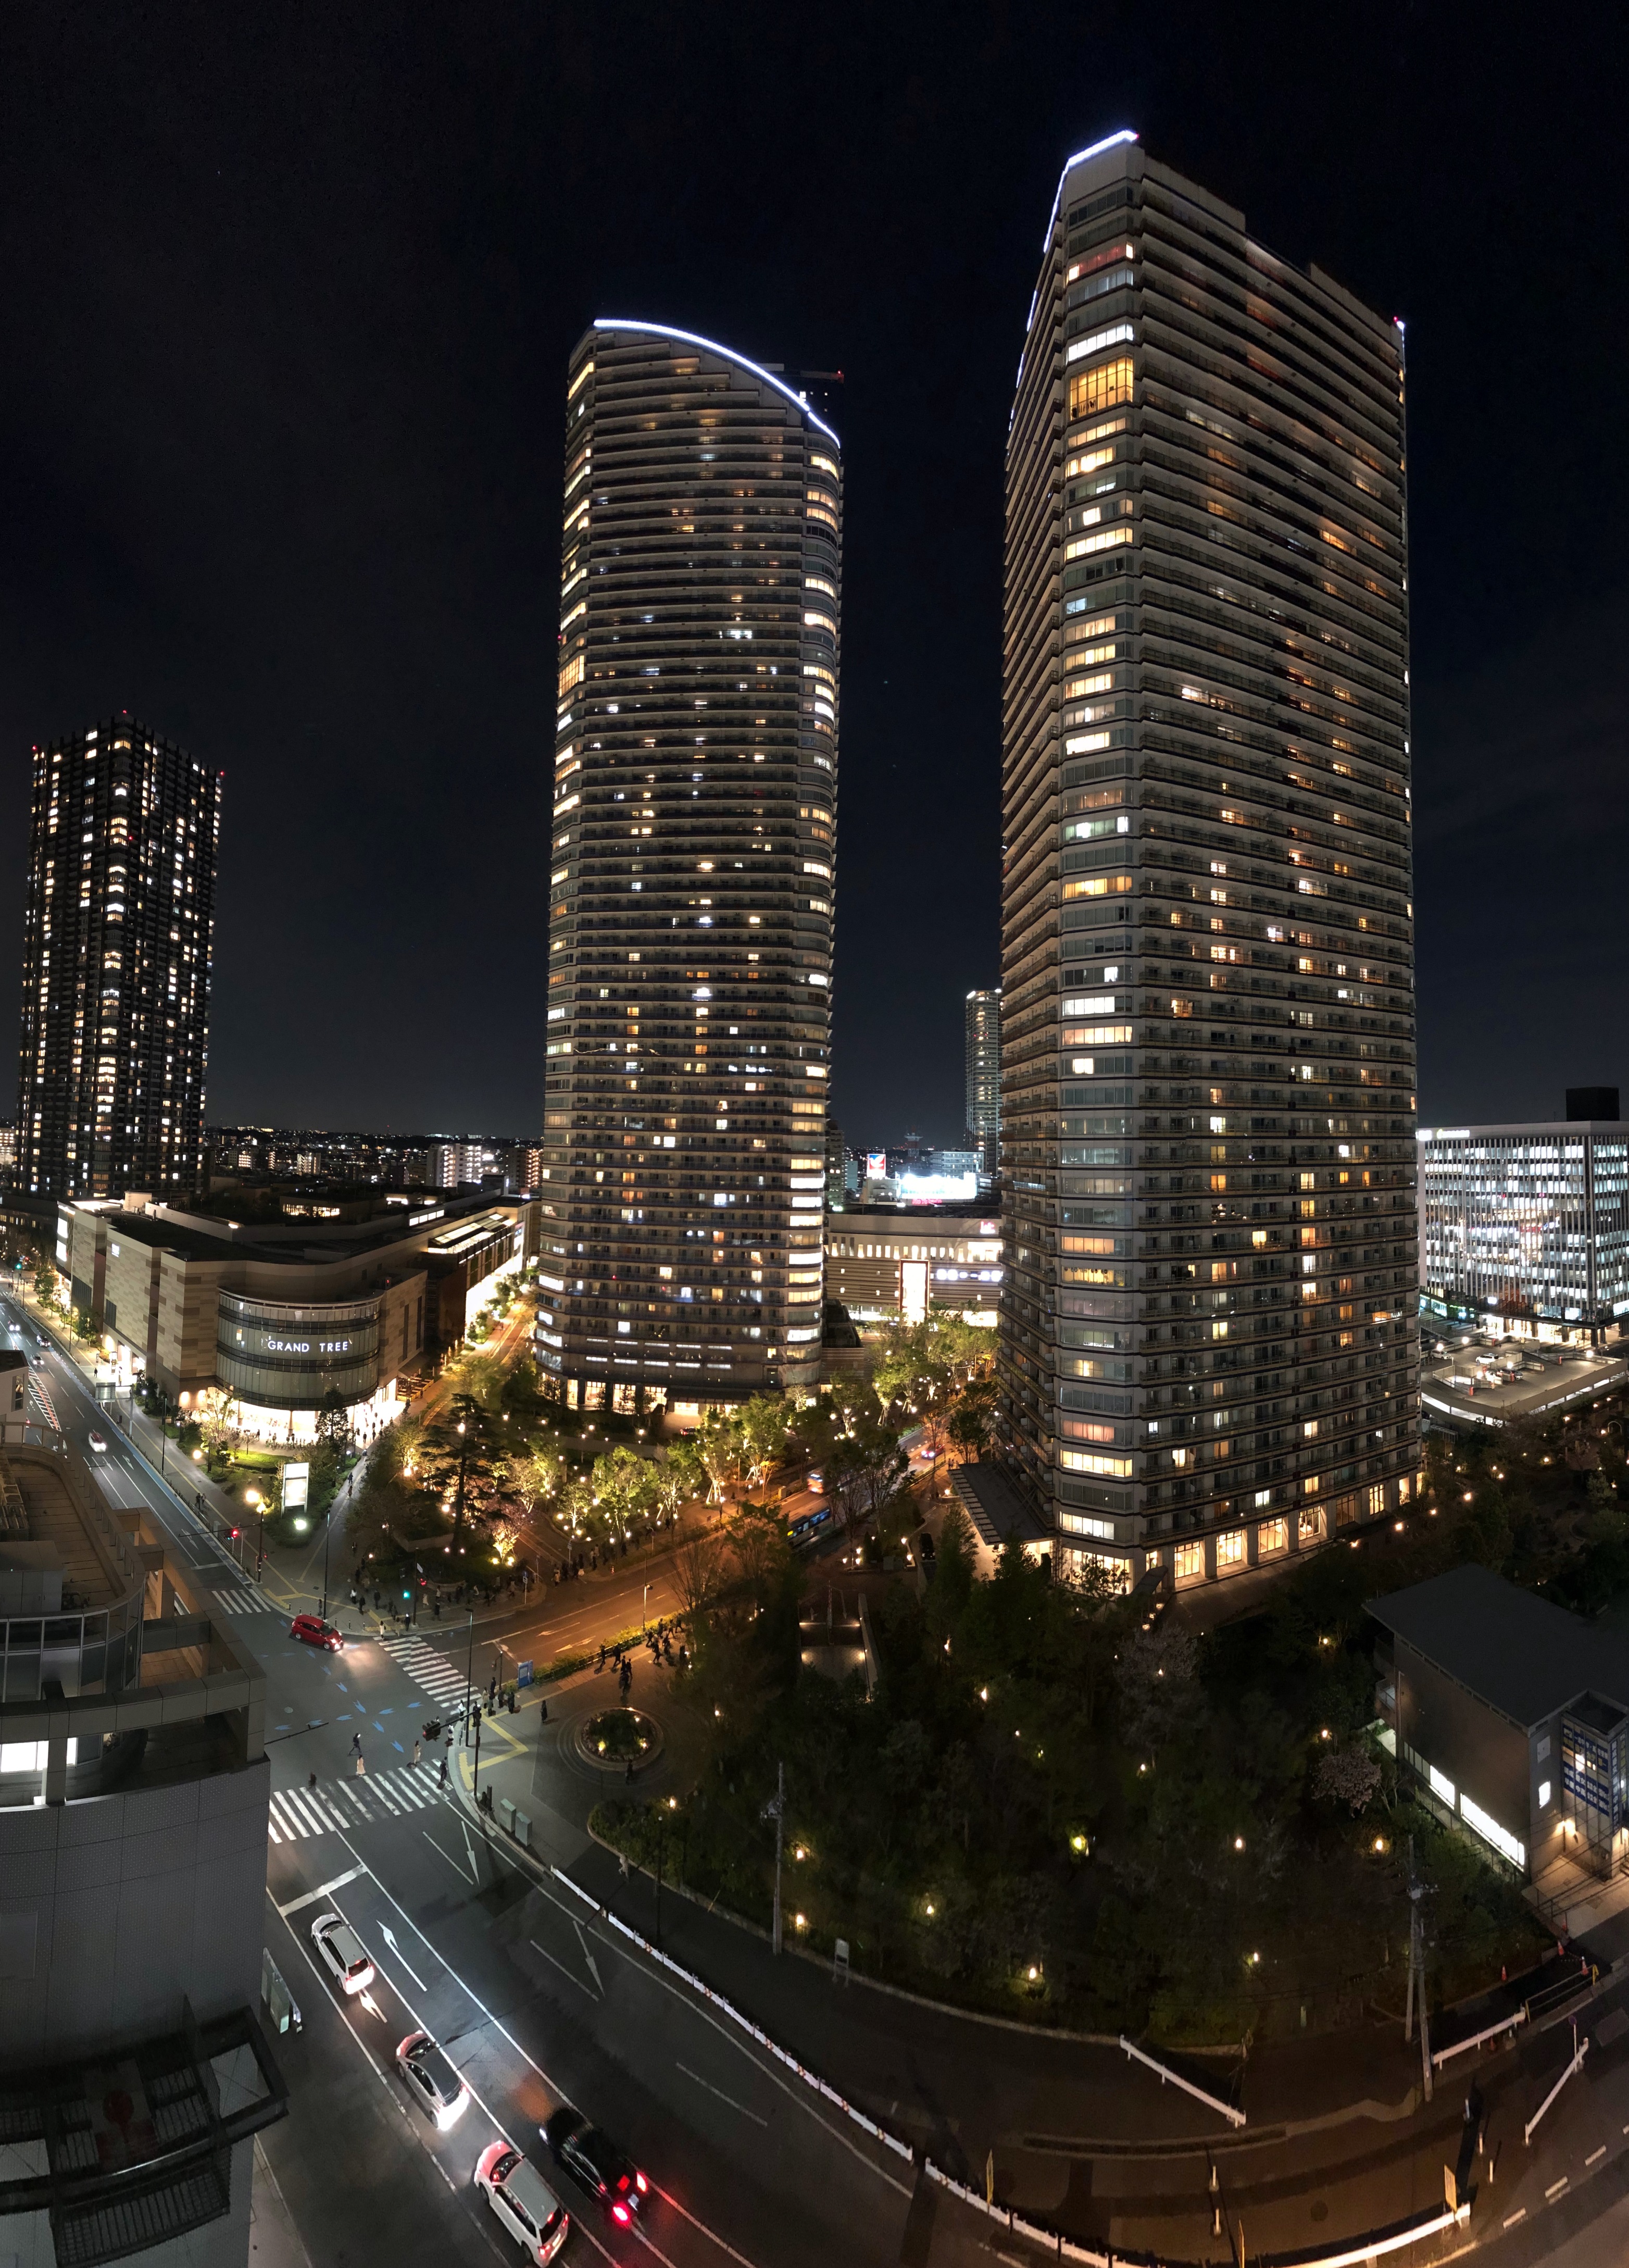
I really like taking panoramic images whenever I can. They convey a much better impression of the situation I’ve experienced then a single image. At least for me. And because of the way they are made – stitched together from multiple images – they are most of the time very big. A lot of pixels to zoom into.

The process to take such a panoramic image is very straight forward:

  1. Take overlapping pictures of the scenery in multiple layers if possible. If necessary freehand.
  2. Make sure the pictures overlap enough but there’s not a lof of questionable movement in them (like a the same person appearing in multiple pictures…)
  3. Copy them to a PC.
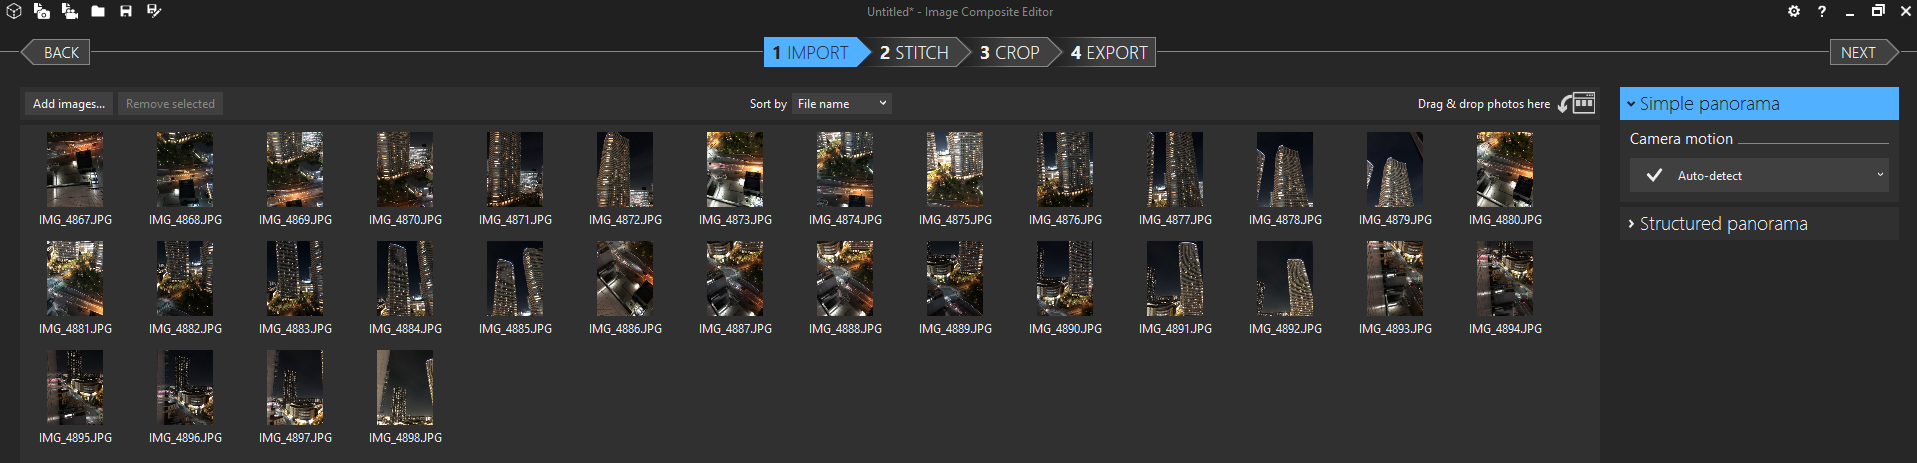
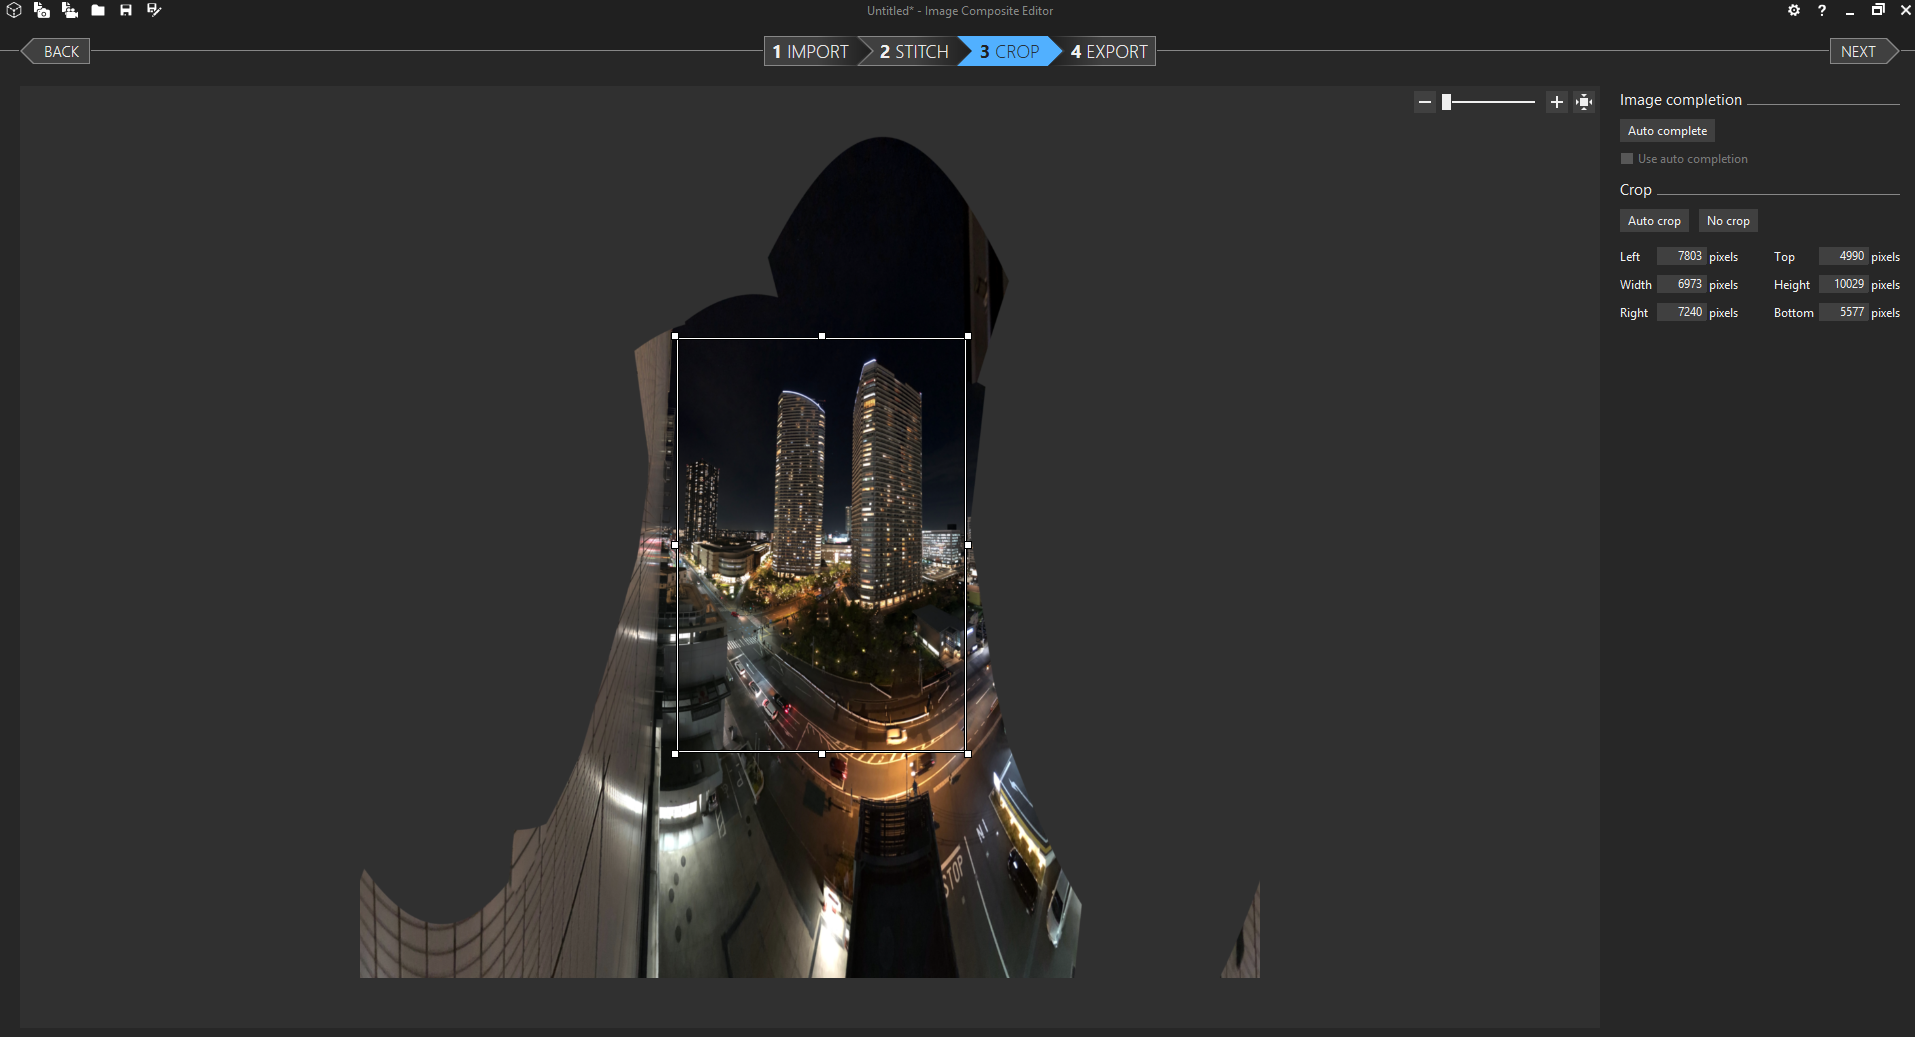
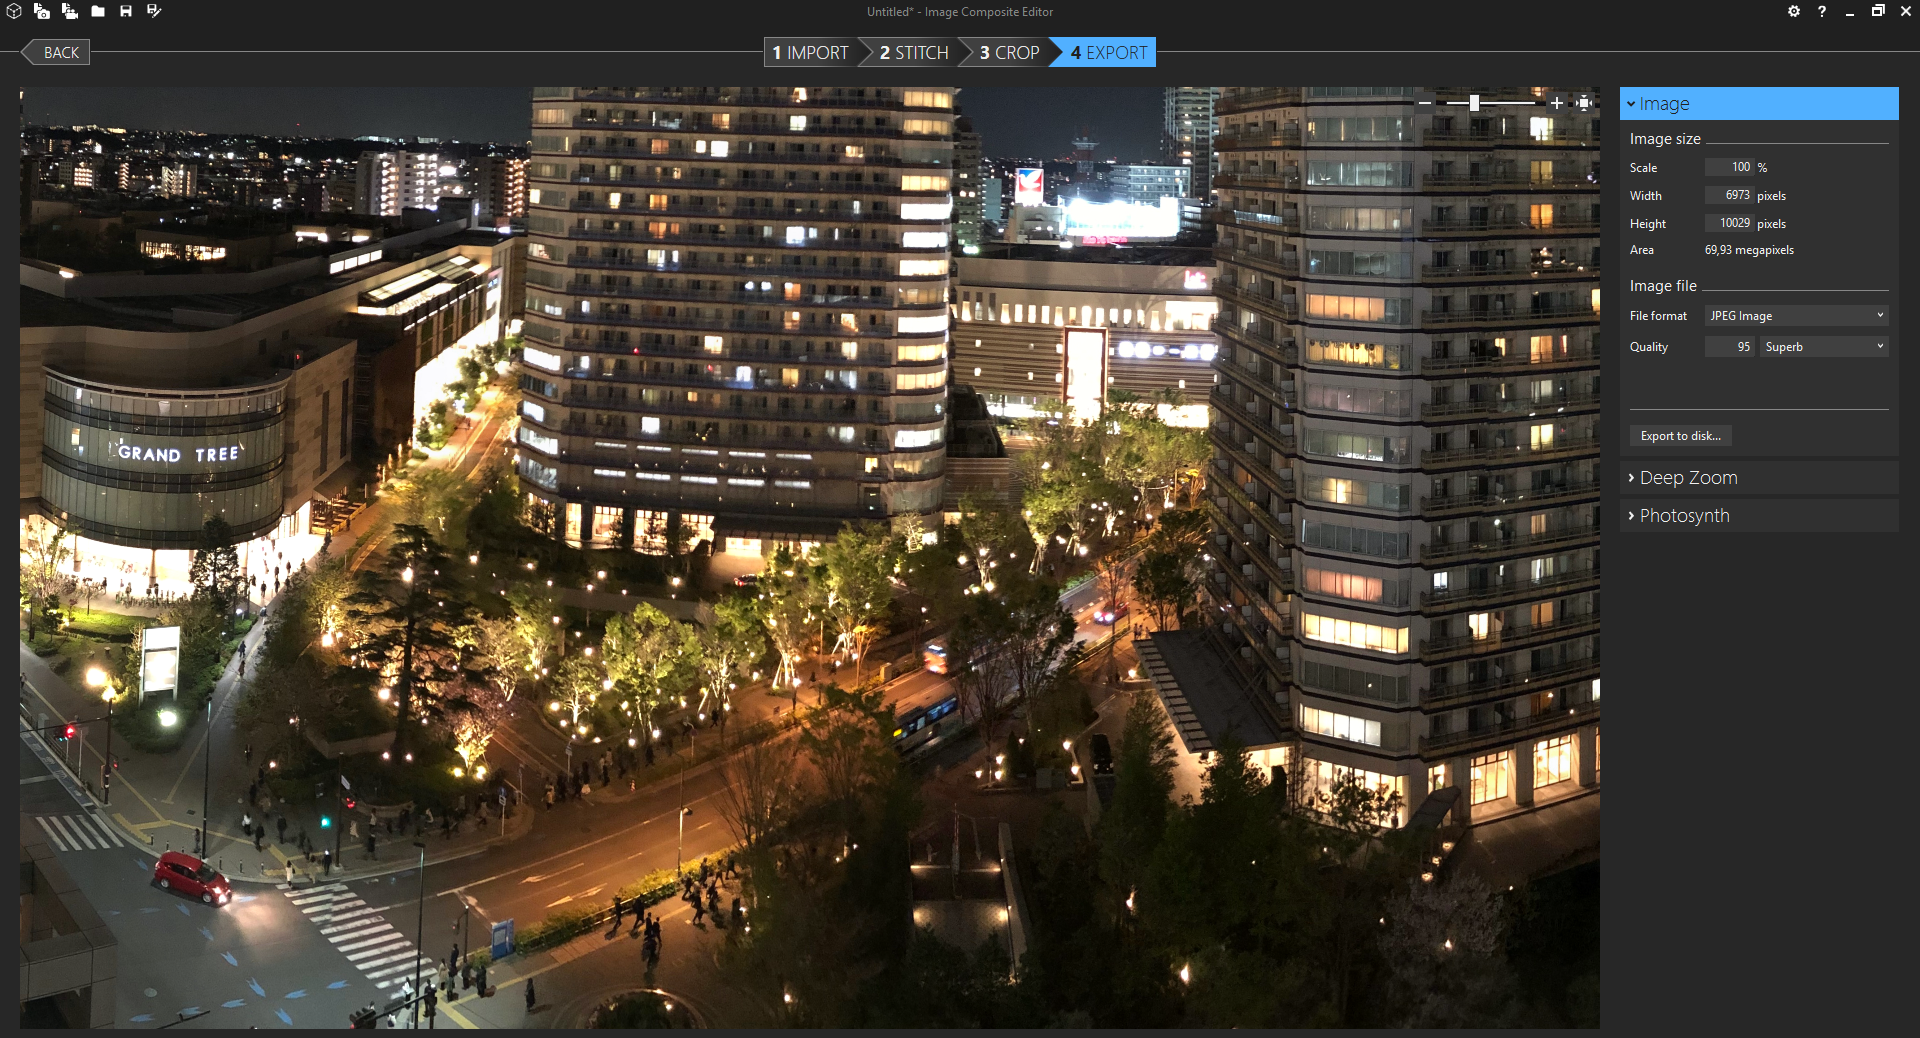
  4. Run the free Microsoft Image Composite Editor.
  5. Pre-/Post process for color.

The tools used are all free. So my recommendation is the Microsoft Image Composite Editor. Which in itself was a Microsoft Research project.

Image Composite Editor (ICE) is an advanced panoramic image stitcher created by the Microsoft Research Computational Photography Group. Given a set of overlapping photographs of a scene shot from a single camera location, the app creates high-resolution panoramas that seamlessly combine original images. ICE can also create panoramas from a panning video, including stop-motion action overlaid on the background. Finished panoramas can be saved in a wide variety of image formats,

Image Composite Editor

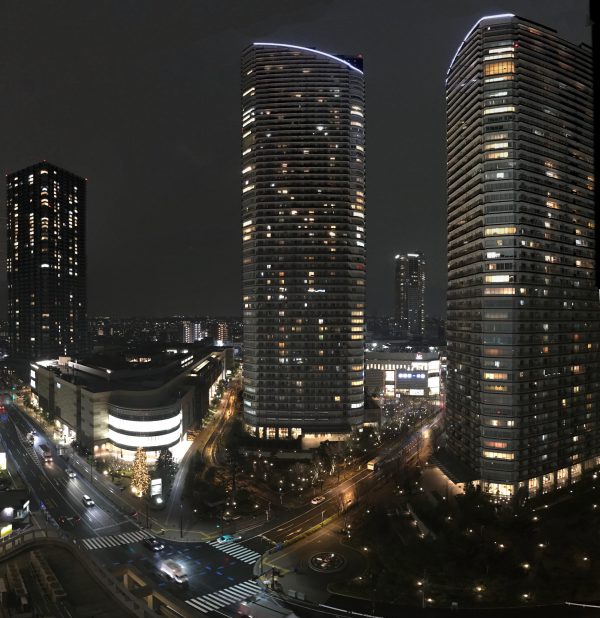
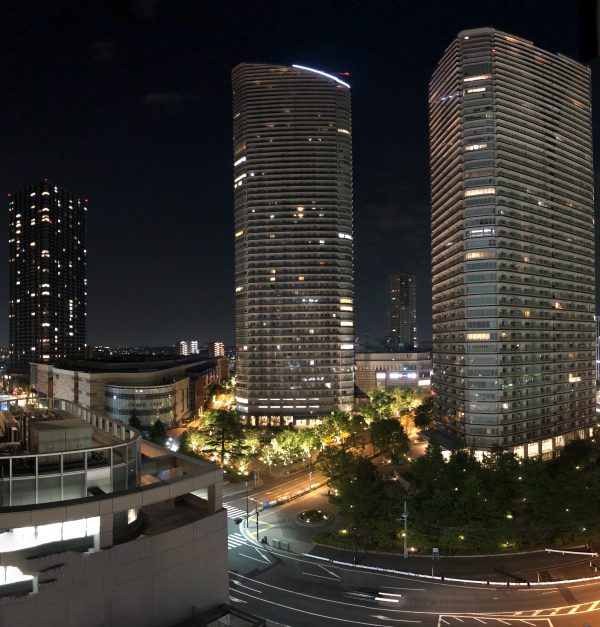
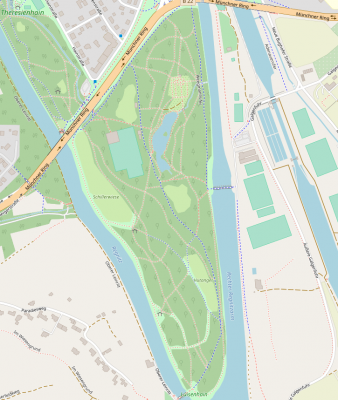
Here’s how the stitching process of the Musashi-kosugi Park City towers night image looked like:

select images
choose projection method
crop the projection – maybe use “autocomplete”
export the final panoramic image
zoom in :-)

How to design a Transit Map

We’ve all used them. And if they are made well they really make life easier: Transit Maps.

Apart from using transit map art style to visualize a train line transit maps can be applied to a lot of data visualization needs.

Take time to consider everything about your diagram. How thick do you want the route lines to be? Are they touching, or is there a slight gap between them? Are you going to use curves or straight edges where a line changes direction? Consider your station markers – will they be ticks, dots or something else? Think about how you would like to differentiate interchange stations or transit centres as well. Consider the typeface you’re going to use for station names – it should be legible and simple. When you’ve considered all these points, you’ve given yourself a set of rules that you will use to construct the diagram. Every design decision you make should be evaluated against these rules: sometimes, you can break them if needed, but it definitely helps to have them in your head as you work.

Tutorial: How to design a Transit Map

all macOS wallpapers in 5k

Every major version of Mac OS X macOS has come with a new default wallpaper. As you can see, I have collected them all here.
While great in their day, the early wallpapers are now quite small in the world of 5K displays.
Major props to the world-class designer who does all the art of Relay FM, the mysterious @forgottentowel, for upscaling some of these for modern screens.

https://512pixels.net/projects/default-mac-wallpapers-in-5k/

OpenSource drawing: Krita

I just recently learned about Krita. An open source drawing application that allows you to… oh well… do free-hand drawings.

Krita is a FREE and open source painting tool designed for concept artists, illustrators, matte and texture artists, and the VFX industry. Krita has been in development for over 10 years and has had an explosion in growth recently. It offers many common and innovative features to help the amateur and professional alike. See below for some of the highlighted features.

Krita highlights

Taking a look at the gallery yields that I cannot draw. Frustration about that is limited because there’s so much nice drawings to gaze at!

Also this is a multi-platform application. It’s available for Windows, macOS and for Linux.

idea: in-flight convertible mini-quadcopter (add wings!)

About a year ago there were some very interesting reports about a german inventor and his invention: a highly futuristic, transforming smartphone airbag.

It would be attached to your phone and when you drop it, it would automatically deploy and dampen the impact.

Like so:

Impressive, right? There’s now a Kickstarter campaign behind this to deliver it as a product. All very nice and innovative.

I have no usue of a smartphone airbag of some sort. But hear me out on my train of thought:

I do partake in the hobby of quadcopter flying. I’ve built some myself in the past.

Now these quadcopters are very powerful and have very short flight times due to their power-dynamics. 4-5 Minutes and you’ve emptied a LiPo pack.

Model airplanes, essentially everything with wings, flys much much longer.

My thought now: Why not have a convertible drone.

When the pilot wants a switch could be flipped and it would convert a low-profile quadcopter to a low-profile quadcopter with wings. Similar to how the above mentioned smartphone “airbag”.

I don’t know anything about mechanics. I have no clue whatsoever. So go figure. But what I do know: the current path of the mini-quad industry is to create more powerful and bigger “mini”-quadcopters. And this is a good direction for some. It’s not for me. Having a 10kg 150km/h 50cm projectile in the air that also delivers a 1kg Lithium-Polymer, highly flammable and explosion-ready battery pack does frighten me.

Why not turn the wheel of innovation into the convertible-in-air-with-much-longer-flight-times direction and make the mini-quadcopters even more interesting?

staying in Tokyo off-center (武蔵小杉)

Ever since I’ve first visited Tokyo in 2012 I fell in love with country, culture and the city. On average I was there 4 times a year to do business.

After leaving Rakuten I went back to Tokyo for a vacation together with my wife in October 2017. The idea was to show her what I was enthusiastically mumbling about all the time when I came back from Japan.

When staying in Tokyo I’ve stayed in different areas across the city. From very center to not-so-much-center. Given the great public transportation and taxi system in Tokyo it always was a great experience.

So after a couple of times I developed a preference for an area that was in walking distance to the Rakuten office, was well connected to the public transport system and offered all sorts of starting-points for daily life on a longer term. It ticked a lot of boxes.

You can follow my foot-steps from a route I had recorded in 2015 in preparation for a presentation I’ve held at the Rakuten Technology Conference on my pet project Miataru.

this is in real-time – from Hotel to Office

The areas name is Musashi-Kosugi (武蔵小杉). And it actually is in the city of Kawasaki in Kanagawa prefecture. Effectively just across the Tama river from Ota-city in Tokyo prefecture.

Like any great neighborhood everything is conveniently close and the service everywhere is spotless. The hotel of preference is fairly priced and extremely close to the two train stations. So you can get anywhere quick by train.

You can see the hotel location and the train tracks pretty well on this next map. The red portion shows the viewing direction of the night-picture below.

And like any great neighborhood there’s loads of current information available and lots of community activities around the year. In the case of Musashi-Kosugi you can have the more official website and the more up-to-date blog.

If you plan to visit Tokyo I can only recommend you take a look at more off center options of accomodation. I’ve always enjoyed being able to leave the center of buzz like Shibuya, Ropongi and get back into my bubble of quietness without compromising on everything else than party-and-entertainment options. Actual longer-term daily-life is much more enjoyable off-center – as you can imagine.

And for the end of this post: Let us enjoy a sunset with parts of the Musashi-Kosugi skyline:

“kachung” + shutter sound

When you take a picture with an iPhone these days it does generate haptic feedback – a “kachung” you can feel. And a shutter sound.

Thankfully the shutter sound can be disabled in many countries. I know it can’t be disabled on iPhones sold in Japan. Which kept me from buying mine in Tokyo. Even when you switch the regions to Europe / Germany it’ll still produce the shutter sound.

Anyway: With my iPhone, which was purchased in Germany, I can disable the shutter sound. But it won’t disable the haptic “kachung”.

look ma! no mirror! (yes this is an iPhone 6)

It’s interesting that Apple added this vibration to the activity of taking a picture. Other camera manufactures go out of their way to decouple as much vibration as possible even to the extend that they will open the shutter and mirror in their DSLRs before actually making the picture – just so that the vibration of the mirror movement and shutter isn’t inducing vibrations to the act of taking the picture.

With mirror less cameras that vibration is gone. But now introduced back again?

Am I the only one finding this strange?