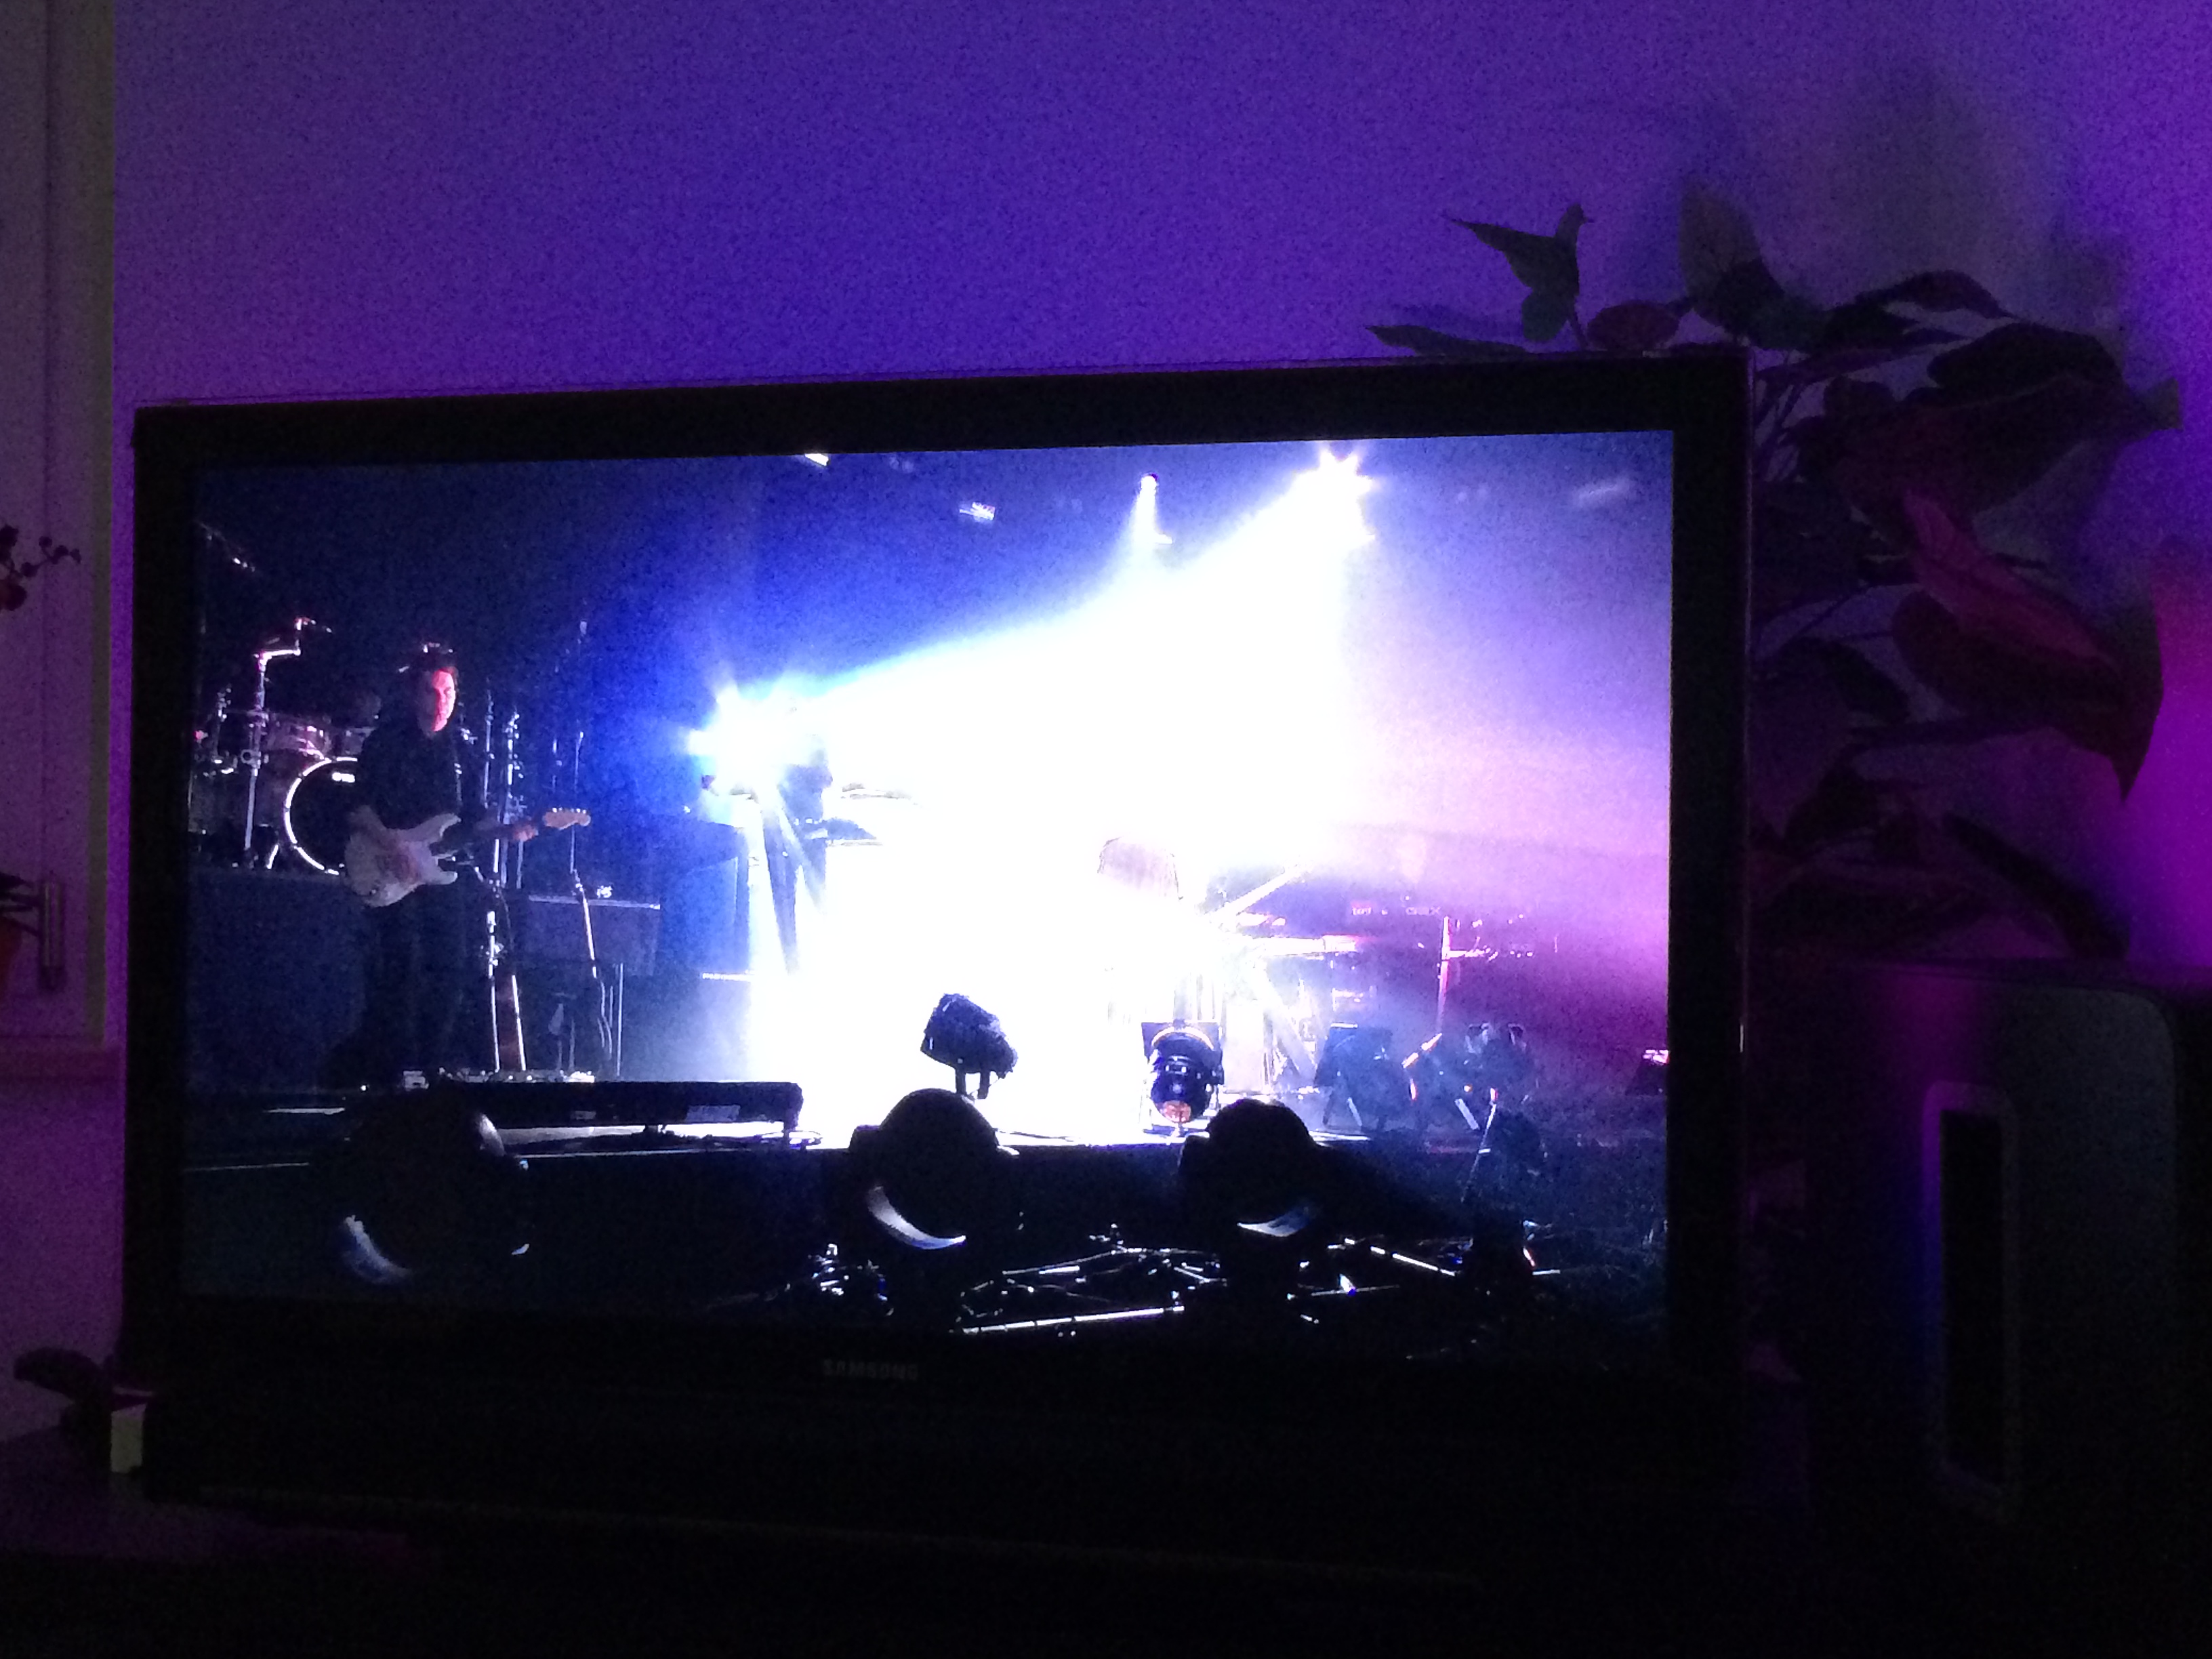
After setting up Boblight on two TVs in the house – one with 50 and one with 100 LEDs – I’ve used it for the last 5 months on a daily basis almost.
First of all now every screen that does not come with “added color-context” on the wall seems off. It feels like something is missing. Second of all it has made watching movies in a dark room much more enjoyable.
The only concerning factor of the past months was that the RaspberryPi does not come with a lot of computational horse-power and thus it has been operating at it’s limits all the time. With 95-99% CPU usage there’s not a lot of headroom for unexpected bitrate spikes and what-have-you.
So from time to time the Pis where struggling. With 10% CPU usage for the 50 LEDs and 19% CPU usage for the 100 LEDs set-up there was just not enough CPU power for some movies or TV streams in Full-HD.
So since even overclocking only slightly improved the problem of Boblight using up the precious CPU cycles for a fancy light-show I started looking around for alternatives.
“Hyperion is an opensource ‘AmbiLight’ implementation controlled using the RaspBerry Pi running Raspbmc. The main features of Hyperion are:
- Low CPU load. For a led string of 50 leds the CPU usage will typically be below 1.5% on a non-overclocked Pi.
- Json interface which allows easy integration into scripts.
- A command line utility allows easy testing and configuration of the color transforms (Transformation settings are not preserved over a restart at the moment…).
- Priority channels are not coupled to a specific led data provider which means that a provider can post led data and leave without the need to maintain a connection to Hyperion. This is ideal for a remote application (like our Android app).
- HyperCon. A tool which helps generate a Hyperion configuration file.
- XBMC-checker which checks the playing status of XBMC and decides whether or not to capture the screen.
- Black border detector.
- A scriptable effect engine.
- Generic software architecture to support new devices and new algorithms easily.
More information can be found on the wiki or the Hyperion topic on the Raspbmc forum.”
Especially the Low CPU load did raise interest in my side.
Setting Hyperion up is easy if you just follow the very straight-forward Installation Guide. On Raspbmc the set-up took me 2 minutes at most.
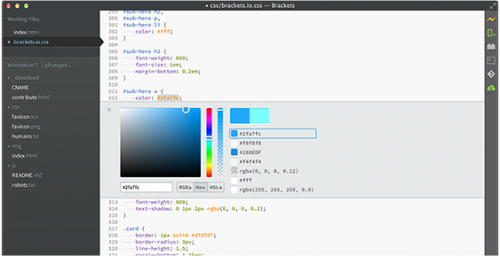
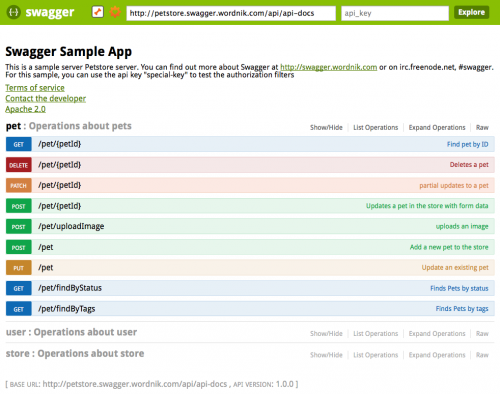
If you got everything set-up on the Pi you need to generate a configuration file. It’s a nice JSON formatted config file that you do not need to create on your own – Hyperion has a nice configuration tool. Hypercon:
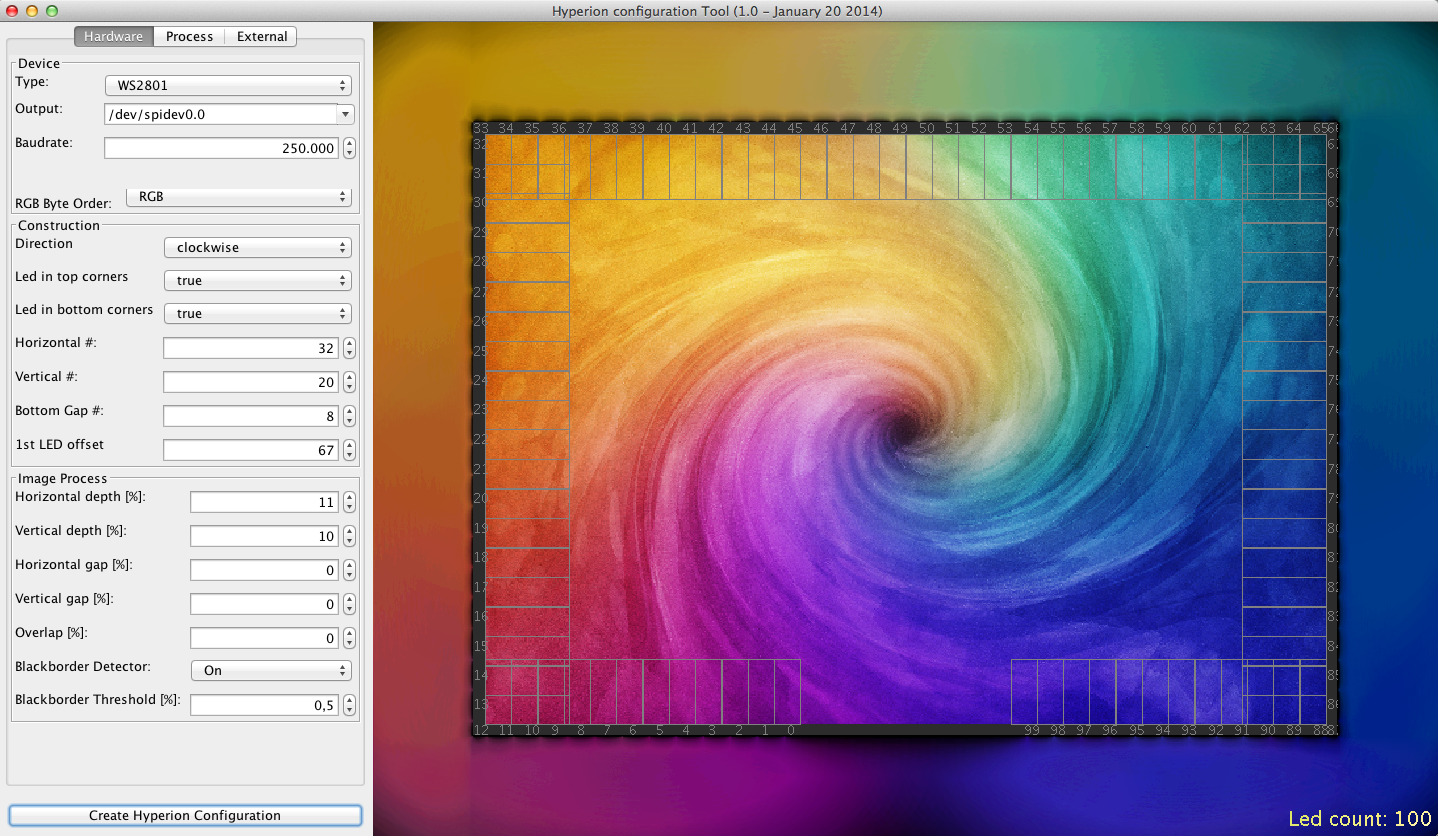
So after 2 more minutes the whole thing was set-up and running. Another 15 minutes of tweaking here and there and Hyperion replaced Boblight entirely.
What have I found so far?
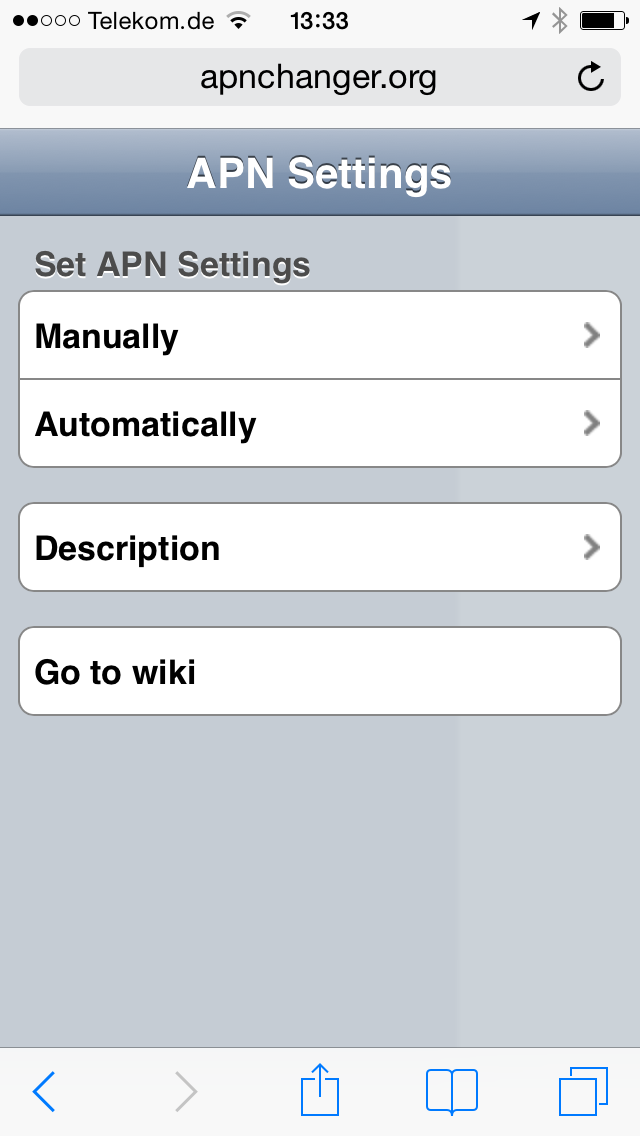
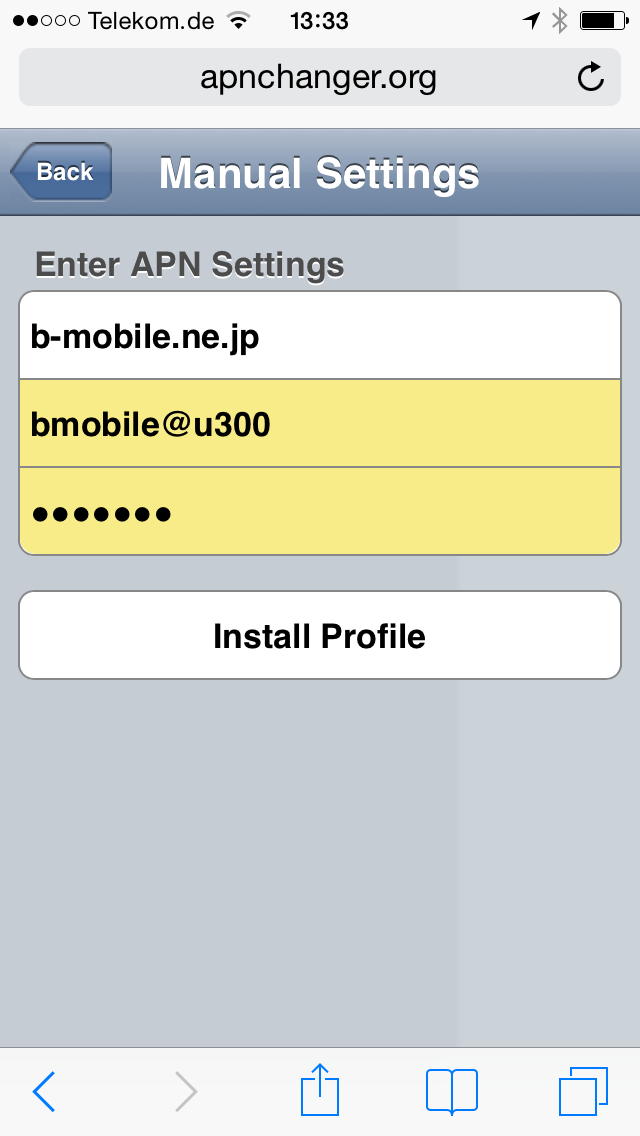
- Hyperions network interfaces are much more controllable than those from Boblight. You can use remote clients like on iPhone / Android to set colors and/or patterns.
- It’s got effects for screen-saving / mood-lighting!
- It really just uses a lot less CPU resources. Instead of 19% CPU usage for 100 LEDs it’s down to 3-4%. That’s what I call a major improvement
- The processing filters that you can add really add value. Smoothing everything so that you do not get bright flashed when content flashes on-screen is easy to do and really helps with the experience.
All in all Hyperion is a recommended replacement for boblight. I would not want to switch back.
Source 1: Setting up Boblight
Source 2: https://github.com/tvdzwan/hyperion/wiki/Installation

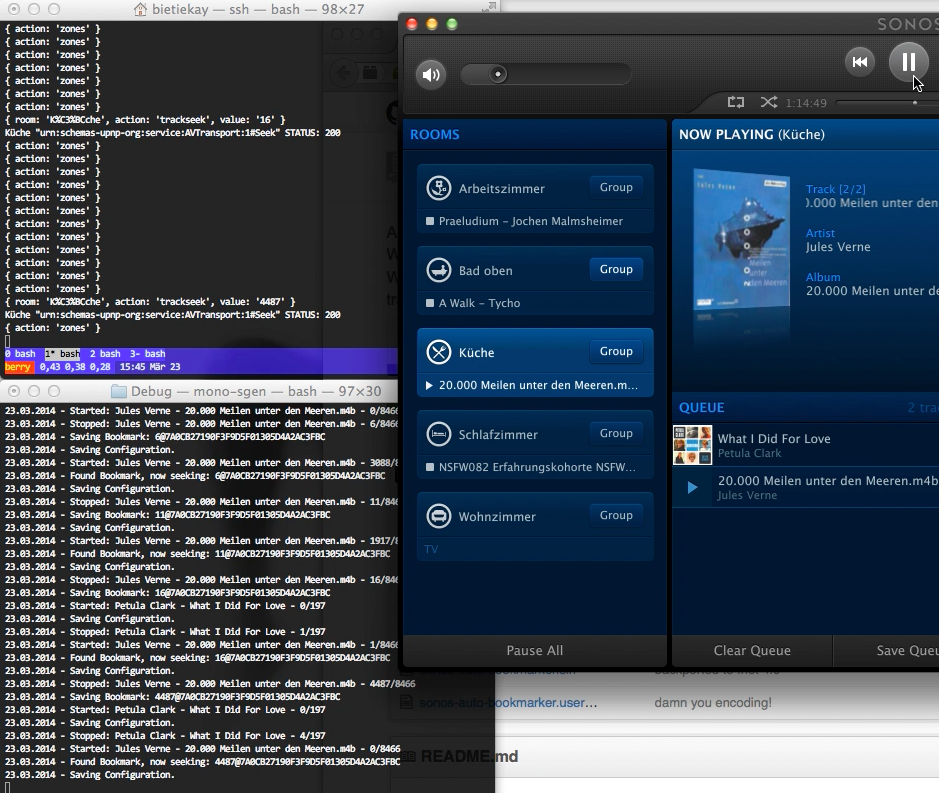
 You have to get Airplay hardware (like the Airport Express/Extreme,…) and attach it physically to one of the inputs of your SONOS Set-Up. Typically you will need a SONOS Play:5 which has an analog input jack.